2016 MERCEDES-BENZ G-Class set clock
[x] Cancel search: set clockPage 68 of 302

Automa tic locking featu re
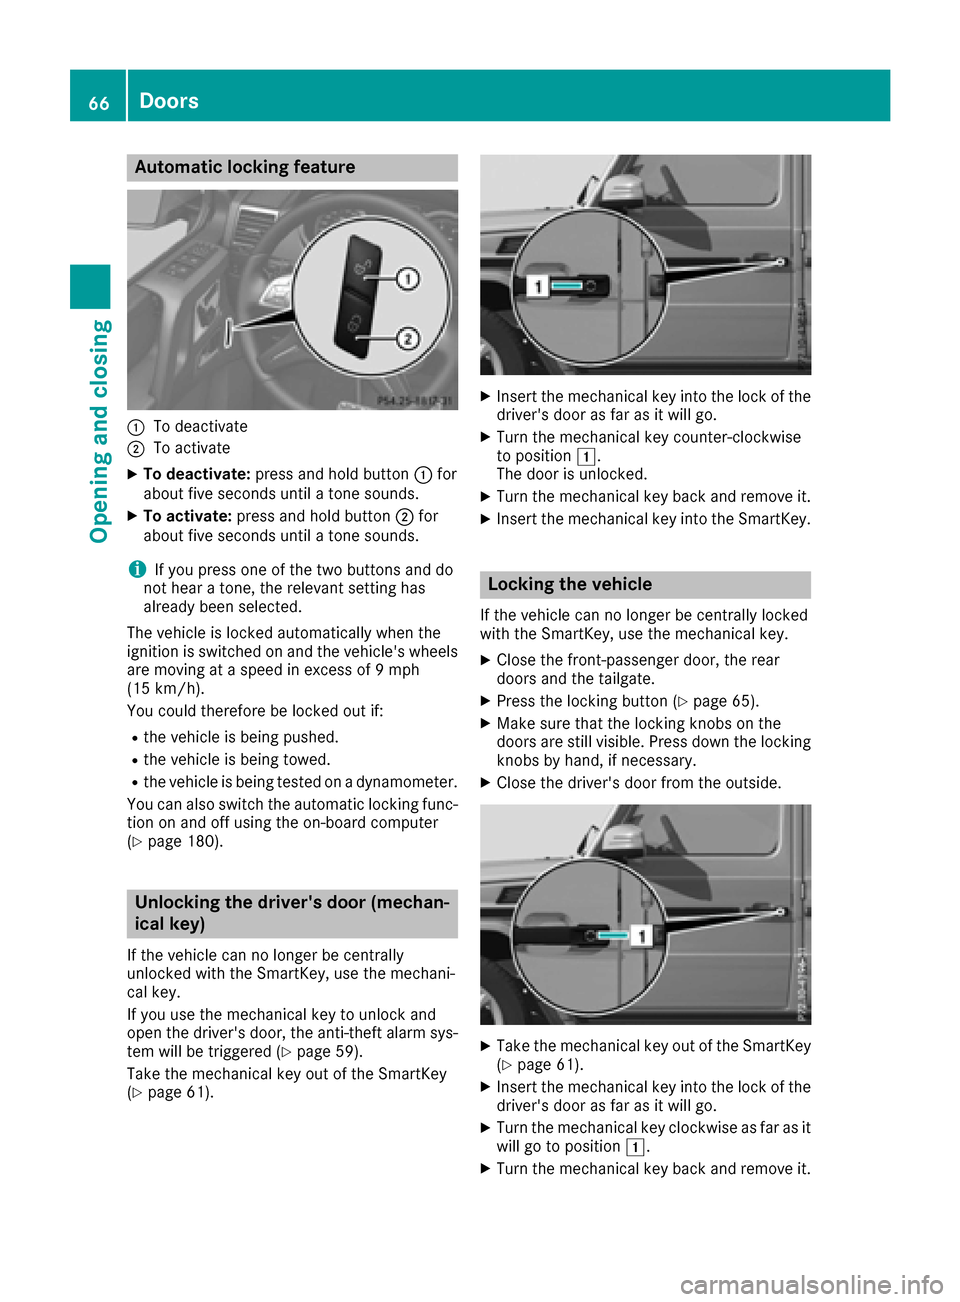
:To deactivate
;To activate
XTo deactivate: press and hold butto n: for
about fiv eseconds until atone sounds.
XTo activate: press and hold butto n; for
about fiv eseconds until atone sounds.
iIf you press on eof th etwo buttons and do
no thear atone ,th erelevan tsetting has
already been selected.
The vehicl eis locke dautomatically when th e
ignition is switched on and th evehicle's wheels
are moving at aspee din excess of 9mph
(15 km/ h).
You could therefore be locked out if:
Rthe vehicle is being pushed.
Rthe vehicle is being towed.
Rthe vehicle is being tested on a dynamometer.
You can also switch the automatic locking func-
tion on and off using the on-board computer
(
Ypage 180).
Unlocking the driver's door (mechan-
ical key)
If the vehicle can no longer be centrally
unlocked with the SmartKey, use the mechani-
cal key.
If you use the mechanical key to unlock and
open the driver's door, the anti-theft alarm sys-
tem will be triggered (
Ypage 59).
Take the mechanical key out of the SmartKey
(
Ypage 61).
XInsert the mechanical key into the lock of the driver's door as far as it will go.
XTurn the mechanical key counter-clockwise
to position 1.
The door is unlocked.
XTurn the mechanical key back and remove it.
XInsert the mechanical key into the SmartKey.
Locking the vehicle
If the vehicle can no longer be centrally locked
with the SmartKey, use the mechanical key.
XClose the front-passenger door, the rear
doors and the tailgate.
XPress the locking button (Ypage 65).
XMake sure that the locking knobs on the
doors are still visible. Press down the locking
knobs by hand, if necessary.
XClose the driver's door from the outside.
XTake the mechanical key out of the SmartKey
(Ypage 61).
XInsert the mechanical key into the lock of the
driver's door as far as it will go.
XTurn the mechanical key clockwise as far as it
will go to position 1.
XTurn the mechanical key back and remove it.
66Doors
Opening and closing
Page 108 of 302

XTurn the SmartKey to position2(Ypage 112)
in the ignition lock.
XTo activate: press the¬button.
The indicator lamp in the ¬button lights
up.
The climate control system switches to the
following functions:
Rcooling with air dehumidification (only with
engine running)
Rhigh airflow (depending on the outside tem-
perature)
Rhigh temperature (depending on the out-
side temperature)
Rair distribution to the windshield and front
side windows
Rair-recirculation mode off
XTo deactivate: press the¬button.
The indicator lamp in the ¬button goes
out. The previously selected settings are
restored. The cooling with air dehumidifica-
tion function remains on. Air-recirculation
mode remains deactivated.
or
XPress the Ãbutton.
The indicator lamp in the ¬button goes
out. Airflow and air distribution are set to
automatic mode.
or
XTurn controls :orB clockwise or counter-
clockwise (Ypage 100).
or
XPress the KorI button.
Activating/deactivating MAX COOL
maximum cooling
The MAX COOL function is only available in vehi-
cles for the USA.
MAX COOL is only operational when the engine
is running.
XTo activate: press theÙbutton.
The indicator lamp in the button lights up.
XTo activate: press off-road button Ù
again.
The indicator lamp goes out. The previously
selected settings are restored.
When you activate MAX COOL, climate control
switches to the following functions:
Rmaximum cooling
Rmaximum airflow
Rair-recirculation mode on
Defrosting the windows
Windows fogged up on the inside
XActivate the Ácooling with air dehumidi-
fication function.
XActivate automatic mode Ã.
XIf the windows continue to fog up, activate the
defrosting function (Ypage 105).
iYou should only select this setting until the
windshield is clear again.
Windows fogged up on the outside
XSwitch on the windshield wipers (Ypage 96).
XPress the _button repeatedly until the
P orO symbol appears in the display.
iYou should only select this setting until the
windshield is clear again.
Switching the windshield defroster
on/off
GWARNING
Any accumulation of snow and ice should be
removed from the windshield before driving.
Otherwise, your vision may be impaired,
which could endanger you or others.
106Operating the climate control systems
Climate control
Page 173 of 302

Displaysan doperation
Instrument cluste r
Instrument clusterlighting
The brightness contro lknob is located on th e
botto mleftof th einstrumen tcluster
(
Ypage 171).
XTur nth ebrightness contro lknob clockwise or
counter-clockwise .
If th eligh tswitch is set to Ã,T or
L ,th ebrightness is dependen tupon th e
brightness of th eambien tlight.
iThe ligh tsensor in th einstrumen tcluster
automatically controls th ebrightness of th e
multifunction display.
In daylight ,th edisplays in th einstrumen t
cluster are no tilluminated.
Displaying th ecoolant temperatur e
GWARNING
Opening th ehoo dwhen th eengin eis over-
heated or when there is afir ein th eengin e
compartmen tcould expos eyou to hot gases
or other servic eproducts .There is aris kof
injury.
Let an overheated engin ecool down befor e
opening th ehood. If there is afir ein th e
engin ecompartment, keep th ehoo dclose d
and contact th efir edepartment.
!A display messag eis shown if th ecoolan t
temperature is to ohigh.
If th ecoolan ttemperature is over 24 8 ‡
(12 0†), do no tcontinue driving. The engin e
will otherwise be damaged .
The coolan ttemperature gage is in th einstru-
men tcluster on th eright-hand sid e
(
Ypage 171).
Under normal operatin gcondition sand wit hth e
specifie dcoolan tlevel, th ecoolan ttemperature
may ris eto 24 8 ‡(120†) .
Tachomete r
!
Do no tdriv ein the overrevvin grange, as this
could damage the engine.
The red band in the tachometer indicates the
engine's overrevving range.
The fuel supply is interrupted to protect the
engine when the red band is reached.
Outside temperature display
You should pay special attention to road condi-
tions when temperatures are around freezing
point.
Bear in mind that the outside temperature dis-
play indicates the temperature measured and
does not record the road temperature.
The outside temperature display is in the multi-
function display (
Ypage 173).
Changes in the outside temperature are dis-
played after a short delay.
Speedometer with segments
The segments in the speedometer indicate
which speed range is available.
RCruise control activated (Ypage 141):
The segments light up from the stored speed
to the maximum speed.
RVariable SPEEDTRONIC activated
(Ypage 145):
The segments light up from the start of the
scale to the selected limit speed.
RDISTRONIC PLUS activated (Ypage 149):
One or two segments in the set speed range
light up.
RDISTRONIC PLUS detects a vehicle in front:
The segments between the speed of the vehi-
cle in front and the stored speed light up.
Displays and operation171
On-board computer and displays
Z
Page 182 of 302

Deactivating delayed switch-off of the exterior
lighting temporarily:
XBefore leaving the vehicle, turn the SmartKey
to position0(Ypage 112 )in the ignition lock.
XTurn the SmartKey to position 2in the ignition
lock (Ypage 112).
The exterior lighting delayed switch-off is
deactivated.
Delayed switch-off of the exterior lighting is
reactivated the next time you start the engine.
If you have activated the Surround Lighting
function and the light switch is set to Ã, the
following functions are activated when it is dark:
Rsurround lighting: the exterior lighting
remains lit for 40 seconds after unlocking
with the SmartKey. If you start the engine, the
surround lighting is switched off and auto-
matic headlamp mode is activated
(
Ypage 85).
Rexterior lighting delayed switch-off: the
exterior lighting remains lit for 60 seconds
after the engine is switched off. If you close all
the doors and the trunk lid, the exterior light- ing goes off after 15 seconds.
iDepending on your vehicle's equipment,
when the surround lighting and delayed
switch-off exterior lighting are on, the follow-
ing light up:
RParking lamps
RLow-beam headlamps
RDaytime running lamps
RSide marker lamps
RSurround lighting in the exterior mirrors
Activating/deactivating the interior light-
ing delayed switch-off
If you activate the Interior Lighting Delayfunction, the interior lighting remains on for
20 seconds after you remove the SmartKey from
the ignition lock.
XPress the=or; button on the steering
wheel to select the Sett.menu.
XPress the:or9 button to select the
Lightssubmenu.
XPress ato confirm.
XPress :or9 to select the InteriorLighting Delayfunction.
When the Interior Lighting Delayfunc-
tion is activated, the vehicle interior is dis-
played in red in the multifunction display.
XPress the abutton to save the setting.
Vehicle
Activating/deactivating the automatic
door locking mechanism
If you activate the AutomaticDoorLockfunc-
tion, the vehicle is centrally locked above a
speed of approximately 9 mph (15 km/h).
XPress the =or; button on the steering
wheel to select the Sett.menu.
XPress the:or9 button to select the
Vehiclesubmenu.
XPress ato confirm.
XPress the :or9 button to select the
Automatic Door Lockfunction.
When the Automatic Door Lockfunction is
activated, the vehicle doors are displayed in
red in the multifunction display.
XPress the abutton to save the setting.
For further information on the automatic locking
feature, see (
Ypage 66).
Activating/deactivating the acoustic
locking verification signal
If you switch on the AcousticLockfunction, an
acoustic signal sounds when you lock the vehi-
cle.
XPress the =or; button on the steering
wheel to select the Sett.menu.
XPress:or9 to select the Vehiclesubmenu.
XPressato confirm.
XPress the :or9 button to select the
Acoustic Lockfunction.
If the Acoustic Lockfunction is activated,
the & symbol in the multifunction display
lights up red.
XPress the abutton to save the setting.
180Menus and submenus
On-board computer and displays
Page 254 of 302

HEnvironmental note
Batteries contain dangerous
substances. It is against the
law to dispose of them with
the household rubbish. They
must be collected separatelyand recycled to protect the
environment.
Dispose of batteries in an
environmentally friendly
manner. Take discharged
batteries to a qualified spe-
cialist workshop or a special
collection point for used bat-
teries.
In order for the battery to achieve the maximum
possible service life, it must always be suffi-
ciently charged.
Comply with safety precautions and take pro-
tective measures when handling batteries.
Risk of explosion.
Fire, open flames and smoking are
prohibited when handling the bat-
tery. Avoid creating sparks.
Battery acid is caustic.
Avoid contact with skin, eyes or
clothing.
Wear eye protection.
Keep children away.
Observe this Operator's Manual.
The vehicle battery, like other batteries, can dis-
charge over time if you do not use the vehicle. In
this case, have the battery disconnected at a
qualified specialist workshop. You can also
charge the battery with a charger recommended by Mercedes-Benz. Contact a qualified special-
ist workshop for further information.
For safety reasons, Mercedes-Benz recom-
mends that you only use batteries which have
been tested and approved for your vehicle by
Mercedes-Benz. These batteries provide
increased impact protection to prevent vehicle
occupants from suffering acid burns should the
battery be damaged in the event of an accident.
Have the battery condition of charge checked
more frequently if you use the vehicle mainly for
short trips or if you leave it standing idle for a
lengthy period. Consult a qualified specialist
workshop if you wish to leave your vehicle
parked for a long period of time.
iRemove the SmartKey if you park the vehi-
cle and do not require any electrical consum-
ers. The vehicle will then use very little energy,
thus conserving battery power.
iIf the power supply has been interrupted,
e.g. due to a discharged battery, you will have
to:
Rset the clock. Information on setting the
clock can be found in the separate operat-
ing instructions.
On vehicles with COMAND and a navigation
system, the clock is set automatically.
Rreset the head restraints on the front seats
(Ypage 75)
Rreset the function for folding the exterior
mirrors in/out automatically, by folding the
mirrors out once (
Ypage 81).
Charging the battery
GWARNING
During charging and jump-starting, explosive
gases can escape from the battery. There is a risk of an explosion.
Particularly avoid fire, open flames, creating
sparks and smoking. Ensure there is sufficient
ventilation while charging and jump-starting.
Do not lean over a battery.
GWARNING
Battery acid is caustic. There is a risk of injury.
Avoid contact with skin, eyes or clothing. Do
not inhale any battery gases. Do not lean over
252Battery (vehicle)
Breakdown assistance
Page 285 of 302

be able to achieve its load-bearing capacity
due to the restricted height.
RMake sure that the distance between the
underside of the tires and the ground does not
exceed 1.2 in (3 cm).
RDo not place your hands or feet under the
raised vehicle.
RDo not lie under the vehicle.
RDo not start the engine when the vehicle is
raised.
RDo not open or close a door when the vehicleis raised.
RMake sure that no persons are present in the
vehicle when the vehicle is raised.
XUsing lug wrench :, loosen the bolts on the
wheel you wish to change by about one full
turn. Do not unscrew the wheel bolts com-
pletely.
Pump lever ;
XAssemble the pump lever for the jack. It can
be found with the vehicle tool kit
(
Ypage 248).
XTurn pressure release screw =clockwise as
far as it will go using notch ;on the pump
lever.
Pressure release screw =is closed.
iDo not turn pressure release screw =by
more than one to two revolutions. Otherwise,
hydraulic fluid could escape.
XSet jack :on solid ground.
XPosition jack :on the axle carrier tube ;of
the front or rear axle. Jack :must always
stand vertically, even on slopes.
Make sure that jack :is correctly positioned
under axle carrier tube ;. The front or rear
axle must sit securely in the recess of jack :.
XRaise the vehicle by pumping in the direction
of the arrow until the tire is 1.2 in (3 cm) off
the ground at the most.
Removing a wheel
!Do not place wheel bolts in sand or on a dirty
surface. The bolt and wheel hub threads could
otherwise be damaged when you screw them
in.
XUnscrew the wheel bolts.
XRemove the wheel.
Changing a wheel283
Wheels and tires
Z