2016 MERCEDES-BENZ G-Class remote control
[x] Cancel search: remote controlPage 11 of 302

Front-passenger footwell ............... 260
Transmission tunnel ....................... 260
Fuse extractor ................................... 259
Fuses
Allocation chart ............................. 259
Before changing ............................. 259
Dashboard fuse box ....................... 259
Fuse allocation chart ..................... 259
Fuse box in the front-passenger
footwell .......................................... 260
Fuse box in the transmission tun-
nel ................................................. 260
Important safety notes .................. 259
In the battery case ......................... 260
G
Garage door openerClearing the memory ..................... 234
General notes ................................ 231
Important safety notes .................. 231
Opening/closing the garage doo r..2 34
Programming the remote control ... 231
Gasoline ............................................. 290
Gear indicator (on-board com-
puter) ..................................................1 82
Gear or selector lever (cleaning
guidelines) ......................................... 246
Genuine parts ...................................... 19
Genuine wood trim and trim strips
(cleaning instructions) ......................246
Glove box ...........................................2 15
Gradient-climbing capability (max-
imum) ................................................. 140
GTW (Gross Trailer Weight) (defini-
tion) .................................................... 279
H
Hazard warning lamps ........................ 89
Head restraints
Adjusting ......................................... 74
Adjusting (rear) ................................ 75
Installing/removing (rear) ................ 75
Luxury .............................................. 75
Resetting (front) ............................... 75
see NECK-PRO head restraints
see NECK-PRO luxury head restraints Headlamps
Adding fluid to cleaning system ..... 239
Cleaning ......................................... 244
Cleaning system (function) .............. 87
Cleaning system (notes) ................ 295
Fogging up ....................................... 89
Protective grille ................................ 95
see Automatic headlamp mode
Heating
see Climate control
High-beam headlamps
Display message ............................ 190
Switching on/off .............................. 88
Hill start assist .................................. 114
HOLD function
Function/notes .............................1 57
Hood
Closing ...........................................2 36
Display message ............................ 201
Important safety notes .................. 235
Opening ......................................... 236
Horn ...................................................... 26
Hydroplaning ..................................... 135
I
Immobilizer.......................................... 59
Instrument cluster
Overview ........................................ 171
Warning and indicator lamps ......... 202
Instrument cluster lighting .............. 171
Interior lighting
Automatic control ............................ 90
Cargo compartment lamp ................ 91
Delayed switch-off (on-board
computer) ...................................... 180
Manual control ................................. 90
Overview .......................................... 89
Reading lamp ................................... 89
Rear interior lighting ........................ 92
J
JackPump lever ..................................... 283
Storage location ............................ 248
Using ............................................. 282
Jump starting (engine) ......................254
Index9
Page 12 of 302

K
Key positionsSmartKey ...................................... .112
L
Lap time (RACETIMER) ......................182
LATCH-type (ISOFIX) child seat
anchors ................................................ 48
License plate lamp (display mes-
sage) ................................................... 190
Light sensor (display message) ....... 191
Lights
Activating/deactivating the inte-
rior lighting delayed switch-off ....... 180
Automatic headlamp mode .............. 85
Hazard warning lamps ..................... 89
High beam flasher ............................ 88
High-beam headlamps ..................... 88
Light switch ..................................... 84
Low-beam headlamps ......................8 4
Parking lamps ..................................8 7
Rear fog lamp .................................. 86
Standin glamp s................................ 87
Switchin gth edaytime running
lamp son/off (on-boar dcom-
puter) ............................................ .179
Switching the daytime running
lamps on/off (switch) ......................8 5
Switching the exterior lighting
delayed switch-off on/off (on-
board computer) ............................ 179
Switching the surround lighting
on/off (on-board computer) .......... 179
Turn signals ..................................... 88
see Interior lighting
see Replacing bulbs
LIM indicator lamp
Cruise control ................................ 142
DISTRONIC PLUS ........................... 149
Variable SPEEDTRONIC ................. 145
Limit speed
Variable SPEEDTRONIC ................. 145
Load anchorage ................................. 218
Loading guidelines ............................ 214
Locking
Emergency locking ........................... 66 From inside the vehicle (central
locking button) ................................. 65
see C
entral locking
Locking (doors)
Automatic ........................................ 66
Locking centrally
see Central locking
Locking verification signal (on-
board computer) ............................... 180
LOW RANGE off-road gear ................ 162
Low-beam headlamps
Display message ............................ 189
Switching on/off .............................. 84
Luggage compartment enlarge-
ment
Overview ........................................ 216
Lumbar support
Adjusting the 4-way lumbar sup-
port .................................................. 76
Luxury head restraints ....................... 75
M
M+S tires............................................ 264
Malfunction message
see Display messages
Matte finish (cleaning instruc-
tions) .................................................. 243
mbrace
Call priority .................................... 228
Display message ............................ 187
Downloading destinations
(COMAND) ..................................... 228
Downloading routes ....................... 230
Emergency call .............................. 225
Geo fencing ................................... 230
Important safety notes .................. 224
Locating a stolen vehicle ............... 229
MB info call button ........................ 227
Remote vehicle locking .................. 229
Roadside Assistance button .......... 226
Self-test ......................................... 225
Speed alert .................................... 230
System .......................................... 225
Triggering the vehicle alarm ........... 231
Vehicle remote malfunction diag-
nosis .............................................. 229
Vehicle remote unlocking .............. 228
10Index
Page 15 of 302

Switching on/off .............................. 86
Rear lamps
see Lights
Rear seat bench
Folding into an upright position ..... 218
Rear view camera
Function/notes ............................. 161
Rear view camera (cleaning
instructions) ...................................... 244
Rear window defroster
Problem (malfunction) ................... 107
Switching on/off ........................... 107
Rear window wiper
Switching on/off .............................. 97
Rear-view mirror
Dipping (automatic) ......................... 81
Refrigerant (air-conditioning sys-
tem)
Important safety notes .................. 293
Refueling
Fuel gauge ..................................... 171
Important safety notes .................. 127
Refueling process .......................... 128
see Fuel
Remote control
Programming (garage door
opener) .......................................... 231
Replacing bulbs
Important safety notes .................... 92
Overview of bulb types .................... 93
Reporting safety defects .................... 23
Rescue card ......................................... 24
Reserve (fuel tank)
see Fuel
Reserve fuel
Display message ............................ 194
Warning lamp ................................. 210
see Fuel
Residual heat
Switching on/off ........................... 108
Restraint system
Display message ............................ 187
Introduction ..................................... 34
Warning lamp ................................. 209
Warning lamp (function) ................... 35
Reversing lamps (display mes-
sage) ................................................... 191 Roadside Assistance (breakdown)
.... 21
Roof lining and carpets (cleaning
guidelines) ......................................... 247
Route (navigation)
see Route guidance (navigation)
Route guidance (navigation) ............ 174
S
Safety
Children in the vehicle ..................... 46
Safety system
see Driving safety systems
Seat backrest
Folding back .................................. 217
Seat belts
Adjusting the height ......................... 38
center rear-compartment seat ......... 38
Cleaning ......................................... 246
Correct usage .................................. 37
Fastening ......................................... 38
Important safety guidelines ............. 36
Introduction ..................................... 36
Releasing ......................................... 39
Warning lamp ................................. 204
Warning lamp (function) ................... 40
Seat heating
Indicator lamp (malfunction) ............ 77
Seat ventilation
Indicator lamp (malfunction) ............ 77
Seats
Adjusting (electrically) ..................... 74
Adjusting the 4-way lumbar sup-
port .................................................. 76
Adjusting the head restraint ............ 74
Cleaning the cover ......................... 246
Correct driver's seat position ........... 72
Important safety notes .................... 72
Overview .......................................... 72
Storing settings (memory func-
tion) ................................................. 82
Switching seat heating on/off ......... 76
Switching seat ventilation on/off .... 77
Sensors (cleaning instructions) ....... 244
Service interval display
Displaying a service message (on-
board computer) ............................ 240
Index13
Page 17 of 302

Steering wheel heating .................... 78
Storing settings (memory func-
tion) ................................................. 82
Steering wheel heating
Indicator lamp (malfunction) ............ 79
Steering wheel paddle shifters ........ 123
Stopwatch (RACETIMER) ................... 182
Stowage areas ................................... 215
Stowage compartment
Door stowage compartment .......... 216
Stowage compartments
Armrest (under) ............................. 216
Cup holders ................................... 220
Glove box ....................................... 215
Important safety information ......... 215
Stowage pockets ........................... 216
Summer tires ..................................... 264
Sun visor ............................................ 221
Surround lighting (on-board com-
puter) .................................................. 179
SUV
(Sport Utility Vehicle) ....................... 22
Switching air-recirculation mode
on/off ................................................. 107
Switching off the alarm (ATA) ............ 59
T
Tachometer........................................ 171
Tail lamps
Display message ............................ 191
see Lights
Tank content
Fuel gauge ..................................... 171
Technical data
Capacities ...................................... 289
Tires ............................................... 284
Tires/wheels ................................. 284
Trailer loads ................................... 298
Vehicle data ................................... 295
Wheels ........................................... 284
TELEAID
Call priority .................................... 228
Downloading destinations
(COMAND) ..................................... 228
Downloading routes ....................... 230
Emergency call .............................. 225
Geo fencing ................................... 230 Important safety notes .................. 224
Locating a stolen vehicle ............... 229
MB info call button ........................ 227
Remote vehicle locking .................. 229
Roadside Assistance button .......... 226
Self-test ......................................... 225
Speed alert .................................... 230
System .......................................... 225
Triggering the vehicle alarm ........... 231
Vehicle remote malfunction diag-
nosis .............................................. 229
Vehicle remote unlocking .............. 228
Telephone
Accepting a call ............................. 177
Display message ............................ 202
Menu (on-board computer) ............ 177
Number from the phone book ........ 177
Redialing ........................................ 178
Rejecting/ending a call ................. 177
Telephone compartment .................. 216
Temperature
Coolant .......................................... 171
Coolant (on-board computer) ......... 182
Engine oil (on-board computer) ...... 182
Outside temperature ...................... 171
Setting (climate control) ................ 105
Theft deterrent systems
ATA (Anti-Theft Alarm system) ......... 59
Immobilizer ...................................... 59
Tilt/sliding sunroof
see Sliding sunroof
Time
see separate operating instructions
Timing (RACETIMER) ......................... 182
Tire pressure
Calling up (on-board computer) ..... 268
Checking manually ........................ 268
Display messa ge ............................ 198
Ma
ximum ....................................... 268
Notes ............................................. 266
Recommended ............................... 265
Table (single tires) ......................... 266
Tire pressure monitor
Checking the tire pressure elec-
tronically ........................................ 270
Function/notes ............................. 268
Restarting ...................................... 270
Warning lamp ................................. 213
Index15
Page 233 of 302

can specify up to ten areas simultaneously. Dif-
ferent settings are possible for each area.
USA only: these settings can be called up under
"Owners Online" at http://www.mbusa.com.
Alternatively, you can trigger an MB Info call and
inform the customer service representative that
you wish to activate geo fencing.
Currently inactive areas can be activated by text
message.
Triggering the vehicle alarm
With this function, you can trigger the vehicle's
panic alarm via text message. An alarm sounds
and the exterior lighting flashes. Depending on
the setting, the panic alarm lasts five or ten sec-
onds. Afterwards, the alarm switches off.
Brush guard (USA only)
If the brush guard has to be removed, contact a
qualified specialist workshop.
Garage door opener
General notes
You can use the HomeLink®garage door opener
integrated into the rear-view mirror to operate
up to three different gate/garage door opener
systems.
iCertain garage door drives are incompatible
with the integrated garage door opener. If you
have difficulty programing the integrated
garage door opener, contact an authorized
Mercedes-Benz Center. You can also contact the following service hotlines:
RUSA: Mercedes-Benz Customer Assistance
Center at 1-800-FOR-MERCedes
RCanada: Customer Service at
1-800-387-0100
iUSA only:
This device complies with Part 15 of the FCC Rules. Operation is subject to the following
two conditions:
1. This device may not cause harmful inter-
ference, and
2. this device must accept any interference
received, including interference that may
cause undesired operation. Any unauthorized modification to this device
could void the user's authority to operate the
equipment.
iCanada only:
This device complies with RSS-210 of Indus-
try Canada. Operation is subject to the fol-
lowing two conditions:
1. This device may not cause harmful inter-
ference, and
2. this device must accept any interference
received, including interference that may
cause undesired operation.
Any unauthorized mod ifica
tion to this device
could void the user's authority to operate the
equipment.
Important safety notes
GWARNING
When you operate or program the garage door
with the integrated garage door opener, per-
sons in the range of movement of the garage
door can become trapped or struck by the
garage door. There is a risk of injury.
When using the integrated garage door
opener, always make sure that nobody is
within the range of movement of the garage
door.
GWARNING
Combustion engines emit poisonous exhaust
gases such as carbon monoxide. Inhaling
these exhaust gases leads to poisoning. There
is a risk of fatal injury. Therefore never leave
the engine running in enclosed spaces with-
out sufficient ventilation.
When programming a garage door opener, park
the vehicle outside the garage. Do not run the
engine while programming.
Programming the remote control
Programming
Pay attention to the "Important safety notes"
(Ypage 231).
Features231
Stowag ean d features
Z
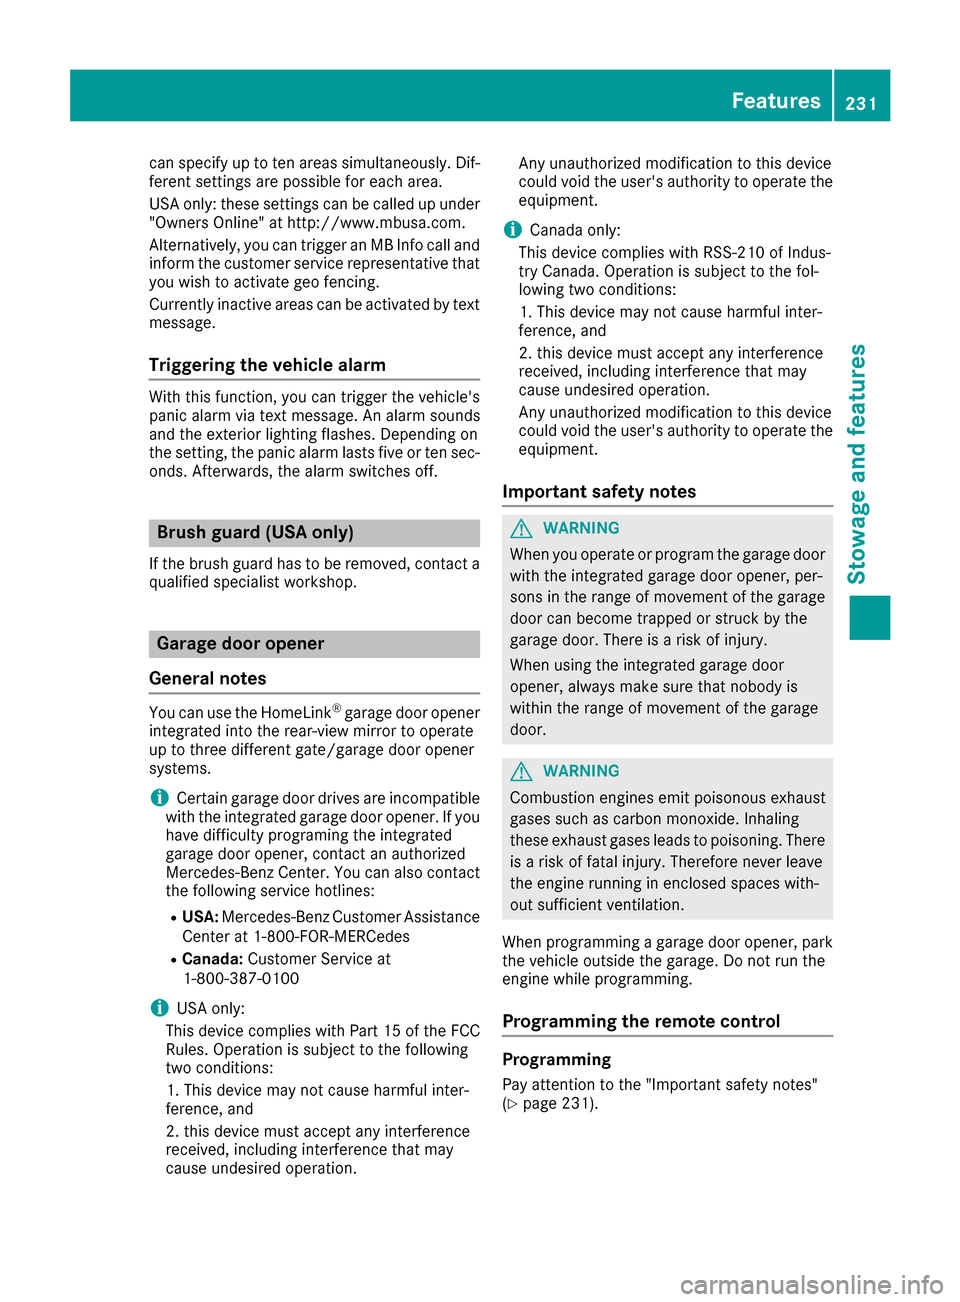
Page 234 of 302

Integrated remote control in the rear-view mirror
:
Indicator lamp
;=?Transmitter buttons
AGarage door remote control
BTransmitter button on the garage
door remote control
Garage door remote control Ais not part of the
garage door opener.
iTo achieve the best result, insert new bat-
teries in garage door remote control Aof
your garage door drive before programming.
XDelete the memory of the integrated remote
control (Ypage 234) before programming it
for the first time.
XTurn the SmartKey to position 2in the ignition
lock (Ypage 112).
XPress and hold transmitter button ;,=
or ?.
After a short time, indicator lamp :will start
flashing. It flashes approximately once per
second.
iIndicator lamp :flashes immediately the
first time that the transmitter button is pro-
grammed. If this transmitter button has
already been programmed, indicator lamp :
will only start flashing at a rate of once a sec-
ond after 20 seconds have elapsed.
XContinue to hold the transmitter button.
XPoint transmitter button Bof garage door
remote control Atowards the transmitter
buttons on the rear-view mirror at a distance
of 2 to 12 inches (5 to 30 cm).
iThe distance between garage door remote
control Aand the integrated garage door
opener depends on the system of the garage
door drive. Several attempts might be neces-
sary. You should test every position for at
least 20 seconds before trying another posi-
tion.
XKeep transmitter button Bon garage door
remote control Apressed until indicator
lamp :starts to flash rapidly.
The programming has been successful if indi-
cator lamp :flashes rapidly.
XRelease transmitter buttons ;,=or? on
the integrated remote control and transmitter
button Bon the garage door remote control.
If indicator lamp :goes out after approx-
imately 20 seconds and has not flashed rapidly:
XRelease transmitter buttons ;,=or? on
the integrated remote control and transmitter button Bon the garage door remote control.
XRepeat the procedure for the other transmit-
ter buttons. When doing so, vary the distance
between the garage door's remote control
and the transmitter buttons in the rear-view
mirror.
iIf the garage door system works with a roll-
ing code, you must synchronize the remote
control integrated in the rear-view mirror with the garage door system receiver after pro-
gramming.
You will find further information in the garage
door opening system's operating instruc-
tions, e.g. the sections on "Synchronizing the
transmitter" or "Registering a new transmit-
ter". You can also call the hotline mentioned
above.
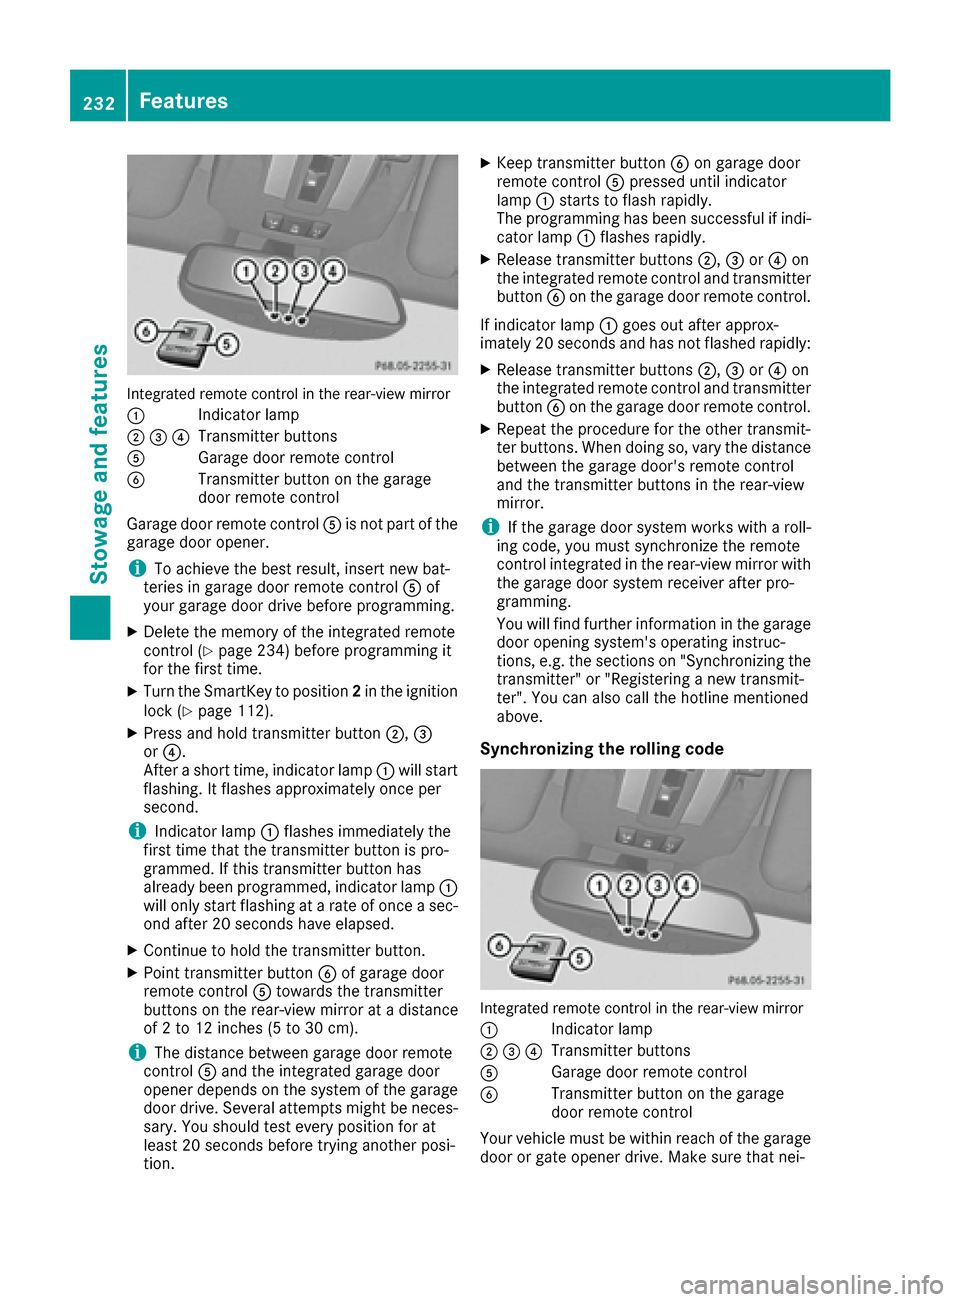
Synchronizing the rolling code
Integrated remote control in the rear-view mirror
:
Indicator lamp
;=?Transmitter buttons
AGarage door remote control
BTransmitter button on the garage
door remote control
Your vehicle must be within reach of the garage door or gate opener drive. Make sure that nei-
232Features
Stowage and features
Page 235 of 302

ther your vehicle nor any persons/objects are
present within the sweep of the door or gate.
Observe the safety notes when performing the
rolling code synchronization (
Ypage 231).
XTurn the SmartKey to position2in the ignition
lock (Ypage 112).
XPress the programming button of the door or
gate drive (see the door or gate drive operat-
ing instructions, e.g. under "Programming
additional remote controls").
iYou now have 30 second sto initiate the next
step.
XPress previously programmed button ;,=
or ? on the integrated garage door opener
until the door closes.
The rolling code synchronization is then com-
plete.
Notes on programming the remote con-
trol
Canadian radio frequency laws require a "break"
(or interruption) of the transmission signals
after broadcasting for a few seconds. Therefore,
these signals may not last long enough for the
integrated remote control to recognize the sig-
nal during programming. Comparable with
Canadian law, American garage door openers
also have a built-in "interruption".
If you live in Canada or have difficulties pro-
gramming the garage door opener (regardless of
where you live) when using the programming
steps, proceed as follows:
Integrated remote control in the rear-view mirror
:
Indicator lamp
;=?Transmitter buttons
AGarage door remote control
BTransmitter button on the garage
door remote control
XKeep the transmitter button ( ;,=or?)
depressed until the integrated remote control
has been set up successfully.
XSimultaneously press transmitter button B
on the garage door remote control and hold
for 2 seconds. Then let go for 2 seconds,
press again and hold for 2 seconds.
XRepeat this sequence on transmitter button
B of the garage door remote control until the
frequency signal has been saved.
XIf the setup procedure is successful, indicator
lamp :flashes once slowly and goes out
after a few seconds.
XContinue with the other programming steps
(see above).
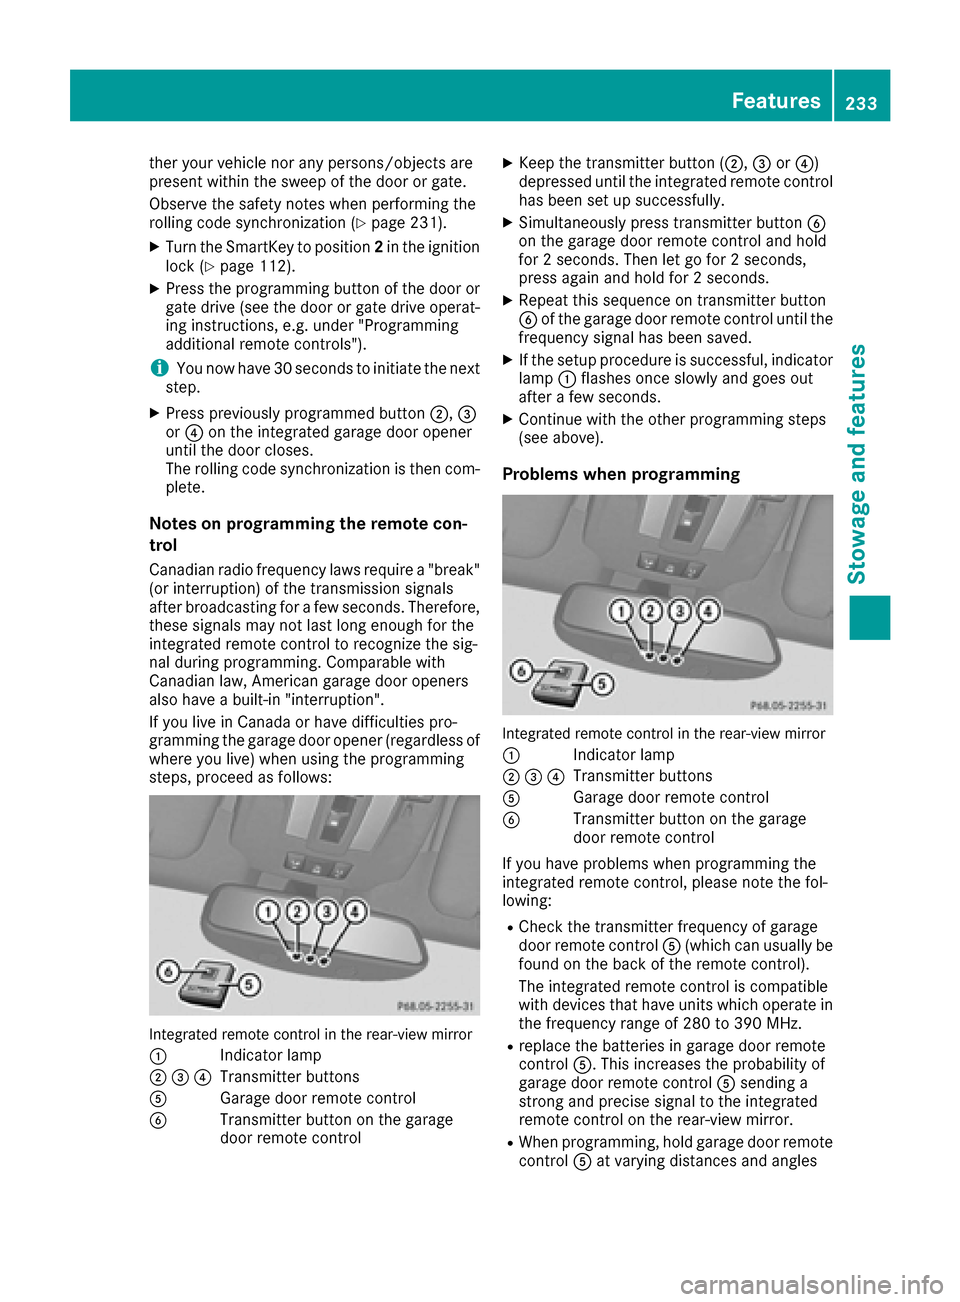
Problems when programming
Integrated remote control in the rear-view mirror
:
Indicator lamp
;=?Transmitter buttons
AGarage door remote control
BTransmitter button on the garage
door remote control
If you have problems when programming the
integrated remote control, please note the fol-
lowing:
RCheck the transmitter frequency of garage
door remote control A(which can usually be
found on the back of the remote control).
The integrated remote control is compatible
with devices that have units which operate in the frequency range of 280 to 390 MHz.
Rreplace the batteries in garage door remote
control A. This increases the probability of
garage door remote control Asending a
strong and precise signal to the integrated
remote control on the rear-view mirror.
RWhen programming, hold garage door remote
control Aat varying distances and angles
Features233
Stowage and features
Z
Page 236 of 302

from the transmitter button which you are
programming. Try various angles at a distance
between2and 12 inches (5 to 30 cm) or at the
same angle but at varying distances.
RIf there is another garage door remote control
for the same device, perform the program-
ming steps again using that garage door
opener. Before performing these steps, make
sure that new batteries have been installed in
the garage door remote control.
RAlign the antenna cable of the garage door
opener unit. This can improve signal trans-
mission.
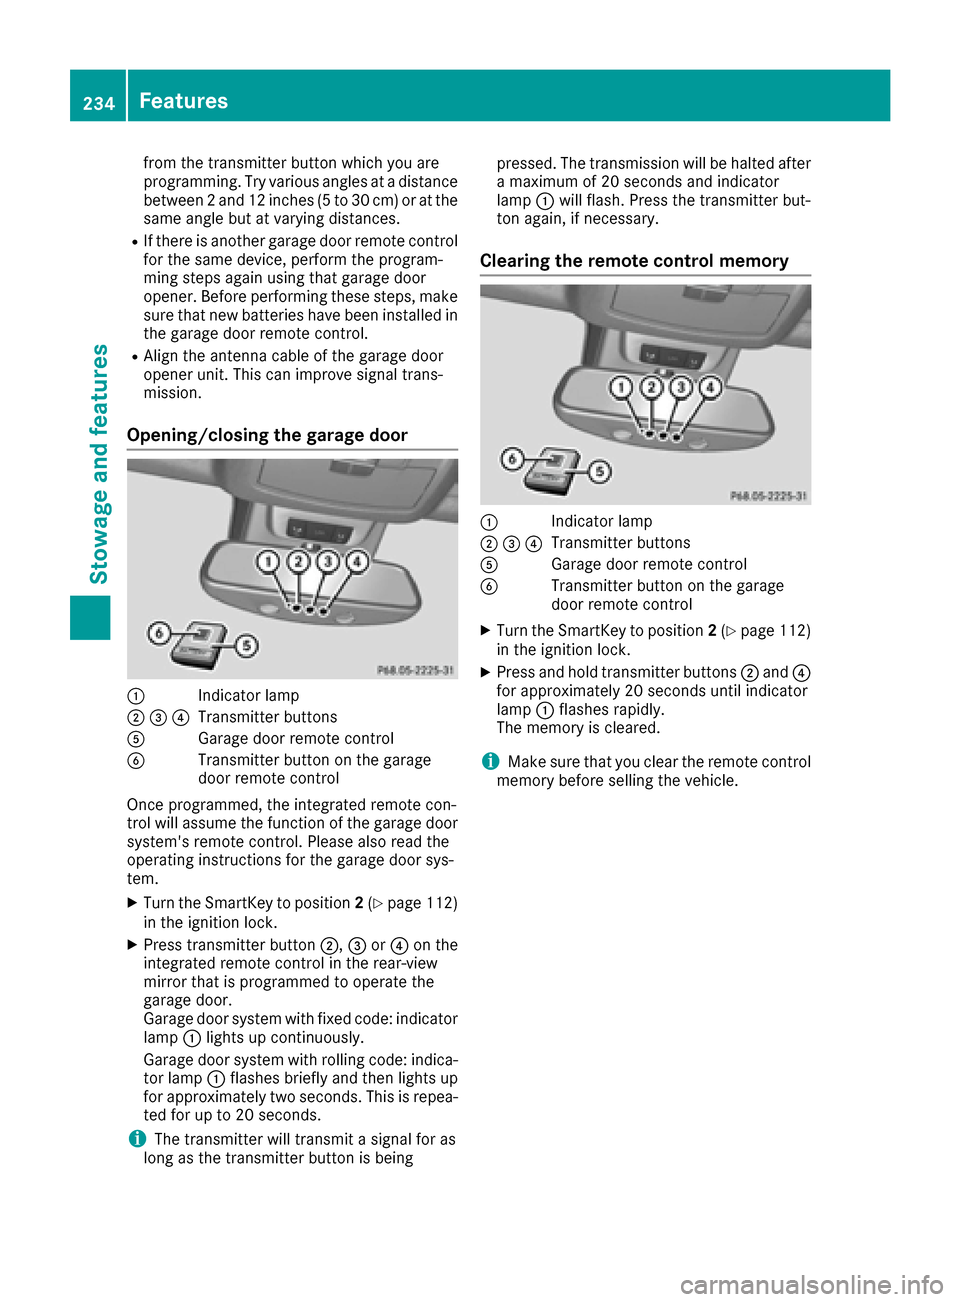
Opening/closing the garage door
:Indicator lamp
;=?Transmitter buttons
AGarage door remote control
BTransmitter button on the garage
door remote control
Once programmed, the integrated remote con-
trol will assume the function of the garage door
system's remote control. Please also read the
operating instructions for the garage door sys-
tem.
XTurn the SmartKey to position 2(Ypage 112)
in the ignition lock.
XPress transmitter button ;,=or? on the
integrated remote control in the rear-view
mirror that is programmed to operate the
garage door.
Garage door system with fixed code: indicator
lamp :lights up continuously.
Garage door system with rolling code: indica-
tor lamp :flashes briefly and then lights up
for approximately two seconds. This is repea-
ted for up to 20 seconds.
iThe transmitter will transmit a signal for as
long as the transmitter button is being pressed. The transmission will be halted after
a maximum of 20 seconds and indicator
lamp
:will flash. Press the transmitter but-
ton again, if necessary.
Clearing the remote control memory
:Indicator lamp
;=?Transmitter buttons
AGarage door remote control
BTransmitter button on the garage
door remote control
XTurn the SmartKey to position 2(Ypage 112)
in the ignition lock.
XPress and hold transmitter buttons ;and ?
for approximately 20 seconds until indicator
lamp :flashes rapidly.
The memory is cleared.
iMake sure that you clear the remote control
memory before selling the vehicle.
234Features
Stowage and features