2016 MERCEDES-BENZ CLS-Class key
[x] Cancel search: keyPage 190 of 246
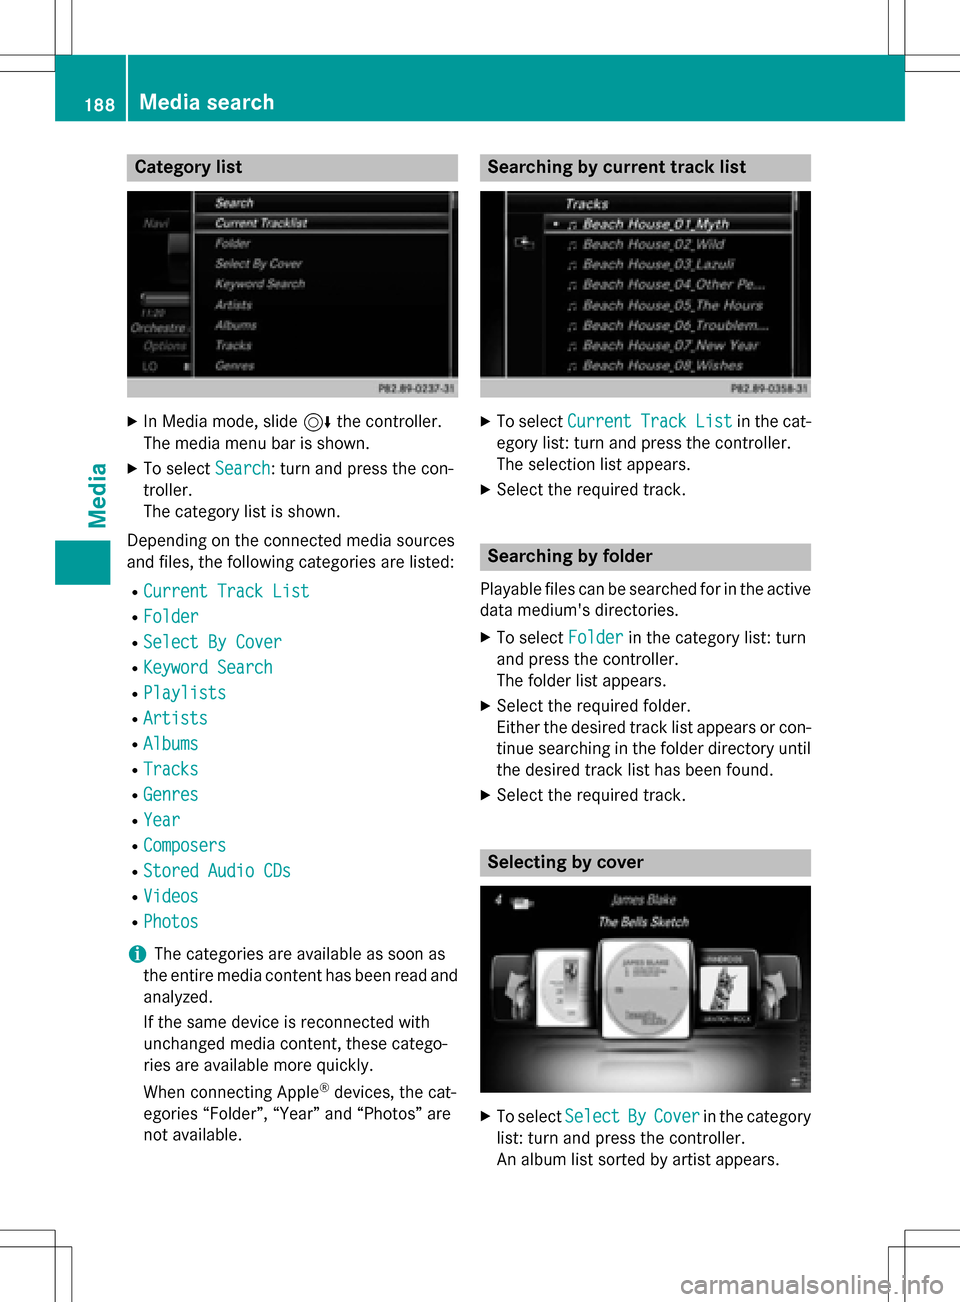
Category list
XIn Media mode, slide6the controller.
The media menu bar is shown.
XTo select Search: turn and press the con-
troller.
The category list is shown.
Depending on the connected media sources
and files, the following categories are listed:
RCurrent Track List
RFolder
RSelect By Cover
RKeyword Search
RPlaylists
RArtists
RAlbums
RTracks
RGenres
RYear
RComposers
RStored Audio CDs
RVideos
RPhotos
iThe categories are available as soon as
the entire media content has been read and
analyzed.
If the same device is reconnected with
unchanged media content, these catego-
ries are available more quickly.
When connecting Apple
®devices, the cat-
egories “Folder”, “Year” and “Photos” are
not available.
Searching by current track list
XTo select CurrentTrackListin the cat-
egory list: turn and press the controller.
The selection list appears.
XSelect the required track.
Searching by folder
Playable files can be searched for in the active
data medium's directories.
XTo select Folderin the category list: turn
and press the controller.
The folder list appears.
XSelect the required folder.
Either the desired track list appears or con-
tinue searching in the folder directory until
the desired track list has been found.
XSelect the required track.
Selecting by cover
XTo select SelectByCoverin the category
list: turn and press the controller.
An album list sorted by artist appears.
188Media search
Media
Page 191 of 246
COMAND searches all mediasources.
iThere isa database for iPod®and for each
of the other med iasources (CD, USB, SD
card). During the search the relevant data-
base isaccessed depending on the active
med iasource.
XTo turn the desired album to the front and
then select: turn and press the controller.
XThe desired album isplayed.
Searching by genre
XTo select Genresinthe category list: turn
and press the controller.
COMAND searches all med iasources. A
selection listwith Genres
and media sour-
ces appears.
XSe lect the desired Genres.
A selection list with music tracks from the
selected genre appears.
XSe lect a music track.
The track isplayed. The basic menu for the
active med iasource is shown.
XTo exit the selection list: press the %
button.
iThe list is closed automatically once a
selection has been made.
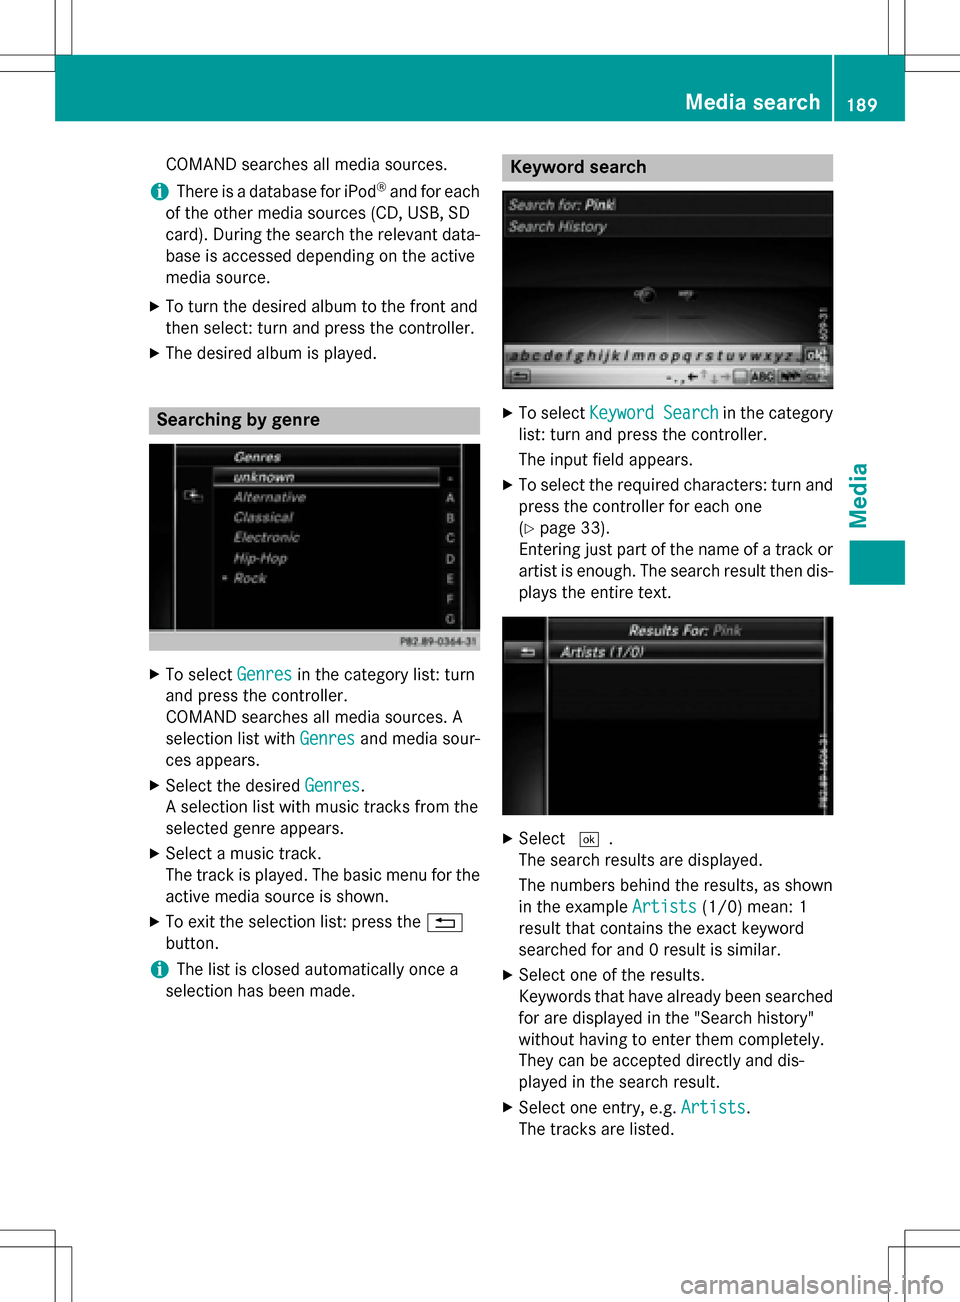
Keyword search
XTo select Keyword Searchinthe category
list: turn and press the controller.
The input field appears.
XTo select the required characters: turn and
press the controller for each one
(
Ypage 33 ).
Entering just part of the name of a track or
artist isenough. The search result then dis-
plays the entire text.
XSe lect ¬.
The search results are displayed.
The numbers behind the results, as shown
in the example Artists
(1/0) mean: 1
result that contains the exact keyword
searched for and 0 result issimilar.
XSe lect one of the results.
Keywords that have already been searched
for are displayed inthe "Search history"
without having to enter them completely.
They can beaccepted directly and dis-
played inthe search result.
XSe lect one entry, e.g. Artists.
The tracks are listed.
Media search189
Media
Z
Page 194 of 246

Option 1: entering the passkey
XYou can find information on this in the
"Authorizing (connecting) a mobile phone"
section (
Ypage 116).
After successful authorization, the Blue-
tooth
®audio device is connected and
starts playing.
Option 2: Secure Simple Pairing
iThe Bluetooth®audio device must sup-
port Bluetooth®version 2.1 for connection
via Secure Simple Pairing. COMAND cre-
ates a six-digit code, which is displayed on
both devices that are to be connected
For some Bluetooth
®audio devices, the
pairing must be confirmed within 10 sec-
onds.
XIf the number code displayed on COMAND
and on the Bluetooth®audio device is the
same, select Yes
: press the controller.
If you select Yes
, authorization continues
and the Bluetooth®audio device is connec-
ted. Playback starts.
If you select No
, authorization is canceled.
External authorization
If COMAND does not find your Bluetooth®
audio device, this may be due to particular
security settings on your Bluetooth®audio
device. In this case, check whether your Blue-
tooth
®audio device can locate COMAND.
The Bluetooth
®device name for COMAND is
MB Bluetooth
.
XSwitch on Bluetooth®audio mode
(
Ypage 194).
XTo select Options: slide6and press the
controller.
XTo select Bluetooth Audio Devices:
press the controller.
XTo select Connect via Audio Device:
turn and press the controller.
A message appears. Authorizing
XStart the authorization on your Bluetooth®
audio device (see the manufacturer's oper-
ating instructions).
After successful authorization, the Blue-
tooth
®audio device is connected and
starts playing.
With some Bluetooth
®audio devices, play-
back must first be started on the device itself
so that COMAND can play the audio files.
Reconnecting a Bluetooth®audio
device
The Bluetooth®audio profiles are connected
automatically under the following circum-
stances:
Rone of the last two mobile phones to have
been connected has also been used as a
Bluetooth
®audio player (if this function is
supported by the mobile phone).
Rthe mobile phone is automatically connec-
ted. The Bluetooth®audio player is then
connected.
iFor an automatic connection with
COMAND, the telephone must be within
range.
For most Bluetooth
®audio devices, the
"automatic connection" must be activated
by checking a box. Depending on the
device used, this prompt often takes place
when authorizing (see the manufacturer's
operating instructions).
If the No Bluetooth Audio Device Con‐
nectedmessage appears, you have two
options to reconnect the Bluetooth®audio
device.
Option 1:
XTo select Connect Last Used Playerin
the basic display: press the controller.
If COMAND can locate the Bluetooth
®
audio device, it will be connected and will
start playing.
192Bluetooth®audio mode
Media
Page 199 of 246

Search function
Selecting Search using media menu bar
XSlide 6the controller.
The media menu bar appears.
XTo select Search: turn and press the con-
troller.
The category list appears.
Overview
The following categories are listed:
RCurrent Track List
RFolder
RSelect By Cover
RKeyword Search
RPlaylists
RArtists
RAlbums
RTracks
RGenres
RYear
RComposers
RVideos
RPhotos
RAudiobücher (Audio Books)
RPodcasts
RiTunes U
RGenius Mixes
iThe functions are available as soon as the
entire media content has been read and
analyzed.
If the same device is reconnected with
unchanged media content, these functions
are available more quickly.
The categories Audio Books, Podcasts,
iTunes U
®and Genius Mixes®are only
available for Apple®devices.
When connecting Apple
®devices, the cat-
egories “Folder”, “Year”, "Videos" and
“Photos” are not available.
XTo select a category, e.g. CurrentTrack
List: turn and press the controller.
The selection list appears.
XSelect the required track.
XKeyword search: using the controller,
enter the characters for the desired search
term and confirm (
Ypage 189).
Search results are sorted according to the
available categories, displayed and can
then be selected.
Playback options
Operation with the Media Interface197
Media
Z
Page 201 of 246
COMANDiscapable of playing back video
DVDs produced according to the fol lowing
standards:
RRegion co de1 or region code 0 (no region
code)
RPAL or NTSC standard
You willgenerally find the relevant details
either on the DVD itself or on the DVD case.
iIf you insert a video DVD with a different
region code, a message to this effect
appears.
iCOMAND isset to region co de1 at the
factory. This setting can be changed at an
authorized Mercedes-Benz Center. It isalso
possible to play video DVDs with a different
region code, provided that they are pro-
duced inaccordance with the PAL or NTSC
TV standard. The region code can be
changed a maximum of four times.
Control options
There are various control menus availab lein
DVD video mode.
Most DVDs have their own control menu.
The DVD's control menu isoperated directly
using the controller or DVD functions.
Control menu and
functionOperation
RDVD's control
menu
Se lection of title,
scene, language,
subtit les ...Operation with the
controller
RMenuOptions
Se lection of
brig htness, con-
trast, color, for-
mat
Operation using the
menu bar options,
video settings
Control menu and
functionOperation
RVideo menu
Se lection of
scene, fast
forward or rewindIn full-screen mode,
slide 6the con-
troller
RDVD functions
Se lection of title,
scene, language,
subtit les ...Infull-screen mode,
press the controller
Function restrictions
Depending on the DVD, certain functions or
actions may not function at all. The symbol K
appears inthe display.
Switching on video DVD mode
RInsert and eject a discfrom the single drive
(
Ypage 182)
RIn sert a disc into the DVD changer
(
Ypage 182)
Further options for switching on:
RUsing the number keypad (Ypage 179)
RUsing the main function bar (Ypage 179)
RUsing the device list (Ypage 179)
RUsing the Õbutton (Ypage 178)
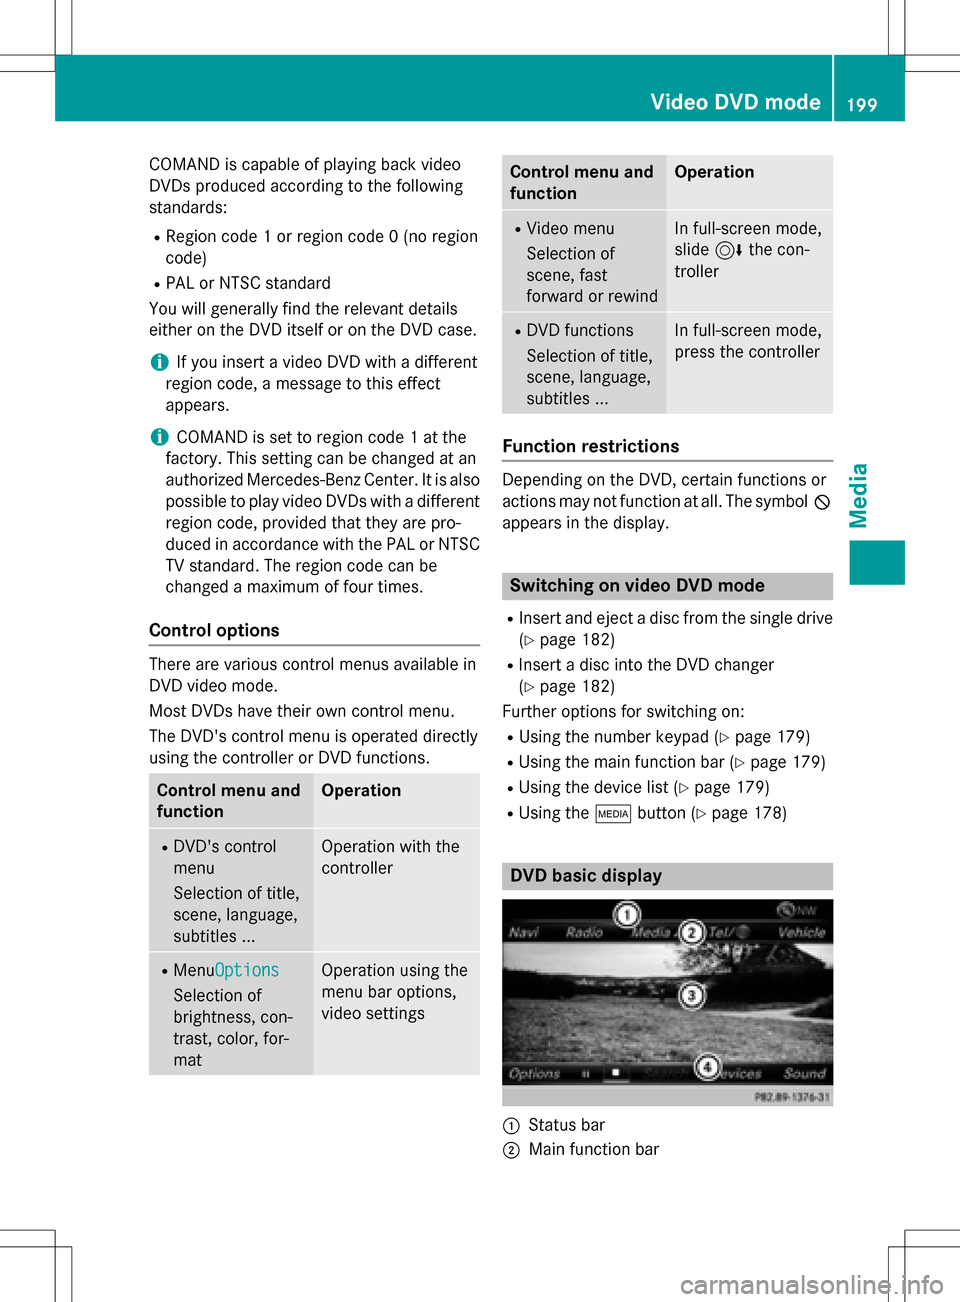
DVD basic display
:Status bar
;Main function bar
Video DVD mode199
Media
Z
Page 219 of 246
XTo select state/province or city: enter the
first few letters by turning and pressing the
controller.
XTo switch to the list without the character
bar: slide5or select ok
.
XTo delete an entry: select 2in the char-
acter bar and press the controller.
Pressing briefly deletes the last letter
entered.
Pressing and holding longer deletes the
entire entry.
XTo select the state/province or city from
the list: turn and press the controller.
After selecting a state (or province) the list
of locations appears.
After selecting a location, the information
chart displays the weather forecast for the
selected location. The data is supplied by
the nearest weather station.
Option 2: selecting the area in the
weather map
XCall up the weather map (Ypage 217).
XMove the weather map so that the cross-
hair is over the desired area (
Ypage 218).
XPress the controller.
The information chart shows the weather
forecast for the selected area. The data is
supplied by the nearest weather station.
Memory functions
Storing the area in the weather memory
You can save locations that are called up fre-
quently in ten preset positions (0, 1-9) in the
weather memory.
XIn the weather memory: select the area
for the weather forecast (
Ypage 215).
The selected location appears at the top in
the status bar.
XTo select Locationin the information
chart: turn and press the controller.
XSelect Preset.
XSelect a preset using the controller.
XPress and hold the controller until you hear
a tone.
The area is entered on the selected preset.
XTo store rapidly: in the daily forecast
(
Ypage 214) press and hold a number key,
e.g. l, until the preset position number
is shown in the status bar in front of the
area name.
iYou can also use this function in the five-
day forecast (
Ypage 214), and in the
detailed information view (
Ypage 215).
Selecting an area from the weather
memory
XDirectly from the weather memory:
select Location
from the information
chart: turn and press the controller.
XSelect Preset.
XSelect the memory position which contains
the location you require.
The weather data for the selected area is
displayed.
XQuick select: if a location is stored in the
weather memory, for example when the
current forecast display is active, briefly
press a number key, e.g. l.
The weather data for the selected area is
displayed.
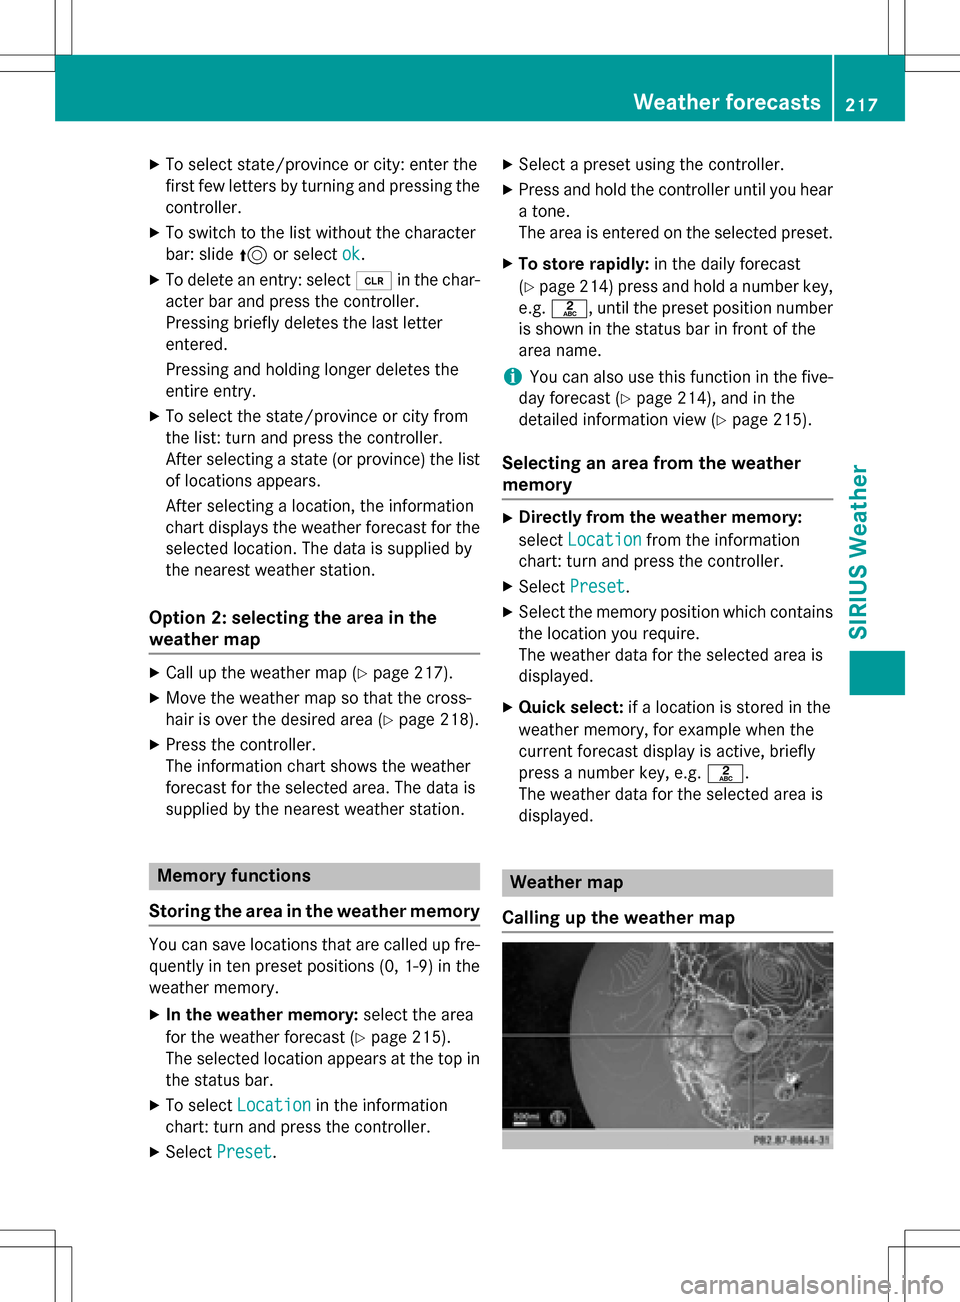
Weather map
Calling up the weather map
Weather forecasts217
SIRIUS Weather
Page 227 of 246
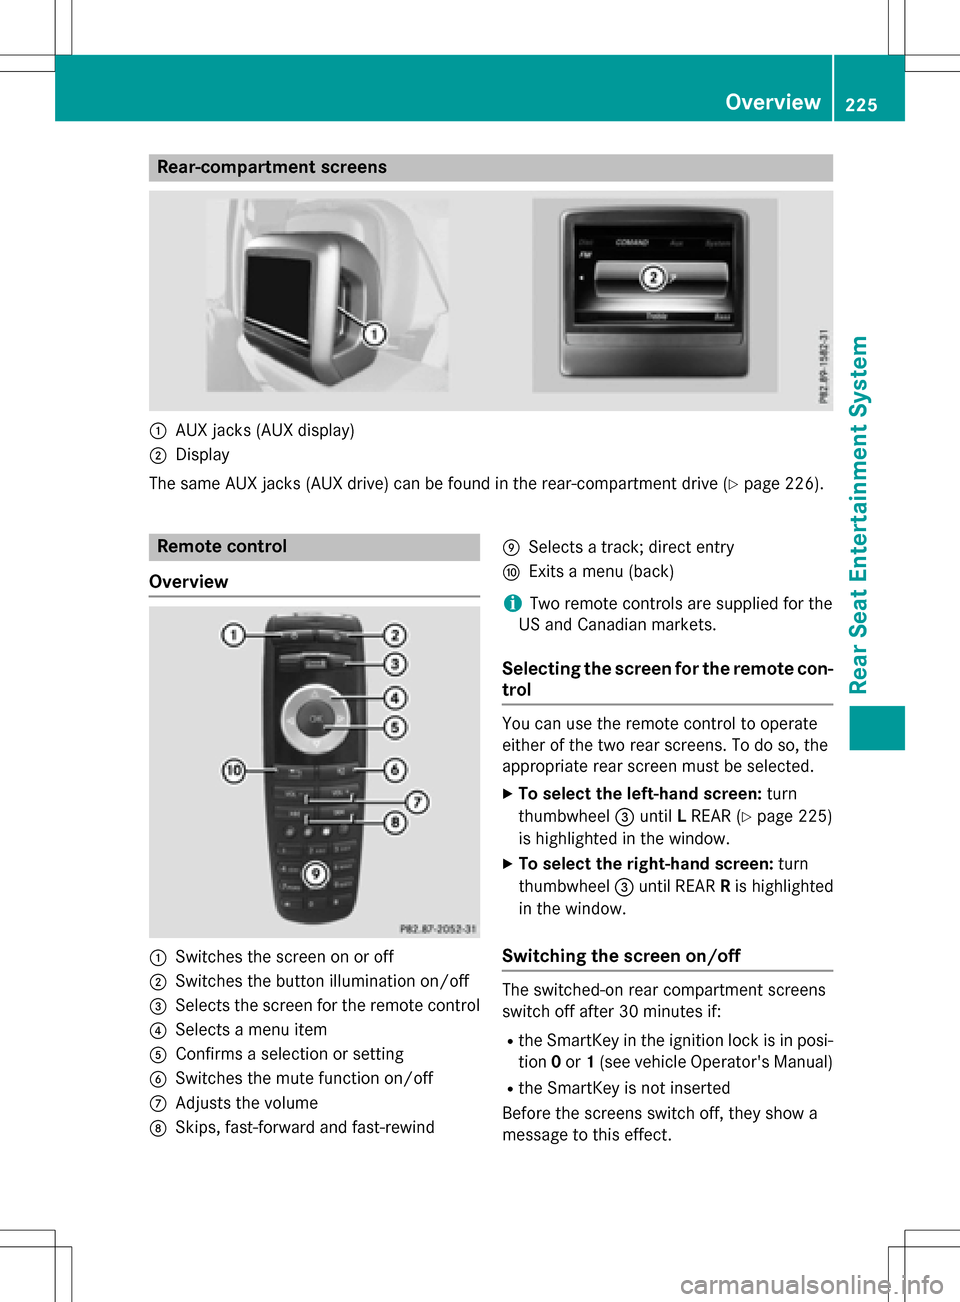
Rear-compartment screens
:AUX jacks (AUX display)
;Display
The same AUX jacks (AUX drive) can be found in the rear-compartment drive (
Ypage 226).
Remote control
Overview
:Switches the screen on or off
;Switches the button illumination on/off
=Selects the screen for the remote control
?Selects a menu item
AConfirms a selection or setting
BSwitches the mute function on/off
CAdjusts the volume
DSkips, fast-forward and fast-rewind
ESelects a track; direct entry
FExits a menu (back)
iTwo remote controls are supplied for the
US and Canadian markets.
Selecting the screen for the remote con-
trol
You can use the remote control to operate
either of the two rear screens. To do so, the
appropriate rear screen must be selected.
XTo select the left-hand screen: turn
thumbwheel =until LREAR (
Ypage 225)
is highlighted in the window.
XTo select the right-hand screen: turn
thumbwheel =until REAR Ris highlighted
in the window.
Switching the screen on/off
The switched-on rear compartment screens
switch off after 30 minutes if:
Rthe SmartKey in the ignition lock is in posi-
tion 0or 1(see vehicle Operator's Manual)
Rthe SmartKey is not inserted
Before the screens switch off, they show a
message to this effect.
Overview225
Rear Seat Entertainment System
Z