2016 MERCEDES-BENZ CLA COUPE fuel consumption
[x] Cancel search: fuel consumptionPage 163 of 345
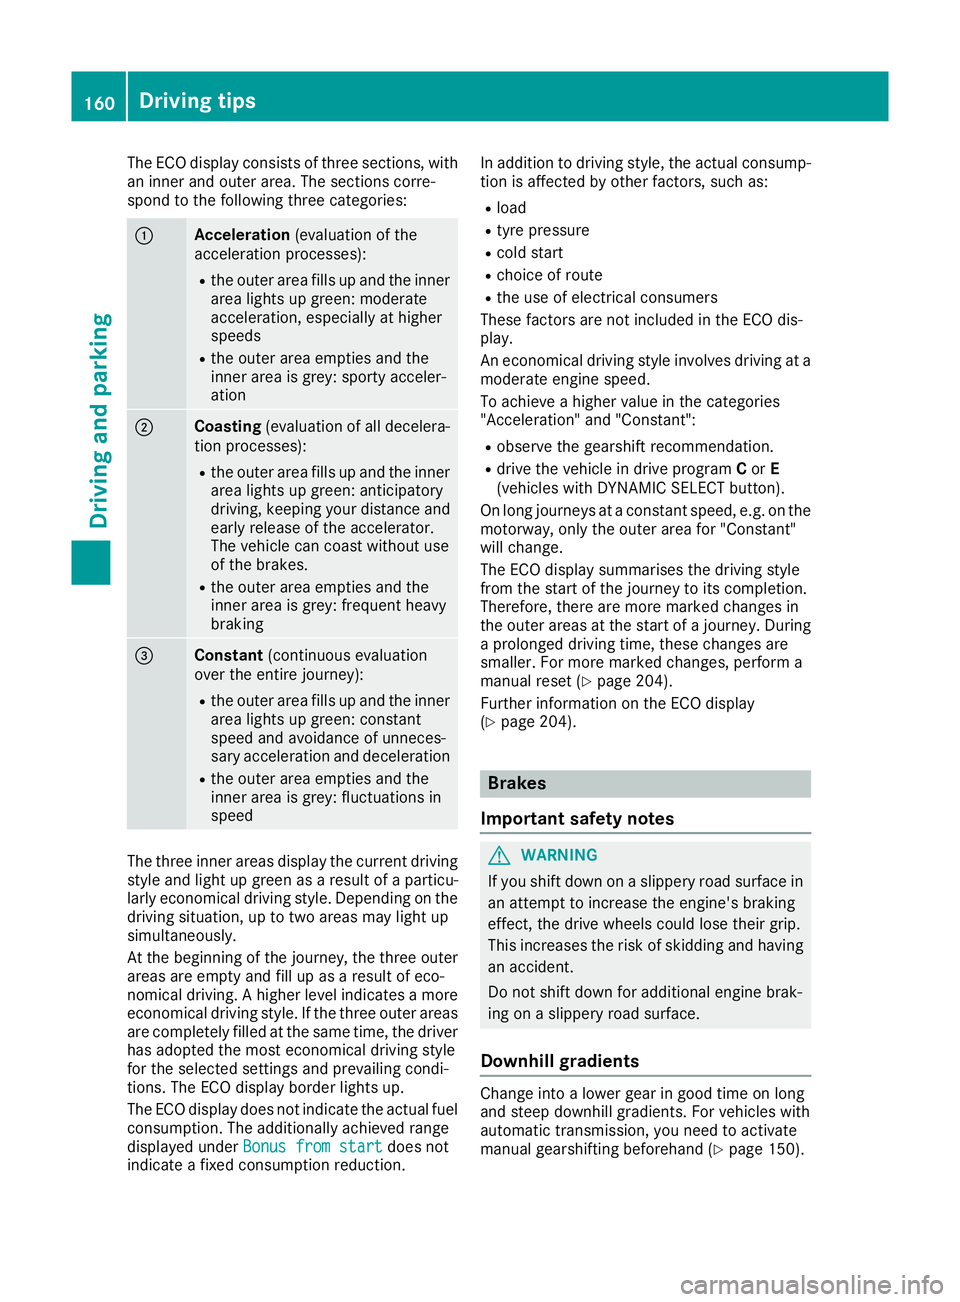
The ECO display consists of three sections, with
an inner and outer area. The sections corre-
spond to the following three categories: :
Acceleration
(evaluation of the
acceleration processes):
R the outer area fills up and the inner
area lights up green: moderate
acceleration, especially at higher
speeds
R the outer area empties and the
inner area is grey: sporty acceler-
ation ;
Coasting
(evaluation of all decelera-
tion processes):
R the outer area fills up and the inner
area lights up green: anticipatory
driving, keeping your distance and
early release of the accelerator.
The vehicle can coast without use
of the brakes.
R the outer area empties and the
inner area is grey: frequent heavy
braking =
Constant
(continuous evaluation
over the entire journey):
R the outer area fills up and the inner
area lights up green: constant
speed and avoidance of unneces-
sary acceleration and deceleration
R the outer area empties and the
inner area is grey: fluctuations in
speed The three inner areas display the current driving
style and light up green as a result of a particu-
larly economical driving style. Depending on the driving situation, up to two areas may light up
simultaneously.
At the beginning of the journey, the three outer
areas are empty and fill up as a result of eco-
nomical driving. A higher level indicates a more
economical driving style. If the three outer areas
are completely filled at the same time, the driver
has adopted the most economical driving style
for the selected settings and prevailing condi-
tions. The ECO display border lights up.
The ECO display does not indicate the actual fuel consumption. The additionally achieved range
displayed under Bonus from start
Bonus from start does not
indicate a fixed consumption reduction. In addition to driving style, the actual consump-
tion is affected by other factors, such as:
R load
R tyre pressure
R cold start
R choice of route
R the use of electrical consumers
These factors are not included in the ECO dis-
play.
An economical driving style involves driving at a moderate engine speed.
To achieve a higher value in the categories
"Acceleration" and "Constant":
R observe the gearshift recommendation.
R drive the vehicle in drive program Cor E
(vehicles with DYNAMIC SELECT button).
On long journeys at a constant speed, e.g. on the motorway, only the outer area for "Constant"
will change.
The ECO display summarises the driving style
from the start of the journey to its completion.
Therefore, there are more marked changes in
the outer areas at the start of a journey. During
a prolonged driving time, these changes are
smaller. For more marked changes, perform a
manual reset (Y page 204).
Further information on the ECO display
(Y page 204). Brakes
Important safety notes G
WARNING
If you shift down on a slippery road surface in an attempt to increase the engine's braking
effect, the drive wheels could lose their grip.
This increases the risk of skidding and having
an accident.
Do not shift down for additional engine brak-
ing on a slippery road surface.
Downhill gradients Change into a lower gear in good time on long
and steep downhill gradients. For vehicles with
automatic transmission, you need to activate
manual gearshifting beforehand (Y page 150).160
Driving tipsDriving and parking
Page 206 of 345
The following messages may appear in the
multifunction display:
R ZGearshift recommendation for manual
transmission (Y page 143) or for automatic
transmission (shifting manually)
(Y page 150)
R j Parking Pilot (Y page 180)
R ¯ Cruise control (Y page 162)
R È Limiter (Y page 165)
R _ Adaptive Highbeam Assist
(Y page 109)
R è ECO start/stop function (Y page 137)
R ë HOLD function (Y page 172)
R 120 km/h!
120 km/h! Maximum permissible speed
exceeded (only for certain countries) Menus and submenus
Menu overview
Using the =or; button on the steering
wheel, open the menu bar.
Operating the on-board computer (Y page 201).
Depending on the equipment fitted in the vehi-
cle, you can call up the following menus:
R Trip Trip menu (Y page 203)
R Navi
Navi menu (navigation instructions)
(Y page 205)
R Audio
Audio menu (Y page 206)
R Tel
Tel menu (telephone) (Y page 207)
R Assist.
Assist. menu (assistance) (Y page 208)
R Serv.
Serv. menu (Y page 210)
R Settings
Settings menu (settings) (Y page 210)
R AMG
AMG menu (Mercedes-AMG vehicles)
(Y page 213)
The displays for the Audio
Audio,Navi
NaviandTel
Tel menus
may differ slightly to those in your vehicle.
The examples given in this Owner's Manual
apply to vehicles equipped with COMAND
Online. Trip menu
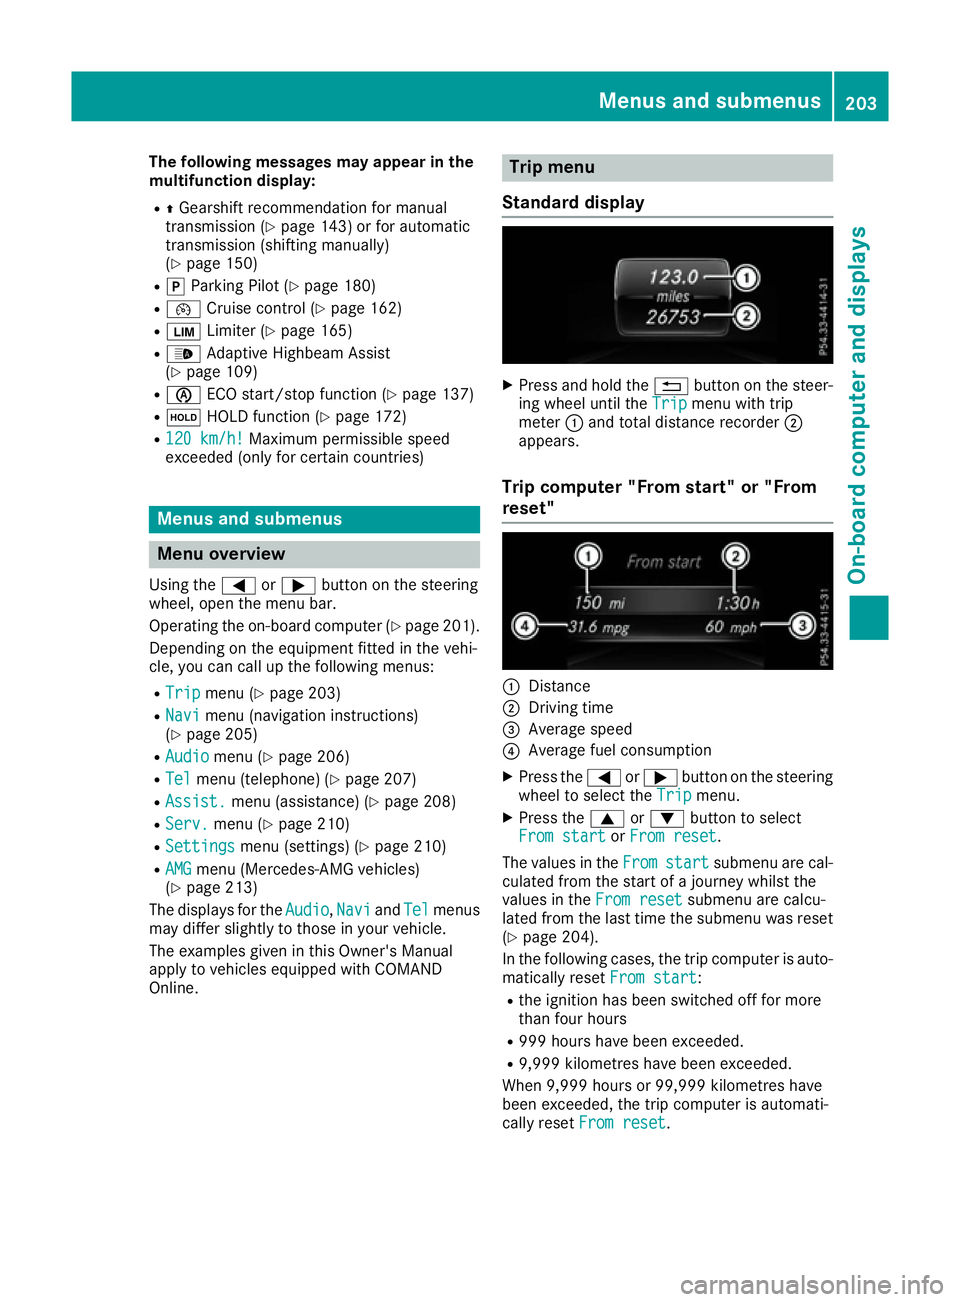
Standard display X
Press and hold the %button on the steer-
ing wheel until the Trip Tripmenu with trip
meter :and total distance recorder ;
appears.
Trip computer "From start" or "From
reset" :
Distance
; Driving time
= Average speed
? Average fuel consumption
X Press the =or; button on the steering
wheel to select the Trip Tripmenu.
X Press the 9or: button to select
From start
From start orFrom reset
From reset.
The values in the From
Fromstart
start submenu are cal-
culated from the start of a journey whilst the
values in the From reset From resetsubmenu are calcu-
lated from the last time the submenu was reset
(Y page 204).
In the following cases, the trip computer is auto-
matically reset From start
From start:
R the ignition has been switched off for more
than four hours
R 999 hours have been exceeded.
R 9,999 kilometres have been exceeded.
When 9,999 hours or 99,999 kilometres have
been exceeded, the trip computer is automati-
cally reset From reset From reset. Menus and submenus
203On-board computer and displays Z
Page 207 of 345
ECO display
The ECO display is not available in Mercedes-
AMG vehicles.
X Press the =or; button on the steering
wheel to select the Trip
Tripmenu.
X Press the 9or: button to select ECO
ECO
DISPLAY
DISPLAY.
If the ignition remains switched off for longer
than four hours, the ECO display will be auto-
matically reset.
Further information on the ECO display
(Y page 159).
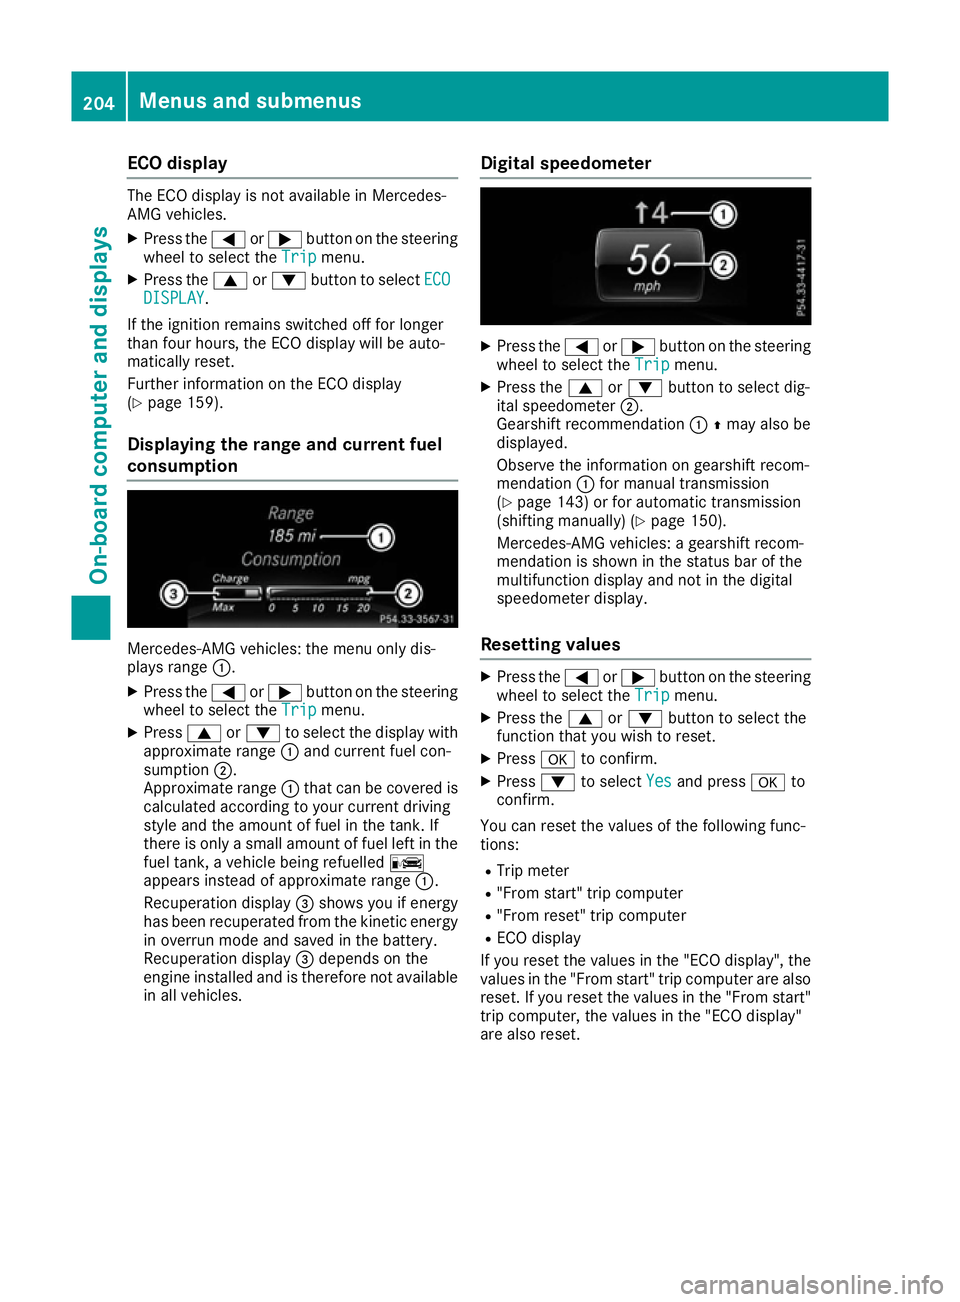
Displaying the range and current fuel
consumption Mercedes-AMG vehicles: the menu only dis-
plays range :.
X Press the =or; button on the steering
wheel to select the Trip Tripmenu.
X Press 9or: to select the display with
approximate range :and current fuel con-
sumption ;.
Approximate range :that can be covered is
calculated according to your current driving
style and the amount of fuel in the tank. If
there is only a small amount of fuel left in the
fuel tank, a vehicle being refuelled C
appears instead of approximate range :.
Recuperation display =shows you if energy
has been recuperated from the kinetic energy in overrun mode and saved in the battery.
Recuperation display =depends on the
engine installed and is therefore not available in all vehicles. Digital speedometer X
Press the =or; button on the steering
wheel to select the Trip Tripmenu.
X Press the 9or: button to select dig-
ital speedometer ;.
Gearshift recommendation :Zmay also be
displayed.
Observe the information on gearshift recom-
mendation :for manual transmission
(Y page 143) or for automatic transmission
(shifting manually) (Y page 150).
Mercedes-AMG vehicles: a gearshift recom-
mendation is shown in the status bar of the
multifunction display and not in the digital
speedometer display.
Resetting values X
Press the =or; button on the steering
wheel to select the Trip Tripmenu.
X Press the 9or: button to select the
function that you wish to reset.
X Press ato confirm.
X Press :to select Yes
Yesand press ato
confirm.
You can reset the values of the following func-
tions:
R Trip meter
R "From start" trip computer
R "From reset" trip computer
R ECO display
If you reset the values in the "ECO display", the
values in the "From start" trip computer are also
reset. If you reset the values in the "From start" trip computer, the values in the "ECO display"
are also reset. 204
Menus and submenusOn-board computer and displays
Page 213 of 345

X
Press the :or9 button to set Off Off,
Standard Standard orAdaptive
Adaptive.
X Press the abutton to save the setting.
When Lane Keeping Assist is activated, the
multifunction display shows the lane mark-
ings as bright lines in the assistance graphic.
For further information about Lane Keeping
Assist, see (Y page 193). Service menu
Depending on the equipment fitted in the vehi-
cle, you have the following options in the Serv. Serv.
menu:
R Calling up display messages in the message
memory (Y page 216)
R Restarting the tyre pressure loss warning sys-
tem (Y page 315)
R Calling up the service due date
(Y page 285) Settings menu
Introduction Depending on the equipment fitted in the vehi-
cle, in the Settings Settings menu you have the follow-
ing options:
R Changing the instrument cluster settings
R Changing the light settings
R Changing the vehicle settings
R Changing the heating settings
R Changing the convenience settings
R Restoring the factory settings
Instrument cluster Selecting the unit of measurement for dis-
tance
The Display unit Speed-/odometer:
Display unit Speed-/odometer: func-
tion allows you to choose whether certain dis-
plays appear in kilometres or miles in the mul-
tifunction display.
X Press the =or; button on the steering
wheel to select the Settings
Settings menu.
X Press the :or9 button to select the
Instrument cluster
Instrument cluster submenu.
X Press ato confirm. X
Press the :or9 button to select the
Display unit Speed-/odometer Display unit Speed-/odometer function.
You will see the selected setting: km
kmormiles
miles.
X Press the abutton to save the setting.
The selected unit of measurement for distance
applies to the following:
R digital speedometer in the Trip Tripmenu
R total distance recorder and the trip meter
R trip computer
R current fuel consumption and approximate
range
R navigation instructions in the Navi Navimenu
R cruise control
R speed limiter
R Distance Pilot DISTRONIC
R ASSYST PLUS service interval display
Switching the additional speedometer
on/off United Kingdom: this function is unavailable.
If the additional speedometer is switched on,
the speed is shown in the status bar of the mul- tifunction display instead of the outside tem-
perature.
The speed display is inverse to your speedome-
ter.
X Press the =or; button on the steering
wheel to select the Settings Settingsmenu.
X Press the :or9 button to select the
Instrument cluster
Instrument cluster submenu.
X Press ato confirm.
X Press the :or9 button to select the
Dig. speedo [mph]
Dig. speedo [mph] function.
You will see the selected setting: on
onoroff
off.
X Press the abutton to save the setting.
Selecting permanent display
United Kingdom: this function is unavailable.
The Permanent display: Permanent display: function allows you
to choose whether the multifunction display
always shows the outside temperature or the
speed.
The speed display is inverse to your speedome-
ter.
X Press the =or; button on the steering
wheel to select the Settings Settingsmenu.
X Press the :or9 button to select the
Instrument cluster
Instrument cluster submenu.
X Press ato confirm. 210
Menus and submenusOn-board computer and displays
Page 326 of 345
Wheel and tyre combinations
General notes
You can ask for information regarding permitted wheel/tyre combinations at a Mercedes-Benz
Service Centre.
You should regularly check the pressure of all
your tyres, including the emergency spare
wheel, particularly prior to long trips, and cor-
rect the pressure as necessary (Y page 313).
The value on the wheel is valid.
! For safety reasons, Mercedes-Benz recom-
mends that you only use tyres and wheels
which have been approved by Mercedes-Benz specifically for your vehicle.
These are specially adapted to the control
systems, such as ABS or ESP ®
and are
marked as follows:
R MO = Mercedes-Benz Original
R MOE = Mercedes-Benz Original Extended
(tyres featuring run-flat characteristics)
R MO1 = Mercedes-Benz Original (only cer-
tain AMG tyres)
Mercedes-Benz Original Extended tyres may
only be used on wheels that have been spe-
cifically approved by Mercedes-Benz.
Only use tyres, wheels or accessories tested
and approved by Mercedes-Benz. Certain
characteristics, e.g. handling, vehicle noise
emissions or fuel consumption, may other-
wise be adversely affected. In addition, when
driving with a load, tyre dimension variations
could cause the tyres to come into contact
with the bodywork and axle components. This
could result in damage to the tyres or the
vehicle.
Mercedes-Benz accepts no liability for dam-
age resulting from the use of tyres, wheels or accessories other than those tested and
approved.
Further information about wheels, tyres and
approved combinations can be obtained from
any qualified specialist workshop.
! Retreaded tyres are neither tested nor rec-
ommended by Mercedes-Benz, since previ-
ous damage cannot always be detected on
retreaded tyres. As a result, Mercedes-Benz
cannot guarantee vehicle safety if retreaded
tyres are fitted. Do not fit used tyres if you
have no information about their previous
usage. !
Large wheels: the lower the section width
for a certain wheel size, the lower the ride
comfort is on poor road surfaces. Roll comfort and suspension comfort are reduced and therisk of damage to the wheels and tyres as a
result of driving over obstacles increases.
The recommended tyre pressures for various
operating conditions can be found in the tyre
pressure table on the fuel filler flap. Further
information on tyre pressure (Y page 313).
Check tyre pressures regularly and only when
the tyres are cold.
Notes on the vehicle equipment – always fit the
vehicle:
R with tyres of the same size across an axle
(left/right)
R with the same type of tyre (summer tyres,
MOExtended tyres, winter tyres)
Exception: it is permissible to fit a different
type or make in the event of a flat tyre.
Observe the "MOExtended tyres (tyres with
run-flat characteristics)" section
(Y page 295).
Vehicles with MOExtended tyres are not equip-
ped with a TIREFIT kit at the factory. It is there-
fore recommended that you additionally equip
your vehicle with a TIREFIT kit if you fit tyres that do not feature run-flat characteristics, e.g. win-
ter tyres. A TIREFIT kit can be obtained from a
qualified specialist workshop. Emergency spare wheel
Important safety notes
G
WARNING
The wheel/tyre dimensions and the tyre type of the spare wheel/emergency spare wheel
and the wheel to be replaced may differ. Fit-
ting a spare wheel/emergency spare wheel
may severely impair the driving characteris-
tics. There is a risk of accident.
To prevent hazardous situations:
R Adapt your driving style accordingly and
drive carefully.
R Never fit more than one spare wheel/emer-
gency spare wheel if the dimensions are
different to those of the wheel being
replaced. Emergency spare wheel
323Wheels and tyres
Z
Page 332 of 345
!
Do not use the following:
R E85 (petrol with 85% ethanol)
R E100 (100% ethanol)
R M15 (petrol with 15% methanol)
R M30 (petrol with 30% methanol)
R M85 (petrol with 85% methanol)
R M100 (100% methanol)
R petrol with additives containing metal
R diesel
Do not mix such fuels with the fuel recom-
mended for your vehicle.
You will usually find information about the fuel
grade on the pump. If you cannot find the label
on the petrol pump, ask the filling station staff.
CLA 200, CLA 250, CLA 250 4MATIC,
CLA 250 Sport, CLA 250 Sport 4MATIC: as a
temporary measure, if the recommended fuel is
not available, you may also use regular unleaded petrol with an octane rating of 93 RON.
All other models: as a temporary measure, if
the recommended fuel is not available, you may
also use regular unleaded petrol with an octane
rating of 91 RON. This may reduce engine per-
formance and increase fuel consumption. Avoid driving at full throttle and sudden acceleration.
Never refuel using fuel with a lower RON.
i In some countries, the available petrol may
not be sufficiently low in sulphur. This fuel can temporarily produce unpleasant odours,
especially on short journeys. As soon as sul-
phur-free fuel (sulphur content < 10 ppm) is
used for refuelling, the odours are reduced.
Information on refuelling (Y page 153).
Mercedes-AMG vehicles ! Only refuel using super unleaded petrol with
at least 98 ROZ, that conforms to European
standard EN 228 or an equivalent specifica-
tion.
You can otherwise impair engine output or
damage the engine.
Fuel of this specification may contain up to
10% ethanol. Your vehicle is suitable for use
with E10 fuel. You may refuel your vehicle
using E10 fuel.
! As a temporary measure, if the recommen-
ded fuel is not available, you may also use
unleaded petrol with an octane rating of
95 RON. This may reduce engine perform- ance and increase fuel consumption. As much
as possible, avoid driving at full throttle.
! As a temporary measure, if the recommen-
ded fuel is not available, you may also use
unleaded petrol in emergencies with an
octane rating of 91 RON.
Doing so results in noticeably higher fuel con-
sumption, and the engine power output is
noticeably reduced. Avoid driving at full throt- tle.
If no fuel other than petrol with 91 RON or a
lower grade is available, you should have the
vehicle adapted to run on this fuel at a quali-
fied specialist workshop.
CLA 250 (only for certain countries).
! Only refuel using sulphur-free unleaded pet-
rol with at least 95 ROZ, that conforms to the
European standard EN 228 or E DIN or an
equivalent specification.
You could otherwise impair engine output or
damage the emission control system.
i In some countries, the available petrol may
not be sufficiently low in sulphur. This fuel can temporarily produce unpleasant odours,
especially on short journeys. As soon as sul-
phur-free fuel (sulphur content < 10 ppm) is
used for refuelling, the odours are reduced.
Additives ! Operating the engine with fuel additives
added later can lead to engine failure. Do not mix fuel additives with fuel. This does not
include additives for the removal and preven-
tion of residue build-up. Petrol must only be
mixed with additives recommended by
Mercedes-Benz. Observe the instructions for
use in the product description. More informa- tion about recommended additives can be
obtained from any Mercedes-Benz Service
Centre.
Mercedes-Benz recommends that you use fuel
brands that have additives.
The quality of the fuel available in some coun-
tries may not be sufficient. Residue could build
up in the fuel injection system as a result. In this case, in consultation with a Mercedes-Benz Ser-vice Centre, the petrol should be mixed with the
cleaning additive recommended by Mercedes-
Benz. Always observe the notes and mixing
ratios specified on the container. Service products and filling capacities
329Technical data Z