2016 MERCEDES-BENZ CLA-Class radio
[x] Cancel search: radioPage 218 of 246

Your COMANDequipment
These operatin ginstruction sdescribe all th e
standar dan doptional equipmen tof your
COMAN Dsystem, as available at th etime of
going to print .Country-specifi cdifference s
are possible. Bear in min dthat your vehicle
may no tfeature all function sdescribed here.
Thi salso applies to safety-relevan tsystems
an dfunctions.
Read th einformation on qualified specialis t
workshop sin th evehicle Operator's Manual.
Weather forecasts
Introduction
Thi sfunction is currentl yno tavailable fo r
Canada.
Fo rth ereception of weather forecast svia
satellite radio, you will need aSIRIU SXM Sat -
ellite Weather subscription .
If th emessage: Please call SIRIUS to
activate the system at :
888-539-7474 ESN: SIRIUS IDappears
alon gwit hth eID number of th eSIRIU S
device, you will need to hav eth eweather ser -
vic eactivated first .
XTo selectCal lorCancel:turn an dpress
th econtroller .
If amobile phone is connecte dto COMAN D
(
Ypage 114), when you selec tCalla cal lis
placed to amember of th eSIRIU Sservic e
staff .The ID number of th eSIRIU Sdevic e
will be transferred to th etelephon edisplay.
XThi swill be followed by instruction sfrom
th eservic eemployee.
COMAN Dcan receiv eweather forecast svia
satellite radio fo rth eentire US A(includin g
Alask aan dHawaii).
The received weather dat acan be displaye d
as an information chart (dail yforecast ,five-
day forecast ,detailed information )or on th e
weather map .
The weather dat areceived from aweather
station is stored in COMAN Dforon ehour .It can therefore be displaye
dagain immediately
after restartin gth eengin e(fo rexample after
refueling).
Dependin gon whic hscale has bee nselected,
th eweather map can display th efollowin g
weather dat awit hsymbols :
Rprecipitation radar
The precipitation radar canno tbe displaye d
fo rAlaska, Hawaii an dPuerto Rico.
Rstor mcharacteristics
Rhig han dlow-pressure areas, weather
fronts
Rcours eof tropical cyclones (hurricanes,
typhoons )
Rstormwarnings
Rwin ddirection an dspeeds
iHurricane: term used to describe th etrop-
ical cyclones that primarily develop in th e
Atl
antic, North Pacifi can dSout hPacifi c
oceans. The win dspeeds are abov e74 mph
(11 8km/ h). Five categories are used to
classify the strength of a hurricane.
Typhoon: term used to describe a tropical
cyclone that develops in the northwestern
Pacific. The wind speeds are in the category
of a hurricane.
Switching the SIRIUS Weather display
on/off
Activating
216Weather forecasts
SIRIUS Weather
Page 231 of 246

Cordless headphones
Overview
XTo adjust the headphones: open both sides of the headphones.
XAdjust the fit of the headphones by pulling the headphone band in the direction of the arrow.
XTo switch the headphones on or off: press On or Off switch;.
XTo adjust the volume: turn volume control=until the desired volume is set. If you have
connected corded headphones to a rear-compartment screen, you can adjust the volume
using the remote control (
Ypage 227).
XTo check the battery condition of charge: check the state of the batteries using indicator
lamp :(
Ypage 229).
The headphones automatically switch off if they have not received an audio signal for approx-
imately three minutes. This preserves the batteries.
Indicator lamp on the cordless head-
phones
The color of the indicator lamp shows:
Rwhether the device is switched on or off
Rthe condition of the inserted batteries
LED dis-
playStatus
GreenThe batteries are fine.
RedThe batteries are almost dis-
charged.
Lit continu-
ouslyThe headphones are switched
on and connected to a screen.
LED dis-
playStatus
FlashingThe headphones are search-
ing for the connection to a
screen.
No display
(dark)The headphones are switched
off or the batteries are dis-
charged.
The function of the headphones may be
impaired by other radio-based electronic
devices such as mobile phones or laptops.
Overview229
Rear Seat Entertainment
Z
Page 234 of 246

Selecting sound settings
You can select sound settings in the following
operating modes:
RAudio CD/MP3
RVideo DVD
RRadio (active media source in COMAND)
RAUX
XSwitch on an operating mode (e.g. audio
CD mode) (
Ypage 234).
XSelect TrebleorBassusing
the :=; buttons on the remote
control and press the 9button to confirm.
An adjustment scale appears.
XSelect a setting using the 9:but-
tons and press the 9button to confirm.
Multiple users
Simultaneous use of the rear-compart-
ment disc drive
The two rear-compartment screens can be
operated almost entirely independently from
one another. However, a conflict may occur in
some menus if the two screens are used
simultaneously.
The following functions affect both screens:
Rchanging playback options
Rselecting a track (from a track list or folder)
Rusing the play, pause and stop functions
Rfast forward and rewind or scrolling
Rcalling up the DVD menu and navigating
within it
Rsetting the language, subtitles and camera
angle
Rcalling up interactive DVD content
The following functions affect only one
screen:
Rchanging audio and video functions as well
as picture settings
Rswitching between full screen and the
menu
Switching between operating modes
When you exit an operating mode (e.g. audio
CD mode), the current setting is saved. If you
call up this operating mode again later, there
are two possibilities:
Rthe operating mode has been changed on
the other screen.
Rthe operating mode has not been changed.
In the first case, the operating mode appears as it is on the other screen.
In the second case, the setting appears on the
screen as it was when you last exited the
operating mode.
Picture settings
Overview
You can select the picture settings in video
DVD and AUX mode (
Ypage 243).
Adjusting the brightness, contrast and
color
XSwitch to video DVD mode (Ypage 237).
XTo show the menu: press the9button on
the remote control.
XSelect DVD-Videousing
the :=; buttons and press the
9 button to confirm.
XSelect Brightness,Contrastor Color
using the 9: buttons and press the
9 button to confirm.
A scale appears.
XSelect a setting using the 9:but-
tons and press the 9button to confirm.
232Basic functions
Rear Seat Entertainment
Page 243 of 246

XTo show the menu:press the9button on
the remote control.
XSelect DVD-Videoand press the 9button
on the remote control to confirm.
XSelect DVD Functionsand press the 9
button to confirm.
XSelect SubtitlesorCamera Angleand
press the 9button to confirm.
In both cases, a menu appears after a few
seconds. The #dot indicates the current
setting.
XSelect a setting using the 9:but-
tons and press the 9button to confirm.
XTo exit the menu: press the=or;
button.
Interactive content
DVDs can also contain interactive content
(e.g. a video game). In a video game, you may
be able to influence events, for example, by
selecting and triggering actions. The type and
number of actions depend on the DVD.
XSelect an action using the
9;:= buttons on the
remote control and press the 9button to
execute it.
A menu appears and the first entry, Select
,
is highlighted.
XPress the 9button.
Active COMAND media source mode
Overview
You can transfer a media source selected in
COMAND to the Rear Seat Entertainment
System. If you switch the media source in
COMAND, this will not be transferred to the
Rear Seat Entertainment System.
You can transfer these media sources to the
Rear Seat Entertainment System:
RRadio
RCD or MP3 mode (CD, SD card, USB)
RMedia Interface
RVideo DVD mode
Observe the sequence described below when
playing a COMAND media source on the Rear
Seat Entertainment System.
1. Activating the function in COMAND
XSwitch on the radio (Ypage 168).
XSwitch CD or MP3 mode on (CD, SD card,
USB) (
Ypage 180).
XSwitch on the media interface
(
Ypage 197).
2. Transferring the active COMAND
media to the Rear Seat Entertainment
System
XTo select the Optionsmenu, turn and
press the controller.
XTo select Active Aud./Vid. Source
for Rear, turn the controller.
The #dot indicates that the function is
activated.
XTo deactivate the function: selectRear
Off (Radio)orRear Off (Media).
The #dot indicates that the function is
deactivated.
Active COMAND media source mode241
Rear Seat Entertainment
Z
Page 244 of 246

3. Transferring the active COMAND
media source to the Rear Seat Enter-
tainment System
XSelectCOMANDusing the 9=;
buttons on the remote control and press 9
to confirm.
A message appears stating that the desired
audio or video source needs to be activated
in COMAND. If the media source is activa-
ted in COMAND, it is loaded on the Rear
Seat Entertainment System and is then
played.
If Rear Off
is activated in COMAND, the
COMAND
isofforthereisnoactive
COMAND source.message appears.
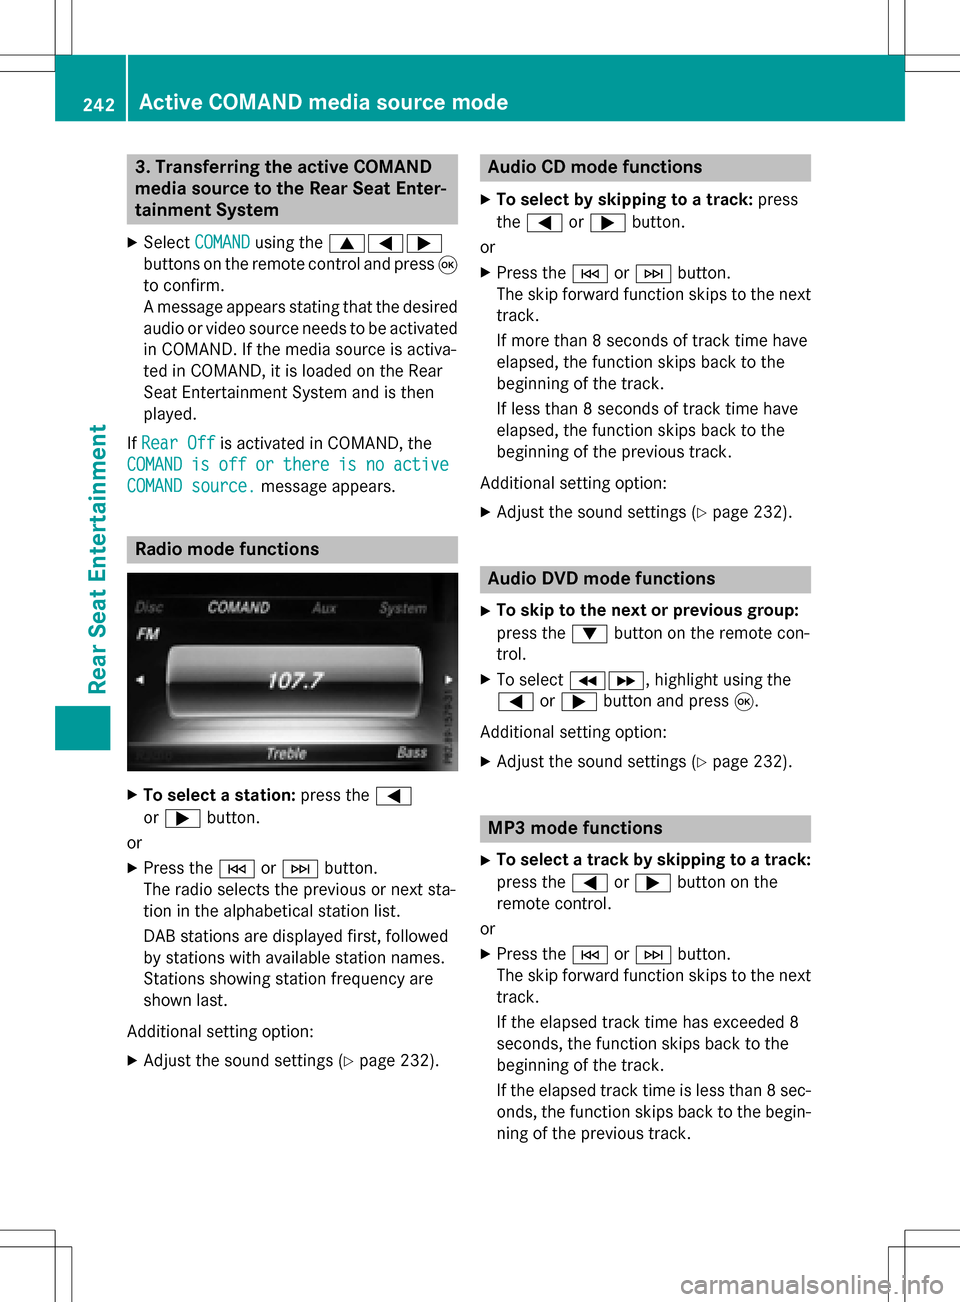
Radio mode functions
XTo select a station: press the=
or ; button.
or
XPress the EorF button.
The radio selects the previous or next sta-
tion in the alphabetical station list.
DAB stations are displayed first, followed
by stations with available station names.
Stations showing station frequency are
shown last.
Additional setting option:
XAdjust the sound settings (Ypage 232).
Audio CD mode functions
XTo select by skipping to a track: press
the = or; button.
or
XPress the EorF button.
The skip forward function skips to the next
track.
If more than 8 seconds of track time have
elapsed, the function skips back to the
beginning of the track.
If less than 8 seconds of track time have
elapsed, the function skips back to the
beginning of the previous track.
Additional setting option:
XAdjust the sound settings (Ypage 232).
Audio DVD mode functions
XTo skip to the next or previous group:
press the :button on the remote con-
trol.
XTo select KL, highlight using the
= or; button and press 9.
Additional setting option:
XAdjust the sound settings (Ypage 232).
MP3 mode functions
XTo select a track by skipping to a track:
press the =or; button on the
remote control.
or
XPress the EorF button.
The skip forward function skips to the next
track.
If the elapsed track time has exceeded 8
seconds, the function skips back to the
beginning of the track.
If the elapsed track time is less than 8 sec-
onds, the function skips back to the begin-
ning of the previous track.
242Active COMAND media source mode
Rear Seat Entertainment