2016 MERCEDES-BENZ AMG GT S Tail light
[x] Cancel search: Tail lightPage 54 of 226

must be set toÃ(see the vehicle Opera-
tor's Manual).
The exterior lighting remains on for
60 seconds after the engine is switched off. If
you close all the doors and the tailgate, the
exterior lighting switches off after the set
time.
XCall up Vehicle Settings(Ypage 50).
XTo select Exterior Lighting Delayed
Switch-off: turn and press the controller.
The setting element is active.
XTo change the delayed switch-off time: turn the controller.
Rear view camera
General notes
The rear view camera covers the immediate
surroundings of the vehicle and assists you
when parking.
The rear view camera is only an aid. It is not a
replacement for your attention to your imme-
diate surroundings. You are always responsi-ble for safe maneuvering and parking. When
maneuvering or parking, make sure that there
are no persons, animals or objects in the area in which you are maneuvering.
You can find further information about the
rear view camera in the vehicle Operator's
Manual.
Switching the rear view camera auto-
matic mode on/off
This function activates the rear view camera
when reverse gear is engaged.
XPress Vehiclein the main function bar.
The vehicle menu is displayed.
XSlide 6the controller.
XTo select System Settings: turn and
press the controller.
XSelect Rear View Camera.
The Rear View Camera
menu appears.
XSelect Activation by R gear.
The function is switched on Oor off ª,
depending on the previous status.
For further information on the rear view cam-
era (see the vehicle Operator's Manual).
Climate control settings
Overview
You can adjust the climate control settings
using the climate control bar (
Ypage 52) or
the climate control menu (
Ypage 53).
You can set the most important climate con-
trol functions, such as temperature
(
Ypage 53), airflow (Ypage 53) and air
distribution (
Ypage 53) using the climate
control bar. The climate control bar is visible
in most displays.
You can find all available climate control func-
tions in the climate control menu. You can use
the climate control bar (
Ypage 52) to
switch to the climate control menu.
Settings in the climate control bar
Overview
:Adjusts temperature and air distribution
and displays the current setting
;Calls up the climate control menu, dis-
plays the current cooling and climate
mode setting
=Adjusts air distribution and temperature
and displays the current setting
52Climate control settings
Vehicle functions
Page 86 of 226
relevant times must be correctly stored in
the database.
Change of direction
Overview
Changes of direction have three phases:
RPreparation phase
RAnnouncement phase
RChange-of-direction phase
Changes in direction are also shown in the
multifunction display of the instrument clus-
ter (see the vehicle Operator's Manual).
Preparation phase
COMAND prepares you for the upcoming
change of direction, e.g. with the announce-
ment "Prepare to turn right". You see the full-
screen map.
Announcement phase
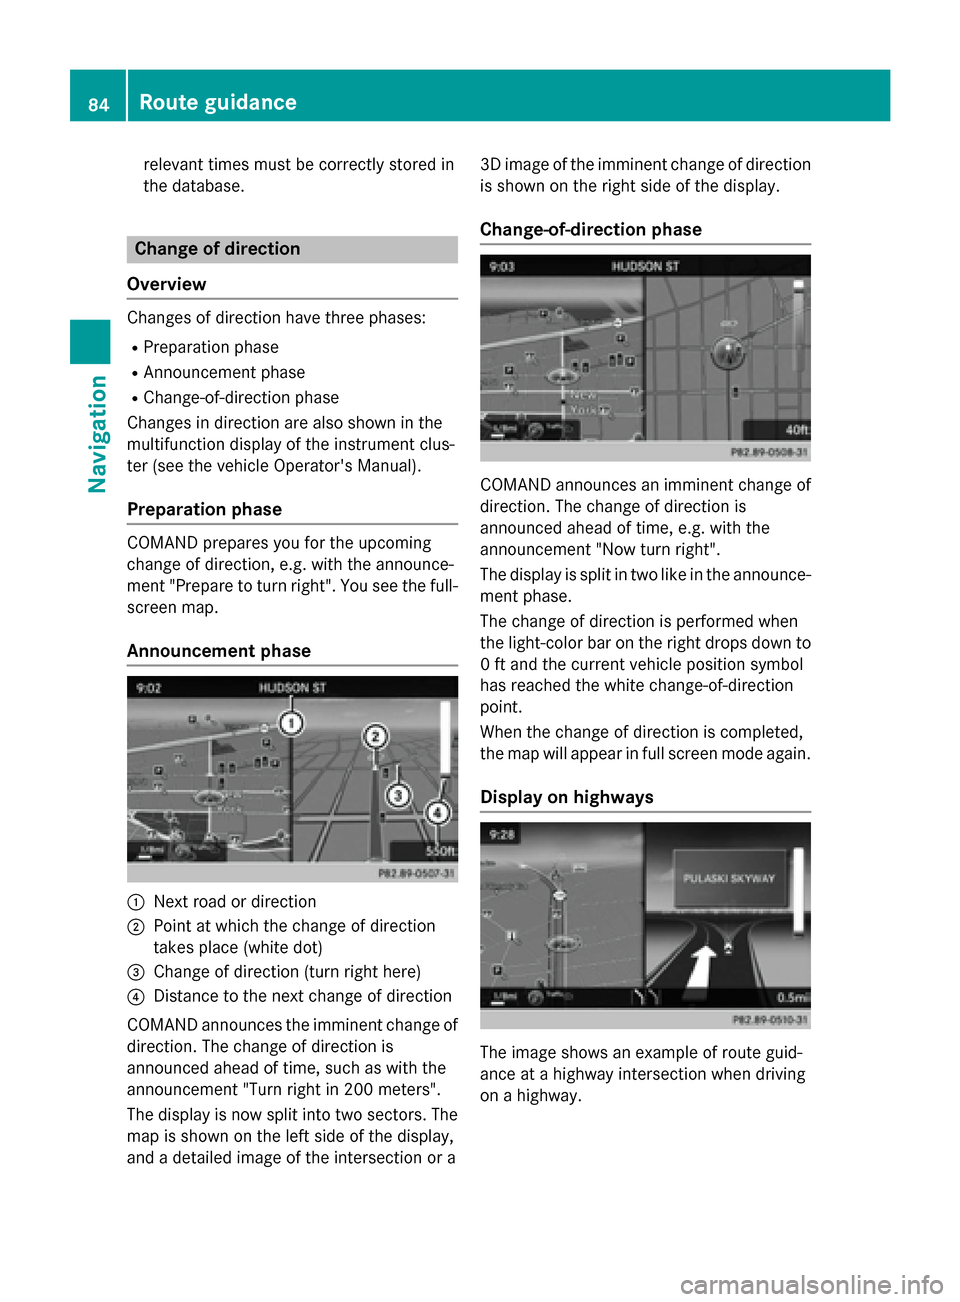
:Next road or direction
;Point at which the change of direction
takes place (white dot)
=Change of direction (turn right here)
?Distance to the next change of direction
COMAND announces the imminent change of
direction. The change of direction is
announced ahead of time, such as with the
announcement "Turn right in 200 meters".
The display is now split into two sectors. The
map is shown on the left side of the display,
and a detailed image of the intersection or a 3D image of the imminent change of direction
is shown on the right side of the display.
Change-of-direction phase
COMAND announces an imminent change of
direction. The change of direction is
announced ahead of time, e.g. with the
announcement "Now turn right".
The display is split in two like in the announce-ment phase.
The change of direction is performed when
the light-color bar on the right drops down to
0 ft and the current vehicle position symbol
has reached the white change-of-direction
point.
When the change of direction is completed,
the map will appear in full screen mode again.
Display on highways
The image shows an example of route guid-
ance at a highway intersection when driving
on a highway.
84Route guidance
Navigation
Page 88 of 226

Calling up the selection mode
XWhen highway information is displayed,
slide9 the controller.
The marker is on the highway information.
The associated position is highlighted on
the map.
XTo select the desired rest stop/freeway
exit: turn and press the controller.
The available POIs are displayed.
Starting route guidance to a POI
XTo select a POI: turn the controller and
press to confirm.
The POI details are displayed.
You can perform the following functions:
Rstore in the address book (Ypage 96)
Rview on the map (Ypage 101)
Rcalled if a phone is connected and a
phone number is available (
Ypage 120).
Rselect for route guidance and a route to it
calculated (
Ypage 65).
Using the traffic jam function
Highway information enables the use of the
traffic jam function. The remaining route on
the highway in this case is blocked in the
direction of travel from the selected exit.
XTo select Detour: turn and press the con-
troller.
The traffic jam function appears
(
Ypage 89).
Destination reached
Once the destination is reached, you will see
the checkered flag. Route guidance is fin-
ished.
Navigation announcements
Repeating navigation announcements
If you missed the current navigation
announcement, you can call it up again.
86Route guidance
Navigation
Page 99 of 226
XTo show the menu:slide6the control-
ler.
XTo select Position: turn and press the
controller.
XSelect Save.
The current vehicle position is saved in
"Last destinations".
Saving the crosshair position
XTo switch to navigation mode: slide5
the controller.
XTo select Navi: turn and press the control-
ler.
The map displays the current vehicle posi-
tion or the navigation menu appears.
XIf the navigation menu appears, press the
controller.
The map shows the vehicle's current posi-
tion.
XTo display the crosshair: press the con-
troller.
XMove the map to the desired position
(
Ypage 60).
XTo show the menu: press the controller.
XTo select Position: turn and press the
controller.
XSelect Save.
The crosshair position is saved in the last
destinations.
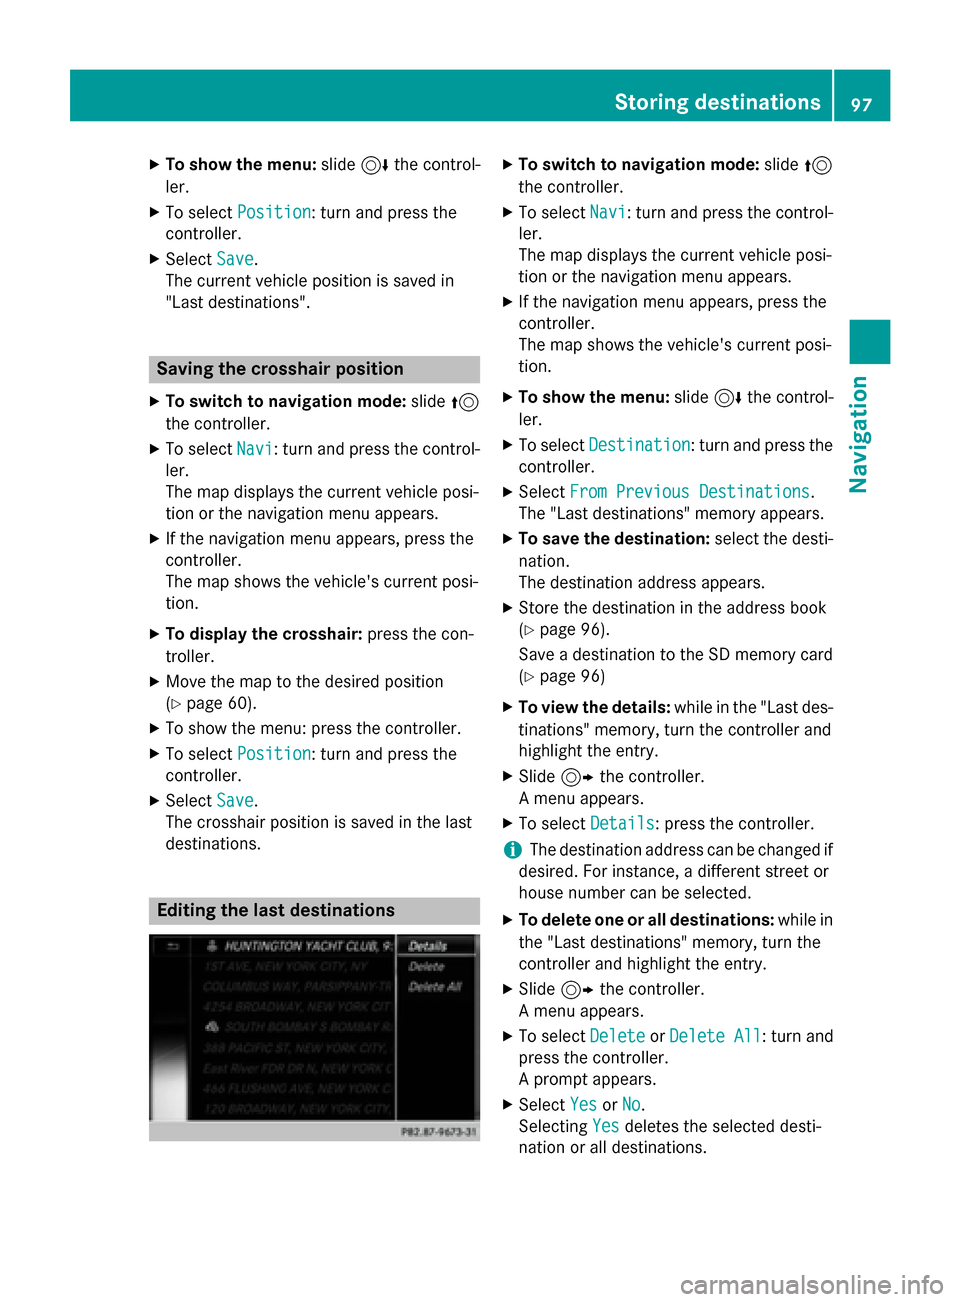
Editing the last destinations
XTo switch to navigation mode: slide5
the controller.
XTo select Navi: turn and press the control-
ler.
The map displays the current vehicle posi-
tion or the navigation menu appears.
XIf the navigation menu appears, press the
controller.
The map shows the vehicle's current posi-
tion.
XTo show the menu: slide6the control-
ler.
XTo select Destination: turn and press the
controller.
XSelect From Previous Destinations.
The "Last destinations" memory appears.
XTo save the destination: select the desti-
nation.
The destination address appears.
XStore the destination in the address book
(
Ypage 96).
Save a destination to the SD memory card
(
Ypage 96)
XTo view the details: while in the "Last des-
tinations" memory, turn the controller and
highlight the entry.
XSlide 9the controller.
A menu appears.
XTo select Details: press the controller.
iThe destination address can be changed if
desired. For instance, a different street or
house number can be selected.
XTo delete one or all destinations: while in
the "Last destinations" memory, turn the
controller and highlight the entry.
XSlide 9the controller.
A menu appears.
XTo select DeleteorDelete All: turn and
press the controller.
A prompt appears.
XSelect YesorNo.
Selecting Yes
deletes the selected desti-
nation or all destinations.
Storing destinations97
Navigation
Z
Page 120 of 226
De-authorizing (disconnecting)a
mobile phone
Mercedes-Ben zUSA, LL Crecommends de-
authorization in COMAN Dand on th emobile
phone .Subsequen tauthorization may other -
wise fail .
XTo showthemain function bar :slid e5
th econtroller .
XTo selectPhone:turn and press th econ-
troller.
The telephon emen uis displayed .
XTo showthemen ubar :slid e6 thecon-
troller.
XTo selec tConnec tDevice:turn and press
th econtroller .
XTo highlight th edesire dmobile phone in th e
devic elist :turn th econtroller .
XTo selectG: slide9 thecontroller .
XTo selectDeauthorize:turn and press th e
controller .
A prompt appears ,askin gwhether you
really wish to de-authoriz ethis device.
XTo selec tYes:turn and press th econtroller .
The mobile phone is de-authorized.
iBefore re-authorizin gth emobile phone ,
you should also delete th edevic enam eMB
Bluetoothfrom your mobile phone's Blue-
toot h®list.
Displaying connection detail s
XTo showthemain function bar :slid e5
th econtroller .
XTo selectPhone:turn and press th econ-
troller.
The telephon emen uis displayed .
XTo switch to th emen ubar in th etelephon e
menu: slid e6 thecontroller .
XTo selectConnec tDevice:turn and press
th econtroller .
XTo highlight th edesire dmobile phone in th e
devic elist :turn th econtroller .
XTo selectG: slide9 thecontroller .
XTo selectDetail s:turn and press th econ-
troller.
The following information concernin gth e
selecte dmobile phone is shown :
RBluetooth®devicenam e
RBluetoot h®address
RAvailabilit ystatus (shown after ane w
search )
RAuthorization status
XTo close th edetailed display :slid e8
th econtroller .
Reception an dtransmission volume
Once th emobile phone has been authorized,
you can optimize th etransmissio nand recep-
tion volume settings. To fin dout about th e
bes tpossible setting sfo ryour mobile phone ,
visit www.mercedes-benz-mobile.com .
Or cal lth eMercedes-Ben zCustomer Assis -
tanc eCente rat 1-800-FOR-MERCedes
(1-800-367-6372 ) (USA) or Customer Rela-
tions at 1-800-387-0100 (Canada).
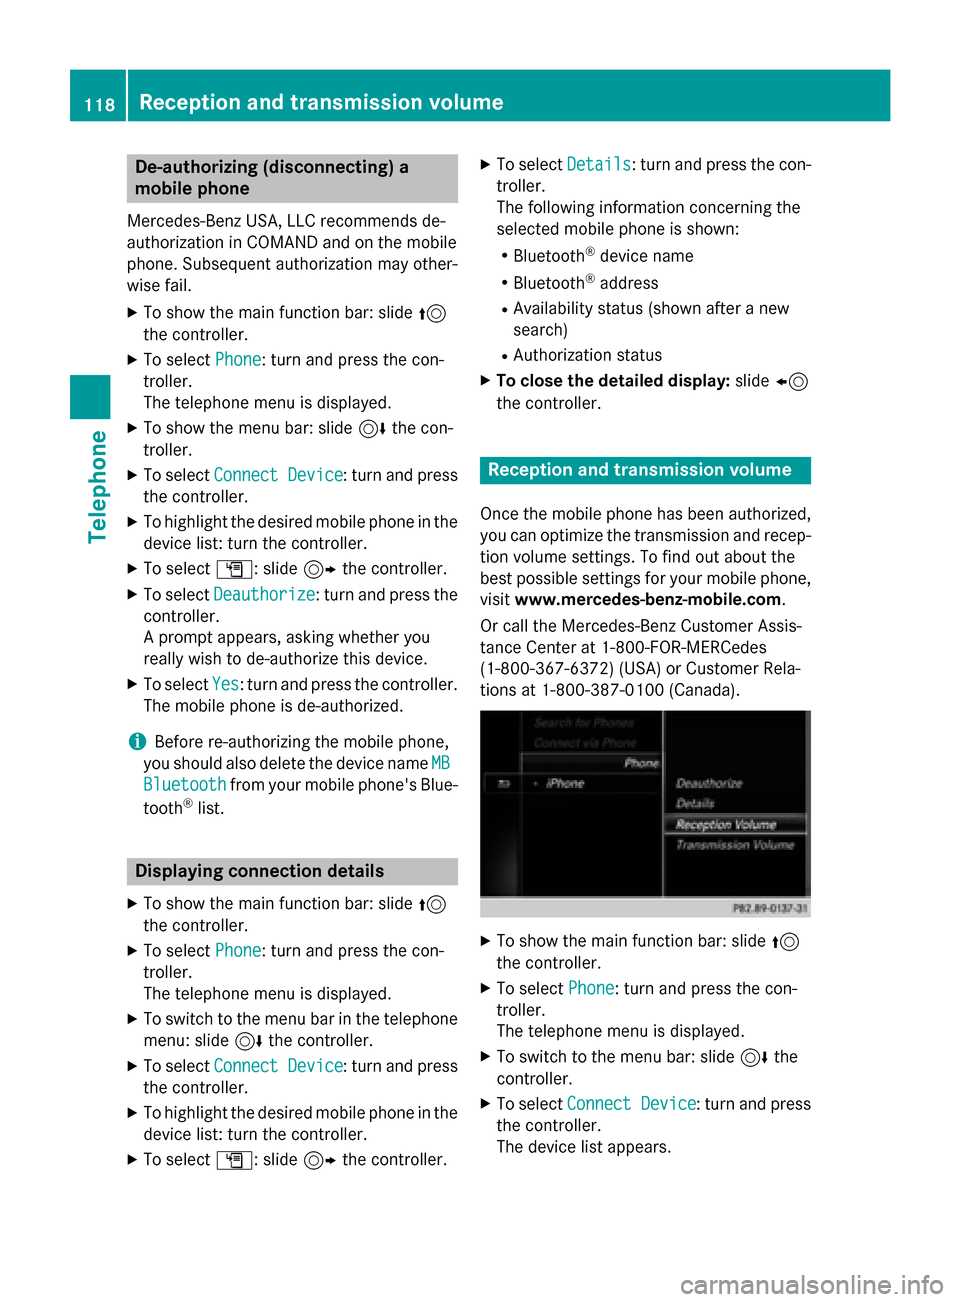
XTo show the main function bar: slide 5
the controller.
XTo select Phone: turn and press the con-
troller.
The telephone menu is displayed.
XTo switch to the menu bar: slide 6the
controller.
XTo select Connect Device: turn and press
the controller.
The device list appears.
118Reception and transmission volume
Telephone
Page 127 of 226
Using the touchpad
You determine the first letter of the contact
you are looking for with the first character you
enter.
XDraw the letter on the touchpad surface.
The first contact with the selected first
character is highlighted in the phone book.
Further information on handwriting recog-
nition on the touchpad (
Ypage 27).
XDraw additional letters on the touchpad
surface one after another.
XTo complete the search and return to the
phone book: press the touchpad.
XTo select and call the contact: glide up or
down and press.
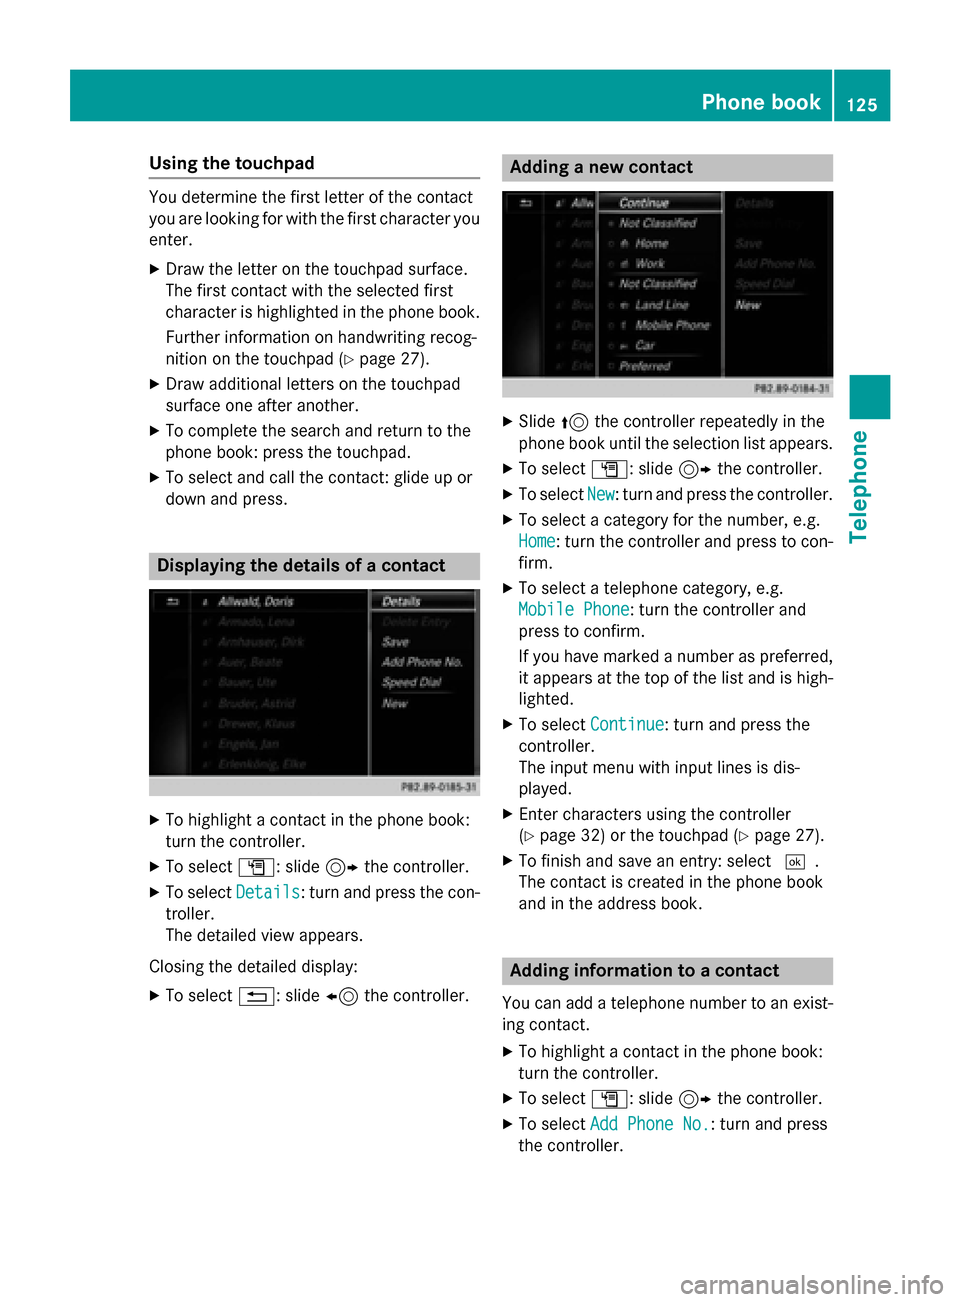
Displaying the details of a contact
XTo highlight a contact in the phone book:
turn the controller.
XTo select G: slide 9the controller.
XTo select Details: turn and press the con-
troller.
The detailed view appears.
Closing the detailed display:
XTo select %: slide 8the controller.
Adding a new contact
XSlide 5the controller repeatedly in the
phone book until the selection list appears.
XTo select G: slide 9the controller.
XTo select New: turn and press the controller.
XTo select a category for the number, e.g.
Home
: turn the controller and press to con-
firm.
XTo select a telephone category, e.g.
Mobile Phone
: turn the controller and
press to confirm.
If you have marked a number as preferred,
it appears at the top of the list and is high- lighted.
XTo select Continue: turn and press the
controller.
The input menu with input lines is dis-
played.
XEnter characters using the controller
(
Ypage 32) or the touchpad (Ypage 27).
XTo finish and save an entry: select ¬.
The contact is created in the phone book
and in the address book.
Adding information to a contact
You can add a telephone number to an exist- ing contact.
XTo highlight a contact in the phone book:
turn the controller.
XTo select G: slide 9the controller.
XTo select Add Phone No.: turn and press
the controller.
Phone book125
Telephone
Z
Page 130 of 226
Searching for a contact
Using the character bar
XCall up the address book (Ypage 127).
XTo switch to the menu bar: slide 6the
controller.
XTo select Search: turn and press the con-
troller.
XTo select characters: turn the controller
and press to confirm.
The first contact with the selected first
character is highlighted in the phone book.
If there are similar contacts, the next dif-
ferent character is shown. For example,
with contacts such as Jana
andJohn, the
beginnings of the names are identical. The
next different characters A
andOare
offered for selection.
XSelect the characters of the contact you are
searching for one by one, pressing and con-
firming with the controller each time.
XTo complete the search: slide 5the con-
troller repeatedly until the character bar
disappears.
or
XTo select ¬: turn and press the control-
ler.
The contacts in the address book are dis-
played.
XTo select a contact: turn and press the con-
troller.
Information about character entry
(
Ypage 32).
Using the touchpad
XCall up the address book (Ypage 127).
XTo switch to the menu bar: glide down.
XSelect Search.
XDraw the letter on the touchpad surface.
The first contact with the selected first
character is highlighted in the address
book.
Further information on handwriting recog-
nition on the touchpad (
Ypage 27).
XDraw additional letters on the touchpad
surface one after another.
XTo complete the search and return to the
phone book: press the touchpad.
XTo select and call the contact: glide up or
down and press.
Adding a new contact
You can enter address data directly into the
address book. If you store telephone num-
bers in the COMAND phone book, these are
also saved in the address book. If you store a
navigation destination, COMAND creates an
address book entry which includes the com-
plete navigable address data.
XCall up the address book (Ypage 127).
XTo switch to the menu bar: slide 6the
controller.
XTo select New: turn and press the controller.
The surname and first name input lines are
displayed.
XEnter characters using the controller
(
Ypage 32) or the touchpad (Ypage 27).
XTo save the surname and first name: select ¬.
The details for the contact are displayed.
XTo add a desired entry (e.g. Add E-Mail
Address): turn and press the controller.
Depending on the type of entry, the corre-
sponding input menu appears.
XEnter characters using the controller
(
Ypage 32) or the touchpad (Ypage 27).
XTo finish and save an entry: select ¬.
128Address book
Telephone
Page 132 of 226
Sending text messages
XCall up the address book (Ypage 127).
XTo select a contact: turn and press the con-
troller.
The details for the contact are displayed.
XTo highlight the telephone number: turn thecontroller.
XTo select G: slide 9the controller.
XTo select Send Text Message: turn and
press the controller.
The entry fields for a text message are dis-
played (
Ypage 141).
Observe the requirements for the message
function (
Ypage 138).
Sending an e-mail
XCall up the address book (Ypage 127).
XSelect an entry: turn and press the control-
ler.
The details for the contact are displayed.
XTo select an e-mail address: turn and press
the controller.
The entry fields for an e-mail are displayed
(
Ypage 142).
Observe the requirements for the message
function (
Ypage 138).
Displaying sub-entry information
XCall up the address book (Ypage 127).
XSelect an entry: turn and press the control-
ler.
The details for the contact are displayed.
XTo highlight the desired entry: turn the con-
troller.
XTo select G: slide 9the controller.
XTo select Details: turn and press the con-
troller.
The display is shown in full.
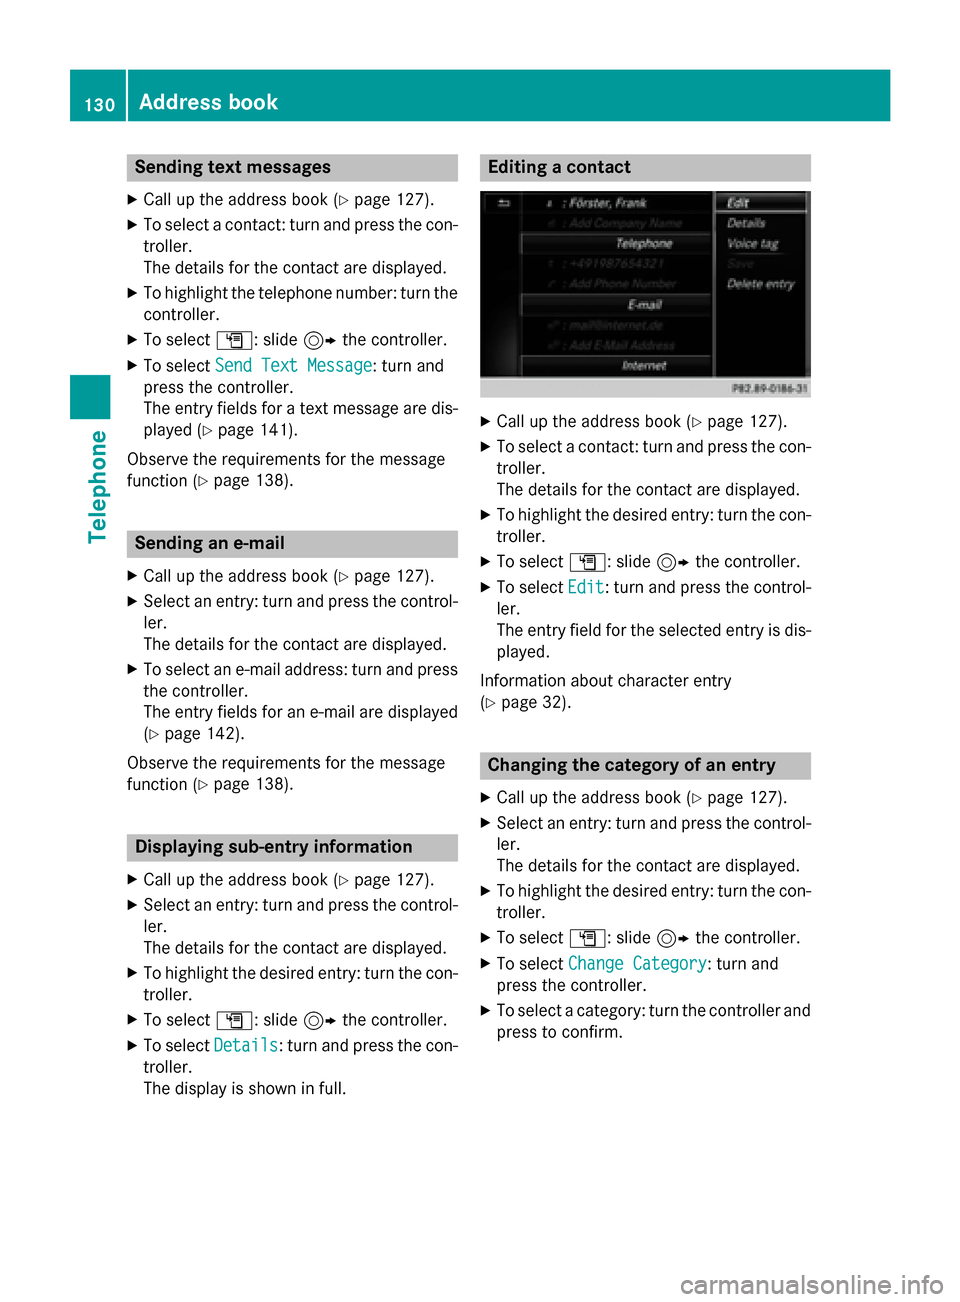
Editing a contact
XCall up the address book (Ypage 127).
XTo select a contact: turn and press the con-
troller.
The details for the contact are displayed.
XTo highlight the desired entry: turn the con-
troller.
XTo select G: slide 9the controller.
XTo select Edit: turn and press the control-
ler.
The entry field for the selected entry is dis-
played.
Information about character entry
(
Ypage 32).
Changing the category of an entry
XCall up the address book (Ypage 127).
XSelect an entry: turn and press the control-
ler.
The details for the contact are displayed.
XTo highlight the desired entry: turn the con-
troller.
XTo select G: slide 9the controller.
XTo select Change Category: turn and
press the controller.
XTo select a category: turn the controller and
press to confirm.
130Address book
Telephone