2016 MERCEDES-BENZ AMG GT S ESP
[x] Cancel search: ESPPage 100 of 226

Map functions
General notes
Company logos displayed on the map are
trademarks of the respective companies and
used solely for the purpose of indicating the
locations of these companies. The use of such
logos on the map does not indicate approval
of, support of or advertising by these compa-
nies for the navigation system itself.
iAlternatively, you can carry out this oper-
ation using the touchpad (
Ypage 25).
Map settings
Setting the map scale
Requirement: the map is in full screen mode, the menu is faded out (
Ypage 59).
The lower left-hand section of the map shows
the currently set map scale and compass nee-
dle.
Right-hand-drive vehicles: the currently set
map scale and compass needle are displayed
in the lower right-hand section of the map.
XTo show the map in full screen mode: to
hide the menu, push the %button.
or
XSlide the controller to the center of the map
and press to confirm.
XTo set the map scale: as soon as you turn
the controller, the scale bar appears on the
bottom of the display.
XTurn the controller until the needle points
to the desired map scale.
Once you are finished selecting a map
scale, the new map scale will be shown.
Selecting map orientation
XTo switch to navigation mode: slide5
the controller.
XTo select Navi: turn and press the control-
ler.
The map displays the current vehicle posi-
tion or the navigation menu appears.
XIf the navigation menu appears, press the
controller.
The map shows the vehicle's current posi-
tion.
XTo show the menu: slide6the control-
ler.
XTo select Options: turn and press the con-
troller.
XSelect Map Orientation.
The #dot indicates the current setting.
XTurn and press the controller.
The map orientation is set.
The image is an example of the 3D map dis-
play with crosshair.
98Map functions
Navigation
Page 123 of 226

Available functions:
RAccepting a waiting call (Ypage 122)
RMaking a second call (Ypage 121)
RCall waiting (Ypage 121)
Availability depends on the network (only pos-
sible in the GSM network) and on the Blue-
tooth
®mobile phone.
Adding a call
If the mobile phone network provider and the
mobile phone support the function, you can
make another call during an existing call. The
previously active call is held.
:To add a call
XTo select °2: turn and press the controller.
XMake a call:
RUsing the telephone menu (Ypage 119)
RRedial (Ypage 120)
RUsing call lists (Ypage 134)
RUsing the phone book (Ypage 119)
RUsing speed dial (Ypage 119)
Switching the microphone on/off
This function is available in the telephone
menu during an active phone call.
Switching off the microphone:
XTo switch to the menu bar: slide 6the
controller.
XTo select Microphone Off: turn and press
the controller.
If the microphone is switched off, the Q
symbol and the The
microphoneisoff.
message are displayed. Switching on the microphone:
XSelect
Microphone On.
The Qsymbol disappears. The The
microphone is on.message is shown.
Sending DTMF tones
This function is not supported by all mobile
phones.
Answering machines or other devices can be
controlled by DTMF tones, e.g. for remote
query functions.
XIf you would like to listen to the messages
on your answering machine, for example,
dial the corresponding number.
Transmitting individual characters:
XOnce a connection has been established to
the answer phone, select the desired char-
acters in the telephone menu: turn and
press the controller each time.
Every character selected will be transmit-
ted immediately.
iYou can also send DTMF tones using the
Voice Control system (see the vehicle
Operator's Manual).
Calls with several participants
Switching between calls (call waiting)
If you make another call, you can switch
between the two calls (call waiting). This func-
tion depends on your mobile phone network
provider and the mobile phone (see the man-
ufacturer's operating instructions).
Using the telephone121
Telephone
Z
Page 135 of 226
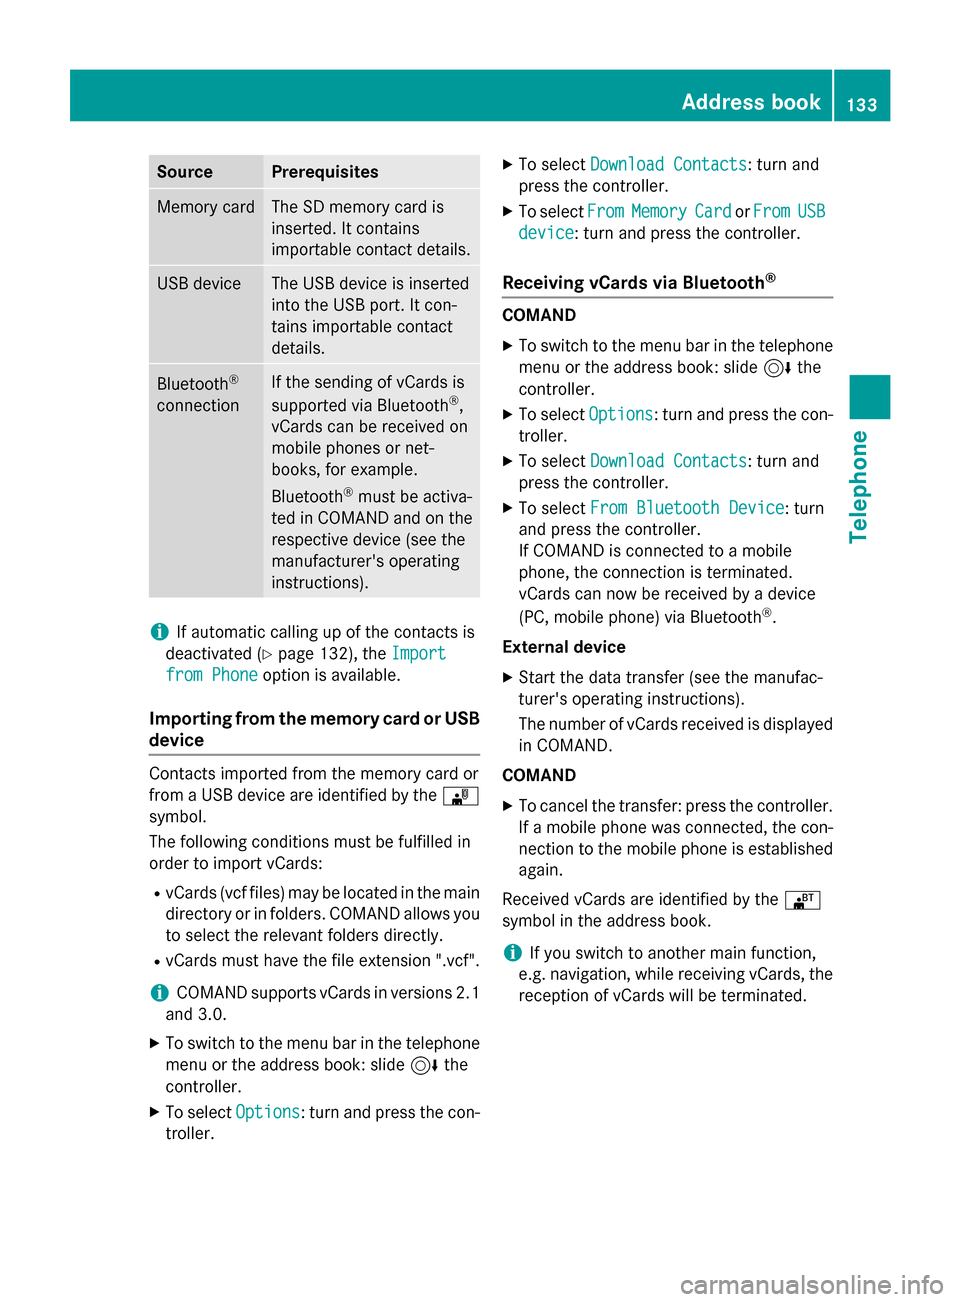
SourcePrerequisites
Memory cardThe SD memory card is
inserted. It contains
importable contact details.
USB deviceThe USB device is inserted
into the USB port. It con-
tains importable contact
details.
Bluetooth®
connection
If the sending of vCards is
supported via Bluetooth®,
vCards can be received on
mobile phones or net-
books, for example.
Bluetooth
®must be activa-
ted in COMAND and on the
respective device (see the
manufacturer's operating
instructions).
iIf automatic calling up of the contacts is
deactivated (
Ypage 132), the Import
from Phoneoption is available.
Importing from the memory card or USB
device
Contacts imported from the memory card or
from a USB device are identified by the ¯
symbol.
The following conditions must be fulfilled in
order to import vCards:
RvCards (vcf files) may be located in the main
directory or in folders. COMAND allows you
to select the relevant folders directly.
RvCards must have the file extension ".vcf".
iCOMAND supports vCards in versions 2.1
and 3.0.
XTo switch to the menu bar in the telephone menu or the address book: slide 6the
controller.
XTo select Options: turn and press the con-
troller.
XTo select Download Contacts: turn and
press the controller.
XTo select FromMemoryCardorFromUSB
device: turn and press the controller.
Receiving vCards via Bluetooth®
COMAND
XTo switch to the menu bar in the telephone
menu or the address book: slide 6the
controller.
XTo select Options: turn and press the con-
troller.
XTo select Download Contacts: turn and
press the controller.
XTo select From Bluetooth Device: turn
and press the controller.
If COMAND is connected to a mobile
phone, the connection is terminated.
vCards can now be received by a device
(PC, mobile phone) via Bluetooth
®.
External device
XStart the data transfer (see the manufac-
turer's operating instructions).
The number of vCards received is displayed in COMAND.
COMAND
XTo cancel the transfer: press the controller.
If a mobile phone was connected, the con-
nection to the mobile phone is established
again.
Received vCards are identified by the ®
symbol in the address book.
iIf you switch to another main function,
e.g. navigation, while receiving vCards, the
reception of vCards will be terminated.
Address book133
Telephone
Z
Page 142 of 226
Downloading text messages and e-mails
from th ephone
XSelec tFro mthe Phone.
The message sare downloaded. If you hav e
selected Automatic Download
in thee-
mail settings, manual downloading is no t
possible.
Updating from th ee-mail server by th e
mobile phone
XSelec tFro mthe E-Mail Server.
The e-mail sin th emobile phone are upda-
ted.
This function is no tsupported by all mobile
phones.
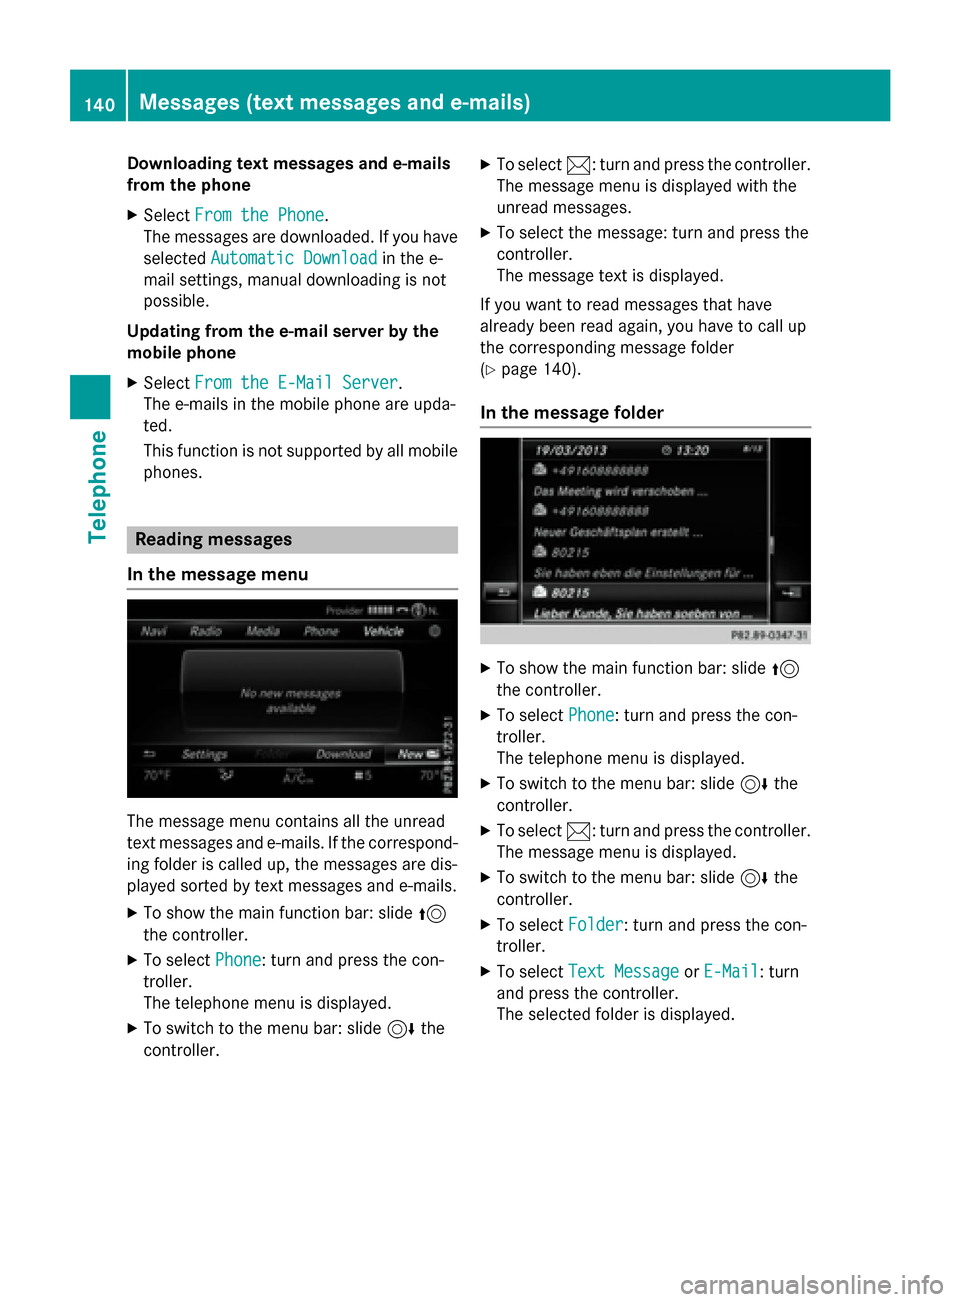
Reading messages
In th emessage menu
The message men ucontain sall th eunread
text message sand e-mails. If th ecorrespond-
in g folder is called up, th emessage sare dis-
played sorte dby text message sand e-mails.
XTo sho wthemain function bar: slid e5
th econtroller .
XTo select Phone:tur nand press th econ-
troller.
The telephon emen uis displayed.
XTo switch to th emen ubar: slid e6 the
controller .
XTo select1:turnand press th econtroller .
The message men uis displayed wit hth e
unread messages.
XTo select th emessage :tur nand press th e
controller .
The message text is displayed.
If you wan tto read message sthat hav e
already been read again ,you hav eto cal lup
th ecorrespondin gmessage folder
(
Ypage 140).
In th emessage folder
XTo sho wthemain function bar: slid e5
th econtroller .
XTo select Phone:tur nand press th econ-
troller.
The telephon emen uis displayed.
XTo switch to th emen ubar: slid e6 the
controller .
XTo select1:turnand press th econtroller .
The message men uis displayed.
XTo switch to th emen ubar: slid e6 the
controller .
XTo select Folder:tur nand press th econ-
troller.
XTo select TextMessag eorE-Mail:tur n
and press th econtroller .
The selected folder is displayed.
140Messages (text messages and e-mails)
Telephone
Page 152 of 226
Rare connected with COMAND
Rfulfill the conditions for the Internet func-
tions
Rhave not yet been set up for the Internet
function
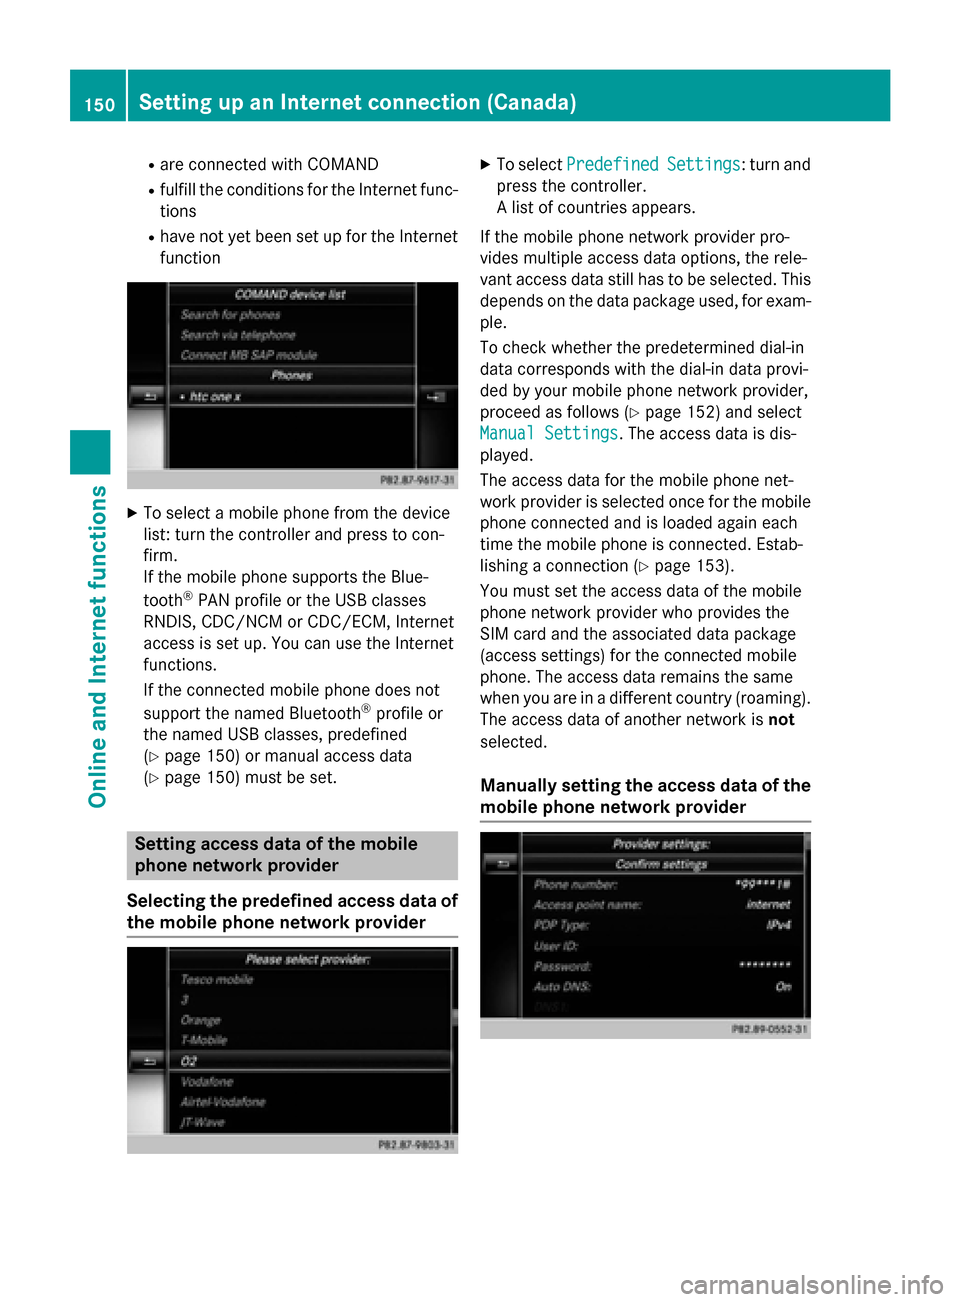
XTo select a mobile phone from the device
list: turn the controller and press to con-
firm.
If the mobile phone supports the Blue-
tooth
®PAN profile or the USB classes
RNDIS, CDC/NCM or CDC/ECM, Internet
access is set up. You can use the Internet
functions.
If the connected mobile phone does not
support the named Bluetooth
®profile or
the named USB classes, predefined
(
Ypage 150) or manual access data
(
Ypage 150) must be set.
Setting access data of the mobile
phone network provider
Selecting the predefined access data of
the mobile phone network provider
XTo select PredefinedSettings: turn and
press the controller.
A list of countries appears.
If the mobile phone network provider pro-
vides multiple access data options, the rele-
vant access data still has to be selected. This
depends on the data package used, for exam-
ple.
To check whether the predetermined dial-in
data corresponds with the dial-in data provi-
ded by your mobile phone network provider,
proceed as follows (
Ypage 152) and select
Manual Settings
. The access data is dis-
played.
The access data for the mobile phone net-
work provider is selected once for the mobile phone connected and is loaded again each
time the mobile phone is connected. Estab-
lishing a connection (
Ypage 153).
You must set the access data of the mobile
phone network provider who provides the
SIM card and the associated data package
(access settings) for the connected mobile
phone. The access data remains the same
when you are in a different country (roaming).
The access data of another network is not
selected.
Manually setting the access data of the
mobile phone network provider
150Setting up an Internet connection (Canada)
Online and Internet functions
Page 157 of 226
XTo select the required option: turn and
press the controller.
XTo selectEnter search term: turn and
press the controller.
The input menu for the search term is dis-
played.
XTo complete the entry and start the search,
select a: turn and press the controller.
The search results are displayed.
iGoogle™ determines how the search
results are sorted; this is not necessarily
based on the shortest distance.
Further information on how to make use of a
search result (
Ypage 155).
Using search results
XTo select a search result: turn and press the
controller.
A menu appears.
Displaying details
XSelect Details.
The address of the selected entry is dis-
played.
Using a search result as a destination
XSelect Set as Destination.
The navigation is called up. You can use the
search result as the destination for route
calculation.
iAt the same time the search result is
stored in the "Last destinations" memory.
You can take the destination from this
memory and save it permanently in the
contacts.
Calling up a destination
XSelect Call.
The telephone menu is called up and a call
is activated.
iIf there is no phone number available, the
menu item cannot be selected. Calling up Google Street View™
XSelect
Google Street View.
Google Street View™ is called up.
iIf no Google Street View™ information is
available, a corresponding message
appears.
Calling up Panoramio by Google™
XSelect Panoramio by Google.
Panoramio by Google™ is called up. You
see pictures of places worth seeing in the
vicinity of the search result.
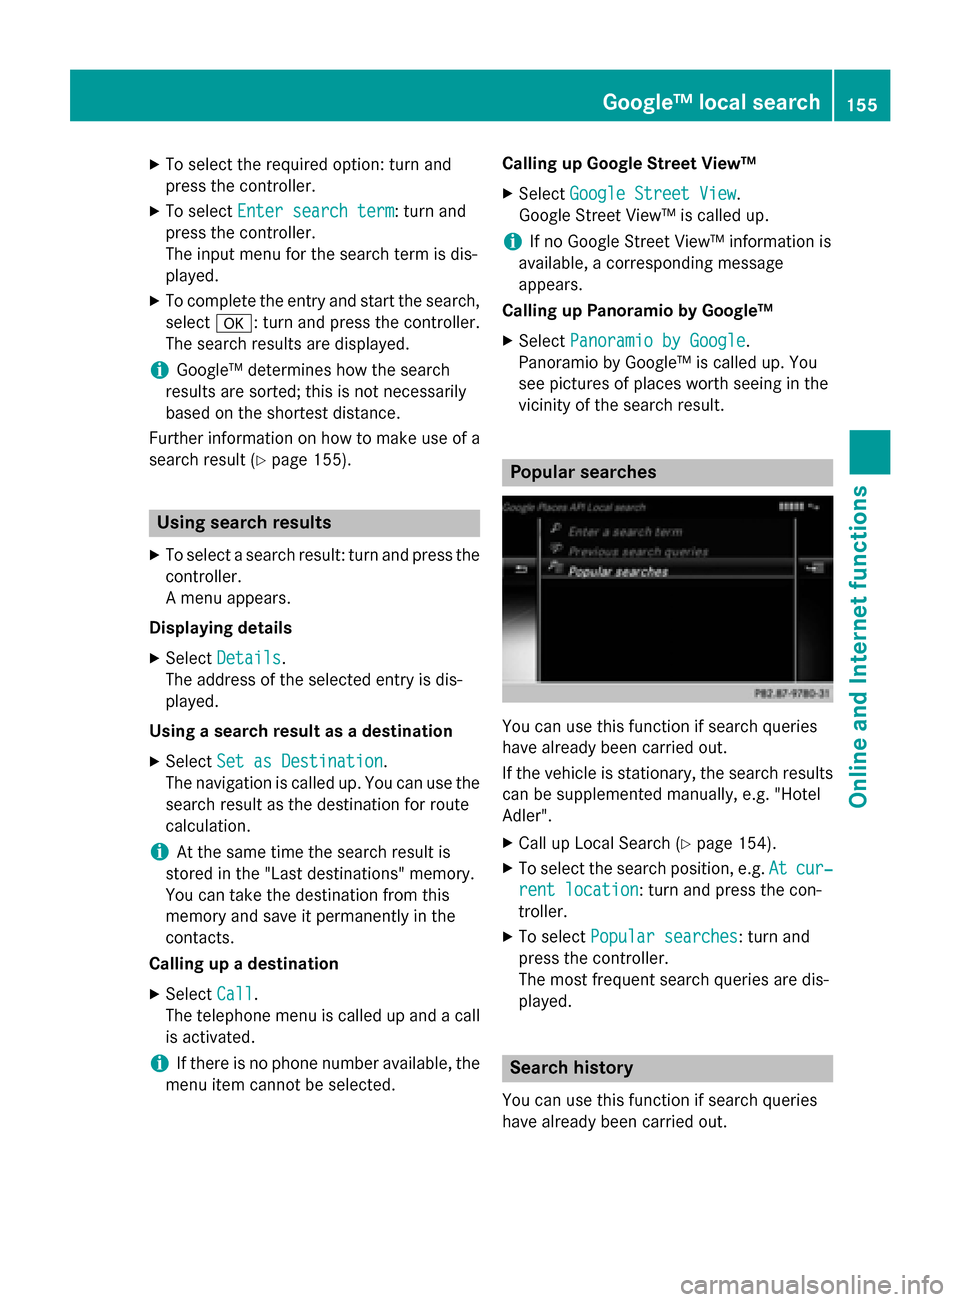
Popular searches
You can use this function if search queries
have already been carried out.
If the vehicle is stationary, the search results
can be supplemented manually, e.g. "Hotel
Adler".
XCall up Local Search (Ypage 154).
XTo select the search position, e.g. Atcur‐
rent location: turn and press the con-
troller.
XTo select Popular searches: turn and
press the controller.
The most frequent search queries are dis-
played.
Search history
You can use this function if search queries
have already been carried out.
Google™ local search155
Online and Internet functions
Z
Page 159 of 226
Procedure and general information
Sign into your Google™ account on the Inter-
net. Use the Google Maps™ website to send
the destination to a server (
Ypage 157).
Using the Download
POIApp, the destination
is displayed in the vehicle (
Ypage 157).
The destination can be:
Rimported (Ypage 158)
Rused for route guidance (Ypage 158)
Rcalled up (Ypage 158)
Rdeleted from the server (Ypage 158)
Sending destinations to the server
XSign into your Google™ account.
XCall up the Google Maps™ website.
XEnter a destination.
XClick "More" at the destination.
XClick "Send".
XEnter the corresponding information in the
boxes shown.
XSelect "Send to car".
XSelect Mercedes-Benz as the vehicle
brand.
XEnter the mbrace e-mail address or the
vehicle identification number.
Further information about the vehicle iden-
tification number (
Ypage 159).
XClick "Send".
The destination is sent to the server.
The availability of the destination/route
download function is country-dependent.
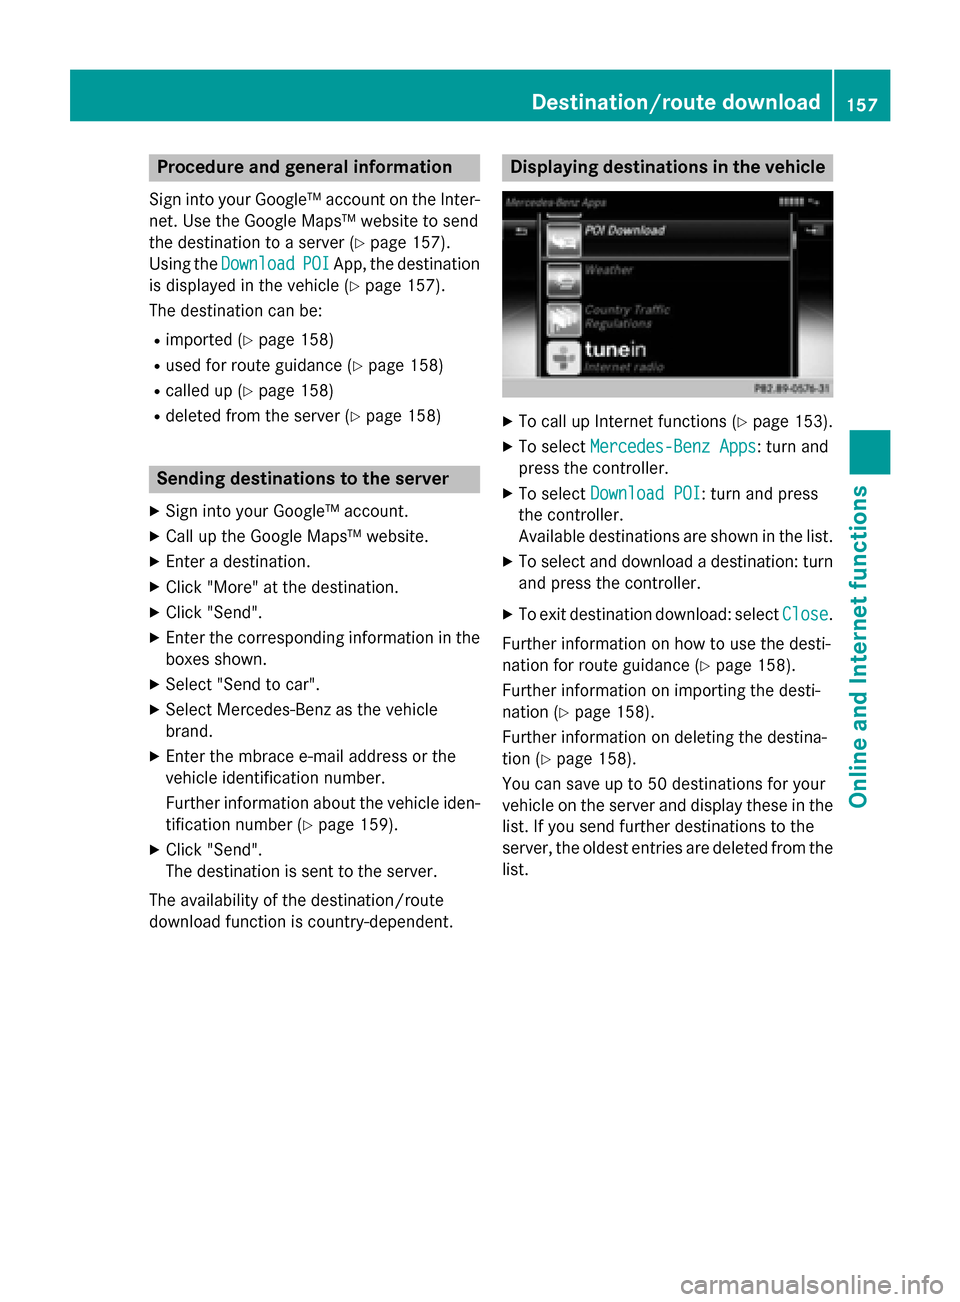
Displaying destinations in the vehicle
XTo call up Internet functions (Ypage 153).
XTo select Mercedes-Benz Apps: turn and
press the controller.
XTo select Download POI: turn and press
the controller.
Available destinations are shown in the list.
XTo select and download a destination: turn
and press the controller.
XTo exit destination download: select Close.
Further information on how to use the desti-
nation for route guidance (
Ypage 158).
Further information on importing the desti-
nation (
Ypage 158).
Further information on deleting the destina-
tion (
Ypage 158).
You can save up to 50 destinations for your
vehicle on the server and display these in the
list. If you send further destinations to the
server, the oldest entries are deleted from the
list.
Destination/route download157
Online and Internet functions
Z
Page 163 of 226

Navigating the website
StepResult
XTurn the control-
ler.Navigates from one
selectable item (e.g.
link, text field or
menu) to the next
and highlights the
respective element
on the website.
Sliding the control-
ler:
XLeft or right
1
XUp or down4
XDiagonally2
Moves the pointer
on the page.
XPress the control-
ler.Opens the selected
item.
XPress%.Calls up the menu.
Menu functions
:Closes the browser
;Goes back/forward
=Updates/cancels
?URL entry
AFavorites
BCloses the window
COptions
XTo show the menu: press the%but-
ton.
XTo call up the Options menu: select3
by turning and pressing the controller.
XTo close the website: select&.
XTo call up the previous website: select
t.
XTo call up the next website: selectu.
XTo refresh the website: selectÎ.
The website is refreshed. This procedure
may take some time.
iWhile the website is loading, a cross
appears in the menu. This can be used to
cancel the loading procedure.
XTo enter a URL: selectg.
XEnter a web address (URL) (Ypage 160).
XFavorites: selectf.
XTo close the active window: selecth.
Options menu
Opening in a new window
In order to be able to use this function, the
cursor must be on a link.
XTo show the menu: press the%but-
ton.
XTo select 3: turn and press the control-
ler.
XSelect Open In A New Window.
The website is opened in a new window.
Web browser161
Online an d Internet functions
Z