2016 MERCEDES-BENZ AMG GT S USB port
[x] Cancel search: USB portPage 134 of 226
The contacts are sorted by surname and
displayed without a comma.
RFirst Name Last Name
The contacts are sorted by first name and
displayed without a comma.
XTo select the required option: turn and
press the controller.
The contacts are sorted and displayed
according to the selection.
Automatically importing contacts
from the phone
Depending on the mobile phone used, you
can set whether the contacts should be called
up automatically after the mobile phone is
connected to COMAND.
XConnect a mobile phone (Ypage 114).
XCall up the address book (Ypage 127).
XTo show the menu bar: slide6the con-
troller.
XTo select Options: turn and press the con-
troller.
XTo select Automatically Import Con‐
tacts from Phone: turn and press the
controller.
You can allow Oor suppress ªthe auto-
matic download.
Saving a contact
Saved contacts are indicated in the phone
book by different symbols (
Ypage 124).
XCall up the address book (Ypage 127).
XTo select a contact: turn and press the con-
troller.
The details for the contact are displayed.
XTo select G: slide 9the controller.
XTo select Save: turn and press the control-
ler.
The contact has now been saved.
iIf the saved address book entry contains a
phone number, the entry is also displayed
in the phone book.
Saving or editing the contact data on
COMAND does not change the contacts on
the mobile phone. If automatic download-
ing of phone contacts is activated,
COMAND displays the copy ¥with the
changed data. To add additional data, such
as additional phone numbers or e-mail
addresses, select this contact. In this way,
you avoid creating additional copies of the
mobile phone entry.
Deleting a contact
XCall up the address book (Ypage 127).
XSearch for a contact (Ypage 128).
XTo select G: slide 9the controller.
XTo select Delete Entry: turn and press
the controller.
XTo select Yes: turn and press the controller.
The contact is deleted.
or
XTo select No: turn and press the controller.
The process is canceled.
Importing contacts
Information and requirements
Contacts can be imported as vCards (vcf
files). A vCard is an electronic business card.
A memory card, USB device or a Bluetooth
®
connection can be used for importing.
iUp to 2000 entries can be imported into
the address book. A message notifies you
when the maximum number is reached. In
order to be able to then import new con-
tacts, you have to delete existing contacts
(
Ypage 132).
132Address book
Telephone
Page 135 of 226
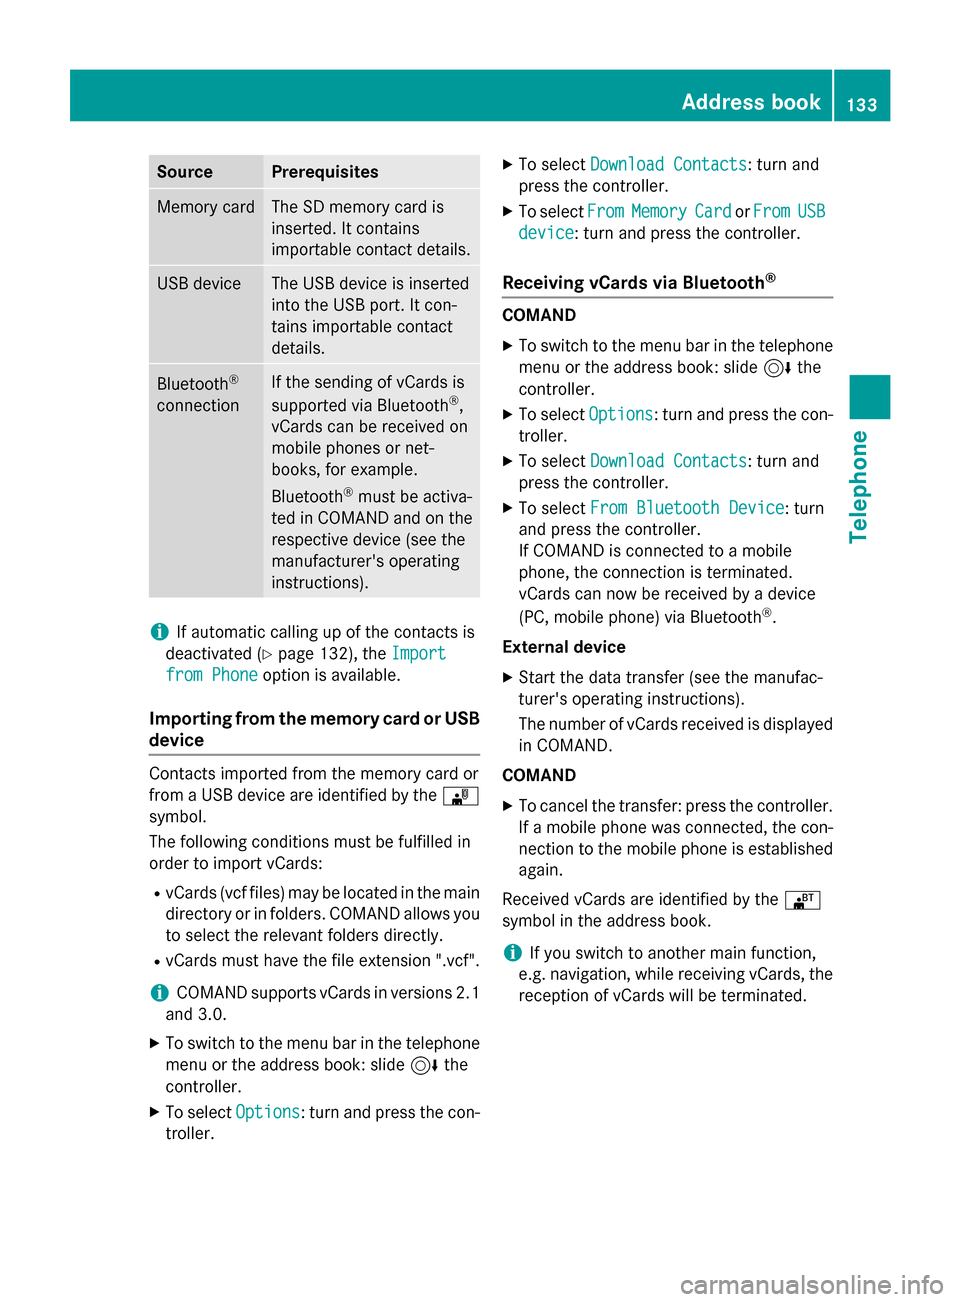
SourcePrerequisites
Memory cardThe SD memory card is
inserted. It contains
importable contact details.
USB deviceThe USB device is inserted
into the USB port. It con-
tains importable contact
details.
Bluetooth®
connection
If the sending of vCards is
supported via Bluetooth®,
vCards can be received on
mobile phones or net-
books, for example.
Bluetooth
®must be activa-
ted in COMAND and on the
respective device (see the
manufacturer's operating
instructions).
iIf automatic calling up of the contacts is
deactivated (
Ypage 132), the Import
from Phoneoption is available.
Importing from the memory card or USB
device
Contacts imported from the memory card or
from a USB device are identified by the ¯
symbol.
The following conditions must be fulfilled in
order to import vCards:
RvCards (vcf files) may be located in the main
directory or in folders. COMAND allows you
to select the relevant folders directly.
RvCards must have the file extension ".vcf".
iCOMAND supports vCards in versions 2.1
and 3.0.
XTo switch to the menu bar in the telephone menu or the address book: slide 6the
controller.
XTo select Options: turn and press the con-
troller.
XTo select Download Contacts: turn and
press the controller.
XTo select FromMemoryCardorFromUSB
device: turn and press the controller.
Receiving vCards via Bluetooth®
COMAND
XTo switch to the menu bar in the telephone
menu or the address book: slide 6the
controller.
XTo select Options: turn and press the con-
troller.
XTo select Download Contacts: turn and
press the controller.
XTo select From Bluetooth Device: turn
and press the controller.
If COMAND is connected to a mobile
phone, the connection is terminated.
vCards can now be received by a device
(PC, mobile phone) via Bluetooth
®.
External device
XStart the data transfer (see the manufac-
turer's operating instructions).
The number of vCards received is displayed in COMAND.
COMAND
XTo cancel the transfer: press the controller.
If a mobile phone was connected, the con-
nection to the mobile phone is established
again.
Received vCards are identified by the ®
symbol in the address book.
iIf you switch to another main function,
e.g. navigation, while receiving vCards, the
reception of vCards will be terminated.
Address book133
Telephone
Z
Page 151 of 226

current Internet connection. Therefore, you
cannot establish an Internet connection dur-
ing a service call.
Canada:a mobile phone must be connected
via Bluetooth
®(Ypage 114) or USB
(
Ypage 200) with COMAND. Furthermore,
you need a valid mobile service contract with
a data option, which is used to calculate the
associated connection costs.
Conditions for a Bluetooth
®connection
RThe mobile phone supports at least one of
the Bluetooth®profiles DUN ( Dial-U p
Networking) or PAN ( PersonalArea
Network).
The Bluetooth
®profiles DUN and PAN ena-
ble the Internet connection of the mobile
phone to be made available to the system.
Conditions for a USB connection
RThe mobile phone supports at least one of
the USB classes:
-RNDIS ( Remote Network Driver Inter-
face Specification)
-CDC/NCM ( NetworkControl Model)
-CDC/ECM ( Ethernet Control Model)
-CDC/ACM ( Access Control Model)
The USB classes enable the mobile phone
Internet connection to be made available to
the system.
The terms of use are shown when the system
is used for the first time and then once a year
thereafter. Only read and accept the terms of
use when the vehicle is stationary.
The driver is not permitted to call up websites
while driving and use of the Me
rcedes-Benz
Apps is restricted.
iThe availability of individual Mercedes-
Benz Apps may vary depending on the
country.
Setting up an Internet connection
(Canada)
Procedure and general information
If you are using Internet access for the first
time, you must enable the connected mobile
phone for Internet access (
Ypage 149). If the
connected mobile phone supports the Blue-
tooth
®PAN profile or the USB classes RNDIS,
CDC/NCM or CDC/ECM, you do not need to
make additional settings. The Internet con-
nection is established. If the connected
mobile phone does not support the named
Bluetooth
®profile or the named USB classes,
predefined (
Ypage 150) or manual access
data (
Ypage 150) must be set.
While initializing the mobile phone for the
Internet connection, access data which is
already on the mobile phone may be over-
written. You should therefore check the set-
tings on the mobile phone (see the manufac-
turer's operating instructions).
Enabling the mobile phone for Inter-
net access
XTo call up Internet functions (Ypage 153).
XTo switch to the menu bar: slide 6the
controller.
XTo select Settings: turn and press the
controller.
XTo select Configure Internet Set‐
tings: turn and press the controller.
A message is displayed telling you that the
settings for the Internet functions depend
on your mobile phone network provider and
your mobile phone.
If a mobile phone has already been ena-
bled, the device list is displayed.
XTo select Start Search: turn and press
the controller.
Mobile phones are displayed that:
Setting up an Internet connection (Canada)149
Online and Internet functions
Z
Page 152 of 226
Rare connected with COMAND
Rfulfill the conditions for the Internet func-
tions
Rhave not yet been set up for the Internet
function
XTo select a mobile phone from the device
list: turn the controller and press to con-
firm.
If the mobile phone supports the Blue-
tooth
®PAN profile or the USB classes
RNDIS, CDC/NCM or CDC/ECM, Internet
access is set up. You can use the Internet
functions.
If the connected mobile phone does not
support the named Bluetooth
®profile or
the named USB classes, predefined
(
Ypage 150) or manual access data
(
Ypage 150) must be set.
Setting access data of the mobile
phone network provider
Selecting the predefined access data of
the mobile phone network provider
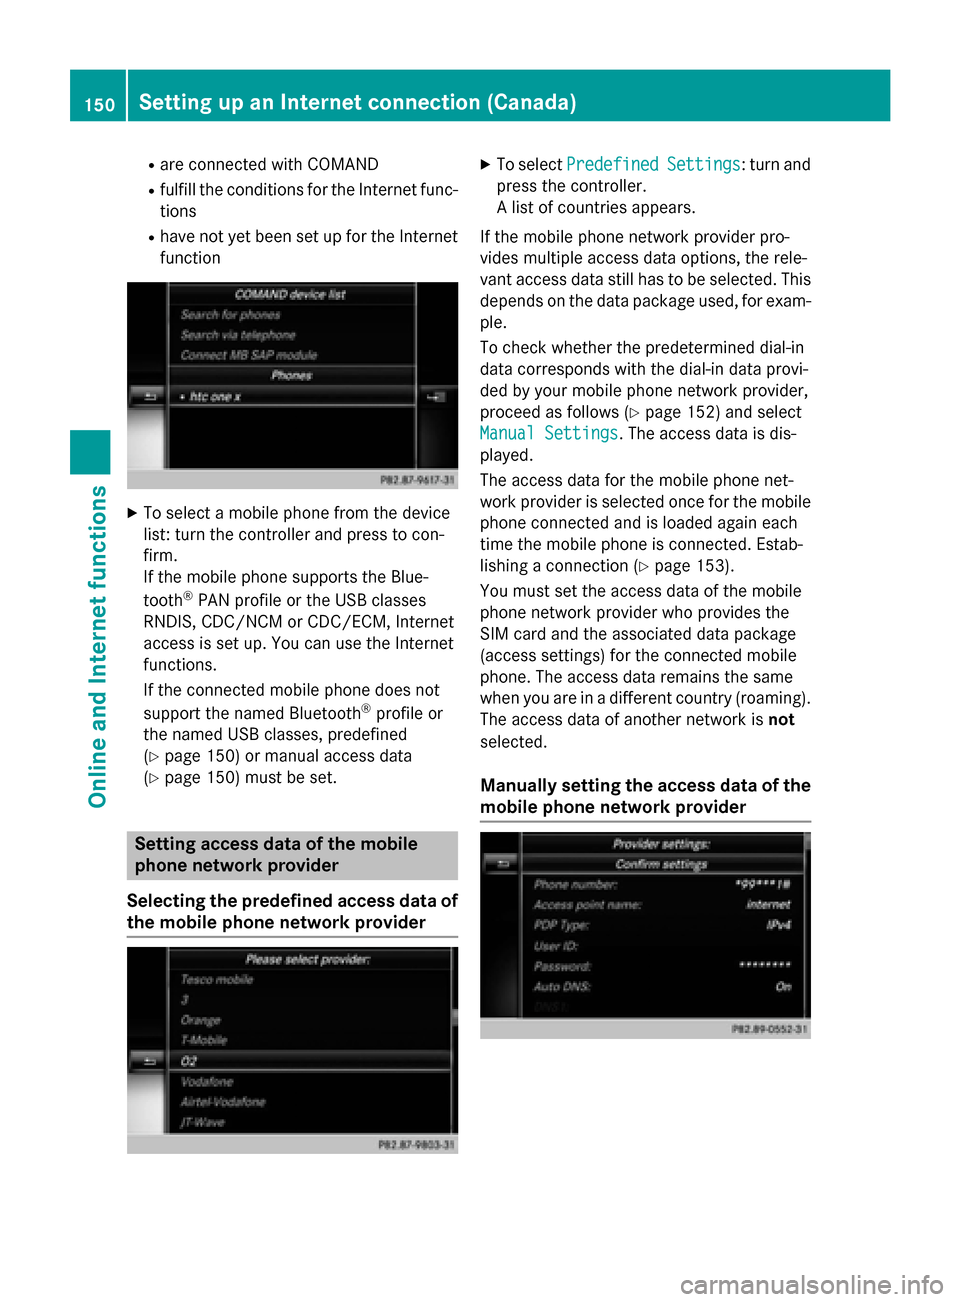
XTo select PredefinedSettings: turn and
press the controller.
A list of countries appears.
If the mobile phone network provider pro-
vides multiple access data options, the rele-
vant access data still has to be selected. This
depends on the data package used, for exam-
ple.
To check whether the predetermined dial-in
data corresponds with the dial-in data provi-
ded by your mobile phone network provider,
proceed as follows (
Ypage 152) and select
Manual Settings
. The access data is dis-
played.
The access data for the mobile phone net-
work provider is selected once for the mobile phone connected and is loaded again each
time the mobile phone is connected. Estab-
lishing a connection (
Ypage 153).
You must set the access data of the mobile
phone network provider who provides the
SIM card and the associated data package
(access settings) for the connected mobile
phone. The access data remains the same
when you are in a different country (roaming).
The access data of another network is not
selected.
Manually setting the access data of the
mobile phone network provider
150Setting up an Internet connection (Canada)
Online and Internet functions
Page 183 of 226
Using the device list
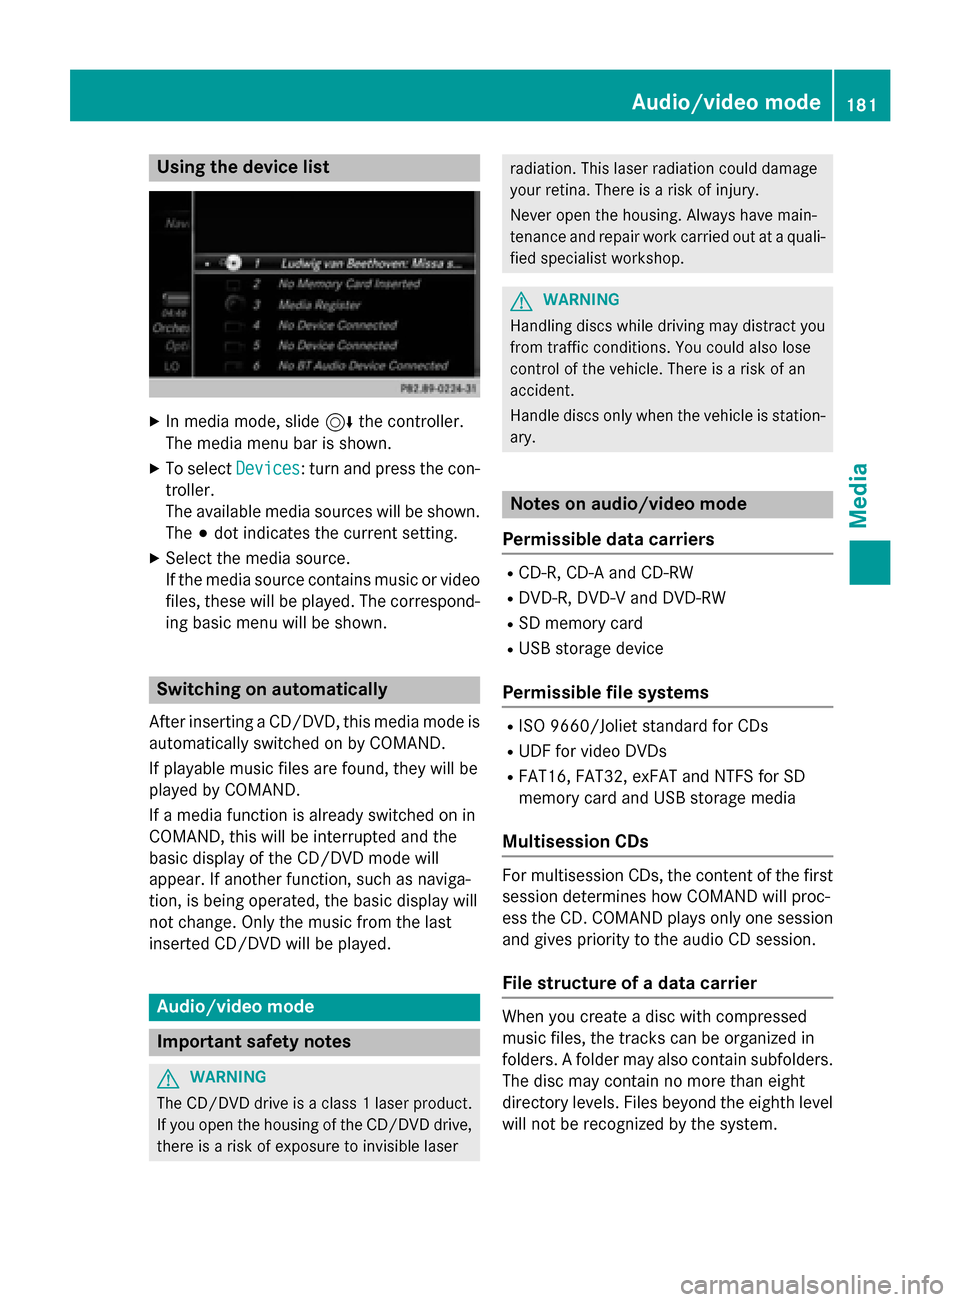
XIn media mode, slide6the controller.
The media menu bar is shown.
XTo select Devices: turn and press the con-
troller.
The available media sources will be shown.
The #dot indicates the current setting.
XSelect the media source.
If the media source contains music or video
files, these will be played. The correspond-
ing basic menu will be shown.
Switching on automatically
After inserting a CD/DVD, this media mode is
automatically switched on by COMAND.
If playable music files are found, they will be
played by COMAND.
If a media function is already switched on in
COMAND, this will be interrupted and the
basic display of the CD/DVD mode will
appear. If another function, such as naviga-
tion, is being operated, the basic display will
not change. Only the music from the last
inserted CD/DVD will be played.
Audio/video mode
Important safety notes
GWARNING
The CD/DVD drive is a class 1 laser product.
If you open the housing of the CD/DVD drive,
there is a risk of exposure to invisible laser
radiation. This laser radiation could damage
your retina. There is a risk of injury.
Never open the housing. Always have main-
tenance and repair work carried out at a quali- fied specialist workshop.
GWARNING
Handling discs while driving may distract you from traffic conditions. You could also lose
control of the vehicle. There is a risk of an
accident.
Handle discs only when the vehicle is station-
ary.
Notes on audio/video mode
Permissible data carriers
RCD-R, CD-A and CD-RW
RDVD-R, DVD-V and DVD-RW
RSD memory card
RUSB storage device
Permissible file systems
RISO 9660/Joliet standard for CDs
RUDF for video DVDs
RFAT16, FAT32, exFAT and NTFS for SD
memory card and USB storage media
Multisession CDs
For multisession CDs, the content of the first
session determines how COMAND will proc-
ess the CD. COMAND plays only one session
and gives priority to the audio CD session.
File structure of a data carrier
When you create a disc with compressed
music files, the tracks can be organized in
folders. A folder may also contain subfolders.
The disc may contain no more than eight
directory levels. Files beyond the eighth level
will not be recognized by the system.
Audio/video mode181
Media
Z
Page 184 of 226
iCOMAND supports up to 50,000 files
from one data medium. For data med iawith
more than 64 GB, only filesinthe following
folders are supported: Music, Pictures,
Vide o.
Track and file names
When you create a disc with compressed
music files, you can assign names to the
tracks and folders.
If MP3 or WMA files are stored in the root
dire ctory itself, the root directory will also be
treated as a folder.
You should observe the fol lowing when
assigning track names:
Rtrack names must have at least one char-
acter.
Rtrack names must have an extension of a
supported audio/video format, e.g. mp3,
aac or m4v.
Rthere must bea dot between the track
name and the extension.
Example of a correct track name:
"Track1.m p3".
Permissible formats
COMAND supports the following audio for-
mats:
RMP3
RWMA
RCD-A
RAAC formats: .aac, .mp4, .m4a and .m4b
Copy-protected iTunes
®music files with
the .m4p fileextension are not supported.
COMAND supports the following video for-
mats:
RDVD-V
RMPEG
RWMV
RM4V
RAVI up to 720p.
Permissible bit and sampling rates
COMAND supports MP3 files of the following
types:
Rfixed and variable bit rates from 32 kb it/s
to 320 kb it/s
Rsampling rates of 8 kHz to 48 kHz
COMAND supports WMA files of the following
types:
Rfixed bitrates from 5 kb it/sto 384 kb it/s
Rsampling rates of 8 kHz to 48 kHz
COMAND does not support WMA files of the
fol lowin g types:
RDRM (Digital Rights Management) encryp-
ted files
Rvar iable bit rate
RWMA Pro
R5.1 surround sound
iOnlyuse tracks with a bit rate of at least
128 kb it/sand a samplin g rate of at least
44.1 kH z.Lower rates can cause a notice-
able deterioration in quality. This is espe-
cially the case if you have activated a sur-
round sound function.
Selecting an active partition (USB mass
storage devices only)
You can select this function for USB storage
devices when the storage device is parti-
tioned. Up to 9 partitions (primary or logical,
FAT, FAT32 and NTFS) are supported.
Selecting an active partition
XTo select Optionsin the media menu bar:
turn and press the controller.
XSelect Select Active Partition.
Notes on copyright
Audio/video files that you create or repro-
duce yourself for playback are generally sub-
ject to copyright protection.
In many countries, reproductions, even for
private use, are not permitted without the
prior consent of the copyright holder.
182Audio/video mode
Media
Page 186 of 226

Inserting and ejecting an SD memory
card
Important safety notes
GWARNIN G
SD memory cards are small parts. They can be
swallowed and caus easphyxiation .This
poses an increased ris kof injury or eve nfatal
injury.
Kee pSD memory cards out of th ereac hof
children .If an SD memory car dis swallowed,
seek immediat emedical attention .
!Ifyou are no longer using the SDmemory
car d,you should remove itand take it out of
the vehicle. High temperatures can dam-
age the car d.
COMAND supports SDmemory car ds
(Secure Digital),SDHC memory car ds
(Secure DigitalHig h Capacity), and SDXC
memory car ds(Secure Digital e Xtended
C apacit y.
Inserting an SD memory card
XInsert the SDmemory card into the SDcard
slot unt il itengages. The sidewith the con-
tacts must face downwards.
If the memory card has been selected as a
med iasource, the medium isplayed and
the files are loaded in the background. If
there are no supported audio/video files,
you willsee a message to this effect.
iIfthe SDmemory card for navigation is
inserted into the SDcard slot, you can still
select the memory card as a media source.
The No Playable Files
message then
appears.
Ejecting an SD memory card
XPress the memory car d.
The memory card is ejecte d.
XRemove the memory card.
Connecting USB devices
There are two USB portsinthe stowage space
under the armrest.
XConnect the USB device to the USB port.
If the corresponding med iadisplay is visi-
ble, the medium isplayed and the files are
loaded inthe backgroun d. Ifthere are no
supported audio/vide o files, youwillsee a
message to th iseffect.
iMP3 players must support Media Transfer
Protocol (MTP).
Activating media mode
Switching on automatically
After inserting a CD/DVD, th ismed iamode is
automatical lyswitched on byCOMAND.
If playable music files are foun d,they will be
played byCOMAND.
If a med iafunction isalready switched on in
COMAND, th is will beinterrupted and the
basic display of the CD/DVD mode will
appear. Ifanother function, such as naviga-
tion, isbeing operate d,the basic display will
not change. Only the music from the last
inserted CD/DVD will beplayed.
Dependin g on the vehicle equipment, the
default display must already beturned on
when using with USB devices or SDmemory
cards.
XIn sert the CDs /DVDs (Ypage 183)
or
XIn sert an SDmemory car d:(Ypage 184)
or
XConnect a USB device: (Ypage 184)
COMAND loads the medium inserted and
starts to play itautomatically.
Further options for switching on
RUsing the main function bar: (Ypage 180)
RUsing the device list: (Ypage 181)
184Audio/video mode
Media
Page 187 of 226
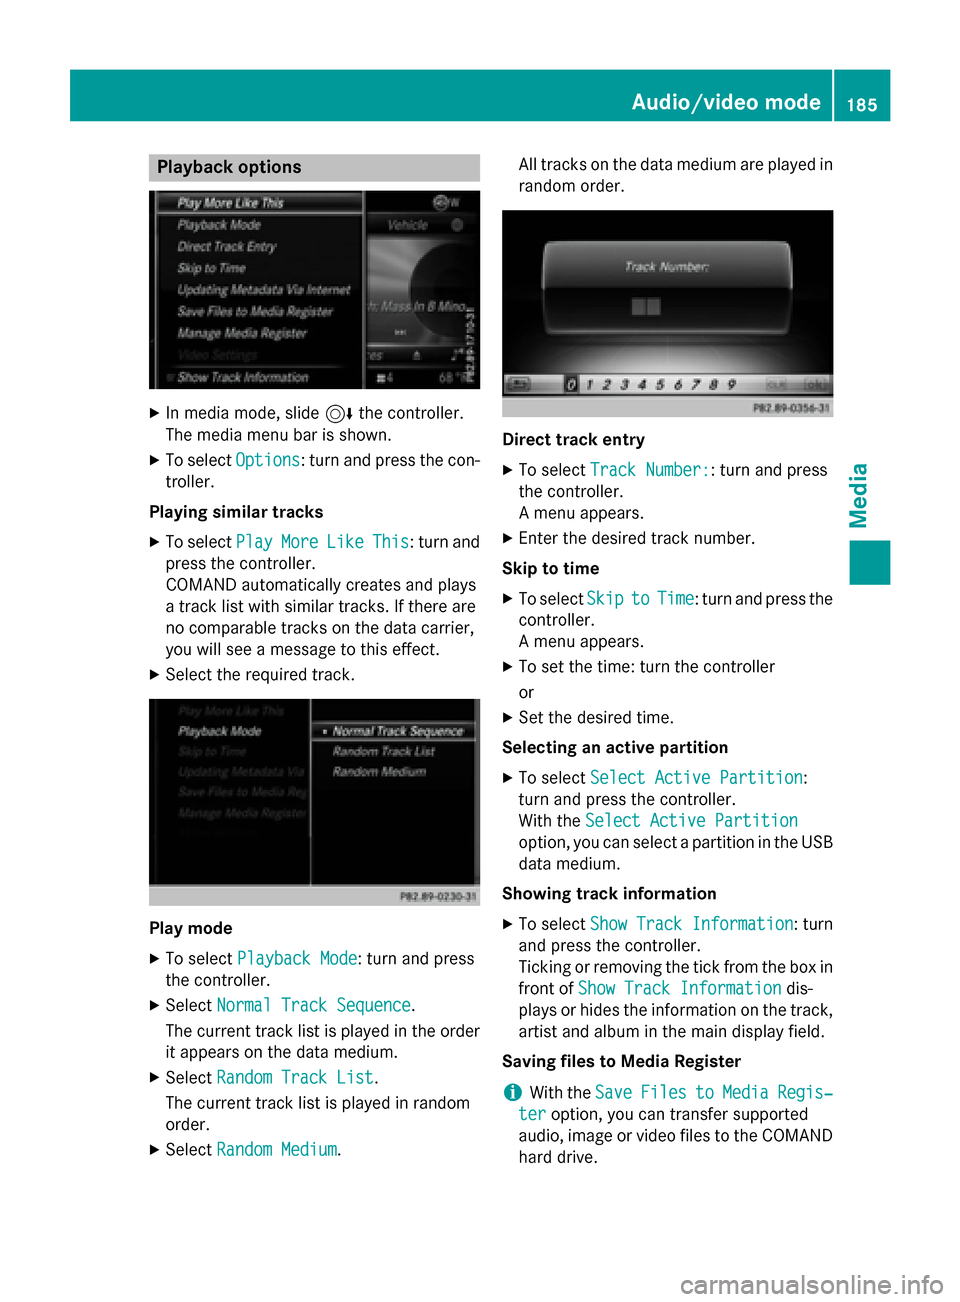
Playback options
XIn media mode, slide6the controller.
The media menu bar is shown.
XTo select Options: turn and press the con-
troller.
Playing similar tracks
XTo select PlayMoreLikeThis: turn and
press the controller.
COMAND automatically creates and plays
a track list with similar tracks. If there are
no comparable tracks on the data carrier,
you will see a message to this effect.
XSelect the required track.
Play mode
XTo select Playback Mode: turn and press
the controller.
XSelect Normal Track Sequence.
The current track list is played in the order
it appears on the data medium.
XSelect Random Track List.
The current track list is played in random
order.
XSelect Random Medium. All tracks on the data medium are played in
random order.
Direct track entry
XTo select
Track Number:: turn and press
the controller.
A menu appears.
XEnter the desired track number.
Skip to time
XTo select SkiptoTime: turn and press the
controller.
A menu appears.
XTo set the time: turn the controller
or
XSet the desired time.
Selecting an active partition
XTo select Select Active Partition:
turn and press the controller.
With the Select Active Partition
option, you can select a partition in the USB
data medium.
Showing track information
XTo select Show Track Information: turn
and press the controller.
Ticking or removing the tick from the box in
front of Show Track Information
dis-
plays or hides the information on the track,
artist and album in the main display field.
Saving files to Media Register
iWith the SaveFilestoMediaRegis‐
teroption, you can transfer supported
audio, image or video files to the COMAND
hard drive.
Audio/video mode185
Media
Z