Page 342 of 660

3425-2. Setup
NX200t_OM_USA_OM78081U
Display settings
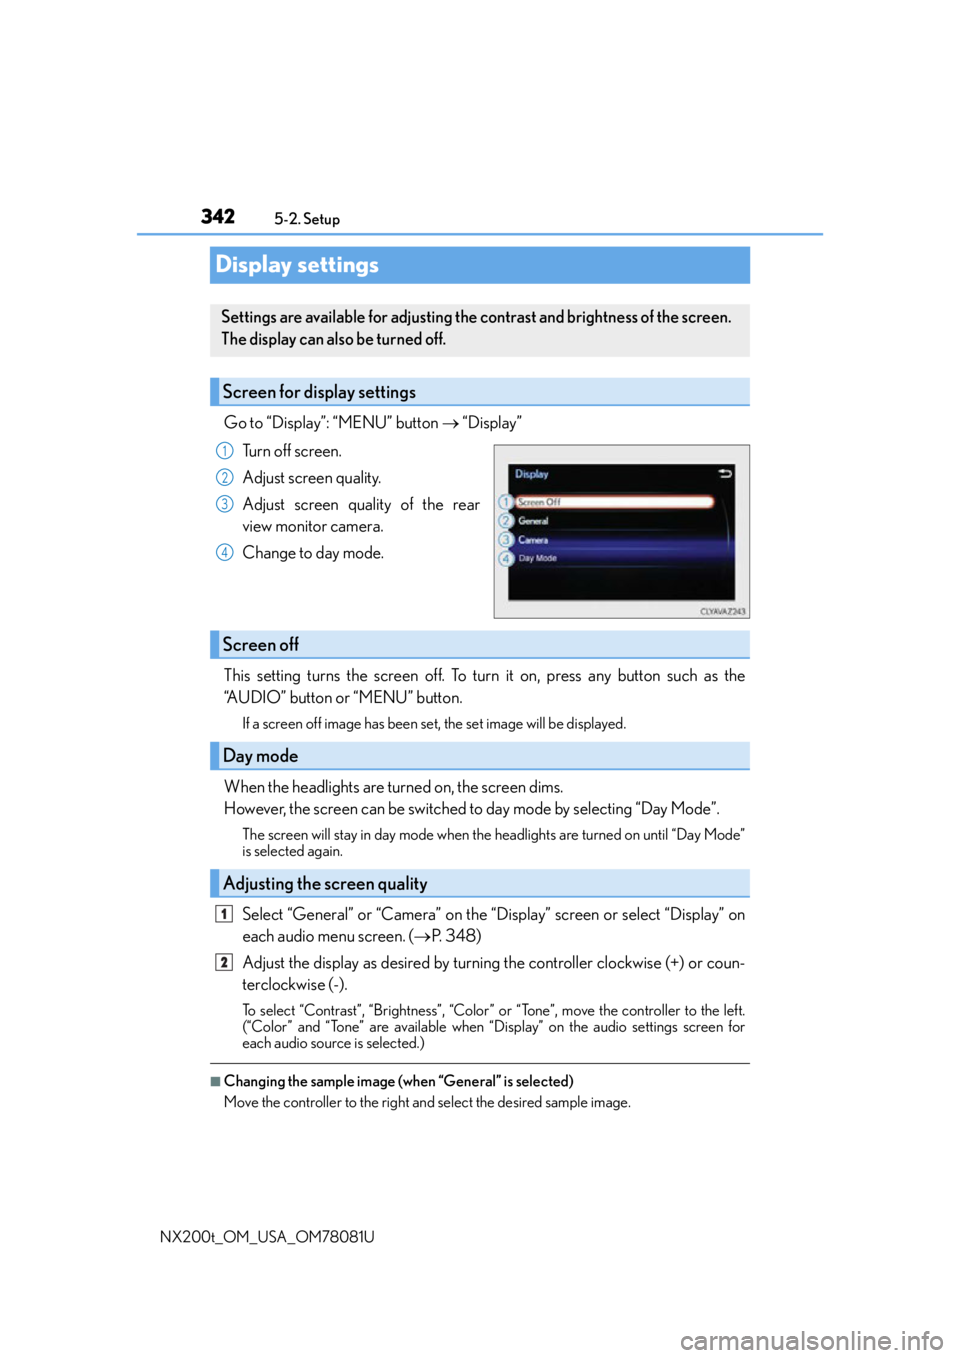
Go to “Display”: “MENU” button “Display”
Turn off screen.
Adjust screen quality.
Adjust screen quality of the rear
view monitor camera.
Change to day mode.
This setting turns the screen off. To turn it on, press any button such as the
“AUDIO” button or “MENU” button.
If a screen off image has been set, the set image will be displayed.
When the headlights are turned on, the screen dims.
However, the screen can be switched to day mode by selecting “Day Mode”.
The screen will stay in day mode when the headlights are turned on until “Day Mode”
is selected again.
Select “General” or “Camera” on the “Display” screen or select “Display” on
each audio menu screen. ( P. 3 4 8 )
Adjust the display as desired by turning the controller clockwise (+) or coun-
terclockwise (-).
To select “Contrast”, “Brightness”, “Color” or “Tone”, move the controller to the left.
(“Color” and “Tone” are available when “Display” on the audio settings screen for
each audio source is selected.)
■Changing the sample image (when “General” is selected)
Move the controller to the right and select the desired sample image.
Settings are available for adjusting the contrast and brightness of the screen.
The display can also be turned off.
Screen for display settings
1
2
3
4
Screen off
Day mode
Adjusting the screen quality
1
2
Page 528 of 660
5287-3. Do-it-yourself maintenance
NX200t_OM_USA_OM78081U
Install the bulb base.
Align the 3 tabs on the light bulb with
the mounting, and insert. Turn it
clockwise to set.
Confirm the installation of the
bulb base.
Shake the bulb base gently to check
that it is not loose, turn the headlight
high beams on once and visually
confirm that no light is leaking
through the mounting.
Install the cover and turn it clock-
wise.
Align the of the cover to the
positioning mark of the lamp body
and insert and turn it. There is the positioning mark on
the outer side of the light unit.
7
8
9
Page 531 of 660
5317-3. Do-it-yourself maintenance
7
Maintenance and care
NX200t_OM_USA_OM78081U
Remove the light bulb.
Replace the light bulb.
Turn clockwise and set the bulb
base.
Attach the clip to the cover.Push up on the center of the
clip.
Attach the clip.4
5
6
7
1
2
Page 534 of 660
5347-3. Do-it-yourself maintenance
NX200t_OM_USA_OM78081U
Replace the light bulb.
Turn clockwise and set the bulb
base.
Confirm that cable is fixed to the tab.
Set the light unit. Align the light unit with the 2
tabs on the rear bumper.
Push the light unit forward
while pushing A.
Confirm that the grommet fits into
the bolt installation hole on the
light unit.
37
Ta b
38
Grommet
A
Ta b
Ta b
9
1
2