2016 Lexus GS450h window
[x] Cancel search: windowPage 210 of 544
210
GS450h_OM_OM30E99U_(U)
4-4. Refueling
Opening the fuel tank cap
●Turn the power switch off and ensure that all the doors and windows are
closed.
●Confirm the type of fuel.
■Fuel types
P. 4 7 8
■Fuel tank opening for unleaded gasoline
To help prevent incorrect fueling, your vehicle has a fuel tank opening that only accom-
modates the special nozzle on unleaded fuel pumps.
Perform the following steps to open the fuel tank cap:
Before refueling the vehicle
WA R N I N G
■When refueling the vehicle
Observe the following precautions while refu eling the vehicle. Failure to do so may
result in death or serious injury.
●After exiting the vehicle and before openin g the fuel door, touch an unpainted metal
surface to discharge any static electricity. It is important to discharge static electricity
before refueling because sparks resulting fr om static electricity can cause fuel vapors
to ignite while refueling.
●Always hold the grips on th e fuel tank cap and turn it slowly to remove it.
A whooshing sound may be heard when the fuel tank cap is loosened. Wait until the
sound cannot be heard before fully removing the cap. In hot weather, pressurized fuel
may spray out the filler neck and cause injury.
●Do not allow anyone that has not discharged static electricity from their body to come
close to an open fuel tank.
●Do not inhale vaporized fuel.
Fuel contains substances th at are harmful if inhaled.
●Do not smoke while refueling the vehicle.
Doing so may cause the fuel to ignite and cause a fire.
●Do not return to the vehicle or touch any person or object that is statically charged.
This may cause static electricity to build up, resulting in a possible ignition hazard.
■When refueling
Observe the following precautions to prevent fuel overflowing from the fuel tank:
●Securely insert the fuel nozzle into the fuel filler neck.
●Stop filling the tank after the fuel nozzle automatically clicks off.
●Do not top off the fuel tank.
Page 217 of 544

GS450h_OM_OM30E99U_(U)
2174-5. Using the driving support systems
4
Driving
WA R N I N G
■To avoid malfunction of the camera sensor
Observe the following precautions.
Otherwise, the camera sensor may not operate properly, possibly leading to an acci-
dent resulting in death or serious injury.
●Keep the windshield clean at all times.
• If the windshield is dirty or covered with an oily film, water droplets, snow, etc.,
clear the windshield.
• If a glass coating agent is applied to the windshield, it will still be necessary to use
the windshield wipers to remove water drop lets from the area of the windshield in
front of the camera sensor.
• If the inner side of the windshield where th e camera sensor is installed is dirty, con-
tact your Lexus dealer.
●If the part of the windshield in front of th e camera sensor is fogged up or covered with
condensation or ice, use the windshield defogger to remove the fog, condensation or
ice. ( P. 2 9 1 )
●If water droplets cannot be properly remove d from the area of the windshield in front
of the camera sensor by the windshield wipers, replace the wiper insert or wiper
blade.
If the wiper inserts or wiper blades need to be replaced, contact your Lexus dealer.
●Do not attach window tinting to the windshield.
●Replace the windshield if it is damaged or cracked.
If the windshield needs to be re placed, contact your Lexus dealer.
●Do not get the camera sensor wet.
●Do not allow bright lights to shine into the camera sensor.
●Do not dirty or damage the camera sensor.
When cleaning the inside of the windshield , do not allow glass cleaner to contact the
lens. Also, do not touch the lens.
If the lens is dirty or damage d, contact your Lexus dealer.
●Do not subject the camera sensor to a strong impact.
●Do not change the installation position or di rection of the camera sensor or remove it.
●Do not disassemble the camera sensor.
●Do not install an antenna or attach stickers
(including transparent stickers) or other items
to the area of the windshield in front of the
camera sensor (shaded area in the illustra-
tion).
Page 274 of 544

274
GS450h_OM_OM30E99U_(U)
4-6. Driving tips
Winter driving tips
●Use fluids that are appropriate to the prevailing outside temperatures. •Engine oil
• Engine/power control unit coolant
• Washer fluid
●Have a service technician inspect the condition of the 12-volt battery.
●Have the vehicle fitted with four snow tires or purchase a set of tire chains for
the rear tires.
*
Ensure that all tires are the specified size and brand, and that chains match the size
of the tires.
*: Tire chains cannot be mounted on vehicles with front and rear tires of differing
sizes and vehicles with LDH and 19-inch tires.
Perform the following according to the driving conditions:
●Do not try to forcibly open a window or move a wiper that is frozen. Pour
warm water over the frozen area to melt the ice. Wipe away the water imme-
diately to prevent it from freezing.
●To ensure proper operation of the climate control system fan, remove any
snow that has accumulated on the air inlet vents in front of the windshield.
●Check for and remove any excess ice or snow that may have accumulated on
the exterior lights, vehicle’s roof, chassis, around the tires or on the brakes.
●Remove any snow or mud from the bottom of your shoes before getting in the
vehicle.
Carry out the necessary preparations and inspections before driving the vehi-
cle in winter. Always drive the vehicle in a manner appropriate to the prevail-
ing weather conditions.
Preparation for winter
Before driving the vehicle
Page 286 of 544
286
GS450h_OM_OM30E99U_(U)
5-2. Using the air conditioning system and defogger
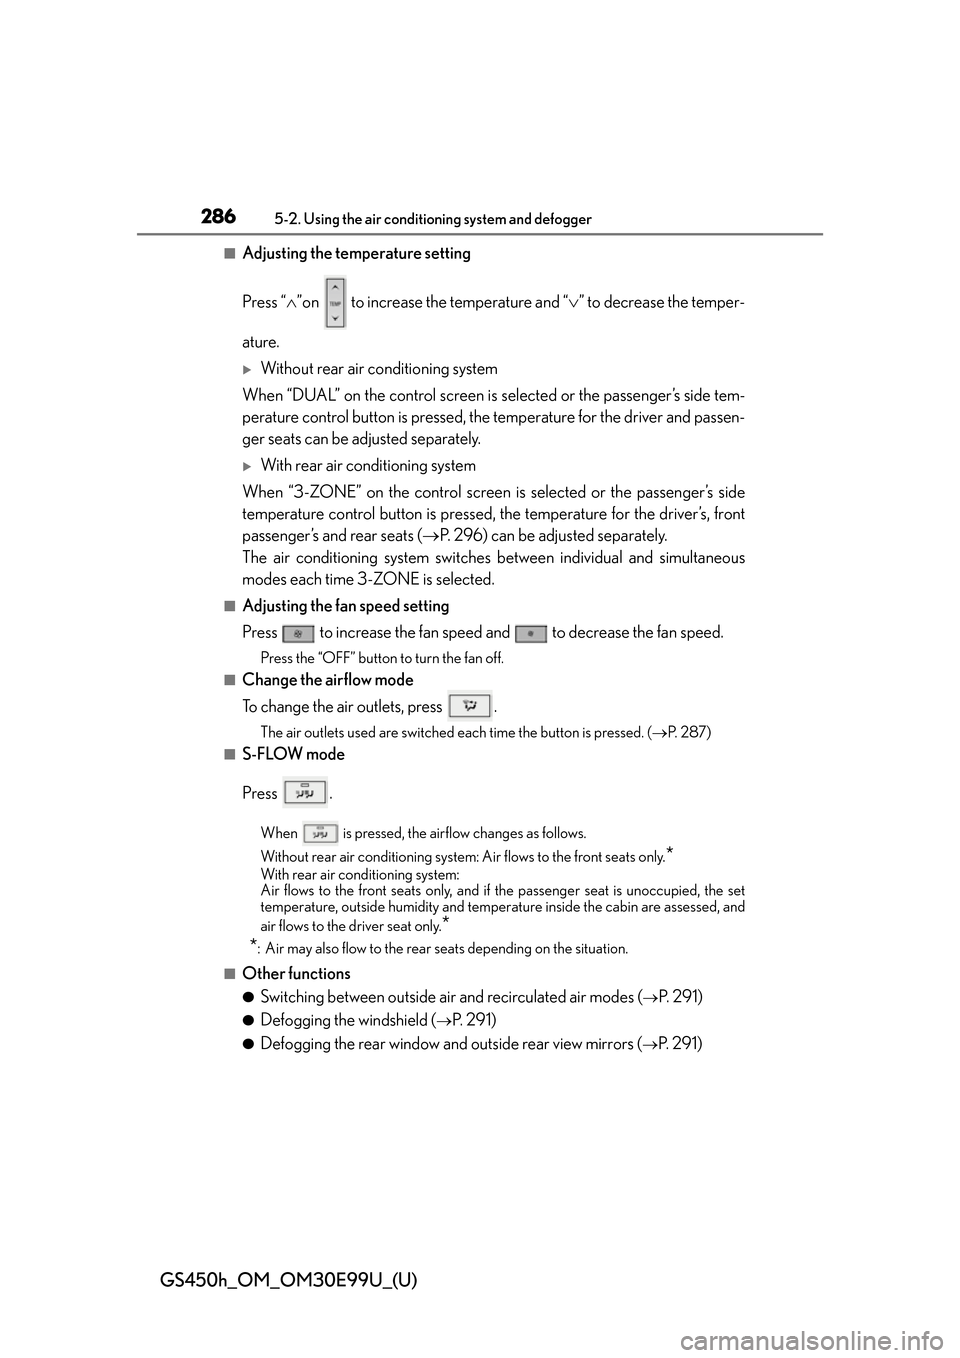
■Adjusting the temperature setting
Press “”on to increase the temperature and “ ” to decrease the temper-
ature.
Without rear air conditioning system
When “DUAL” on the control screen is selected or the passenger’s side tem-
perature control button is pressed, the temperature for the driver and passen-
ger seats can be adjusted separately.
With rear air conditioning system
When “3-ZONE” on the control screen is selected or the passenger’s side
temperature control button is pressed, the temperature for the driver’s, front
passenger’s and rear seats ( P. 296) can be adjusted separately.
The air conditioning system switches between individual and simultaneous
modes each time 3-ZONE is selected.
■Adjusting the fan speed setting
Press to increase the fan speed and to decrease the fan speed.
Press the “OFF” button to turn the fan off.
■Change the airflow mode
To change the air outlets, press .
The air outlets used are switched each time the button is pressed. ( P. 2 8 7 )
■S-FLOW mode
Press .
When is pressed, the airflow changes as follows.
Without rear air conditioning system: Air flows to the front seats only.
*
With rear air conditioning system:
Air flows to the front seats only, and if the passenger seat is unoccupied, the set
temperature, outside humidity and temperature inside the cabin are assessed, and
air flows to the driver seat only.
*
*
: Air may also flow to the rear seats depending on the situation.
■Other functions
●Switching between outside air and recirculated air modes (P. 2 9 1 )
●Defogging the windshield (P. 2 9 1 )
●Defogging the rear window and outside rear view mirrors (P. 2 9 1 )
Page 291 of 544
GS450h_OM_OM30E99U_(U)
2915-2. Using the air conditioning system and defogger
5
Interior features
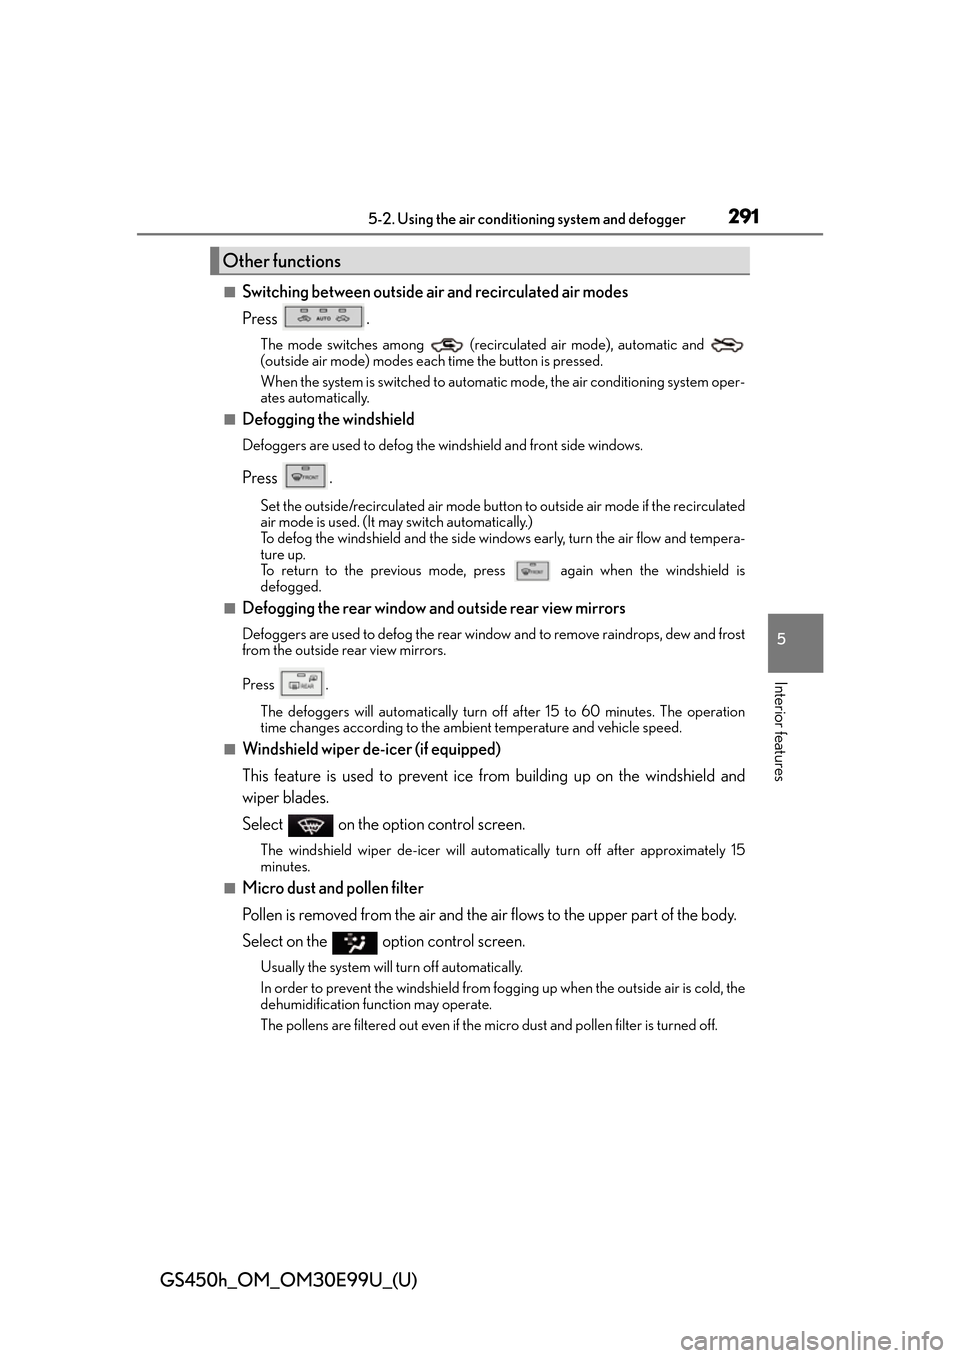
■Switching between outside air and recirculated air modes
Press .
The mode switches among (recir culated air mode), automatic and
(outside air mode) modes each time the button is pressed.
When the system is switched to automatic mode, the air conditioning system oper-
ates automatically.
■Defogging the windshield
Defoggers are used to defog the windshield and front side windows.
Press .
Set the outside/recirculated air mode button to outside air mode if the recirculated
air mode is used. (It may switch automatically.)
To defog the windshield and the side windows early, turn the air flow and tempera-
ture up.
To return to the previous mode, press
again when the windshield is
defogged.
■Defogging the rear window and outside rear view mirrors
Defoggers are used to defog the rear window and to remove raindrops, dew and frost
from the outside rear view mirrors.
Press .
The defoggers will automatically turn off after 15 to 60 minutes. The operation
time changes according to the ambient temperature and vehicle speed.
■Windshield wiper de-icer (if equipped)
This feature is used to prevent ice fr om building up on the windshield and
wiper blades.
Select on the option control screen.
The windshield wiper de-icer will automatically turn off after approximately 15
minutes.
■Micro dust and pollen filter
Pollen is removed from the air and the air flows to the upper part of the body.
Select on the option control screen.
Usually the system will turn off automatically.
In order to prevent the windshield from fo gging up when the outside air is cold, the
dehumidification function may operate.
The pollens are filtered out even if the micro dust and pollen filter is turned off.
Other functions
Page 293 of 544
GS450h_OM_OM30E99U_(U)
2935-2. Using the air conditioning system and defogger
5
Interior features
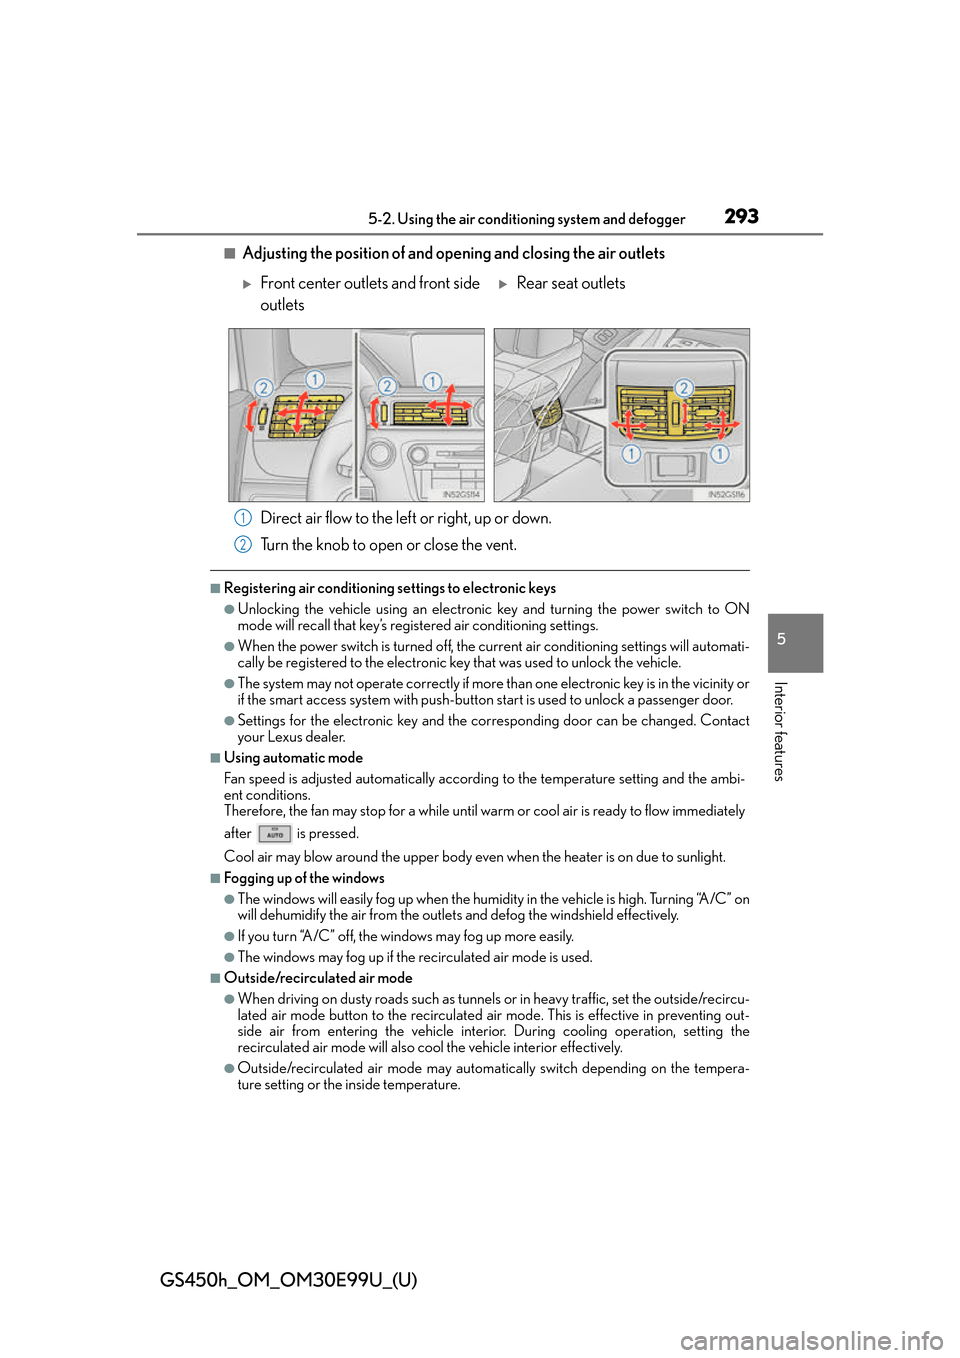
■Adjusting the position of and opening and closing the air outlets
Direct air flow to the left or right, up or down.
Turn the knob to open or close the vent.
■Registering air conditioning settings to electronic keys
●Unlocking the vehicle using an electronic key and turning the power switch to ON
mode will recall that key’s registered air conditioning settings.
●When the power switch is turned off, the curr ent air conditioning settings will automati-
cally be registered to the electronic key that was used to unlock the vehicle.
●The system may not operate correctly if more th an one electronic key is in the vicinity or
if the smart access system with push-button start is used to unlock a passenger door.
●Settings for the electronic key and the corresponding door can be changed. Contact
your Lexus dealer.
■Using automatic mode
Fan speed is adjusted automatically accordin g to the temperature setting and the ambi-
ent conditions.
Therefore, the fan may stop for a while until warm or cool air is ready to flow immediately
after is pressed.
Cool air may blow around the upper body even when the heater is on due to sunlight.
■Fogging up of the windows
●The windows will easily fog up when the humidity in the vehicle is high. Turning “A/C” on
will dehumidify the air from the outlets and defog the windshield effectively.
●If you turn “A/C” off, the windows may fog up more easily.
●The windows may fog up if the recirculated air mode is used.
■Outside/recirculated air mode
●When driving on dusty roads such as tunnels or in heavy traffic, set the outside/recircu-
lated air mode button to the recirculated ai r mode. This is effective in preventing out-
side air from entering the vehicle interior. During cooling operation, setting the
recirculated air mode will also cool the vehicle interior effectively.
●Outside/recirculated air mode may automa tically switch depending on the tempera-
ture setting or the inside temperature.
Front center outlets and front side
outletsRear seat outlets
1
2
Page 302 of 544
302
GS450h_OM_OM30E99U_(U)
5-3. Using the interior lights
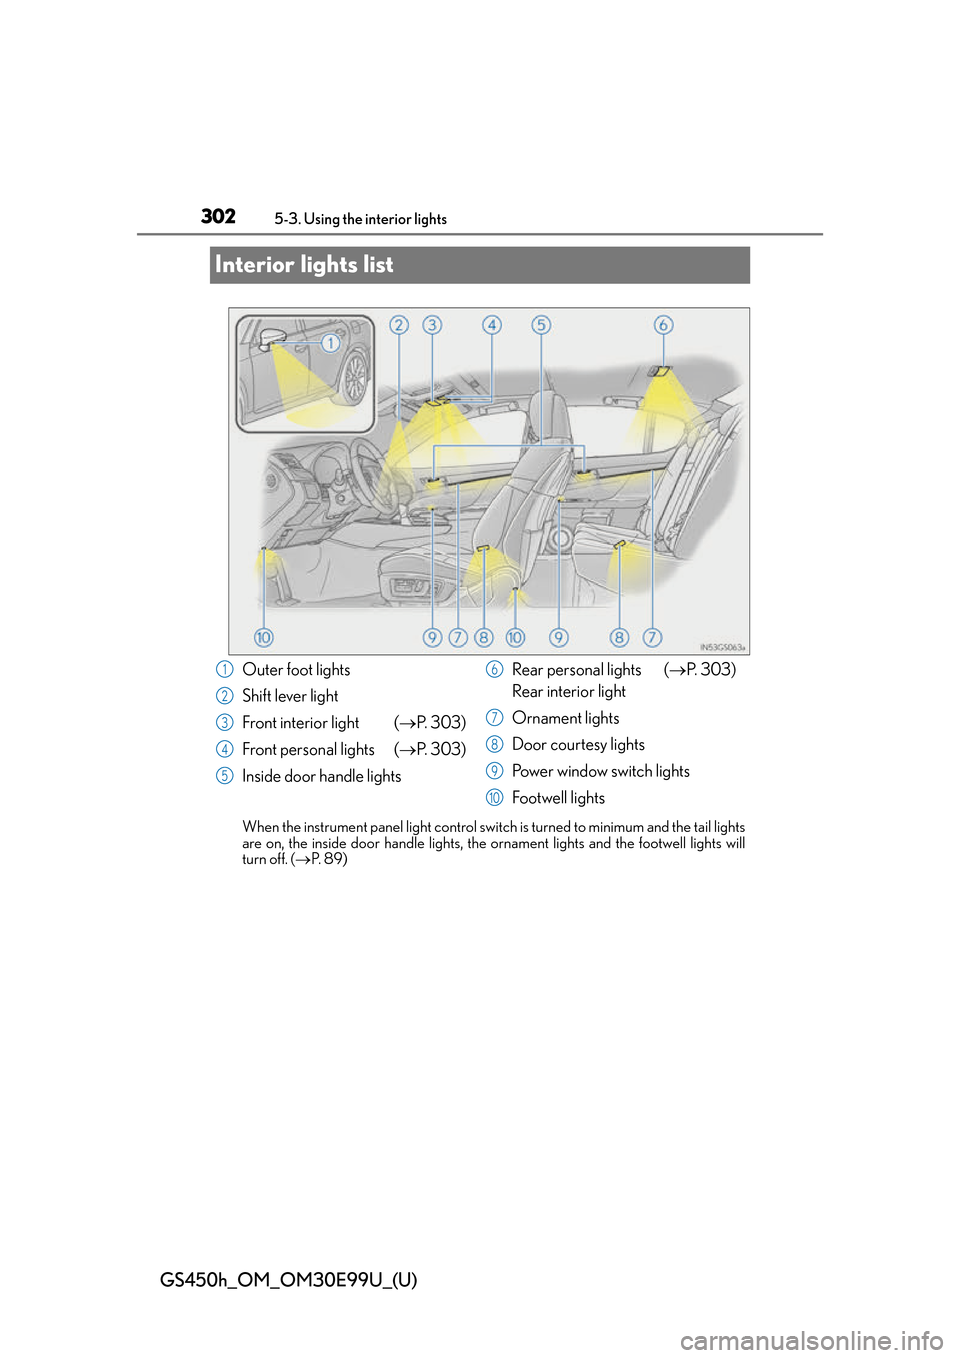
Interior lights list
When the instrument panel light control switch is turned to minimum and the tail lights
are on, the inside door handle lights, the ornament lights and the footwell lights will
turn off. ( P. 8 9 )
Outer foot lights
Shift lever light
Front interior light ( P. 3 0 3 )
Front personal lights ( P. 3 0 3 )
Inside door handle lights Rear personal lights (
P. 3 0 3 )
Rear interior light
Ornament lights
Door courtesy lights
Power window switch lights
Footwell lights1
2
3
4
5
6
7
8
9
10
Page 332 of 544
332
GS450h_OM_OM30E99U_(U)
6-1. Maintenance and care
Cleaning and protecting the vehicle exterior
●Working from top to bottom, liberally apply water to the vehicle body, wheel
wells and underside of the vehicle to remove any dirt and dust.
●Wash the vehicle body using a sponge or soft cloth, such as a chamois.
●For hard-to-remove marks, use car wash soap and rinse thoroughly with
water.
●Wipe away any water.
●Wax the vehicle when the waterproof coating deteriorates.
If water does not bead on a clean surface, apply wax when the vehicle body is cool.
■Self-restoring coat
The vehicle body has a self-restoring coating that is resistant to small surface scratches
caused in a car wash etc.
●The coating lasts for 5 to 8 years from when the vehicle is delivered from the plant.
●The restoration time differs depending on the depth of the scratch and outside temper-
ature. The restoration time may become shor ter when the coating is warmed by apply-
ing warm water.
●Deep scratches caused by keys, coins, etc. cannot be restored.
●Do not use wax that contain abrasives.
■Automatic car washes
●Fold the mirrors before washing the vehicle. Start washing from the front of the vehicle.
Make sure to extend th e mirrors before driving.
●Brushes used in automatic car washes may scratch the vehicle surface and harm your
vehicle’s paint.
●Rear spoiler (if equipped) may not be wash able in some automatic car washes. There
may also be an increased risk of damage to vehicle.
■High-pressure car washes
●Do not allow the nozzles of the car wash to come within close proximity of the windows.
●Before using the car wash, check that the fuel filler door on your vehicle is closed prop-
erly.
Perform the following to protect the ve hicle and maintain it in prime condi-
tion: