2016 KIA Soul EV power steering
[x] Cancel search: power steeringPage 133 of 524
463
Features of your vehicle
Average Vehicle Speed (2)
The average vehicle speed is cal-culated by the total driving dis-
tance and driving time since the
last average vehicle speed reset.
- Speed range: 200 km/h or 160
MPH
To reset the average vehicle speed, press the RESET ( ) button on
the steering wheel for more than 1
second when the average vehicle
speed is displayed.
✽ ✽ NOTICE
• The average vehicle speed is not dis-
played if the driving distance is less
than 50 meters (0.03 miles) or the
driving time is less than 10 seconds
since the POWER button is turned
to ON.
• Even if the vehicle is not in motion, the average vehicle speed
keeps going while the vehicle is in
the ready ( ) mode.
Elapsed Time (3)
The elapsed time is the total driv-
ing time since the last elapsed time
reset.
- Time range (hh:mm): 00:00 ~ 99:59
To reset the elapsed time, press the RESET ( ) button on the
steering wheel for more than 1
second when the elapsed time is
displayed.
✽ ✽ NOTICE
Even if the vehicle is not in motion,
the elapsed time keeps going while
the vehicle is in the ready ( )
mode.
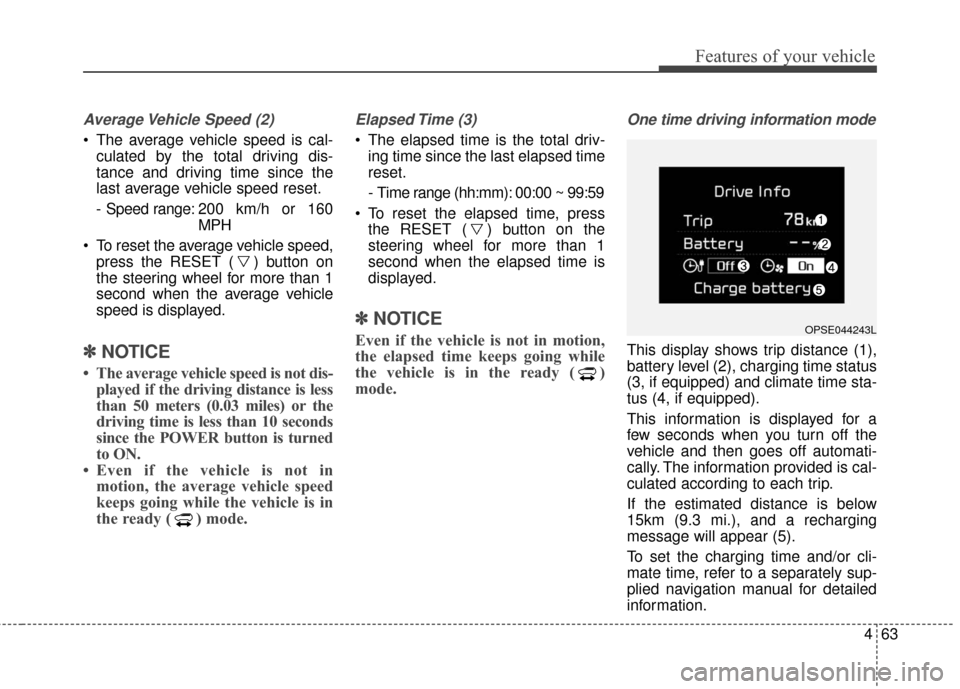
One time driving information mode
This display shows trip distance (1),
battery level (2), charging time status
(3, if equipped) and climate time sta-
tus (4, if equipped).
This information is displayed for a
few seconds when you turn off the
vehicle and then goes off automati-
cally. The information provided is cal-
culated according to each trip.
If the estimated distance is below
15km (9.3 mi.), and a recharging
message will appear (5).
To set the charging time and/or cli-
mate time, refer to a separately sup-
plied navigation manual for detailed
information.
OPSE044243L
Page 140 of 524
Features of your vehicle
70
4
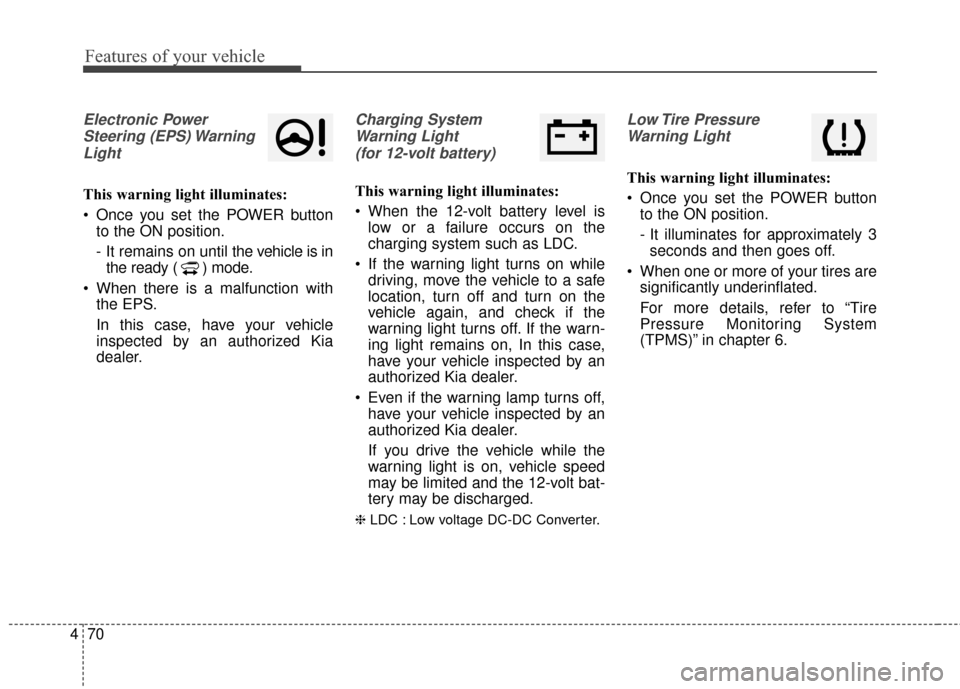
Electronic Power
Steering (EPS) WarningLight
This warning light illuminates:
Once you set the POWER button to the ON position.
- It remains on until the vehicle is in
the ready ( ) mode.
When there is a malfunction with the EPS.
In this case, have your vehicle
inspected by an authorized Kia
dealer.
Charging System
Warning Light (for 12-volt battery)
This warning light illuminates:
When the 12-volt battery level is low or a failure occurs on the
charging system such as LDC.
If the warning light turns on while driving, move the vehicle to a safe
location, turn off and turn on the
vehicle again, and check if the
warning light turns off. If the warn-
ing light remains on, In this case,
have your vehicle inspected by an
authorized Kia dealer.
Even if the warning lamp turns off, have your vehicle inspected by an
authorized Kia dealer.
If you drive the vehicle while the
warning light is on, vehicle speed
may be limited and the 12-volt bat-
tery may be discharged.
❈ LDC : Low voltage DC-DC Converter.
Low Tire Pressure
Warning Light
This warning light illuminates:
Once you set the POWER button to the ON position.
- It illuminates for approximately 3seconds and then goes off.
When one or more of your tires are significantly underinflated.
For more details, refer to “Tire
Pressure Monitoring System
(TPMS)” in chapter 6.
Page 151 of 524

481
Features of your vehicle
Headlamp escort (if equipped)
If you turn the POWER button to the
ACC or OFF position with the head-
lights ON, the headlights remain on
for about 5 minutes. However, if the
driver’s door is opened and closed,
the headlights are turned off after 15
seconds.
The headlights can be turned off by
pressing the lock button on the smart
key twice or turning the light switch to
the OFF or Auto position. However, if
you turn the light switch to the Auto
position when it is dark outside, the
headlights will not be turned off
immediately.
Battery saver function
The purpose of this feature is toprevent the battery from being dis-
charged. The system automatically
turns off the parking lights when
the driver turns the vehicle off and
opens the driver-side door (in that
order).
With this feature, the parking lights will turn off automatically if the driv-
er parks on the side of the road at
night.
If necessary, to keep the lights on
when the vehicle is turned off, per-
form the following:
1) Open the driver-side door.
2) Turn the parking lights OFF and ON again using the light switch
on the steering column.
Daytime running light
Daytime Running Lights (DRL) may
help make it easier for others to see
the front of your vehicle during the
day. DRL can be helpful in many dif-
ferent driving conditions, and it is
especially helpful after dawn and
before sunset.
The DRL system turns OFF when:
1. The front fog light or headlight (lowbeam) switch is ON.
2. The POWER button is OFF.
3. The parking brake is applied.
LIGHTING
Page 216 of 524
![KIA Soul EV 2016 2.G Owners Manual Features of your vehicle
146
4
CLOCK SETTINGS
Press the key Select
[Clock] through TUNE knob or
key Select menu through
TUNE knob
Sound Settings
This menu is used to set the time.
Select [Clock Set KIA Soul EV 2016 2.G Owners Manual Features of your vehicle
146
4
CLOCK SETTINGS
Press the key Select
[Clock] through TUNE knob or
key Select menu through
TUNE knob
Sound Settings
This menu is used to set the time.
Select [Clock Set](/manual-img/2/2980/w960_2980-215.png)
Features of your vehicle
146
4
CLOCK SETTINGS
Press the key Select
[Clock] through TUNE knob or
key Select menu through
TUNE knob
Sound Settings
This menu is used to set the time.
Select [Clock Settings] Set through TUNE knob Press TUNE knob
❈Adjust the number currently in
focus to set the [hour] and press
the tune knob to set the [minute]
and [AM/PM].
Calendar Settings
This menu is used to set the date.
Select [Calendar Settings] Set through TUNE knob Press TUNE knob
❈Adjust the number currently in
focus to make the settings and
press the tune knob to move to the
next setting.
Time Format
This function is used to set the
12/24 hour time format of the
audio system. Select [Time
Format] Set 12Hr / 24Hr through
TUNEknob
Clock Display when Power is OFF
Select [Clock Disp.(Pwr Off)] Set
/through TUNEknob
: Displays time/date on screen : Turn off.
Off
On
OffOn
3
SETUPCLOCK
WARNING- Clock Setting Distraction
Do not adjust the clock while
driving. You may lose your
steering control and cause
severe personal injury or acci-
dents.
Page 231 of 524
4161
Features of your vehicle
PHONE(IF EQUIPPED)
Before using the Bluetooth®Wireless
Technology phone features
In order to use
Bluetooth®Wireless
Technology phone, you must first
pair and connect the
Bluetooth®
Wireless Technology mobile phone.
If the mobile phone is not paired or connected, it is not possible to
enter Phone mode. Once a phone
is paired or connected, the guid-
ance screen will be displayed.
If Priority is set upon vehicle igni- tion (IGN/ACC ON), the
Bluetooth®
Wireless Technology phone will be
automatically connected. Even if
you are outside, the
Bluetooth®
Wireless Technology phone will be
automatically connected once you
are in the vicinity of the vehicle. If
you do not want automatic
Bluetooth®Wireless Technology
phone connection, set the
Bluetooth®Wireless Technology
power to OFF.
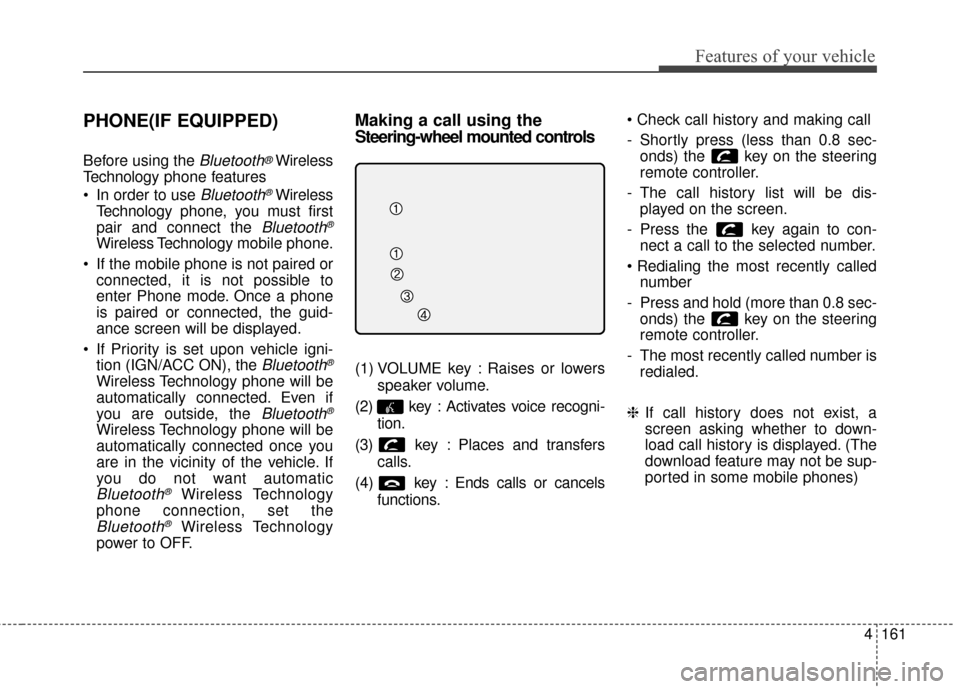
Making a call using the
Steering-wheel mounted controls
(1) VOLUME key : Raises or lowers
speaker volume.
(2) key : Activates voice recogni- tion.
(3) key : Places and transfers calls.
(4) key : Ends calls or cancels functions.
- Shortly press (less than 0.8 sec-
onds) the key on the steering
remote controller.
- The call history list will be dis- played on the screen.
- Press the key again to con- nect a call to the selected number.
number
- Press and hold (more than 0.8 sec- onds) the key on the steering
remote controller.
- The most recently called number is redialed.
❈ If call history does not exist, a
screen asking whether to down-
load call history is displayed. (The
download feature may not be sup-
ported in some mobile phones)
Page 261 of 524
![KIA Soul EV 2016 2.G Owners Manual 4191
Features of your vehicle
CLOCK SETTINGS
Press the key Select
[Clock] through TUNE knob orkey Select menu through
TUNE knob
Sound Settings
This menu is used to set the time.
Select [Clock Setti KIA Soul EV 2016 2.G Owners Manual 4191
Features of your vehicle
CLOCK SETTINGS
Press the key Select
[Clock] through TUNE knob orkey Select menu through
TUNE knob
Sound Settings
This menu is used to set the time.
Select [Clock Setti](/manual-img/2/2980/w960_2980-260.png)
4191
Features of your vehicle
CLOCK SETTINGS
Press the key Select
[Clock] through TUNE knob orkey Select menu through
TUNE knob
Sound Settings
This menu is used to set the time.
Select [Clock Settings] Set through TUNE knob Press TUNE knob
❈Adjust the number currently in
focus to set the [hour] and press
the tune knob to set the [minute]
and [AM/PM].
Calendar Settings
This menu is used to set the date
(MM/DD/YYYY).
Select [Calendar Settings] Set through TUNE knob Press TUNE knob
❈Adjust the number currently in
focus to make the settings and
press the tune knob to move to the
next setting. (Set in order of
Year/Month/Day)
Time Format
This function is used to set the
12/24 hour time format of the
audio system. Select [Time
Format] Set 12Hr / 24Hr through
TUNEknob
Clock Display when Power is OFF
Select [Clock Disp.(Pwr Off) Set
/through TUNEknob
: Displays time/date on screen : Turn off.
Off
On
OffOn
3
SETUPCLOCK
WARNING- Clock Setting Distraction
Do not adjust the clock while
driving. You may lose your
steering control and cause
severe personal injury or acci-
dents.
Page 277 of 524
4207
Features of your vehicle
PHONE(IF EQUIPPED)
Before using the Bluetooth®Wireless
Technology phone features
Bluetooth®Wireless
Technology phone, you must first
pair and connect the
Bluetooth®
Wireless Technology mobile phone.
connected, it is not possible to
enter Phone mode. Once a phone
is paired or connected, the guid-
ance screen will be displayed.
tion (IGN/ACC ON), the
Bluetooth®
Wireless Technology phone will be
automatically connected. Even if
you are outside, the
Bluetooth®
Wireless Technology phone will be
automatically connected once you
are in the vicinity of the vehicle. If
you do not want automatic
Bluetooth®Wireless Technology
phone connection, set the
Bluetooth®Wireless Technology
power to OFF
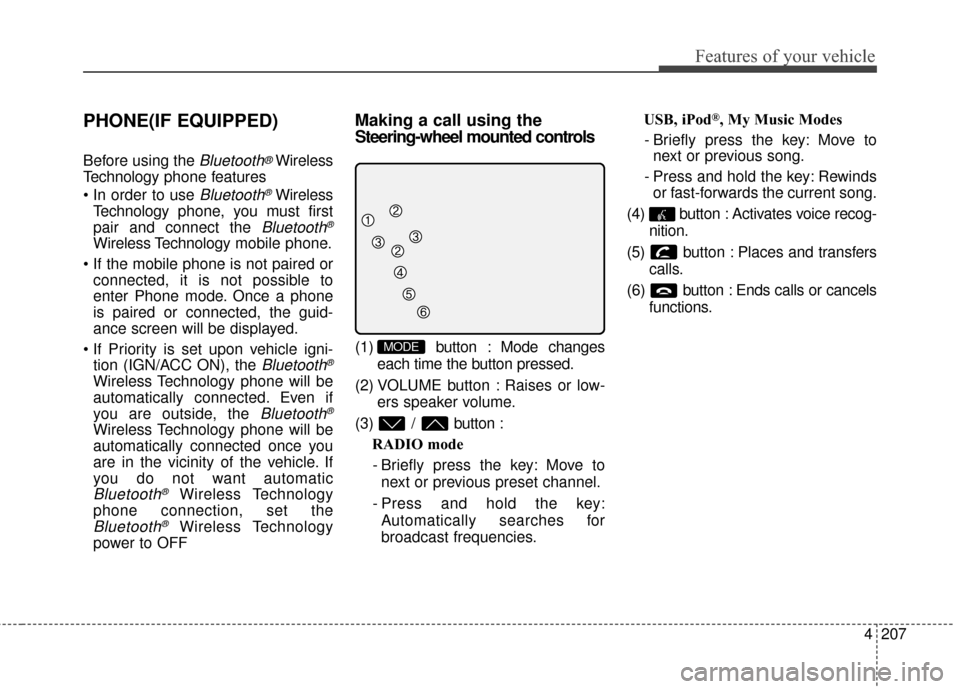
Making a call using the
Steering-wheel mounted controls
(1) button : Mode changes
each time the button pressed.
(2) VOLUME button : Raises or low- ers speaker volume.
(3) / button : RADIO mode
- Briefly press the key: Move to next or previous preset channel.
- Press and hold the key: Automatically searches for
broadcast frequencies. USB, iPod
®, My Music Modes
- Briefly press the key: Move to next or previous song.
- Press and hold the key: Rewinds or fast-forwards the current song.
(4) button : Activates voice recog- nition.
(5) button : Places and transfers calls.
(6) button : Ends calls or cancels functions.
MODE
Page 324 of 524
Driving your vehicle
24
5
When you drive on a road having
poor traction, such as an icy road,
and have operated your brakes
continuously, the ABS will be active
continuously and the ABS warning
light may illuminate. Pull your vehi-
cle over to a safe place and turn off
the POWER button.
Restart the vehicle. If the ABS warning light goes off, then your
ABS system is normal. Otherwise,
you may have a problem with the
ABS. Contact an authorized Kia
dealer as soon as possible.
✽ ✽ NOTICE
When you jump start your vehicle
because of a drained battery, the
ABS warning light may turn on.
This happens because of low battery
voltage. It does not mean your ABS
has malfunctioned.
• Do not pump your brakes!
• Have the battery recharged before
driving the vehicle.
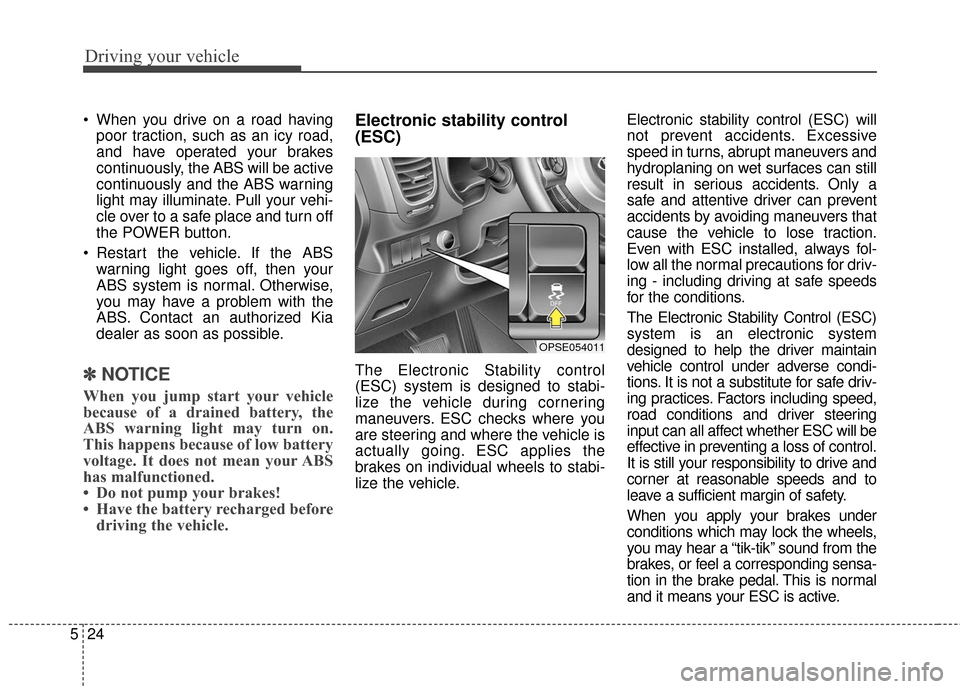
Electronic stability control
(ESC)
The Electronic Stability control
(ESC) system is designed to stabi-
lize the vehicle during cornering
maneuvers. ESC checks where you
are steering and where the vehicle is
actually going. ESC applies the
brakes on individual wheels to stabi-
lize the vehicle. Electronic stability control (ESC) will
not prevent accidents. Excessive
speed in turns, abrupt maneuvers and
hydroplaning on wet surfaces can still
result in serious accidents. Only a
safe and attentive driver can prevent
accidents by avoiding maneuvers that
cause the vehicle to lose traction.
Even with ESC installed, always fol-
low all the normal precautions for driv-
ing - including driving at safe speeds
for the conditions.
The Electronic Stability Control (ESC)
system is an electronic system
designed to help the driver maintain
vehicle control under adverse condi-
tions. It is not a substitute for safe driv-
ing practices. Factors including speed,
road conditions and driver steering
input can all affect whether ESC will be
effective in preventing a loss of control.
It is still your responsibility to drive and
corner at reasonable speeds and to
leave a sufficient margin of safety.
When you apply your brakes under
conditions which may lock the wheels,
you may hear a “tik-tik’’ sound from the
brakes, or feel a corresponding sensa-
tion in the brake pedal. This is normal
and it means your ESC is active.
OPSE054011