2016 JEEP GRAND CHEROKEE fuel
[x] Cancel search: fuelPage 3 of 276

INTRODUCTION/WELCOME
WELCOME FROM FCA US LLC...... 3
CONTROLS AT A GLANCE
DRIVER COCKPIT............... 8
INSTRUMENT CLUSTER ......... 10
GETTING STARTED
KEYFOB ................... 12
REMOTE START............... 13
KEYLESS ENTER-N-GO .......... 14
VEHICLE SECURITY ALARM ....... 17
SEAT BELT SYSTEMS ........... 18
SUPPLEMENTAL RESTRAINT SYSTEM
(SRS) — AIR BAGS ............ 19
CHILD RESTRAINTS ............ 23
HEAD RESTRAINTS ............. 28
FRONT SEATS ................ 30
REAR SEATS ................ 36
HEATED/VENTILATED SEATS ....... 37
HEATED STEERING WHEEL —
IF EQUIPPED ................ 39
TILT/TELESCOPING STEERING
COLUMN ................... 40
OPERATING YOUR VEHICLE
ENGINE BREAK-IN
RECOMMENDATIONS ........... 42
HEADLIGHT SWITCH ............ 44
TURN SIGNAL/WIPER/WASHER/HIGH
BEAM LEVER ................ 46
AUTOMATIC DIMMING MIRRORS .... 50
ELECTRONIC SPEED CONTROL ..... 50
ADAPTIVE CRUISE CONTROL (ACC) . . . 53
TRANSMISSION GEAR SELECTOR . . . 59
AUTOSTICK ................. 60
FUEL ECONOMY (ECO) MODE ...... 61
STOP/START SYSTEM —
IF EQUIPPED ................ 62
SPORT MODE — IF EQUIPPED ...... 65
AUTOMATIC TEMPERATURE CONTROLS
(ATC) ...................... 66
PARKSENSE FRONT AND REAR PARK
ASSIST .................... 69
PARKVIEW REAR BACK-UP CAMERA.. 70
BLIND SPOT MONITORING ........ 71
POWER SUNROOF ............. 71
WIND BUFFETING ............. 73
ELECTRONICS
YOUR VEHICLE'S SOUND SYSTEM . . . 74
CYBERSECURITY.............. 76 IDENTIFYING YOUR RADIO
........ 77
UCONNECT ACCESS ............ 78
UCONNECT 5.0 ............... 90
UCONNECT 8.4A/8.4AN ......... 100
UCONNECT 8.4A/8.4AN VOICE
RECOGNITION QUICK TIPS ....... 115
UCONNECT PHONE ........... 133
VIDEO ENTERTAINMENT SYSTEM
(VES) ..................... 144
STEERING WHEEL AUDIO
CONTROLS ................. 146
DRIVER INFORMATION DISPLAY
(DID) ..................... 147
PROGRAMMABLE FEATURES ...... 148
UNIVERSAL GARAGE DOOR OPENER
(HomeLink) ................. 150
POWER INVERTER ............ 152
POWER OUTLETS ............. 153
OFF-ROAD CAPABILITIES
(4WD OPERATION)
QUADRA-TRAC I FOUR-WHEEL
DRIVE .................... 155
QUADRA-TRAC II/QUADRA-DRIVE II
FOUR-WHEEL DRIVE .......... 155
SELEC-TERRAIN ............. 157
QUADRA-LIFT ............... 158
HILL START ASSIST/HILL DESCENT
CONTROL/SELEC SPEED CONTROL —
IF EQUIPPED ................ 160
UTILITY
TRAILER TOWING WEIGHTS (MAXIMUM
TRAILER WEIGHT RATINGS) ...... 161
RECREATIONAL TOWING (BEHIND
MOTORHOME, ETC.) ........... 167
SRT
FUEL ECONOMY (ECO) MODE ..... 172
SELEC-TRACK ............... 173
SRT PERFORMANCE FEATURES .... 175
SUMMER/THREE-SEASON TIRES . . . 179
DIESEL
DIESEL ENGINE BREAK-IN
RECOMMENDATIONS .......... 180
DIESEL ENGINE STARTING
PROCEDURES ............... 180
DIESEL FUEL FILTERS/WATER
SEPARATOR ................ 182
EXHAUST REGENERATION ....... 183
DIESEL EXHAUST FLUID ........ 184
TABLE OF CONTENTS
Page 4 of 276

WHAT TO DO IN EMERGENCIES
ROADSIDE ASSISTANCE......... 189
INSTRUMENT CLUSTER WARNING
LIGHTS ................... 189
INSTRUMENT CLUSTER INDICATOR
LIGHTS ................... 195
IF YOUR ENGINE OVERHEATS ..... 197
JACKING AND TIRE CHANGING .... 198
JUMP-STARTING ............. 206
EMERGENCY TOW HOOKS —
IF EQUIPPED ............... 209
MANUAL PARK RELEASE ........ 210
TOWING A DISABLED VEHICLE .... 212
FREEING A STUCK VEHICLE ...... 214
CAP-LESS FUEL FILL FUNNEL ..... 216
ENHANCED ACCIDENT RESPONSE
SYSTEM (EARS) .............. 216
EVENT DATA RECORDER (EDR) .... 216
MAINTAINING YOUR VEHICLE
OPENING THE HOOD........... 217
ENGINE COMPARTMENT ........ 218
NON-SRT FLUID CAPACITIES ...... 226
NON-SRT FLUIDS, LUBRICANTS AND
GENUINE PARTS ............. 226
SRT FLUID CAPACITIES ......... 228
FLUIDS, LUBRICANTS, AND GENUINE
PARTS—SRT ............... 229
DIESEL FLUID CAPACITIES ....... 230
DIESEL FLUIDS, LUBRICANTS AND
GENUINE PARTS ............. 230 MAINTENANCE PROCEDURES
..... 232
MAINTENANCE SCHEDULE —
GASOLINE ENGINE ............ 232
MAINTENANCE SCHEDULE —
DIESEL ENGINE .............. 243
FUSES .................... 249
TIRE PRESSURES ............. 252
ADDING FUEL ............... 253
SPARE TIRES — IF EQUIPPED ..... 255
WHEEL AND WHEEL TRIM CARE . . . 256
REPLACEMENT BULBS ......... 257
CONSUMER ASSISTANCE
FCA US LLC CUSTOMER CENTER . . . 258
FCA CANADA INC. CUSTOMER
CENTER.................. 258
ASSISTANCE FOR THE HEARING
IMPAIRED ................. 258
PUBLICATIONS ORDERING ....... 258
REPORTING SAFETY DEFECTS IN THE
UNITEDSTATES .............. 259
MOPAR® ACCESSORIES
AUTHENTIC ACCESSORIES BY
MOPAR ................... 260
FAQ ’ s
FREQUENTLY ASKED QUESTIONS . . 261
INDEX.................. 263
TABLE OF CONTENTS
2
Page 13 of 276

4. Engine Temperature Gauge pg. 189
5. Fuel Door Location
6. Fuel Gauge pg. 195
(See page 195 for Instrument Cluster Indicator Lights.)
CONTROLS AT A GLANCE
11
Page 23 of 276

WARNING!
• Side Air Bags need room to inflate. Do not lean against the door or window. Situpright in the center of the seat.
• Being too close to the Side Air Bags during deployment could cause you to be
severely injured or killed.
• Relying on the Side Air Bags alone could lead to more severe injuries in a
collision. The Side Air Bags work with your seat belt to restrain you properly. In
some collisions, Side Air Bags won’t deploy at all. Always wear your seat belt
even though you have Side Air Bags.
• This vehicle is equipped with left and right Supplemental Side Air Bag
Inflatable Curtains (SABICs). Do not stack luggage or other cargo up high
enough to block the deployment of the SABICs. The trim covering above the
side windows where the SABIC and its deployment path are located should
remain free from any obstructions.
• This vehicle is equipped with SABICs. In order for the SABICs to work as
intended, do not install any accessory items in your vehicle which could alter
the roof. Do not add an aftermarket sunroof to your vehicle. Do not add roof
racks that require permanent attachments (bolts or screws) for installation on
the vehicle roof. Do not drill into the roof of the vehicle for any reason.
• Do not use accessory seat covers or place objects between you and the Side Air
Bags; the performance could be adversely affected and/or objects could be
pushed into you, causing serious injury.
Enhanced Accident Response System
In the event of an impact, if the communication network remains intact, and the
power remains intact, depending on the nature of the event, the ORC will determine
whether to have the Enhanced Accident Response System perform the following
functions:
• Cut off fuel to the engine.
• Flash hazard lights as long as the battery has power or until the hazard light button
is pushed. The hazard lights can be deactivated by pushing the hazard light
button.
• Turn on the interior lights, which remain on as long as the battery has power.
• Unlock the power door locks.
Enhanced Accident Response System Reset Procedure
In order to reset the Enhanced Accident Response System functions after an event,
the ignition switch must be changed from ignition START or ON/RUN to ignition OFF.
Carefully check the vehicle for fuel leaks in the engine compartment and on the
ground near the engine compartment and fuel tank before resetting the system and
starting the engine.
GETTING STARTED
21
Page 46 of 276

For the first 1500 miles (2414 km):
• Do not participate in track events, sport driving schools, or similar activities duringthe first 1500 miles (2414 km).
NOTE:
Check engine oil with every refueling and add if necessary. Oil and fuel consumption
may be higher through the first oil change interval.
HEADLIGHT SWITCH
The headlight switch is located on the left side of the instrument panel, next to the
steering wheel. The headlight switch controls the operation of the headlights, parking
lights, instrument panel lights, cargo lights and fog lights (if equipped).
To turn on the headlights, rotate the
headlight switch clockwise. When the
headlight switch is on, the parking lights,
taillights, license plate light and instru-
ment panel lights are also turned on. To
turn off the headlights, rotate the head-
light switch back to the O (Off) position.
NOTE:
• Your vehicle is equipped with plastic headlight and fog light (if equipped)
lenses that are lighter and less suscep-
tible to stone breakage than glass
lights. Plastic is not as scratch resis-
tant as glass and therefore different
lens cleaning procedures must be fol-
lowed.
• To minimize the possibility of scratch- ing the lenses and reducing light out-
put, avoid wiping with a dry cloth. To
remove road dirt, wash with a mild
soap solution followed by rinsing.
CAUTION!
Do not use abrasive cleaning components, solvents, steel wool or other abrasive
materials to clean the lenses.
Headlight Switch
1 — Auto
2 — Rotate Headlight Switch
3 — Push Fog Lights
4 — Rotate Dimmer
OPERATING YOUR VEHICLE
44
Page 61 of 276

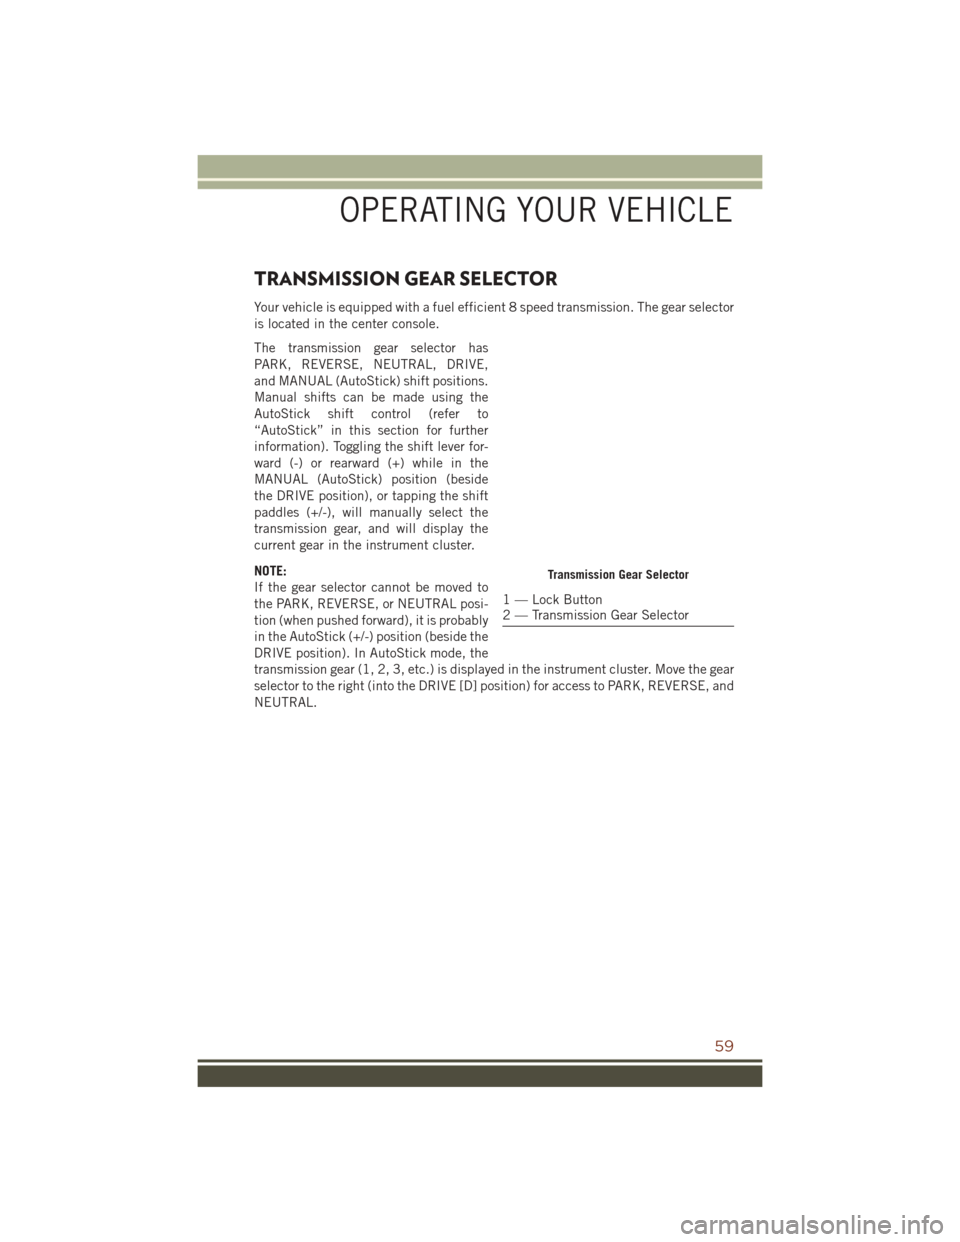
TRANSMISSION GEAR SELECTOR
Your vehicle is equipped with a fuel efficient 8 speed transmission. The gear selector
is located in the center console.
The transmission gear selector has
PARK, REVERSE, NEUTRAL, DRIVE,
and MANUAL (AutoStick) shift positions.
Manual shifts can be made using the
AutoStick shift control (refer to
“AutoStick” in this section for further
information). Toggling the shift lever for-
ward (-) or rearward (+) while in the
MANUAL (AutoStick) position (beside
the DRIVE position), or tapping the shift
paddles (+/-), will manually select the
transmission gear, and will display the
current gear in the instrument cluster.
NOTE:
If the gear selector cannot be moved to
the PARK, REVERSE, or NEUTRAL posi-
tion (when pushed forward), it is probably
in the AutoStick (+/-) position (beside the
DRIVE position). In AutoStick mode, the
transmission gear (1, 2, 3, etc.) is displayed in the instrument cluster. Move the gear
selector to the right (into the DRIVE [D] position) for access to PARK, REVERSE, and
NEUTRAL.
Transmission Gear Selector
1 — Lock Button
2 — Transmission Gear Selector
OPERATING YOUR VEHICLE
59
Page 63 of 276

• Holding the (-) paddle depressed will downshift the transmission to the lowestgear possible at the current speed.
• Transmission shifting will be more noticeable when AutoStick is enabled.
• The system may revert to automatic shift mode if a fault or overheat condition is detected.
NOTE:
When Selec-Speed or Hill Descent Control is enabled, AutoStick is not active.
To disengage AutoStick, return the gear selector to the DRIVE position, or press and
hold the (+) shift paddle (if the gear selector is already in DRIVE) until "D" is once
again indicated in the instrument cluster. You can shift in or out of AutoStick at any
time without taking your foot off the accelerator pedal.
WARNING!
Do not downshift for additional engine braking on a slippery surface. The drive
wheels could lose their grip and the vehicle could skid, causing a collision or
personal injury.
FUEL ECONOMY (ECO) MODE
The Fuel Economy (ECO) mode can improve the vehicle's overall fuel economy during
normal driving conditions. Push the “ECO” switch in the center stack of the
instrument panel to activate or disable ECO mode. An amber light on the switch
indicates when ECO mode is disabled.
When the Fuel Economy (ECO) Mode is
engaged, the vehicle control systems will
change the following:
• The transmission will upshift sooner and downshift later.
• The overall driving performance will be more conservative.
• Some ECO mode functions may be temporarily inhibited based on tem-
perature and other factors.
Active Noise Cancellation — Summit
And SRT Models Only
Your vehicle is equipped with an Active
Noise Cancellation System. This system
uses four microphones embedded in the headliner to detect undesirable exhaust
noise. An onboard frequency generator creates counteracting sound waves through
the audio system to help keep the vehicle quiet.ECO Switch
OPERATING YOUR VEHICLE
61
Page 64 of 276

STOP/START SYSTEM — IF EQUIPPED
The Stop/Start function was developed to reduce fuel consumption. The system will
stop the engine automatically during a vehicle stop if the required conditions are
met. Releasing the brake pedal or pressing the accelerator pedal will automatically
re-start the engine.
Automatic Mode
The Stop/Start feature is enabled after every normal customer
engine start. At that time, the system will go into STOP/START
READY and if all other conditions are met, can go into a STOP/
START AUTOSTOP ACTIVE “Autostop” mode.
To Activate The Autostop Mode, The Following Must Occur:
• The system must be in STOP/START READY state. A STOP/START READY message will be displayed in the Driver Information Display (DID) within the
Stop/Start section. Refer to “Driver Information Display (DID)” in “Understanding
Your Instrument Panel” in your owner’s manual on the DVD for further information.
• The vehicle must be completely stopped.
• The shifter must be in a forward gear and the brake pedal depressed.
The engine will shut down, the tachometer will move to the zero position and the
Stop/Start telltale will illuminate indicating you are in Autostop. Customer settings
will be maintained upon return to an engine running condition.
Refer to the “Stop/Start System” in the “Starting And Operating” section located in
your Owner’s Manual on the DVD for further information.
Possible Reasons The Engine Does Not Autostop
Prior to engine shut down, the system will check many safety and comfort conditions
to see if they are fulfilled. Detailed information about the operation of the Stop/Start
system may be viewed in the DID Stop/Start Screen. In the following situations, the
engine will not stop:
• Driver’s seat belt is not buckled.
• Driver’s door is not closed.
• Battery temperature is too warm or cold.
• Battery charge is low.
• The vehicle is on a steep grade.
• Cabin heating or cooling is in process and an acceptable cabin temperature has not been achieved.
• HVAC is set to full defrost mode at a high blower speed.
OPERATING YOUR VEHICLE
62