2016 JEEP GRAND CHEROKEE phone
[x] Cancel search: phonePage 145 of 276

Mobile Phone won’t pair to system:
• Perform a hard reset in the mobile phone by removing the battery (if removable —see your mobile phone’s owner manual).
• Delete pairing history in mobile phone and Uconnect system; usually found in phone’s Bluetooth connection settings.
• Verify you are selecting “Uconnect” in the discovered Bluetooth devices on your mobile phone.
• If your vehicle system generates a pin code the default is 0000.
Mobile Phonebook didn’t download:
• Check “Do not ask again,” then accept the “phonebook download” request on your mobile phone.
• Up to 5,000 contact names with four numbers per contact will transfer to the Uconnect 8.4A/8.4AN system phonebook.
• Up to 2,000 contact names with six numbers per contact will transfer to the Uconnect 5.0 system phonebook.
Text messaging won’t work:
• Check “Do not ask again,” then accept the “connect to your messages” request on your mobile phone.
• Verify that your mobile phone has the Bluetooth feature (Message Access Profile).
Can’t make a conference call:
• CDMA (Code-Division Multiple Access) carriers do not support conference calling. Refer to your mobile phone user’s manual for further information.
Making calls while connected to AUX:
• Plugging in your mobile phone to AUX while connected to Bluetooth will disable Hands-Free Calling. Do not make calls while your mobile phone is plugged into the
AUX jack.
ELECTRONICS
143
Page 146 of 276

VIDEO ENTERTAINMENT SYSTEM (VES)
System Operation
• Cycle the ignition to the ON or ACCposition.
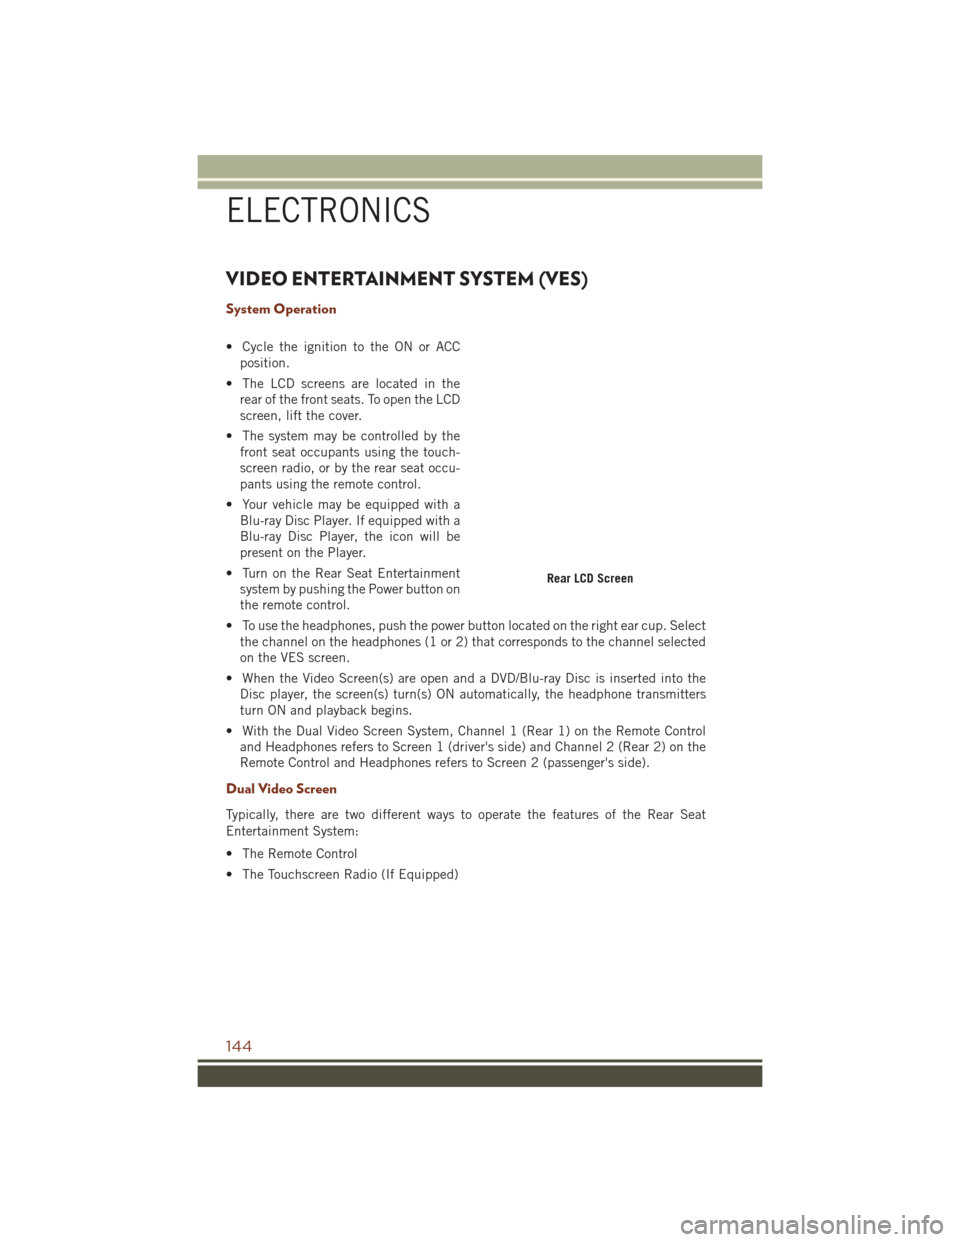
• The LCD screens are located in the rear of the front seats. To open the LCD
screen, lift the cover.
• The system may be controlled by the front seat occupants using the touch-
screen radio, or by the rear seat occu-
pants using the remote control.
• Your vehicle may be equipped with a Blu-ray Disc Player. If equipped with a
Blu-ray Disc Player, the icon will be
present on the Player.
• Turn on the Rear Seat Entertainment system by pushing the Power button on
the remote control.
• To use the headphones, push the power button located on the right ear cup. Select the channel on the headphones (1 or 2) that corresponds to the channel selected
on the VES screen.
• When the Video Screen(s) are open and a DVD/Blu-ray Disc is inserted into the Disc player, the screen(s) turn(s) ON automatically, the headphone transmitters
turn ON and playback begins.
• With the Dual Video Screen System, Channel 1 (Rear 1) on the Remote Control and Headphones refers to Screen 1 (driver's side) and Channel 2 (Rear 2) on the
Remote Control and Headphones refers to Screen 2 (passenger's side).
Dual Video Screen
Typically, there are two different ways to operate the features of the Rear Seat
Entertainment System:
• The Remote Control
• The Touchscreen Radio (If Equipped)
Rear LCD Screen
ELECTRONICS
144
Page 150 of 276

PROGRAMMABLE FEATURES
DID Main Menu Selectable Items
The DID can be used to view the following main menu items:
• Speedometer• Stop/Start Info — If Equipped
• Vehicle Info • Audio
• Driver Assist • Messages
• Fuel Economy • Screen Setup
• Trip Info
Refer to “Driver Information Display (DID)” in “Understanding Your Instrument
Panel” in the Owner's Manual on the DVD for further information.
Uconnect Customer Programmable Features
The Uconnect system allows you to access Customer Programmable feature settings
such as Display, Voice, Clock, Safety & Driving Assistance, Lights, Doors & Locks,
Auto-On Comfort & Remote Start, Engine Off Options, Compass Settings, Audio,
Phone/Bluetooth, Suspension, SiriusXM Setup, Restore Settings, Clear Personal
Data, and System Information through buttons on the touchscreen.
• Push the SETTINGS button (Uconnect 5.0), or press the “Apps” button (Uconnect 8.4) located near the bottom of the touchscreen, then press the
“Settings” button on the touchscreen to access the Settings screen. When making
a selection, scroll up or down until the preferred setting is highlighted, then press
the preferred setting until a check-mark appears next to the setting, showing that
setting has been selected. The following feature settings are available:
• Display • Engine Off Options
• Voice • Suspension
• Clock • Audio
• Safety & Driving Assistance • Phone/Bluetooth
• Lights • SiriusXM Setup
• Doors & Locks • Restore Settings
• Auto-On Comfort & Remote Start • Clear Personal Data
• Compass (Uconnect 5.0) • System Information
NOTE:
Depending on the vehicles options, feature settings may vary.
Refer to “Uconnect Settings/Customer Programmable Features” found within “Un-
derstanding Your Instrument Panel” located in your Owner's Manual on the DVD for
further information.
ELECTRONICS
148
Page 154 of 276

5. Push and hold the programmed HomeLink button and observe the indicator light.If the indicator light stays on constantly, programming is complete and the garage
door (or device) should activate when the HomeLink button is pushed.
6. To program the two remaining HomeLink buttons, repeat each step for each remaining button. DO NOT erase the channels.
Using HomeLink
To operate, push and release the programmed HomeLink button. Activation will now
occur for the programmed device (i.e., garage door opener, gate operator, security
system, entry door lock, home/office lighting, etc.,). The hand-held transmitter of the
device may also be used at any time.
WARNING!
• Your motorized door or gate will open and close while you are programming theuniversal transceiver. Do not program the transceiver if people or pets are in the
path of the door or gate.
• Do not run your vehicle in a closed garage or confined area while programming
the transceiver. Exhaust gas from your vehicle contains Carbon Monoxide (CO)
which is odorless and colorless. Carbon Monoxide is poisonous when inhaled
and can cause you and others to be severely injured or killed.
POWER INVERTER
There is a 115 Volt, 150 Watt power inverter outlet located on the back of the center
console. This outlet can power cellular phones, electronics and other low power
devices requiring power up to 150 Watts.
NOTE:
The power inverter is designed with
built-in overload protection. If the power
rating of 150 Watts is exceeded, the
power inverter will automatically shut
down. Once the electrical device has
been removed from the outlet, the in-
verter should automatically reset. If the
power rating exceeds approximately
170 Watts, the power inverter may have
to be reset manually. To reset the inverter
manually, unplug the device and plug it
in again. To avoid overloading the circuit,
check the power ratings on electrical de-
vices prior to using the inverter.
Power Inverter
1 — USB Ports (Charging Only)
2 — Rear Seat Heater Switches
3 — Power Inverter Outlet
ELECTRONICS
152
Page 174 of 276

FUEL ECONOMY (ECO) MODE
The Fuel Economy (ECO) mode can improve the vehicle's overall fuel economy during
normal driving conditions. Press the “ECO” switch in the center stack of the
instrument panel to activate or disable ECO mode. An amber light indicates when
ECO mode is disengaged.
When the Fuel Economy (ECO) Mode is
engaged, the vehicle control systems will
change the following:
• The transmission will upshift soonerand downshift later.
• The transmission will launch (from a stop) in second gear.
• The torque converter clutch may en- gage at lower engine speeds and re-
main on longer.
• The engine idle speed will be lower.
• The overall driving performance will be more conservative.
• Some ECO mode functions may be temporarily inhibited based on temperature and other factors.
NOTE:
ECO mode is only available in AUTO mode.
Active Noise Cancellation
Your vehicle is equipped with an Active Noise Cancellation System, this system is
designed to address the change in exhaust noise whenever the vehicle is operating in
Fuel Economy Mode (ECO) or 4 cylinder mode.
This system relies on four microphones embedded in the headliner to detect the
exhaust drone and prompt an onboard frequency generator to create counteracting
sound waves through the audio system's speakers and sub-woofer. This helps keep
the vehicle quiet at highway speeds.
Fuel Economy Mode Switch
SRT
172
Page 191 of 276

ROADSIDE ASSISTANCE
Dial toll-free 1-800-521-2779 for U.S. Residents or 1-800-363-4869 for Canadian
Residents.
• Provide your name, vehicle identification number, license plate number, and yourlocation, including the telephone number from which you are calling.
• Briefly describe the nature of the problem and answer a few simple questions.
• You will be given the name of the service provider and an estimated time of arrival. If you feel you are in an “unsafe situation”, please let us know. With your consent,
we will contact local police or safety authorities.
INSTRUMENT CLUSTER WARNING LIGHTS
– Battery Charge Warning Light
This light illuminates when the battery is not charging properly. If the battery charge
warning light remains on, it means that the vehicle is experiencing a problem with the
charging system.
We recommend you do not continue driving if it is on. Have the vehicle serviced
immediately.
– Oil Pressure Warning Light
This light indicates low engine oil pressure. If the light turns on while driving, stop
the vehicle and shut off the engine as soon as possible. A chime will sound for four
minutes when this light turns on.
We recommend you do not operate the vehicle or engine damage will occur. Have the
vehicle serviced immediately.
– Engine Temperature Warning Light
This light warns of an overheated engine condition.
If the light turns on and a warning chime sounds while driving, safely pull over and
stop the vehicle. If the A/C system is on, turn it off. Also, shift the transmission into
NEUTRAL and idle the vehicle. If the temperature reading does not return to normal,
turn the engine off immediately.
We recommend that you do not operate the vehicle or engine damage will occur. Have
the vehicle serviced immediately.
WARNING!
A hot engine cooling system is dangerous. You or others could be badly burned by
steam or boiling coolant.
WHAT TO DO IN EMERGENCIES
189
Page 260 of 276

FCA US LLC CUSTOMER CENTER
P.O. Box 21–8004 Auburn Hills, MI 48321–8004 Phone: 1-877-426-5337
FCA CANADA INC. CUSTOMER CENTER
P.O. Box 1621 Windsor, Ontario N9A 4H6 Phone: 1-800-465-2001 (English)
Phone: 1-800-387-9983 (French)
ASSISTANCE FOR THE HEARING IMPAIRED
To assist customers who have hearing difficulties, the manufacturer has installed
special TDD (Telecommunication Devices for the Deaf) equipment at its customer
center. Any hearing or speech impaired customer, who has access to a TDD or a
conventional teletypewriter (TTY) in the United States, can communicate with the
manufacturer by dialing 1-800-380-CHRY. Canadian residents with hearing difficul-
ties that require assistance can use the special needs relay service offered by Bell
Canada. For TTY teletypewriter users, dial 711 and for Voice callers, dial
1-800-855-0511 to connect with a Bell Relay Service operator.
WARNING!
Engine exhaust, some of its constituents, and certain vehicle components con-
tain, or emit, chemicals known to the State of California to cause cancer and birth
defects, or other reproductive harm. In addition, certain fluids contained in
vehicles and certain products of component wear contain, or emit, chemicals
known to the State of California to cause cancer and birth defects, or other
reproductive harm.
PUBLICATIONS ORDERING
• If you are the first registered retail owner of your vehicle, you may obtain acomplimentary printed copy of the Owner's Manual, Navigation/Uconnect Manuals
or Warranty Booklet. United States customers may visit the Jeep Contact Us page
at www.jeep.com scroll to the bottom of the page and select the “Contact Us” link,
then select the “Owner’s Manual and Glove Compartment Material” from the left
menu. You may also obtain a complimentary copy by calling 1-877-426-5337
(U.S.) or 1-800-387-1143 (Canada).
• Replacement User Guide kits or DVDs or, if you prefer, additional printed copies of the Owner's Manual, Warranty Booklet or Radio Manuals may be purchased by
visiting www.techauthority.com or by calling 1-877-890-4038 (U.S.) or
1-800-387-1143 (Canada). Visa, Master Card, American Express and Discover
orders are accepted. If you prefer mailing your order, please call the above
numbers for an order form.
CONSUMER ASSISTANCE
258
Page 263 of 276

FREQUENTLY ASKED QUESTIONS
GETTING STARTED
How do I install my LATCH Equipped Child Seat? pg. 23
How do I program my Front Seat Memory? pg. 31
ELECTRONICS
Which radio is in my vehicle?
• Uconnect 5.0 pg. 90
• Uconnect 8.4A/8.4AN pg. 100
How do I activate the Audio Jack?
• Uconnect 5.0 pg. 93
• Uconnect 8.4A/8.4AN pg. 107
How do I set the clock on my radio?
• Uconnect 5.0 pg. 90
• Uconnect 8.4A/8.4AN pg. 100
How do I use the Navigation feature?
• Uconnect 8.4A/8.4AN pg. 109
How do I configure my Universal Garage Door Opener (HomeLink)? pg. 150
How do I pair my cell phone via Bluetooth with the Uconnect Hands-Free Voice
Activation System? pg. 133
How do I improve the Bluetooth performance of my Uconnect System? pg. 142
OFF-ROAD CAPABILITIES
How do I shift into different four-wheel drive selections? pg. 155
UTILITY
How do I know how much I can tow with my Jeep Cherokee? pg. 161
WHAT TO DO IN EMERGENCIES
What do I do if my TPMS warning light is blinking? pg. 191
How do I change a flat tire? pg. 198
How do I Jump-Start my vehicle? pg. 206
FAQ’s
261