Page 129 of 276

Uconnect Access — If Equipped (8.4A/8.4AN)
WARNING!
ALWAYS obey traffic laws and pay attention to the road. Some Uconnect Access
services, including 9-1-1 and Assist, will NOT work without an operable 1X
(voice/data) or 3G (data) network connection.
NOTE:
Your vehicle may be transmitting data as authorized by the subscriber.
An included trial and/or subscription is required to take advantage of the Uconnect
Access services in the next section of this guide. To register with Uconnect Access,
press the “Apps” button on the 8.4-inch touchscreen to get started. Detailed
registration instructions can be found on the next page.
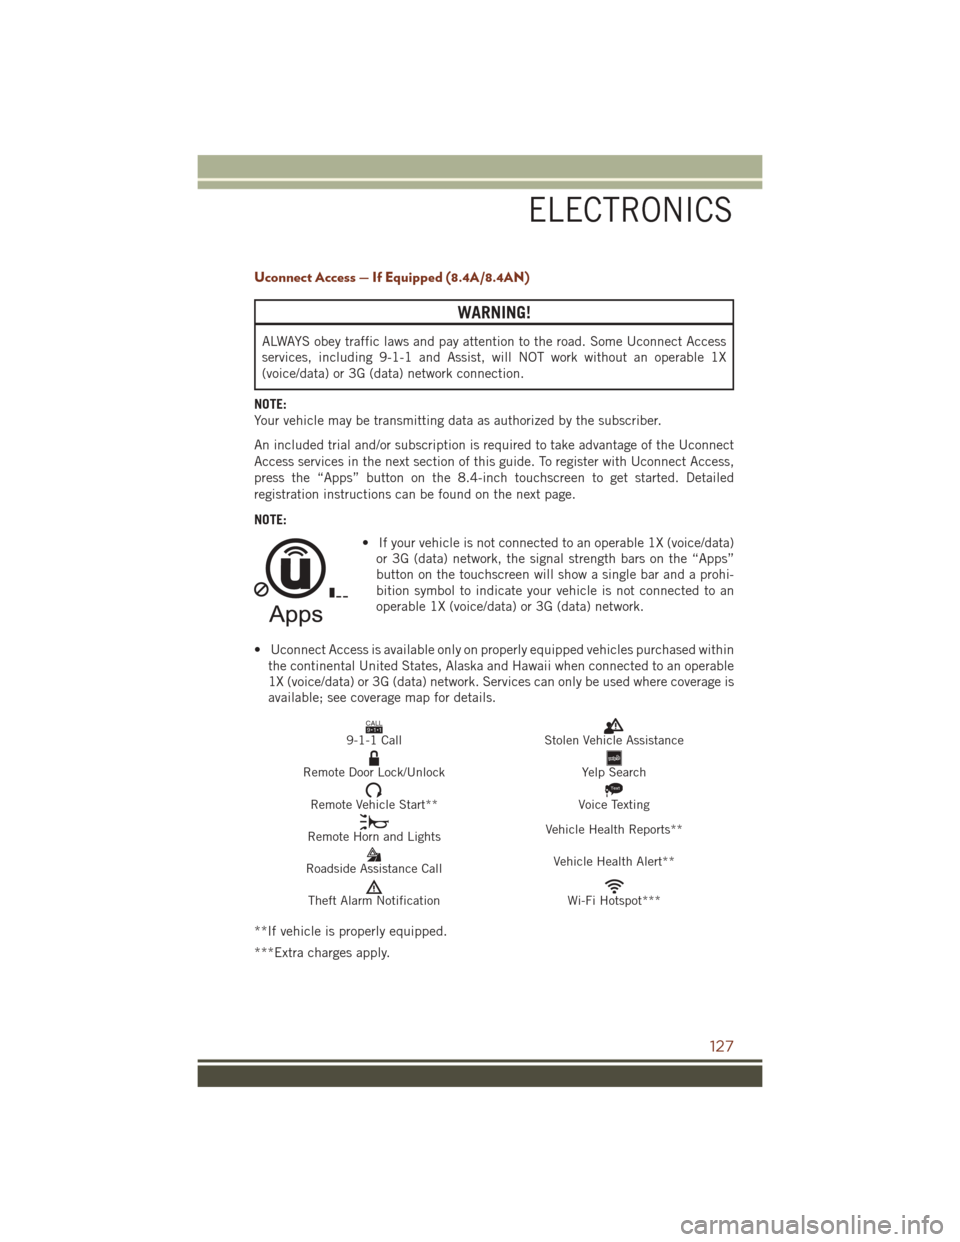
NOTE: • If your vehicle is not connected to an operable 1X (voice/data)or 3G (data) network, the signal strength bars on the “Apps”
button on the touchscreen will show a single bar and a prohi-
bition symbol to indicate your vehicle is not connected to an
operable 1X (voice/data) or 3G (data) network.
• Uconnect Access is available only on properly equipped vehicles purchased within the continental United States, Alaska and Hawaii when connected to an operable
1X (voice/data) or 3G (data) network. Services can only be used where coverage is
available; see coverage map for details.
CALL9119-1-1 CallStolen Vehicle Assistance
Remote Door Lock/UnlockYelp Search
Remote Vehicle Start**
Text
Voice Texting
Remote Horn and Lights Vehicle Health Reports**
Roadside Assistance Call Vehicle Health Alert**
Theft Alarm NotificationWi-Fi Hotspot***
**If vehicle is properly equipped.
***Extra charges apply.
ELECTRONICS
127
Page 131 of 276
Mobile App (8.4A/8.4AN)
You’re only a few steps away from using remote commands and playing your favorite
music in your vehicle.
To link your internet radio accounts:
1. Download theUconnect Access App on
your device.
2. Press the Via Mobile icon on the navi- gation bar at the bottom of the app.
3. Press the app you’d like to connect to your vehicle.
4. Enter your login information for the selected app and press Link.
5. Next time you’re in your vehicle, en- able Bluetooth, pair your device and
select the Via Mobile app you want to
play from the Uconnect touchscreen
to stream your personalized music.
NOTE:
• You can also complete this process on the web. Simply visit
moparownerconnect.com log in and
click Set Up Via Mobile Profile (under
Quick Links).
• Once you download the app to your compatible device, you will also be
able to start your vehicle and lock/unlock its doors from virtually anywhere.
Mobile App
ELECTRONICS
129
Page 150 of 276

PROGRAMMABLE FEATURES
DID Main Menu Selectable Items
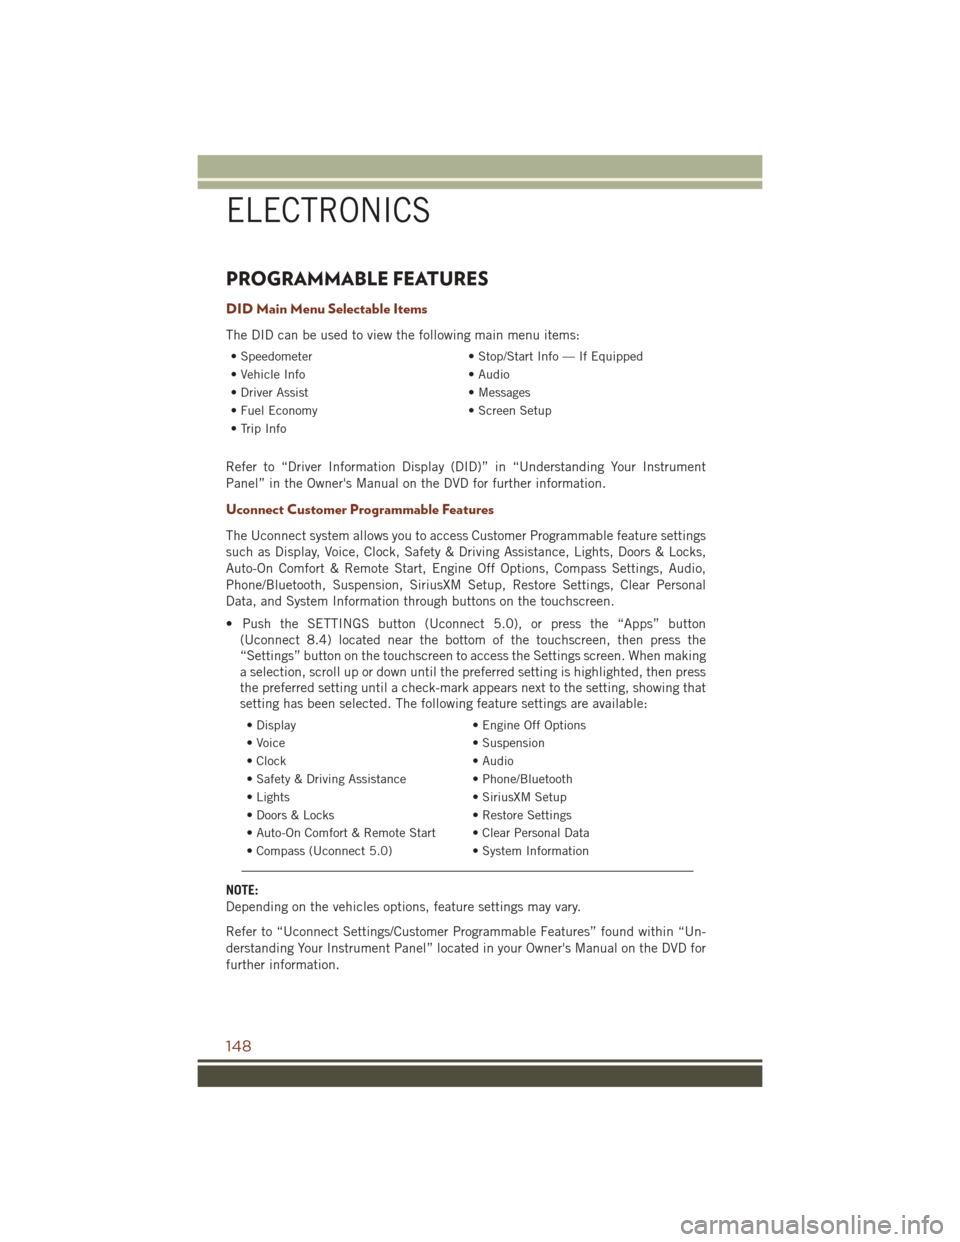
The DID can be used to view the following main menu items:
• Speedometer• Stop/Start Info — If Equipped
• Vehicle Info • Audio
• Driver Assist • Messages
• Fuel Economy • Screen Setup
• Trip Info
Refer to “Driver Information Display (DID)” in “Understanding Your Instrument
Panel” in the Owner's Manual on the DVD for further information.
Uconnect Customer Programmable Features
The Uconnect system allows you to access Customer Programmable feature settings
such as Display, Voice, Clock, Safety & Driving Assistance, Lights, Doors & Locks,
Auto-On Comfort & Remote Start, Engine Off Options, Compass Settings, Audio,
Phone/Bluetooth, Suspension, SiriusXM Setup, Restore Settings, Clear Personal
Data, and System Information through buttons on the touchscreen.
• Push the SETTINGS button (Uconnect 5.0), or press the “Apps” button (Uconnect 8.4) located near the bottom of the touchscreen, then press the
“Settings” button on the touchscreen to access the Settings screen. When making
a selection, scroll up or down until the preferred setting is highlighted, then press
the preferred setting until a check-mark appears next to the setting, showing that
setting has been selected. The following feature settings are available:
• Display • Engine Off Options
• Voice • Suspension
• Clock • Audio
• Safety & Driving Assistance • Phone/Bluetooth
• Lights • SiriusXM Setup
• Doors & Locks • Restore Settings
• Auto-On Comfort & Remote Start • Clear Personal Data
• Compass (Uconnect 5.0) • System Information
NOTE:
Depending on the vehicles options, feature settings may vary.
Refer to “Uconnect Settings/Customer Programmable Features” found within “Un-
derstanding Your Instrument Panel” located in your Owner's Manual on the DVD for
further information.
ELECTRONICS
148
Page 209 of 276

Preparations For Jump-Start
The battery in your vehicle is located under the passenger's front seat. There are
remote locations located under the hood to assist in jump-starting.
WARNING!
• Take care to avoid the radiator cooling fan whenever the hood is raised. It canstart anytime the ignition switch is ON. You can be injured by moving fan
blades.
• Remove any metal jewelry such as rings, watch bands and bracelets that could
make an inadvertent electrical contact. You could be seriously injured.
• Batteries contain sulfuric acid that can burn your skin or eyes and generate
hydrogen gas which is flammable and explosive. Keep open flames or sparks
away from the battery.
NOTE:
Be sure that the disconnected ends of the cables do not touch while still connected
to the either vehicle.
1. Set the parking brake, shift the automatic transmission into PARK and turn the ignition to LOCK.
2. Turn off the heater, radio, and all unnecessary electrical accessories.
3. Remove the protective cover over the remote positive (+)battery post. Pull upward
on the cover to remove it.
4. If using another vehicle to jump-start the battery, park the vehicle within the jumper cables reach, set the parking brake and make sure the ignition is OFF.
Remote Battery Posts
1 — Remote Positive (+)Post
2 — Remote Negative (-)Post
WHAT TO DO IN EMERGENCIES
207
Page 210 of 276

WARNING!
Do not allow vehicles to touch each other as this could establish a ground
connection and personal injury could result.
Jump-Starting Procedure
WARNING!
Failure to follow this jump-starting procedure could result in personal injury or
property damage due to battery explosion.
CAUTION!
Failure to follow these procedures could result in damage to the charging system
of the booster vehicle or the discharged vehicle.
NOTE:
Make sure at all times that unused ends of jumper cables are not contacting each
other or either vehicle while making connections.
Connecting The Jumper Cables
1. Connect the positive (+)end of the jumper cable to the remote positive (+)post
of the discharged vehicle.
2. Connect the opposite end of the positive (+)jumper cable to the positive (+)post
of the booster battery.
3. Connect the negative end (-)of the jumper cable to the negative (-)post of the
booster battery.
4. Connect the opposite end of the negative (-)jumper cable to the remote negative
(-) post of the vehicle with the discharged battery.
WARNING!
Do not connect the jumper cable to the negative (-)post of the discharged battery.
The resulting electrical spark could cause the battery to explode and could result
in personal injury. Only use the specific ground point, do not use any other exposed
metal parts.
5. Start the engine in the vehicle that has the booster battery, let the engine idle a few minutes, and then start the engine in the vehicle with the discharged battery.
WHAT TO DO IN EMERGENCIES
208
Page 211 of 276

CAUTION!
Do not run the booster vehicle engine above 2000 rpm since it provides no
charging benefit, wastes fuel and can damage booster vehicle engine.
6. Once the engine is started, remove the jumper cables in the reverse sequence:
Disconnecting The Jumper Cables
1. Disconnect the negative (-)end of the jumper cable from the remote negative (-)
post of the discharged vehicle.
2. Disconnect the opposite end of the negative (-)jumper cable from the negative (-)
post of the booster battery.
3. Disconnect the positive (+)end of the jumper cable from the positive (+)post of
the booster battery.
4. Disconnect the opposite end of the positive (+)jumper cable from the remote
positive (+)post of the discharged vehicle.
5. Reinstall the protective cover over the remote positive (+)post of the discharged
vehicle.
If frequent jump-starting is required to start your vehicle you should have the battery
and charging system tested at your authorized dealer.
CAUTION!
Accessories plugged into the vehicle power outlets draw power from the vehicle’s
battery, even when not in use (i.e., cellular devices, etc.). Eventually, if plugged in
long enough without engine operation, the vehicle’s battery will discharge suffi-
ciently to degrade battery life and/or prevent the engine from starting.
EMERGENCY TOW HOOKS — IF EQUIPPED
If your vehicle is equipped with tow hooks, there will be one in the rear and two
mounted on the front of the vehicle. The rear hook will be located on the driver's side
of the vehicle.
NOTE:
For off-road recovery, it is recommended to use both of the front tow hooks to
minimize the risk of damage to the vehicle.
WARNING!
• Do not use a chain for freeing a stuck vehicle. Chains may break, causing serious injury or death.
• Stand clear of vehicles when pulling with tow hooks. Tow straps may become
disengaged, causing serious injury.
WHAT TO DO IN EMERGENCIES
209
Page 220 of 276
ENGINE COMPARTMENT
ENGINE COMPARTMENT — 3.6L
1. Remote Jump Start Positive Terminal
2. Engine Oil Dipstick
3. Power Distribution Center (Fuses)
4. Engine Coolant Reservoir Pressure Cap
5. Remote Jump Start Negative Terminal
MAINTAINING YOUR VEHICLE
218
Page 222 of 276
ENGINE COMPARTMENT — 5.7L
1. Remote Jump Start Positive Terminal
2. Engine Oil Dipstick
3. Power Distribution Center (Fuses)
4. Engine Coolant Reservoir Pressure Cap
5. Remote Jump Start Negative Terminal
MAINTAINING YOUR VEHICLE
220