Page 385 of 723
first gear) during launches, to minimize wheel slippage.
The Transmission is set to “Snow” setting highlighted in
blue. Stability Control is set to “Full” highlighted in blue.
All-Wheel Drive is set to “50/50” highlighted in blue.
Steering is set to “Street” highlighted in yellow. Suspen-
sion is set to “Street” highlighted in yellow.
Paddle shifters can be enabled or disabled by pressing
the “Snow Set-up” button on the touchscreen.
Snow Mode Set-Up
4
UNDERSTANDING YOUR INSTRUMENT PANEL 383
Page 386 of 723
Auto Mode
Auto mode is enabled upon ignition on, or by selecting
“Auto” with the Selec-Track switch. The Transmission,
Stability Control and All-Wheel Drive modes are set to
their “Street” settings highlighted in yellow. Steering andSuspension can be configured in either the “Street,”
“Sport,” or “Track” and the Paddle Shifters may be
enabled or disabled while in auto set-up mode.
Drive Mode Auto (Default)
Auto Mode (Default)
384 UNDERSTANDING YOUR INSTRUMENT PANEL
Page 387 of 723
Custom Mode
Custom Mode may be selected by pushing the “Custom”
button on Selec-Track switch. Custom Mode allows you
to create a custom configuration that is saved for quick
selection of your favorite settings. While in CustomMode, the All-Wheel Drive, Stability Control, Transmis-
sion, Steering, Suspension, and Paddle Shifter settings
are shown in their current configuration.
While in the Custom Mode screen, press the “Custom
Set-Up” button on the touchscreen to access the select-
able options. Select which mode suits your driving needs
for a custom driving experience.
Custom Mode
4
UNDERSTANDING YOUR INSTRUMENT PANEL 385
Page 391 of 723
•ON
Press the “ON” button on the touchscreen to enable
steering wheel paddle shifters.
• OFF
Press the “OFF” button on the touchscreen to disable
steering wheel paddle shifters. Stability Control
•
Track
Pressing the “Track” button on the touchscreen will
provide minimal stability control.
Stability Control Settings
4
UNDERSTANDING YOUR INSTRUMENT PANEL 389
Page 399 of 723
Valet Mode
To enter Valet Mode press the “Valet” button on the
touchscreen and a popup screen will ask you if you
would like to enter Valet Mode, after selecting “Yes” you
will be asked to enter a 4 digit PIN code. The PIN code isnot set, so you are free to select any 4 digit numeric
combination that will be easy to remember.
While in Valet Mode the following vehicle configurations
are set and locked to prevent unauthorized modification:
•
All-Wheel Drive is set to 50/50.
• Transmission locks out access to first gear and up-
shifts earlier than normal.
• Stability Control, Steering, and Suspension are set to
their STREET settings.
• Steering wheel paddle shifters are disabled.
• The Drive Mode interface is not available. Pushing the
SRT button on Selec-Track switch will display the
unlock keypad.
• The ESC Off button is disabled.
• The Launch Control button is disabled.
Valet Mode Activation
4
UNDERSTANDING YOUR INSTRUMENT PANEL 397
Page 423 of 723

Disc player will attempt to continue playing the disc by
skipping forward one to three seconds at a time. If the
end of the disc is reached, the Blu-ray Disc player will
return to the beginning of the disc and attempt to play
the start of the first track.
The Blu-ray Disc player may shut down during ex-
tremely hot conditions, such as when the vehicle’s inte-
rior temperature is above 120° F (48.9° C). When this
occurs, the player will display�High Temp�and will shut
off the Rear Seat displays until a safe temperature is
reached. This shutdown is necessary to protect the optics
of the Blu-ray Disc player.
Product Agreement
This product incorporates copyright protection technol-
ogy that is protected by U.S. patents and other intellec-
tual property rights. Use of this copyright protection
technology must be authorized by Macrovision, and is intended for home or other limited viewing uses other-
wise authorized by Macrovision. Reverse engineering or
disassembly is prohibited.
Dolby Digital and MLP Lossless Manufactured
under license from Dolby Laboratories. �Dolby�,�MLP
Lossless�, and the double-D symbol are trademarks of
Dolby Laboratories. Confidential unpublished works.
Copyright 1992-1997 Dolby Laboratories. All right
reserved.
STEERING WHEEL AUDIO CONTROLS — IF
EQUIPPED
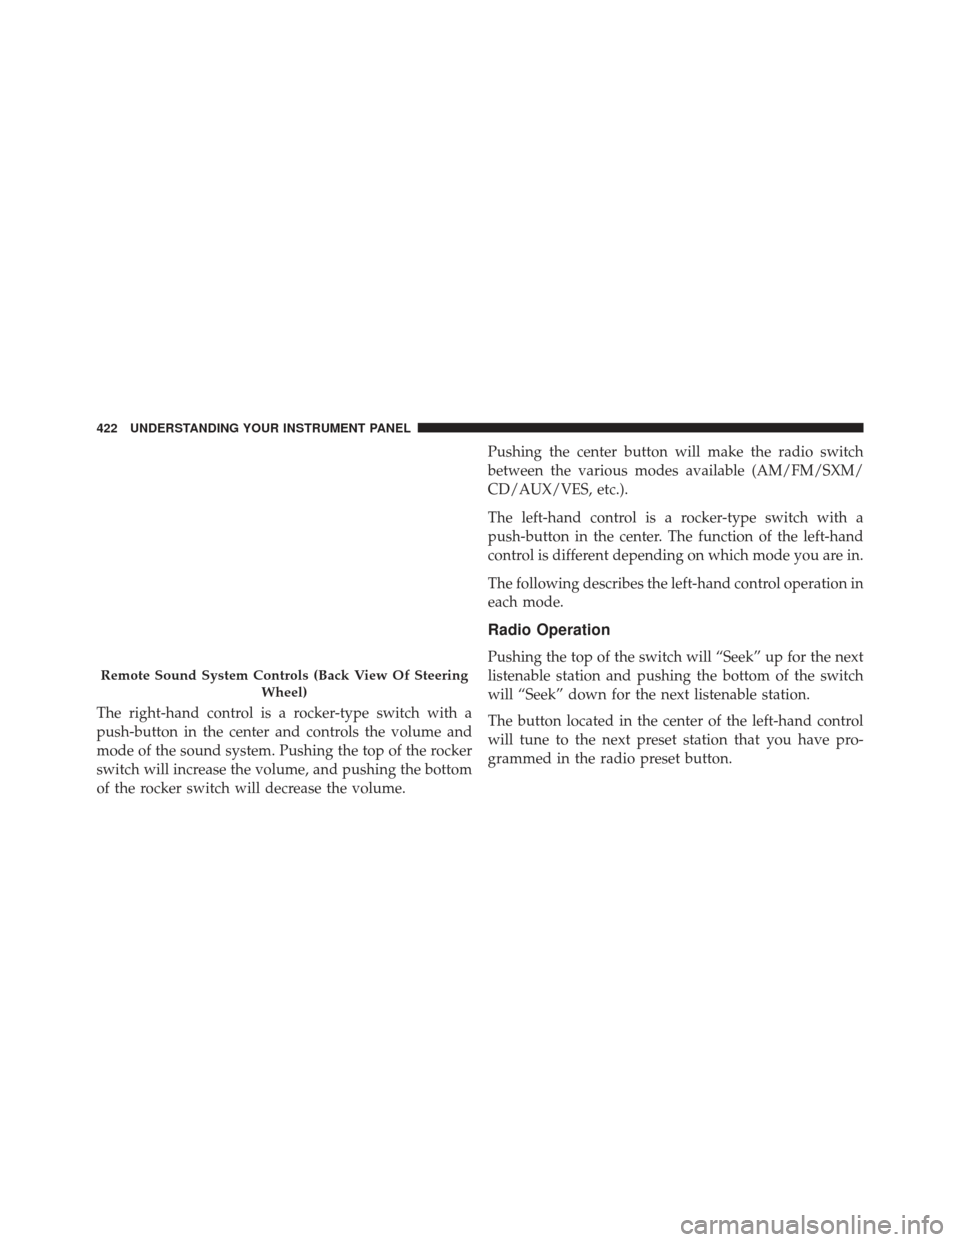
The remote sound system controls are located on the rear
surface of the steering wheel. Reach behind the wheel to
access the switches.
4
UNDERSTANDING YOUR INSTRUMENT PANEL 421
Page 424 of 723

The right-hand control is a rocker-type switch with a
push-button in the center and controls the volume and
mode of the sound system. Pushing the top of the rocker
switch will increase the volume, and pushing the bottom
of the rocker switch will decrease the volume.Pushing the center button will make the radio switch
between the various modes available (AM/FM/SXM/
CD/AUX/VES, etc.).
The left-hand control is a rocker-type switch with a
push-button in the center. The function of the left-hand
control is different depending on which mode you are in.
The following describes the left-hand control operation in
each mode.
Radio Operation
Pushing the top of the switch will “Seek” up for the next
listenable station and pushing the bottom of the switch
will “Seek” down for the next listenable station.
The button located in the center of the left-hand control
will tune to the next preset station that you have pro-
grammed in the radio preset button.
Remote Sound System Controls (Back View Of Steering
Wheel)
422 UNDERSTANDING YOUR INSTRUMENT PANEL
Page 441 of 723
If you see theicon on your touchscreen, you have
the Uconnect 8.4AN system. If not, you have a
Uconnect 8.4A system. Get Started
All you need to control your Uconnect system with your
voice are the buttons on your steering wheel.
1. Visit UconnectPhone.com to check mobile device and
feature compatibility and to find phone pairing in-
structions.
2. Reduce background noise. Wind and passenger con- versations are examples of noise that may impact
recognition.
3. Speak clearly at a normal pace and volume while facing straight ahead. The microphone is positioned
on the rearview mirror and aimed at the driver.
Uconnect 8.4AN
4
UNDERSTANDING YOUR INSTRUMENT PANEL 439