2016 JEEP GRAND CHEROKEE check engine light
[x] Cancel search: check engine lightPage 361 of 723
“Parkview Backup camera Delay” button on the touch-
screen to turn the ParkView Delay ON or OFF.
•Rain Sensing Auto Wipers
When this feature is selected, the system will automati-
cally activate the windshield wipers if it senses moisture
on the windshield. To make your selection, press the
“Rain Sensing” button on the touchscreen, until a check-
mark appears next to setting, indicating that the setting
had been selected.
• Hill Start Assist — If Equipped
When this feature is selected, the Hill Start Assist (HSA)
system is active. Refer to “Electronic Brake Control
System” in “Starting And Operating” for system function
and operating information. To make your selection, press
the “Hill Start Assist” button on the touchscreen, until a
check-mark appears next to setting, indicating that the
setting had been selected.Lights
After pressing the Lights button on the touchscreen the
following settings will be available.
• Headlight Off Delay
When this feature is selected, it allows adjustment of the
amount of time the headlights remain on after the engine
is shut off. To change the Headlights Off Delay setting,
press the “+” or “–” button on the touchscreen to select
your desired time interval, and choose either 0 sec, 30 sec,
60 sec or 90 seconds.
• Headlight Illumination On Approach
When this feature is selected, the headlights will activate
and remain on for 0, 30, 60, or 90 seconds when the doors
are unlocked with the Remote Keyless Entry (RKE) Key
Fob. To change the Illuminated Approach status, press
the “+” or “–” button on the touchscreen to select your
desired time interval.
4
UNDERSTANDING YOUR INSTRUMENT PANEL 359
Page 366 of 723
vehicle. To make your selection, press the “Easy Exit
Seat” button on the touchscreen until a check-mark
appears next to setting, showing that setting has been
selected.
•Engine Off Power Delay
When this feature is selected, the power window
switches, radio, Uconnect phone system (if equipped),
DVD video system (if equipped), power sunroof (if
equipped), and power outlets will remain active for up to
10 minutes after the ignition is cycled to OFF. Opening
either front door will cancel this feature. To change the
Engine Off Power Delay status press the press the “+” or
“-” button to choose from “0 seconds,” “45 seconds,” “5
minutes,” or “10 minutes.”
• Headlight Off Delay
When this feature is selected, the driver can choose to
have the headlights remain on for 0, 30, 60, or 90 seconds
when exiting the vehicle. To change the Headlight Off Delay status press the “+” or “-” button on the touch-
screen to select your desired time interval.
Audio
After pressing the “Audio” button on the touchscreen the
following settings will be available.
•
Balance/Fade
This feature allows you to adjust the Balance and Fade
settings. Press and drag the speaker icon, use the arrows
to adjust, or tap the ‘C’ icon to readjust to the center.
• Equalizer
This feature allows you to adjust the Bass, Mid and Treble
settings. Adjust the settings with the “+” and “–” setting
buttons on the touchscreen or by selecting any point on
the scale between the “+” and “–” buttons on the
touchscreen.
364 UNDERSTANDING YOUR INSTRUMENT PANEL
Page 613 of 723

access this information to assist with the diagnosis and
service of your vehicle and emissions system.
WARNING!
•ONLY an authorized service technician should con-
nect equipment to the OBD II connection port in
order to diagnose or service your vehicle.
• If unauthorized equipment is connected to the
OBD II connection port, such as a driver-behavior
tracking device, it may:
• Be possible that vehicle systems, including
safety related systems, could be impaired or a
loss of vehicle control could occur that may result
in an accident involving serious injury or death.
• Access, or allow others to access, information
stored in your vehicle systems, including per-
sonal information. For further information, refer to “Privacy Practices — If
Equipped With Uconnect 8.4 Radio” and “Uconnect
CyberSecurity” in “All About Uconnect Access” in your
Owner ’s Manual Radio Supplement and “Cybersecurity”
in “Understanding Your Instrument Panel”.
EMISSIONS INSPECTION AND MAINTENANCE
PROGRAMS
In some localities, it may be a legal requirement to pass
an inspection of your vehicle’s emissions control system.
Failure to pass could prevent vehicle registration.
For states that require an Inspection and Mainte-
nance (I/M), this check verifies the “Malfunction
Indicator Light (MIL)” is functioning and is not
on when the engine is running, and that the OBD II
system is ready for testing.
Normally, the OBD II system will be ready. The OBD II
system may notbe ready if your vehicle was recently
7
MAINTAINING YOUR VEHICLE 611
Page 614 of 723
serviced, recently had a dead battery or a battery replace-
ment. If the OBD II system should be determined not
ready for the I/M test, your vehicle may fail the test.
Your vehicle has a simple ignition actuated test, which
you can use prior to going to the test station. To check if
your vehicle’s OBD II system is ready, you must do the
following:
1. Cycle the ignition switch to the ON position, but donot crank or start the engine.
NOTE: If you crank or start the engine, you will have to
start this test over.
2. As soon as you cycle the ignition switch to the ON position, you will see the “Malfunction Indicator Light
(MIL)” symbol come on as part of a normal bulb
check.
3. Approximately 15 seconds later, one of two things will happen: •
The MIL will flash for about 10 seconds and then
return to being fully illuminated until you turn OFF
the ignition or start the engine. This means that your
vehicle’s OBD II system is not readyand you should
not proceed to the I/M station.
• The MIL will not flash at all and will remain fully
illuminated until you place the ignition in the off
position or start the engine. This means that your
vehicle’s OBD II system is readyand you can proceed
to the I/M station.
If your OBD II system is not ready,you should see your
authorized dealer or repair facility. If your vehicle was
recently serviced or had a battery failure or replacement,
you may need to do nothing more than drive your
vehicle as you normally would in order for your OBD II
system to update. A recheck with the above test routine
may then indicate that the system is now ready.
612 MAINTAINING YOUR VEHICLE
Page 638 of 723

Installing The Rear Wiper
1. Lift the rear wiper arm pivot cap away from the glassto allow the rear wiper blade to be raised off of the
glass.
NOTE: The rear wiper arm cannot be fully raised off the
glass unless the wiper arm pivot cap is unsnapped first.
Attempting to fully raise the rear wiper arm without
unsnapping the wiper arm pivot cap may damage the
vehicle.
2. Lift the rear wiper arm fully off the glass.
3. Insert the wiper blade pivot pin into the opening on the end of the wiper arm. Grab the bottom end of the
wiper arm with one hand, and press the wiper blade
flush with the wiper arm until it snaps into place.
4. Lower the wiper blade onto the glass and snap the wiper arm pivot cap back into place.Adding Washer Fluid
This vehicle is equipped with a Driver Information Display
(DID), the DID will indicate when the washer fluid level is
low. When the sensor detects a low fluid level, the wind-
shield will light on the vehicle graphic outline and the
“WASHER FLUID LOW” message will be displayed.
The fluid reservoir for the windshield washers and the rear
window washer is shared. The fluid reservoir is located in
the engine compartment, be sure to check the fluid level at
regular intervals. Fill the reservoir with windshield washer
solvent only (not radiator antifreeze). When refilling the
washer fluid reservoir, take some washer fluid and apply it
to a cloth or towel and wipe clean the wiper blades, this
will help blade performance. To prevent freeze-up of your
windshield washer system in cold weather, select a solu-
tion or mixture that meets or exceeds the temperature
range of your climate. This rating information can be found
on most washer fluid containers.
636 MAINTAINING YOUR VEHICLE
Page 683 of 723
Your authorized dealer will reset the oil change indicator
message after completing the scheduled oil change. If a
scheduled oil change is performed by someone other
than your authorized dealer, the message can be reset by
referring to the steps described under “Driver Informa-
tion Display (DID)” in “Understanding Your Instrument
Panel” for further information.
At Each Stop For Fuel
•Check the engine oil level. Refer to “Maintenance
Procedures/Engine Oil” in “Maintaining Your Ve-
hicle” for further information.
• Check the windshield washer solvent and add if
required.
Once A Month
• Check tire pressure and look for unusual wear or
damage. •
Inspect the battery, and clean and tighten the terminals
as required.
• Check the fluid levels of the coolant reservoir, engine
oil, brake master cylinder, and add as needed.
• Check all lights and other electrical items for correct
operation.
At Each Oil Change
• Change the engine oil filter.
• Inspect the brake hoses and lines.
CAUTION!
Failure to perform the required maintenance items
may result in damage to the vehicle.
8
MAINTENANCE SCHEDULES 681
Page 703 of 723
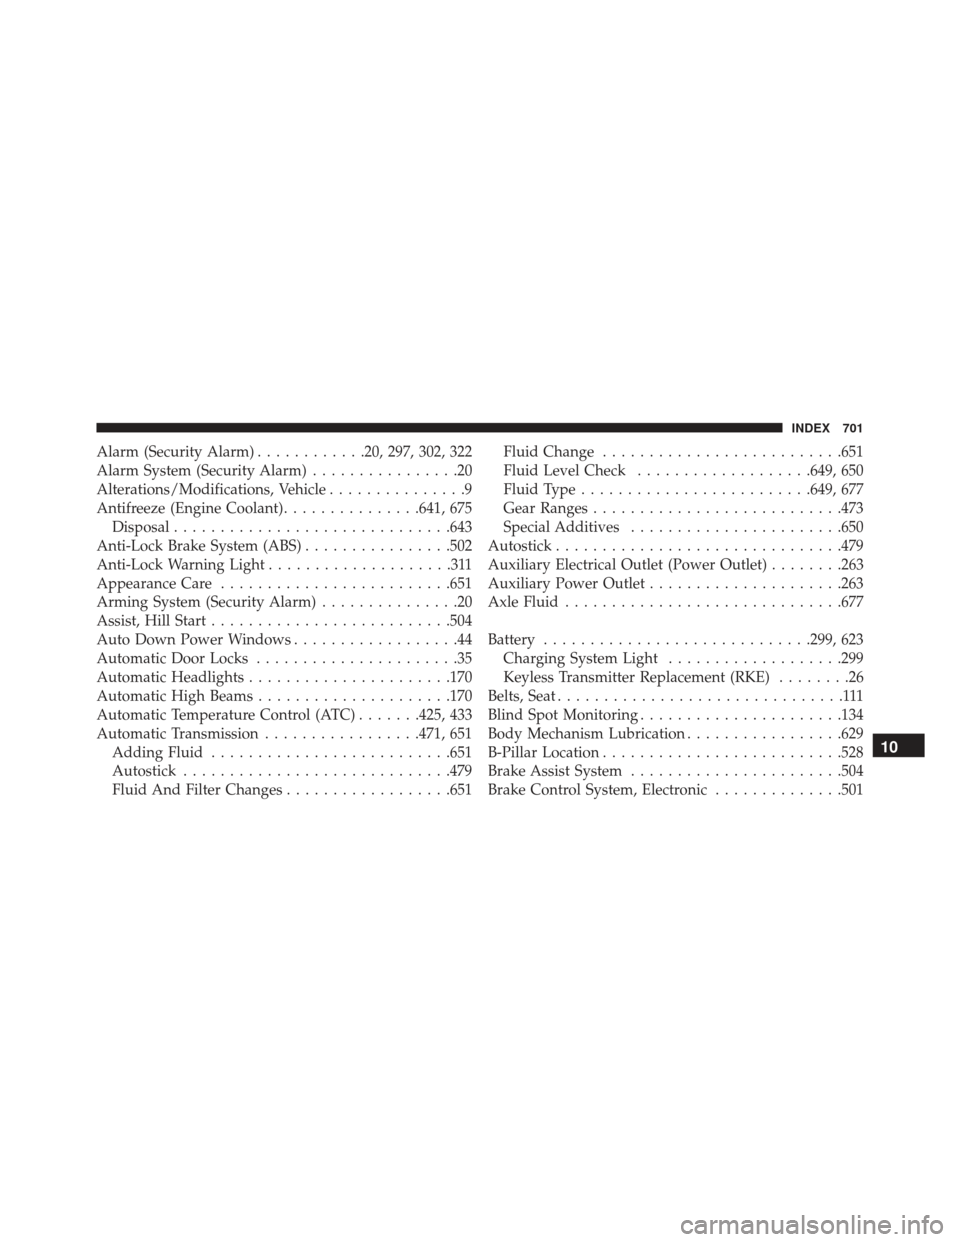
Alarm (Security Alarm)............20, 297, 302, 322
Alarm System (Security Alarm) ................20
Alterations/Modifications, Vehicle ...............9
Antifreeze (Engine Coolant) ...............641, 675
Disposal ............................. .643
Anti-Lock Brake System (ABS) ................502
Anti-Lock Warning Light ....................311
Appearance Care ........................ .651
Arming System (Security Alarm) ...............20
Assist, Hill Start ......................... .504
Auto Down Power Windows ..................44
Automatic Door Locks ......................35
Automatic Headlights ..................... .170
Automatic High Beams .....................170
Automatic Temperature Control (ATC) .......425, 433
Automatic Transmission .................471, 651
Adding Fluid ......................... .651
Autostick ............................ .479
Fluid And Filter Changes ..................651 Fluid Change
......................... .651
Fluid Level Check ...................649, 650
Fluid Type ........................ .649, 677
Gear Ranges .......................... .473
Special Additives ...................... .650
Autostick .............................. .479
Auxiliary Electrical Outlet (Power Outlet) ........263
Auxiliary Power Outlet .....................263
Axle Fluid ............................. .677
Battery ............................ .299, 623
Charging System Light ...................299
Keyless Transmitter Replacement (RKE) ........26
Belts, Seat ...............................111
Blind Spot Monitoring ..................... .134
Body Mechanism Lubrication .................629
B-Pillar Location ......................... .528
Brake Assist System ...................... .504
Brake Control System, Electronic ..............501
10
INDEX 701
Page 704 of 723
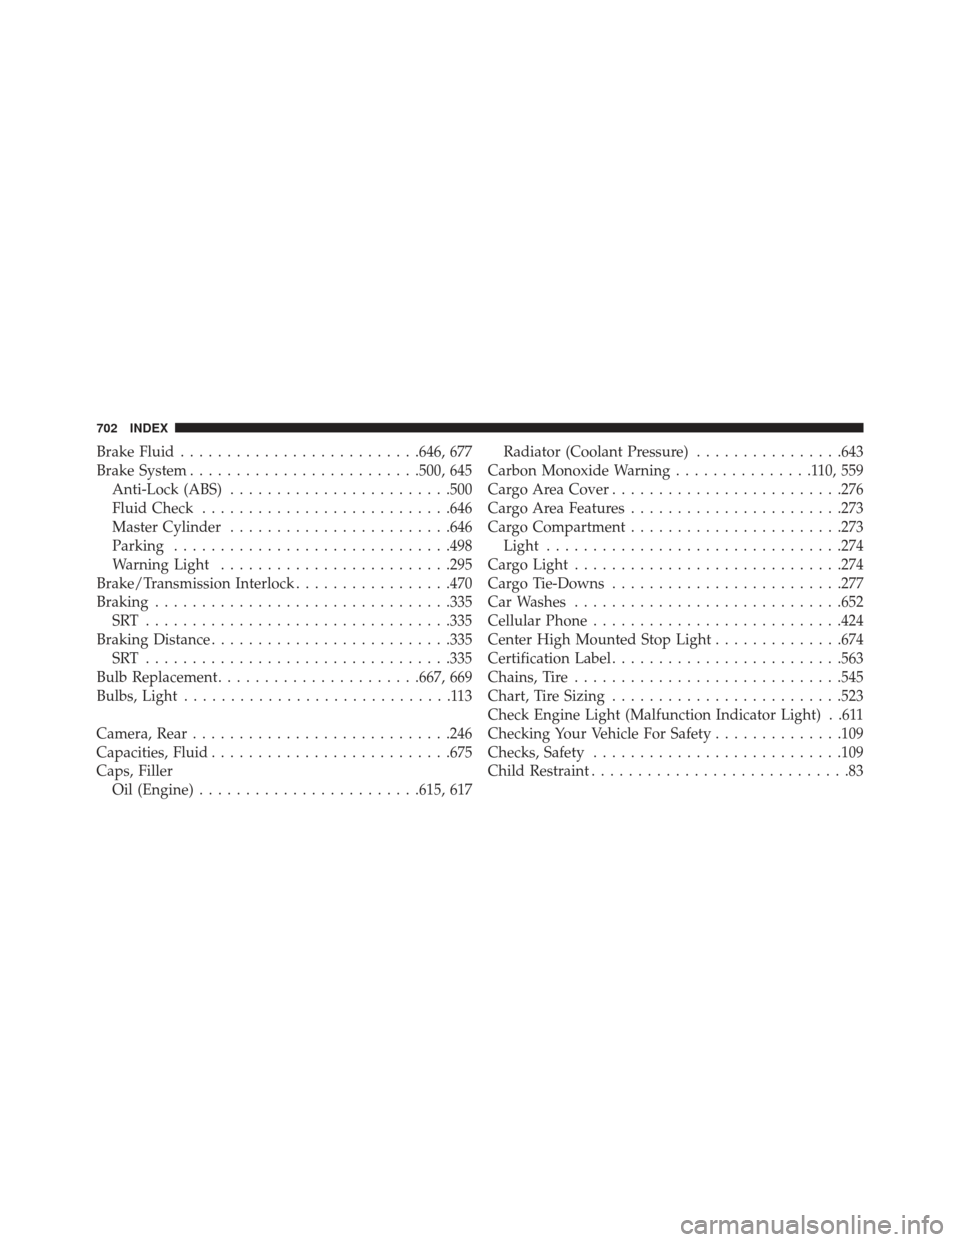
Brake Fluid......................... .646, 677
Brake System ........................ .500, 645
Anti-Lock (ABS) ....................... .500
Fluid Check .......................... .646
Master Cylinder ....................... .646
Parking ............................. .498
Warning Light ........................ .295
Brake/Transmission Interlock .................470
Braking ............................... .335
SRT ................................ .335
Braking Distance ......................... .335
SRT ................................ .335
Bulb Replacement ..................... .667, 669
Bulbs, Light .............................113
Camera, Rear ........................... .246
Capacities, Fluid ......................... .675
Caps, Filler Oil (Engine) ....................... .615, 617Radiator (Coolant Pressure)
................643
Carbon Monoxide Warning ...............110,559
Cargo Area Cover ........................ .276
Cargo Area Features ...................... .273
Cargo Compartment ...................... .273
Light ............................... .274
Cargo Light ............................ .274
Cargo Tie-Downs ........................ .277
Car Washes ............................ .652
Cellular Phone .......................... .424
Center High Mounted Stop Light ..............674
Certification Label ........................ .563
Chains, Tire ............................ .545
Chart, Tire Sizing ........................ .523
Check Engine Light (Malfunction Indicator Light) . .611
Checking Your Vehicle For Safety ..............109
Checks, Safety .......................... .109
Child Restraint ............................83
702 INDEX