Page 389 of 745

Engine Off Options
After pressing the Engine Off Options button on the
touchscreen the following settings will be available.
•Easy Entry/Exit Seat — If Equipped
This feature provides automatic driver seat positioning to
enhance driver mobility when entering and exiting the
vehicle. To make your selection, press the “Easy Exit
Seat” button on the touchscreen until a check-mark
appears next to setting, showing that setting has been
selected.
• Engine Off Power Delay
When this feature is selected, the power window
switches, radio, Uconnect phone system (if equipped),
DVD video system (if equipped), power sunroof (if
equipped), and power outlets will remain active for up to
10 minutes after the ignition is cycled to OFF. Opening
either front door will cancel this feature. To change the Engine Off Power Delay status press the press the “+” or
“-” button to choose from “0 seconds,” “45 seconds,”
“5 minutes,” or “10 minutes.”
•
Headlight Off Delay
When this feature is selected, the driver can choose to
have the headlights remain on for 0, 30, 60, or 90 seconds
when exiting the vehicle. To change the Headlight Off
Delay status press the “+” or “-” button on the touch-
screen to select your desired time interval.
• Auto Entry/Exit Suspension — If Equipped
When this feature is selected, the driver can choose to
automatically lower the vehicle from ride height position
when the vehicle is shifted to park. To change the mode
status press the “Auto Entry/Exit Suspension” button on
the touchscreen until a check-mark appears next to
setting, showing that setting has been selected.
4
UNDERSTANDING YOUR INSTRUMENT PANEL 387
Page 398 of 745
2. To watch a Blu-ray disc on Rear 1 for driver’s side rearpassengers, ensure the Remote Control and Head-
phone switch is on Rear 1.
3. To watch a Blu-ray disc on Rear 2 for passenger side rear passengers, ensure the Remote Control and Head-
phone switch is on Rear 2.
NOTE:
• To view a Blu-ray disc on the radio, press the “Media”
button on the touchscreen, and then press the “Disc”
button. Press the “Play” button, and then the “full
screen” button.
• Viewing a Blu-ray disc on the radio screen is not
available in all states/provinces. The vehicle must be
stopped, and the gear selector must be in the PARK
position for vehicles with automatic transmission. Using The Touchscreen Radio
1.
RSE Channel 1 Mode
Indicates the current source for Screen 1/Channel 1. This
button will be highlighted when it is the active Screen/
Channel being controlled by the front user. If this button
Rear Media Control Screen
396 UNDERSTANDING YOUR INSTRUMENT PANEL
Page 399 of 745

is not highlighted, select button to access controls for
Screen 1/Channel 1 source.
2.RSE Power
Press to turn RSE On/Off.
3. RSE Mute
Mute rear headphones for the current ignition cycle.
Pressing mute again will unmute rear headphones.
4. RSE Remote Control Lock Out
Press to enable/disable Remote Control functions.
5. RSE Channel 2 Mode
Indicates the current source for Screen 2/Channel 2. This
button will be highlighted when it is the active Screen/
Channel being controlled by the front user. If this button
is not highlighted, select button to access controls for
Screen 2/Channel 2 source. 6.
Radio Full Screen Mode
Select this button to change to Full Screen Mode.
7. Cabin Audio Mode
Select this button to change the cabin audio to the rear
entertainment source currently shown on the rear media
control screen.
8. RSE Mode
Select this button to change source for the active (high-
lighted) rear Screen/Channel on the rear media control
screen.
• Press the Media button on the touchscreen, and then
press the Rear Media button on the touchscreen.
• Press the OK button on the touchscreen to begin
playing the Blu-ray Disc on the touchscreen radio.
4
UNDERSTANDING YOUR INSTRUMENT PANEL 397
Page 400 of 745
Using The Remote Control
•Select an audio channel (Rear 1 for driver ’s side rear
screen and Rear 2 for passenger ’s side rear screen), and
then press the source key, and using the up and down
arrows, highlight disc from the menu and press the OK
button.
• Press the popup/menu key to navigate the disc menu
and options.
Play Video Games
Connect the video game console to the Audio/Video
RCA/HDMI input jacks located on the side of each seat.
Audio/Video RCA/HDMI Jacks (AUX/HDMI Jacks) on
the side of each seat enable the monitor to display video
directly from a video camera, connect video games for
display on the screen, or play music directly from an MP3
player.
Audio/Video RCA/HDMI Input Jacks
398 UNDERSTANDING YOUR INSTRUMENT PANEL
Page 402 of 745
Using The Remote Control
1. Push the SOURCE button on the Remote Control.
2. While looking at Rear 1 or 2, highlight DISC by eitherpushing Up/Down/Left/Right buttons, then push
ENTER/OK.
Using The Touchscreen Radio Controls
1. Press the Media button on the Uconnect radio touch-
screen.
2. Press the Rear Media button to display the Rear Media Control screen.
Select DISC Mode On The Rear Seat Entertainment
ScreenRear Media Control Screen
400 UNDERSTANDING YOUR INSTRUMENT PANEL
Page 405 of 745
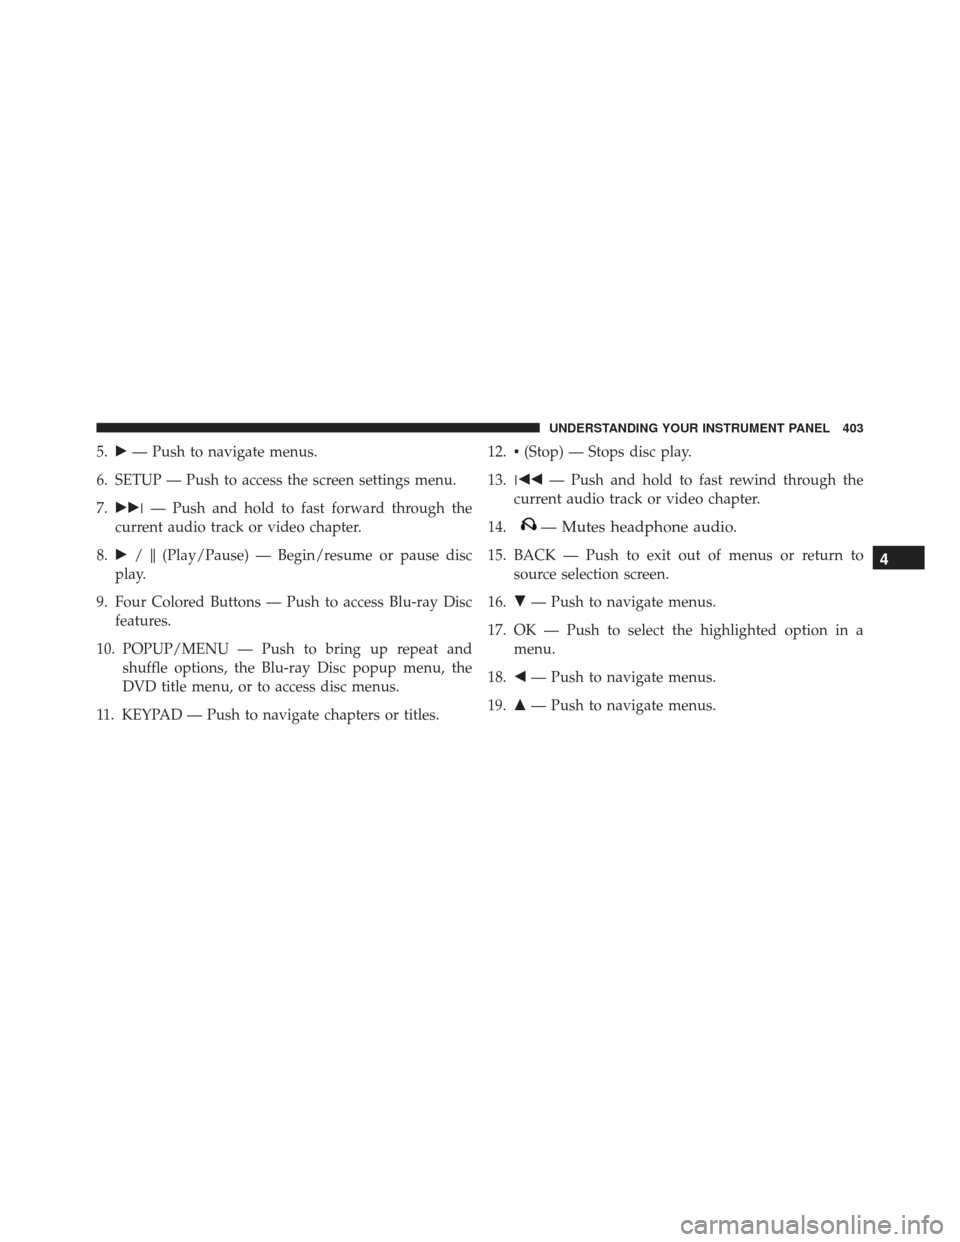
5.�— Push to navigate menus.
6. SETUP — Push to access the screen settings menu.
7. ��� — Push and hold to fast forward through the
current audio track or video chapter.
8. � /�(Play/Pause) — Begin/resume or pause disc
play.
9. Four Colored Buttons — Push to access Blu-ray Disc features.
10. POPUP/MENU — Push to bring up repeat and shuffle options, the Blu-ray Disc popup menu, the
DVD title menu, or to access disc menus.
11. KEYPAD — Push to navigate chapters or titles. 12.
▪(Stop) — Stops disc play.
13. ��� — Push and hold to fast rewind through the
current audio track or video chapter.
14.
— Mutes headphone audio.
15. BACK — Push to exit out of menus or return to source selection screen.
16. �— Push to navigate menus.
17. OK — Push to select the highlighted option in a menu.
18. �— Push to navigate menus.
19. �— Push to navigate menus.4
UNDERSTANDING YOUR INSTRUMENT PANEL 403
Page 417 of 745

CD/DVD DISC MAINTENANCE
To keep a CD/DVD in good condition, take the following
precautions:
1. Handle the disc by its edge; avoid touching thesurface.
2. If the disc is stained, clean the surface with a soft cloth, wiping from center to edge.
3. Do not apply paper or tape to the disc; avoid scratch- ing the disc.
4. Do not use solvents such as benzene, thinner, cleaners, or anti-static sprays.
5. Store the disc in its case after playing.
6. Do not expose the disc to direct sunlight.
7. Do not store the disc where temperatures may become too high. NOTE:
If you experience difficulty in playing a particular
disc, it may be damaged (e.g., scratched, reflective coat-
ing removed, a hair, moisture or dew on the disc)
oversized, or have protection encoding. Try a known
good disc before considering disc player service.
RADIO OPERATION AND MOBILE PHONES
Under certain conditions, the mobile phone being on in
your vehicle can cause erratic or noisy performance from
your radio. This condition may be lessened or eliminated
by relocating the mobile phone antenna. This condition is
not harmful to the radio. If your radio performance does
not satisfactorily “clear” by the repositioning of the
antenna, it is recommended that the radio volume be
turned down or off during mobile phone operation when
not using Uconnect (if equipped).
4
UNDERSTANDING YOUR INSTRUMENT PANEL 415
Page 424 of 745

10. Blower Control
Blower control is used to regulate the amount of air forced
through the climate system. There are seven blower speeds
available. Adjusting the blower will cause automatic mode
to switch to manual operation. The speeds can be selected
using either the blower control knob on the faceplate or
buttons on the touchscreen as follows:
Blower Control Knob On The Faceplate
The blower speed increases as you turn the blower
control knob clockwise from the lowest blower setting.
The blower speed decreases as you turn the blower
control knob counterclockwise.
Button On The Touchscreen
Use the small blower icon to reduce the blower setting
and the large blower icon to increase the blower setting.
Blower can also be selected by pressing the blower bar
area between the icons.11. Modes
The airflow distribution mode can be adjusted so air
comes from the instrument panel outlets, floor outlets,
and demist outlets. The Mode settings are as follows:
•Panel Mode
Air comes from the outlets in the instrument
panel. Each of these outlets can be individu-
ally adjusted to direct the flow of air. The air vanes of
the center outlets and outboard outlets can be moved
up and down or side to side to regulate airflow
direction. There is a shut off wheel located below the
air vanes to shut off or adjust the amount of airflow
from these outlets.
• Bi-Level Mode
Air comes from the instrument panel outlets
and floor outlets. A slight amount of air is
directed through the defrost and side window demis-
ter outlets.
422 UNDERSTANDING YOUR INSTRUMENT PANEL

, and
then press the source key, and using the up and down
a")