2016 JEEP CHEROKEE light
[x] Cancel search: lightPage 48 of 236

Metric Speed (km/h)
• Pushing the SET+button once will result in a 1 km/h increase in set speed. Each
subsequent tap of the button results in an increase of 1 km/h.
•
If the button is continually pushed, the set speed will continue to increase in 10 km/h
increments until the button is released. The increase in set speed is reflected in the
EVIC/DID.
To Decrease Speed
While ACC is set, the set speed can be decreased by pushing the SET -button.
The drivers preferred units can be selected through the instrument panel settings if
equipped. Refer to “Understanding Your Instrument Panel” in the Owner’s Manual
on the DVD for more information. The speed increment shown is dependant on the
speed of U.S. (mph) or Metric (km/h) units:
U.S. Speed (mph)
• Pushing the SET -button once will result in a 1 mph decrease in set speed. Each
subsequent tap of the button results in a decrease of 1 mph.
• If the button is continually pushed, the set speed will continue to decrease in 5 mph decrements until the button is released. The decrease in set speed is
reflected in the EVIC/DID.
Metric Speed (km/h)
• Pushing the SET -button once will result in a 1 km/h decrease in set speed. Each
subsequent tap of the button results in a decrease of 1 km/h.
•
If the button is continually pushed, the set speed will continue to decrease in 10 km/h
decrements until the button is released. The decrease in set speed is reflected in the
EVIC/DID.
NOTE:
• When you override and push the SET +button or SET -buttons, the new Set Speed
will be the current speed of the vehicle.
• When you use the SET -button to decelerate, if the engine’s braking power does
not slow the vehicle sufficiently to reach the set speed, the brake system will
automatically slow the vehicle.
• The ACC system applies the brake down to a full stop when following a target vehicle. If an ACC host vehicle follows a target vehicle to a standstill, the host
vehicle will release the vehicle brakes two seconds after coming to a full stop.
• The ACC system maintains set speed when driving up hill and down hill. However, a slight speed change on moderate hills is normal. In addition, downshifting may
occur while climbing uphill or descending downhill. This is normal operation and
necessary to maintain set speed. When driving up hill and down hill, the ACC
system will cancel if the braking temperature exceeds normal range (overheated).
OPERATING YOUR VEHICLE
46
Page 60 of 236

MAX A/C
• MAX A/C sets the control for maximum cooling performance.
• Press and release to toggle between MAX A/C and the prior settings. The button onthe touchscreen illuminates when MAX A/C is ON.
• In MAX A/C, the blower level and mode position can be adjusted to desired user settings. Pressing other settings will cause the MAX A/C operation to switch to the
prior settings and the MAX A/C indicator will turn off.
Air Recirculation
• Push the Recirculation button for maximum A/C operation.
• To turn off Recirculation for window defogging, push the Recirculation button asecond time.
• If the Recirculation button is pushed while in the AUTO mode, the indicator light shall illuminate. In cold weather, use of Recirculation mode may lead to excessive
window fogging. The recirculation feature may be unavailable (button greyed out)
if conditions exist that could create fogging on the inside of the windshield.
Heated Mirrors
The mirrors are heated to melt frost or ice. This feature is activated whenever you turn
on the rear window defroster.
Windshield Wiper De-icer — If Equipped
The windshield wiper de-icer is a heating element located at the base of the windshield.
The windshield wiper de-icer operates automatically once the following conditions
are met:
• Activation By Front Defrost
The wiper de-icer activates automatically during a cold weather manual start with full
defrost, theblower speed is greater than five, and when theambient temperature is
below 40° F (4.4° C).
• Activation By Rear Defrost
The wiper de-icer activates automatically when the Rear Defrost is operating and the
ambient temperature is below 40° F (4.4° C).
• Activation By Remote Start Operation
When the Remote Start is activated and the outside ambient temperature is less than
40° F (4.4° C) the windshield wiper de-icer is activated. Upon exiting Remote Start,
the climate control functions will resume their previous operation except, if the
de-icer is active, the de-icer timer and operation will continue.
OPERATING YOUR VEHICLE
58
Page 61 of 236

STOP/START SYSTEM — IF EQUIPPED
The Stop/Start function is developed to reduce fuel consumption. The system will
stop the engine automatically during a vehicle stop if the required conditions are
met. Releasing the brake pedal or pressing the accelerator pedal will automatically
re-start the engine.
Automatic Mode
The Stop/Start feature is enabled after every normal customer engine start. At that
time, the system will go into STOP/START READY and if all other conditions are met,
can go into a STOP/START AUTOSTOP ACTIVE “Autostop” mode.
To Activate The Autostop Mode, The Following Must Occur:
• The system must be in STOP/START READY state. A STOP/START READYmessage will be displayed in the Electronic Vehicle Information Center (EVIC) or
Driver Information Display (DID) within the Stop/Start section. Refer to “Elec-
tronic Vehicle Information Center (EVIC)” or “Driver Information Display (DID)” in
“Understanding Your Instrument Panel” in your owner’s manual on the DVD for
further information.
• The vehicle must be completely stopped.
• The shifter must be in a forward gear and the brake pedal depressed.
The engine will shut down, the tachometer will move to the zero position and the
Stop/Start telltale will illuminate indicating you are in Autostop. Customer settings
will be maintained upon return to an engine running condition.
Refer to the “Stop/Start System” in the “Starting And Operating” section located in
your owners manual on the DVD for further information.
To Manually Turn Off The Stop/Start System
1. Push the STOP/START Off switch (located on the switch bank). The light on the switch will illuminate.
2. The “STOP/START OFF” message will appear in Electronic Vehicle Informa-
tion Center (EVIC) or Driver Informa-
tion Display (DID). Refer to “Elec-
tronic Vehicle Information Center
(EVIC)” or “Driver Information Display
(DID)” in “Understanding Your Instru-
ment Panel” in your owner’s manual
on the DVD for further information.
3. At the next vehicle stop (after turning off the STOP/START system) the en-
gine will not be stopped.
4. The STOP/START system will reset itself back to an ON condition every time the ignition is turned off and back on.
STOP/START OFF Switch
OPERATING YOUR VEHICLE
59
Page 62 of 236

To Manually Turn On The Stop/Start System
Push the STOP/START Off switch (located on the switch bank). The light on the
switch will turn off.
For complete details on the Stop/Start System refer to the “Stop/Start System” in the
“Starting And Operating” section located in your owners manual on the DVD for
further information.
ELECTRIC PARK BRAKE (EPB)
Your vehicle is equipped with a new Electric Park Brake System (EPB) that offers
greater convenience. The park brake switch is located in the center console.
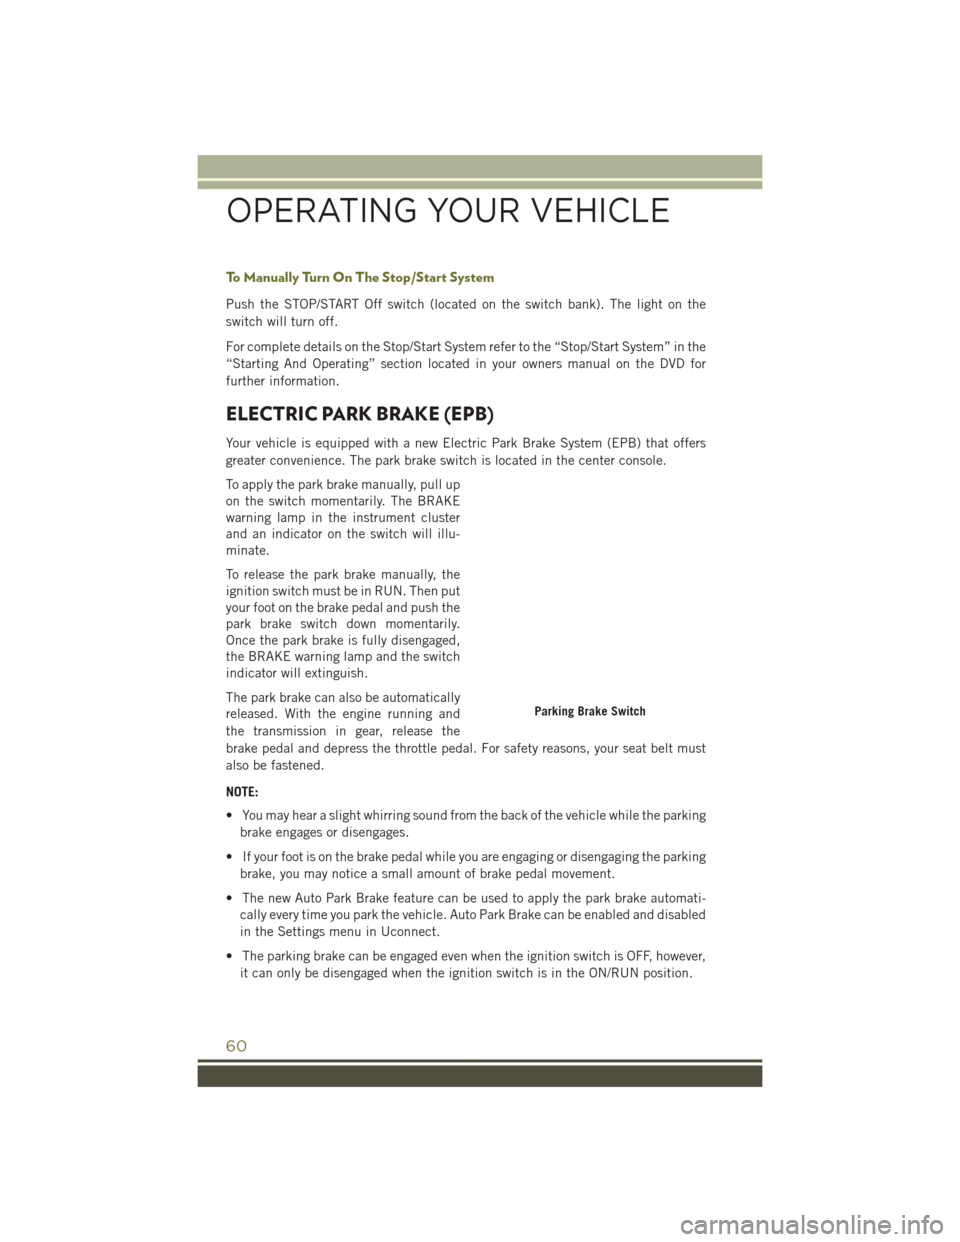
To apply the park brake manually, pull up
on the switch momentarily. The BRAKE
warning lamp in the instrument cluster
and an indicator on the switch will illu-
minate.
To release the park brake manually, the
ignition switch must be in RUN. Then put
your foot on the brake pedal and push the
park brake switch down momentarily.
Once the park brake is fully disengaged,
the BRAKE warning lamp and the switch
indicator will extinguish.
The park brake can also be automatically
released. With the engine running and
the transmission in gear, release the
brake pedal and depress the throttle pedal. For safety reasons, your seat belt must
also be fastened.
NOTE:
• You may hear a slight whirring sound from the back of the vehicle while the parkingbrake engages or disengages.
• If your foot is on the brake pedal while you are engaging or disengaging the parking brake, you may notice a small amount of brake pedal movement.
• The new Auto Park Brake feature can be used to apply the park brake automati- cally every time you park the vehicle. Auto Park Brake can be enabled and disabled
in the Settings menu in Uconnect.
• The parking brake can be engaged even when the ignition switch is OFF, however, it can only be disengaged when the ignition switch is in the ON/RUN position.
Parking Brake Switch
OPERATING YOUR VEHICLE
60
Page 63 of 236

• SafeHold a new feature that will automatically apply the park brake under certainconditions. The EPB monitors the status of the driver’s seat belt, driver’s door and
pedal positions to determine if the driver may have exited while the vehicle is still
capable of moving and will then automatically apply the park brake to prevent the
vehicle from rolling.
• The EPB fault lamp will illuminate if the EPB switch is held for longer than 20 seconds in either the released or applied position. The light will extinguish
upon releasing the switch.
• Refer to the Starting And Operating section of your vehicle’s Owner’s Manual on the DVD for further details.
CAUTION!
If the Brake System Warning Light remains on with the parking brake released, a
brake system malfunction is indicated. Have the brake system serviced by an
authorized dealer immediately.
WARNING!
• Never use the PARK position as a substitute for the parking brake. Always apply the parking brake fully when parked to guard against vehicle movement and
possible injury or damage.
• When leaving the vehicle, always make sure the ignition is in the OFF mode,
remove the Key Fob from the vehicle, and lock your vehicle.
• Never leave children alone in a vehicle, or with access to an unlocked vehicle.
Allowing children to be in a vehicle unattended is dangerous for a number of
reasons. A child or others could be seriously or fatally injured. Children should
be warned not to touch the parking brake, brake pedal or the transmission gear
selector.
• Do not leave the Key Fob in or near the vehicle, (or in a location accessible to
children), and do not leave the ignition in the ACC or ON/RUN mode. A child
could operate power windows, other controls, or move the vehicle.
• Be sure the parking brake is fully disengaged before driving; failure to do so can
lead to brake failure and a collision.
• Always fully apply the parking brake when leaving your vehicle, or it may roll
and cause damage or injury. Also be certain to leave the transmission in PARK.
Failure to do so may allow the vehicle to roll and cause damage or injury.
•
Driving the vehicle with the parking brake engaged, or repeated use of the parking
brake to slow the vehicle may cause serious damage to the brake system.
OPERATING YOUR VEHICLE
61
Page 81 of 236

Built-In Features
WARNING!
• ALWAYS obey traffic laws and pay attention to the road. Some UconnectAccess services, including 9-1-1 and Assist, will NOT work without an operable
1X (voice/data) or 3G (data) network connection.
• ALWAYS drive safely with your hands on the steering wheel. You have full
responsibility and assume all risks related to the use of the Uconnect features
and applications in this vehicle. Only use Uconnect when it is safe to do so.
Failure to do so may result in an accident involving serious injury or death.
• Ignoring the rearview mirror light could mean you may not have 9-1-1 Call
service if needed. If the rearview mirror light is illuminated, have an authorized
dealer service the 9-1-1 Call system immediately.
• The Occupant Restraint Controller (ORC) turns on the Air Bag Warning Light on
the instrument panel if a malfunction is detected in any part of the airbag
system. If the Air Bag Warning Light is illuminated, the air bag system may not
be working properly and the 9-1-1 system may not send a signal to a 9-1-1
operator if an air bag is deployed. If the Air Bag Warning Light is illuminated,
have an authorized dealer service your vehicle immediately.
• If anyone in the vehicle could be in danger (e.g., fire or smoke is visible,
dangerous road conditions or location), do not wait for voice contact from a
9-1-1 operator. All occupants should exit the vehicle immediately and move to
a safe location.
• The 9-1-1 Call system is embedded into the vehicle’s electrical system. Do not
add aftermarket electrical equipment to the vehicle’s electrical system. This
may prevent your vehicle from sending a signal to initiate an emergency call. To
avoid interference that can cause the 9-1-1 Call system to fail, never add
aftermarket equipment (e.g., two-way mobile radio, CB radio, data recorder,
etc.) to your vehicle’s electrical system or modify the antennas on your vehicle.
• IF YOUR VEHICLE LOSES BATTERY POWER FOR ANY REASON (INCLUDING
DURING OR AFTER AN ACCIDENT), the Uconnect features, apps and ser-
vices, among others, will not operate.
NOTE:
Your vehicle may be transmitting data as authorized by the subscriber.
ELECTRONICS
79
Page 82 of 236

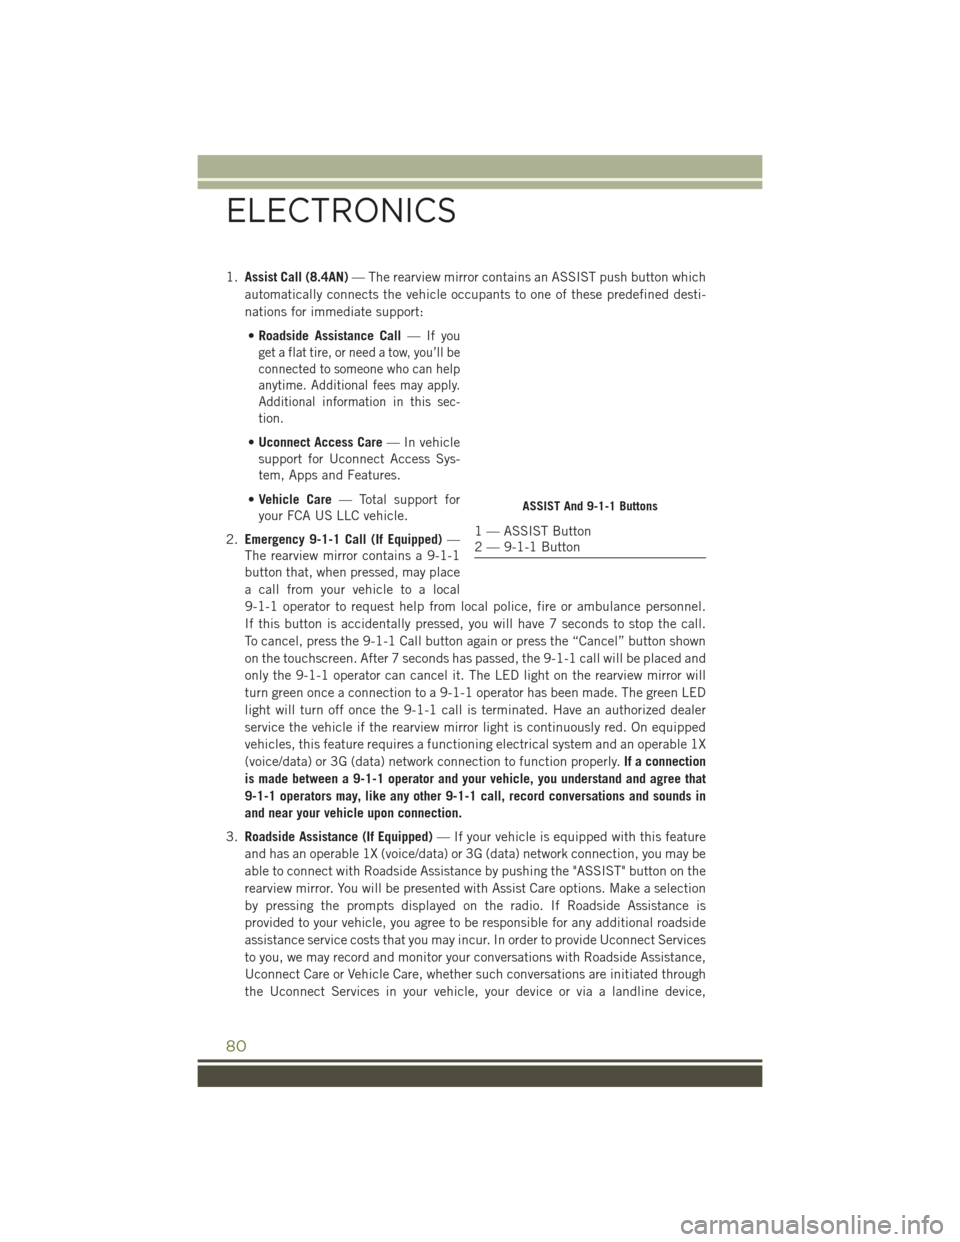
1.Assist Call (8.4AN) — The rearview mirror contains an ASSIST push button which
automatically connects the vehicle occupants to one of these predefined desti-
nations for immediate support:
• Roadside Assistance Call —
If you
get a flat tire, or need a tow, you’ll be
connected to someone who can help
anytime. Additional fees may apply.
Additional information in this sec-
tion.
• Uconnect Access Care — In vehicle
support for Uconnect Access Sys-
tem, Apps and Features.
• Vehicle Care — Total support for
your FCA US LLC vehicle.
2. Emergency 9-1-1 Call (If Equipped) —
The rearview mirror contains a 9-1-1
button that, when pressed, may place
a call from your vehicle to a local
9-1-1 operator to request help from local police, fire or ambulance personnel.
If this button is accidentally pressed, you will have 7 seconds to stop the call.
To cancel, press the 9-1-1 Call button again or press the “Cancel” button shown
on the touchscreen. After 7 seconds has passed, the 9-1-1 call will be placed and
only the 9-1-1 operator can cancel it. The LED light on the rearview mirror will
turn green once a connection to a 9-1-1 operator has been made. The green LED
light will turn off once the 9-1-1 call is terminated. Have an authorized dealer
service the vehicle if the rearview mirror light is continuously red. On equipped
vehicles, this feature requires a functioning electrical system and an operable 1X
(voice/data) or 3G (data) network connection to function properly. If a connection
is made between a 9-1-1 operator and your vehicle, you understand and agree that
9-1-1 operators may, like any other 9-1-1 call, record conversations and sounds in
and near your vehicle upon connection.
3. Roadside Assistance (If Equipped) — If your vehicle is equipped with this feature
and has an operable 1X (voice/data) or 3G (data) network connection, you may be
able to connect with Roadside Assistance by pushing the "ASSIST" button on the
rearview mirror. You will be presented with Assist Care options. Make a selection
by pressing the prompts displayed on the radio. If Roadside Assistance is
provided to your vehicle, you agree to be responsible for any additional roadside
assistance service costs that you may incur. In order to provide Uconnect Services
to you, we may record and monitor your conversations with Roadside Assistance,
Uconnect Care or Vehicle Care, whether such conversations are initiated through
the Uconnect Services in your vehicle, your device or via a landline device,
ASSIST And 9-1-1 Buttons
1 — ASSIST Button
2 — 9-1-1 Button
ELECTRONICS
80
Page 84 of 236

Uconnect Access Remote Features
If you own a compatible iPhone or Android powered device, the Uconnect Access App
allows you to remotely lock or unlock your doors, start your engine or activate your
horn and lights from virtually anywhere. Your vehicle must be equipped with remote
start and your vehicle must have an operable 1X (voice/data) or 3G (data) network
connection). Services can only be used where coverage is available; see coverage
map for details. You can download the App from Mopar Owner Connect or from the
App Store (iPhone) or Google Play store. Visit UconnectPhone.com to determine if
your device is compatible. For Uconnect Phone customer support and to determine
if your device is compatible.
U.S. residents - visit UconnectPhone.com or call 1-877-855-8400.
Remote Start (If Equipped)— This feature provides the ability to start the engine on
your vehicle, without the keys and from virtually any distance. You can send a request
to your vehicle in one of two ways:
1. Using the Uconnect Access App from a compatible device.
2. From the Mopar Owner Connect website.
• After 15 minutes if you have not entered your vehicle with the key, the enginewill shut off automatically.
•
You can also send a command to turn-off an engine that has been remote started.
• This remote function requires your vehicle to be equipped with a factory- installed Remote Start system. To utilize this feature after the Uconnect Access
App is downloaded, login with your user name and password.
NOTE:
Your four digit Uconnect Security PIN is required to confirm the request. • You can set-up notifications for your account to receive an email or text(SMS) message every time a command is sent. Login to Mopar Owner Connect
moparownerconnect.com and click on Edit Profile to manage Uconnect
Notifications.
Remote Door Lock/Unlock — This feature provides the ability to lock or unlock the door
on your vehicle, without the keys and from virtually any distance. You can send a
request to your vehicle in one of three ways:
1. Using the Uconnect Access App from a compatible device.
2. From the Mopar Owner Connect website.
3. By contacting the Uconnect Care on the phone.
ELECTRONICS
82