Page 87 of 236

UCONNECT 5.0
CAUTION!
Do NOT attach any object to the touchscreen, doing so can result in damage to the
screen.
Clock Setting
To start the clock setting procedure, perform the following:
1. Push the MORE button on the faceplate. Next press the “Settings” button on thetouchscreen and then press the “Clock and Date” button on the touchscreen.
2. Press the “Set Time” button on the touchscreen.
3. Press the “Up” or “Down” arrows to adjust the hours or minutes, then select the “AM” or “PM” button on the touchscreen. You can also select 12hr or 24hr
format by pressing the desired button on the touchscreen.
4. Once the time is set press the “Done” button on the touchscreen to exit the time screen.
NOTE:
In the Clock Setting Menu you can also select Display Clock. Display Clock turns the
clock display in the status bar on or off.
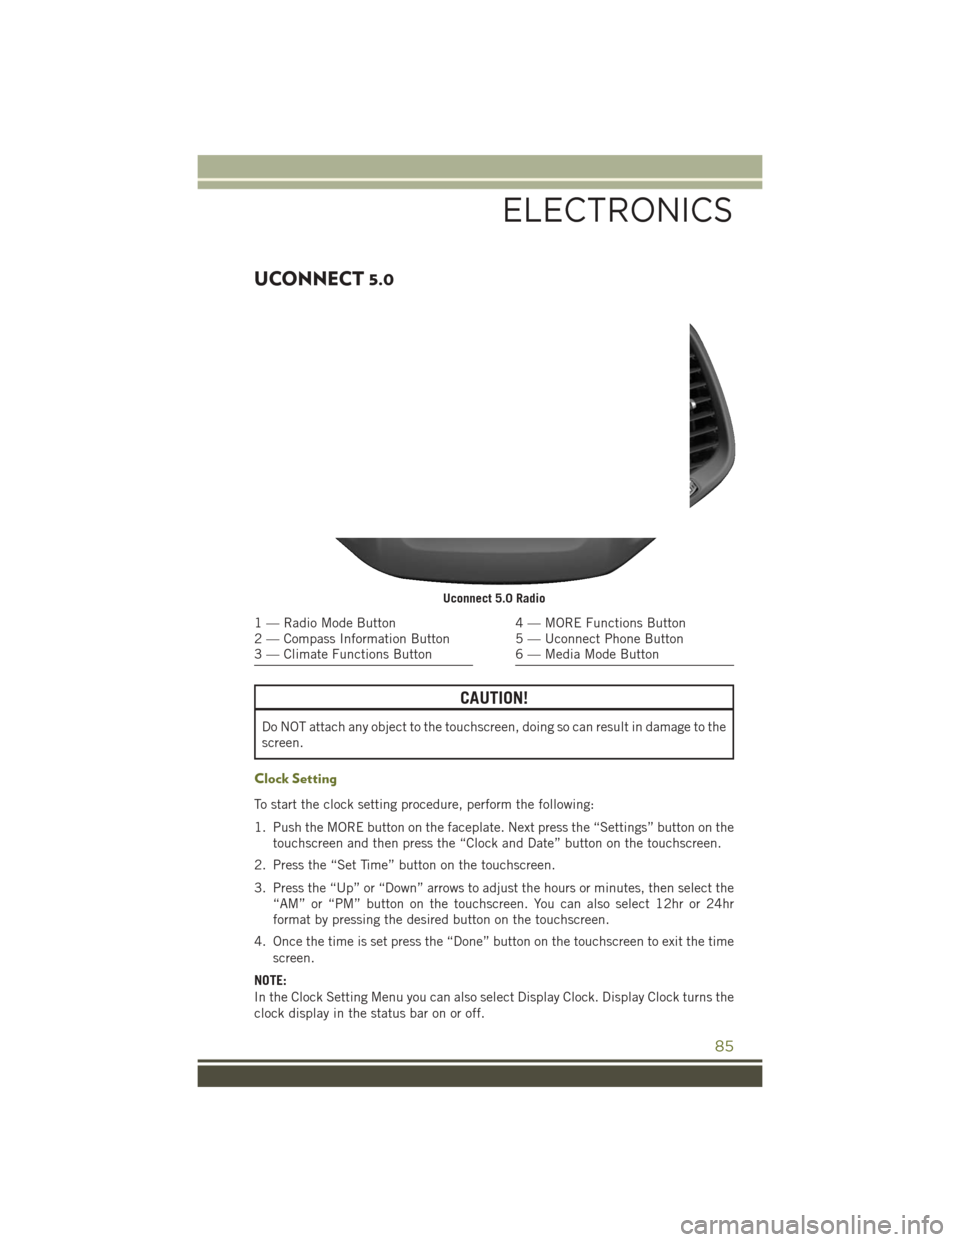
Uconnect 5.0 Radio
1 — Radio Mode Button
2 — Compass Information Button
3 — Climate Functions Button4 — MORE Functions Button
5 — Uconnect Phone Button
6 — Media Mode Button
ELECTRONICS
85
Page 89 of 236
Radio Operation
Seek Up/Down Buttons
• Press the up or down button to seek through radio stations in AM, FM or SXMbands.
• Hold either button to bypass stations without stopping.
Store Radio Presets Manually
The Radio stores up to 12 presets in each of the Radio modes. There are four visible
presets at the top of the radio screen. Pressing the “All” button on the touchscreen
on the radio home screen will display all of the preset stations for that mode.
To store a radio preset manually, follow the steps below:
1. Tune to the desired station
2. Press and hold the desired preset button on the touchscreen for more that two seconds or until you hear a confirmation beep.
Uconnect 5.0 Radio Screen
1 — Radio Station Presets
2 — Show All Presets
3 — Seek Up
4 — Audio Settings5 — Station Info
6 — Direct Tune
7 — Radio Band
8 — Seek Down
ELECTRONICS
87
Page 90 of 236

SiriusXM Premier Over 160 channels
Get every channel available on your satellite radio, and enjoy all you want, all in one
place. Hear commercial-free music plus sports, news, talk and entertainment. Get all
the premium programming, including Howard Stern, every NFL game, Oprah Radio,
every MLB and NHL game, every NASCAR race, Martha Stewart and more. And get
20+ extra channels, including SiriusXM Latino, offering 20 channels of commercial
free music, news, talk, comedy, sports and more dedicated to Spanish language
programming.
To access SiriusXM Satellite Radio, push the RADIO button on the faceplate and then
the SXM button on the touchscreen.
SiriusXM services require subscriptions, sold separately after the 12-month trial
included with the new vehicle purchase.If you decide to continue your service at the
end of your trial subscription, the plan you choose will automatically renew and bill at
then-current rates until you call SiriusXM at 1-866-635-2349 for U.S. residents and
1-888-539-7474 for Canadian residents to cancel. See SiriusXM Customer Agreement
for complete terms at www.siriusxm.com for U.S. residents and www.siriusxm.ca for
Canadian residents. All fees and programming subject to change. Our satellite service
is available only to those at least 18 and older in the 48 contiguous USA and D.C.
Our Sirius satellite service is also available in PR (with coverage limitations).
Our Internet radio service is available throughout our satellite service area and in AK
and HI. © 2015 Sirius XM Radio Inc. Sirius, XM and all related marks and logos are
trademarks of Sirius XM Radio Inc.
Disc Operation (If Equipped)
Your vehicle may have a remote CD player located in the lower center console storage
bin, or in the lower center bench seat bin.
• CD/Disc Mode is entered by either inserting a CD/Disc or by pushing the MEDIA button located on the side of the display. Once in Media Mode, select “Disc.”
• Gently insert one CD into the CD player with the CD label facing as indicated on the illustration located on the Disc player.
Seek Up/Down Buttons
• Press to seek through Disc tracks.
• Hold either button to bypass tracks without stopping.
Browse
• Press the “Browse” button on the touchscreen to scroll through and select a desired track on the Disc. Press the “Exit” button on the touchscreen if you want
to cancel the browse function.
ELECTRONICS
88
Page 91 of 236

USB/Audio Jack (AUX)/SD CARD — If Equipped
To select a specific audio source, push
the MEDIA button on the faceplate. To
allow music to play from your device
through the vehicle’s speakers, press the
“Source” button then select one of the
following modes:
USB/iPod
• USB/iPod Mode is entered by eitherinserting a USB Jump Drive or iPod
cable into the USB port or by pushing
the MEDIA button on the faceplate
located left of the display.
Audio Jack (AUX)
•
The AUX allows a device, such as an MP3 player or an iPod, to be plugged into the
radio and utilize the vehicle’s audio system, using a 3.5 mm audio cable, to amplify
the source and play through the vehicle speakers.
• The functions of the device are controlled using the device buttons, not the buttons on the radio. The volume may be controlled using the radio or device.
SD Card
• Play songs stored on an SD card inserted into the SD card slot.
• Song playback can be controlled using the radio or Steering Wheel Audio Controls to play, skip to the next or previous track, browse, and list the contents.
Bluetooth
• If using a Bluetooth-equipped device, you may also be able to stream music to your vehicle's sound system.
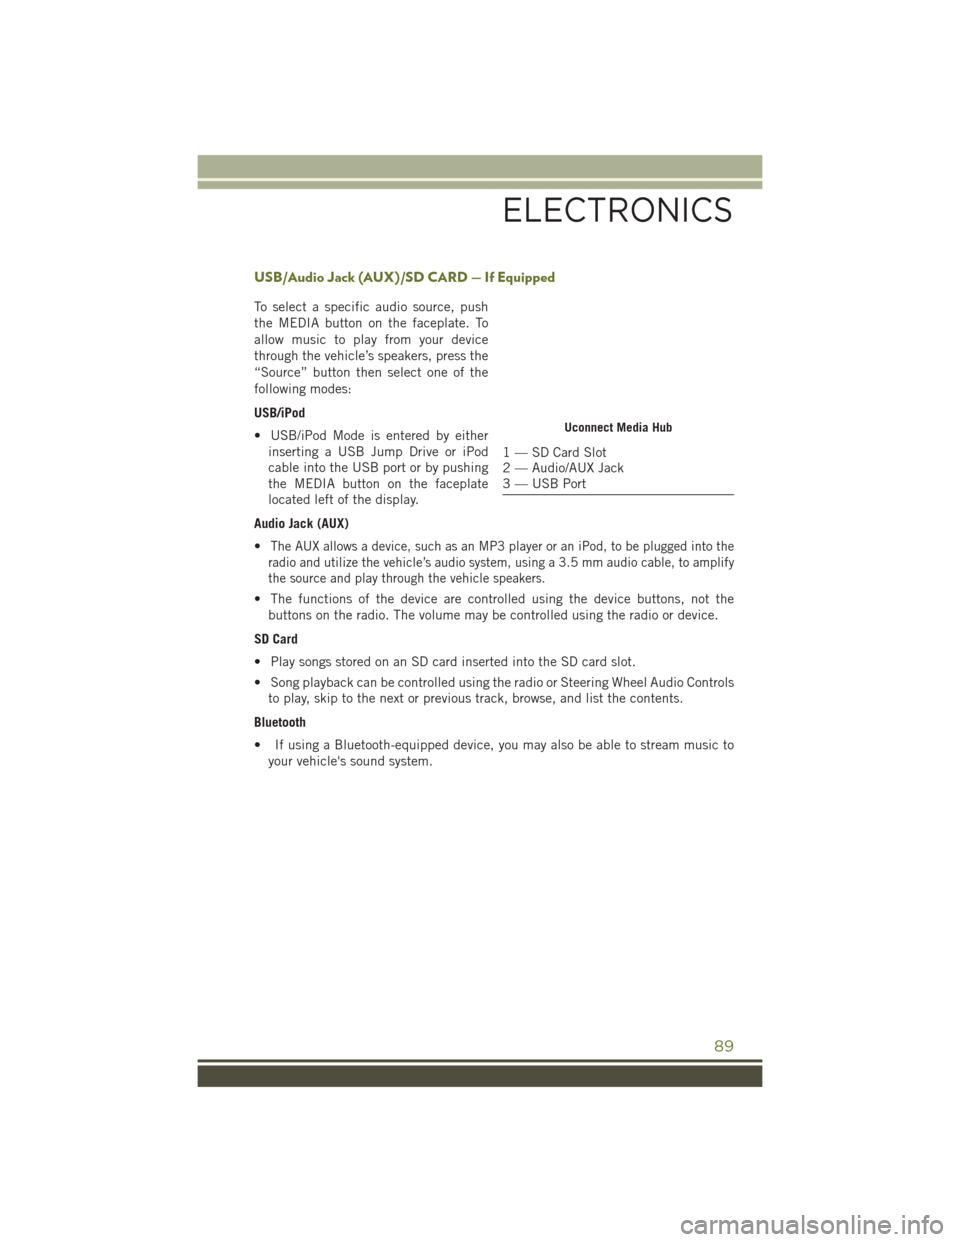
Uconnect Media Hub
1 — SD Card Slot
2 — Audio/AUX Jack
3 — USB Port
ELECTRONICS
89
Page 92 of 236
UCONNECT 5.0 VOICE RECOGNITION QUICK TIPS
Introducing Uconnect
Start using Uconnect Voice Recognition with these helpful quick tips. It provides the
key Voice Commands and tips you need to know to control your Uconnect 5.0 system.
Key Features:
• 5” touchscreen
• Three buttons on either side of the display
Uconnect 5.0
ELECTRONICS
90
Page 96 of 236
Media
Uconnect offers connections via USB, SD, Bluetooth and auxiliary ports (If Equipped).
Voice operation is only available for connected USB and iPod devices. (Remote CD
player optional and not available on all vehicles.)
Push the VR button. After the beep, say one of the following commands and
follow the prompts to switch your media source or choose an artist.
• Change source to Bluetooth
• Change source to iPod
• Change source to USB
• Play artist Beethoven; Play albumGreatest Hits; Play songMoonlight Sonata; Play
genre Classical
TIP: Press the Browse button on the touchscreen to see all of the music on your iPod
or USB device. Your Voice Command must match exactlyhow the artist, album, song
and genre information is displayed.
Uconnect 5.0 Media
ELECTRONICS
94
Page 99 of 236
UCONNECT 8.4A/8.4AN
Uconnect 8.4A/8.4AN AT A GLANCE
CAUTION!
Do NOT attach any object to the touchscreen, doing so can result in damage to the
screen.
Setting The Time
• Model 8.4AN synchronizes time automatically via GPS, so it should not require any time adjustment. If you do need to set the time manually, follow the
instructions below for Model 8.4A.
• For Model 8.4A, turn the unit on, then press the time display at the top of the screen. Press “Yes.”
• If the time is not displayed at the top of the screen, press the “Settings” button on the touchscreen. In the Settings screen, press the “Clock” button on the touch-
screen, then check or uncheck this option.
• Press “+” or “–” next to Set Time Hours and Set Time Minutes to adjust the time.
• If these features are not available, uncheck the Sync Time box.
• Press “X” to save your settings and exit out of the Clock Setting screen.
Uconnect 8.4AN Radio Screen
ELECTRONICS
97
Page 100 of 236

Background Themes
• Screen background themes are selectable from a pre-loaded list of themes. Ifyou’d like to set a theme, follow the instructions below.
• Press the “Settings” button on the touchscreen.
• Press the “Display” button on the touchscreen.
• Then press “Set Theme” button on the touchscreen and select a theme.
Audio Settings
• Press of the “Audio” button on the touchscreen to activate the Audio settings screen to adjust Balance\Fade, Equalizer, and Speed Adjusted Volume.
• You can return to the Radio screen by pressing the “X” located at the top right.
Balance/Fade
• Press the “Balance/Fade” button on the touchscreen to Balance audio between the front speakers or fade the audio between the rear and front speakers.
• Pressing the “Front,” “Rear,” “Left,” or “Right” buttons on the touchscreen or press and drag the Speaker Icon to adjust the Balance/Fade.
Equalizer
• Press the “Equalizer” button on the touchscreen to activate the Equalizer screen.
• Press the “+” or “–” buttons on the touchscreen, or press and drag over the level bar for each of the equalizer bands. The level value, which spans between plus or
minus 9, is displayed at the bottom of each of the Bands.
Speed Adjusted Volume
• Press the “Speed Adjusted Volume” button on the touchscreen to activate the Speed Adjusted Volume screen. The Speed Adjusted Volume is adjusted by
pressing the volume level indicator. This alters the automatic adjustment of the
audio volume with variation to vehicle speed.
ELECTRONICS
98