2016 JEEP CHEROKEE reset
[x] Cancel search: resetPage 103 of 236
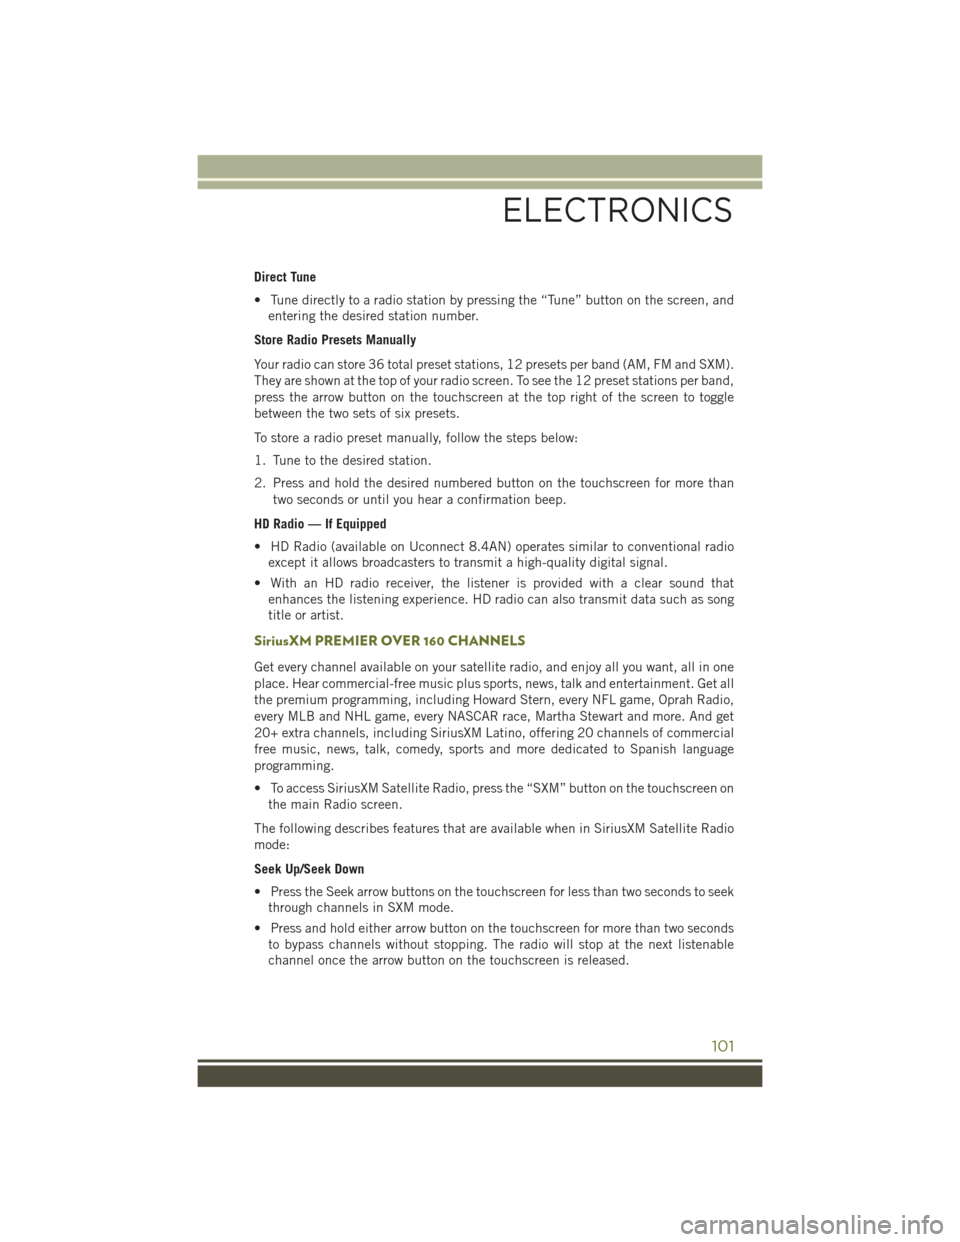
Direct Tune
• Tune directly to a radio station by pressing the “Tune” button on the screen, andentering the desired station number.
Store Radio Presets Manually
Your radio can store 36 total preset stations, 12 presets per band (AM, FM and SXM).
They are shown at the top of your radio screen. To see the 12 preset stations per band,
press the arrow button on the touchscreen at the top right of the screen to toggle
between the two sets of six presets.
To store a radio preset manually, follow the steps below:
1. Tune to the desired station.
2. Press and hold the desired numbered button on the touchscreen for more than two seconds or until you hear a confirmation beep.
HD Radio — If Equipped
• HD Radio (available on Uconnect 8.4AN) operates similar to conventional radio except it allows broadcasters to transmit a high-quality digital signal.
• With an HD radio receiver, the listener is provided with a clear sound that enhances the listening experience. HD radio can also transmit data such as song
title or artist.
SiriusXM PREMIER OVER 160 CHANNELS
Get every channel available on your satellite radio, and enjoy all you want, all in one
place. Hear commercial-free music plus sports, news, talk and entertainment. Get all
the premium programming, including Howard Stern, every NFL game, Oprah Radio,
every MLB and NHL game, every NASCAR race, Martha Stewart and more. And get
20+ extra channels, including SiriusXM Latino, offering 20 channels of commercial
free music, news, talk, comedy, sports and more dedicated to Spanish language
programming.
• To access SiriusXM Satellite Radio, press the “SXM” button on the touchscreen onthe main Radio screen.
The following describes features that are available when in SiriusXM Satellite Radio
mode:
Seek Up/Seek Down
• Press the Seek arrow buttons on the touchscreen for less than two seconds to seek through channels in SXM mode.
• Press and hold either arrow button on the touchscreen for more than two seconds to bypass channels without stopping. The radio will stop at the next listenable
channel once the arrow button on the touchscreen is released.
ELECTRONICS
101
Page 104 of 236
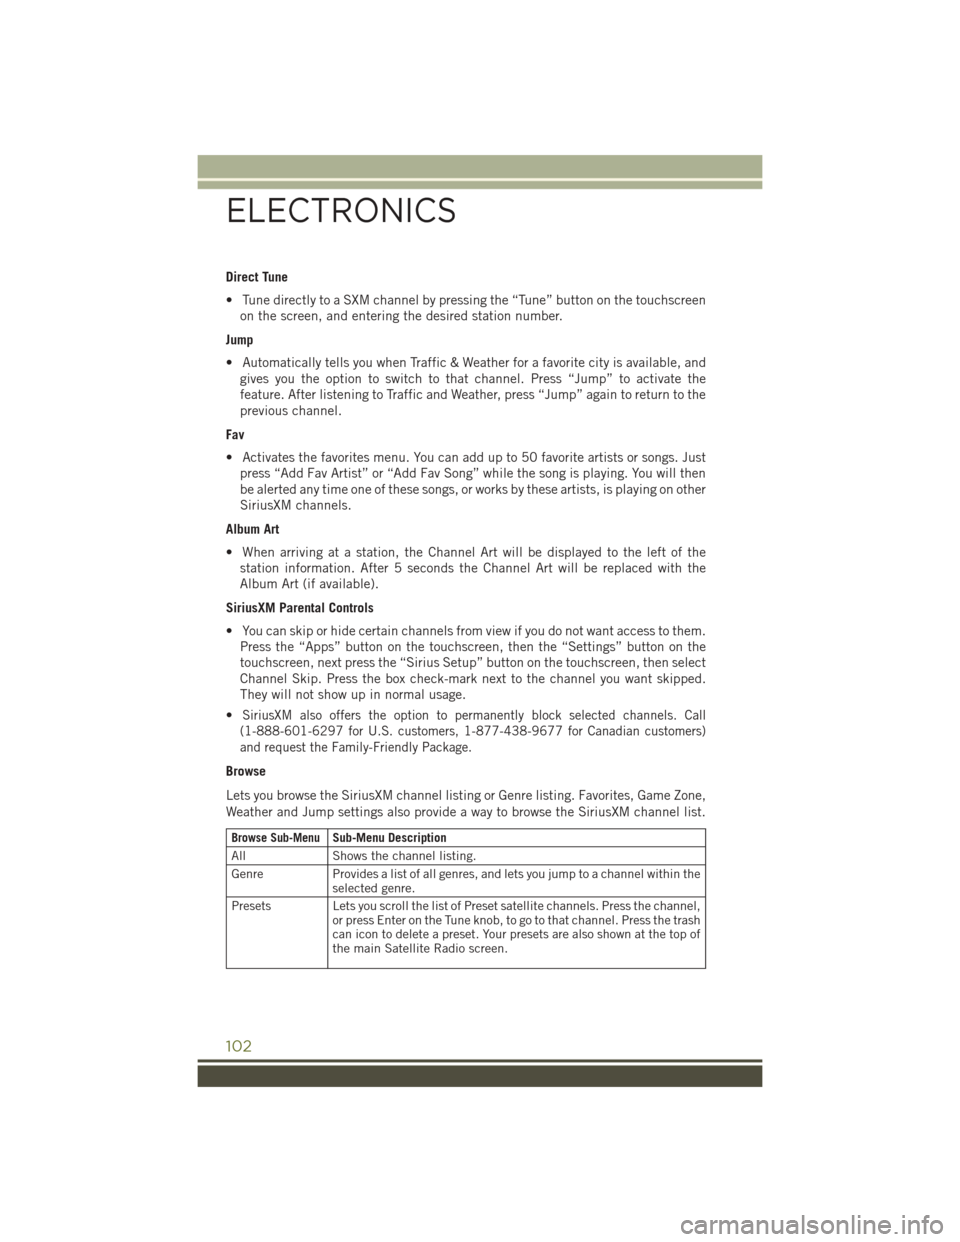
Direct Tune
• Tune directly to a SXM channel by pressing the “Tune” button on the touchscreenon the screen, and entering the desired station number.
Jump
• Automatically tells you when Traffic & Weather for a favorite city is available, and gives you the option to switch to that channel. Press “Jump” to activate the
feature. After listening to Traffic and Weather, press “Jump” again to return to the
previous channel.
Fav
• Activates the favorites menu. You can add up to 50 favorite artists or songs. Just press “Add Fav Artist” or “Add Fav Song” while the song is playing. You will then
be alerted any time one of these songs, or works by these artists, is playing on other
SiriusXM channels.
Album Art
• When arriving at a station, the Channel Art will be displayed to the left of the station information. After 5 seconds the Channel Art will be replaced with the
Album Art (if available).
SiriusXM Parental Controls
• You can skip or hide certain channels from view if you do not want access to them. Press the “Apps” button on the touchscreen, then the “Settings” button on the
touchscreen, next press the “Sirius Setup” button on the touchscreen, then select
Channel Skip. Press the box check-mark next to the channel you want skipped.
They will not show up in normal usage.
•
SiriusXM also offers the option to permanently block selected channels. Call
(1-888-601-6297 for U.S. customers, 1-877-438-9677 for Canadian customers)
and request the Family-Friendly Package.
Browse
Lets you browse the SiriusXM channel listing or Genre listing. Favorites, Game Zone,
Weather and Jump settings also provide a way to browse the SiriusXM channel list.
Browse Sub-MenuSub-Menu Description
All Shows the channel listing.
Genre Provides a list of all genres, and lets you jump to a channel within the
selected genre.
Presets Lets you scroll the list of Preset satellite channels. Press the channel, or press Enter on the Tune knob, to go to that channel. Press the trash
can icon to delete a preset. Your presets are also shown at the top of
the main Satellite Radio screen.
ELECTRONICS
102
Page 142 of 236
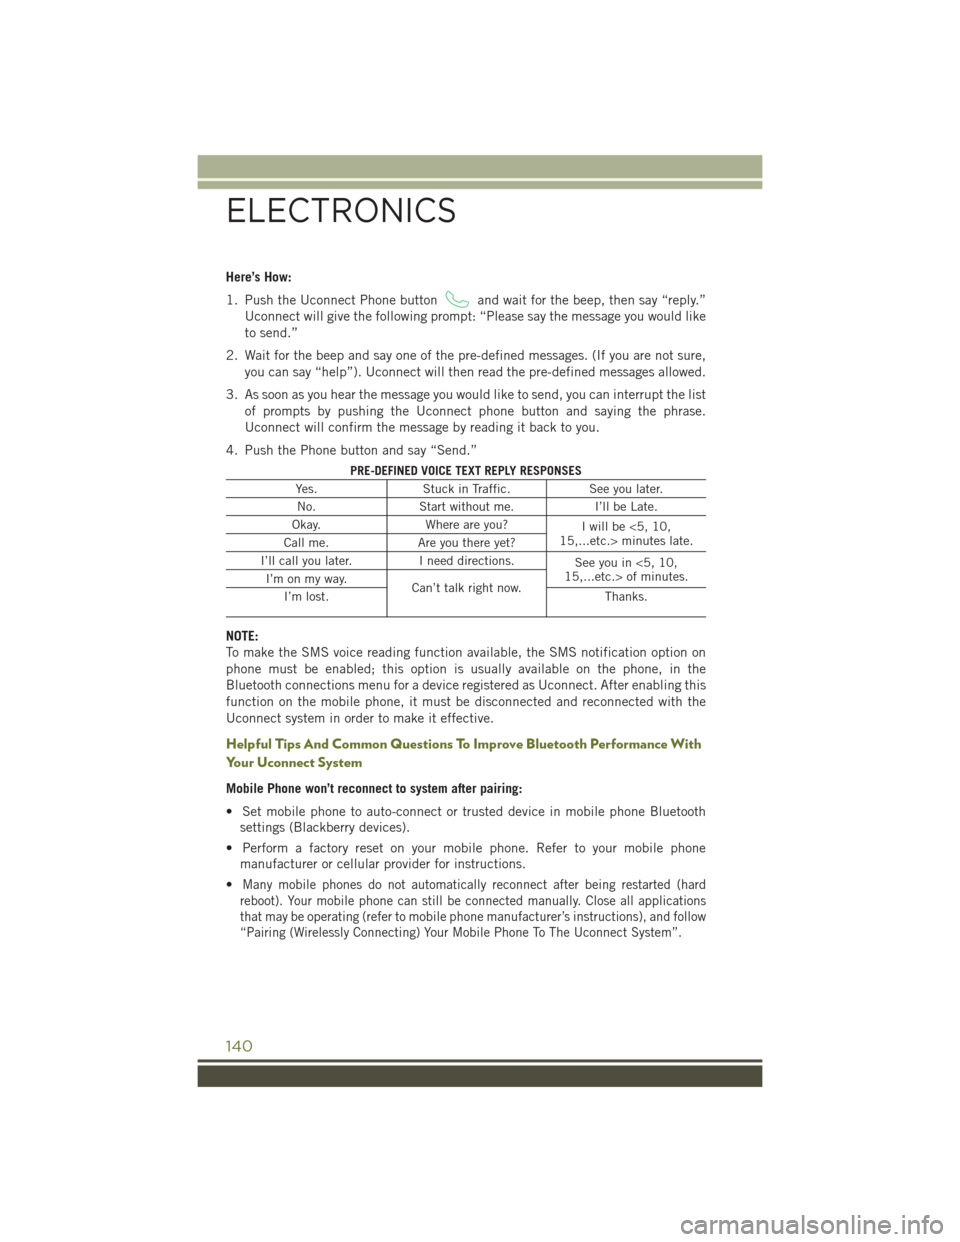
Here’s How:
1. Push the Uconnect Phone button
and wait for the beep, then say “reply.”
Uconnect will give the following prompt: “Please say the message you would like
to send.”
2. Wait for the beep and say one of the pre-defined messages. (If you are not sure, you can say “help”). Uconnect will then read the pre-defined messages allowed.
3. As soon as you hear the message you would like to send, you can interrupt the list of prompts by pushing the Uconnect phone button and saying the phrase.
Uconnect will confirm the message by reading it back to you.
4. Push the Phone button and say “Send.”
PRE-DEFINED VOICE TEXT REPLY RESPONSES
Yes. Stuck in Traffic. See you later.
No. Start without me. I’ll be Late.
Okay. Where are you?
I will be <5, 10,
15,...etc.> minutes late.
Call me. Are you there yet?
I’ll call you later. I need directions.
See you in <5, 10,
15,...etc.> of minutes.
I’m on my way.
Can’t talk right now.
I’m lost. Thanks.
NOTE:
To make the SMS voice reading function available, the SMS notification option on
phone must be enabled; this option is usually available on the phone, in the
Bluetooth connections menu for a device registered as Uconnect. After enabling this
function on the mobile phone, it must be disconnected and reconnected with the
Uconnect system in order to make it effective.
Helpful Tips And Common Questions To Improve Bluetooth Performance With
Your Uconnect System
Mobile Phone won’t reconnect to system after pairing:
• Set mobile phone to auto-connect or trusted device in mobile phone Bluetooth
settings (Blackberry devices).
• Perform a factory reset on your mobile phone. Refer to your mobile phone manufacturer or cellular provider for instructions.
•
Many mobile phones do not automatically reconnect after being restarted (hard
reboot). Your mobile phone can still be connected manually. Close all applications
that may be operating (refer to mobile phone manufacturer’s instructions), and follow
“Pairing (Wirelessly Connecting) Your Mobile Phone To The Uconnect System”.
ELECTRONICS
140
Page 143 of 236
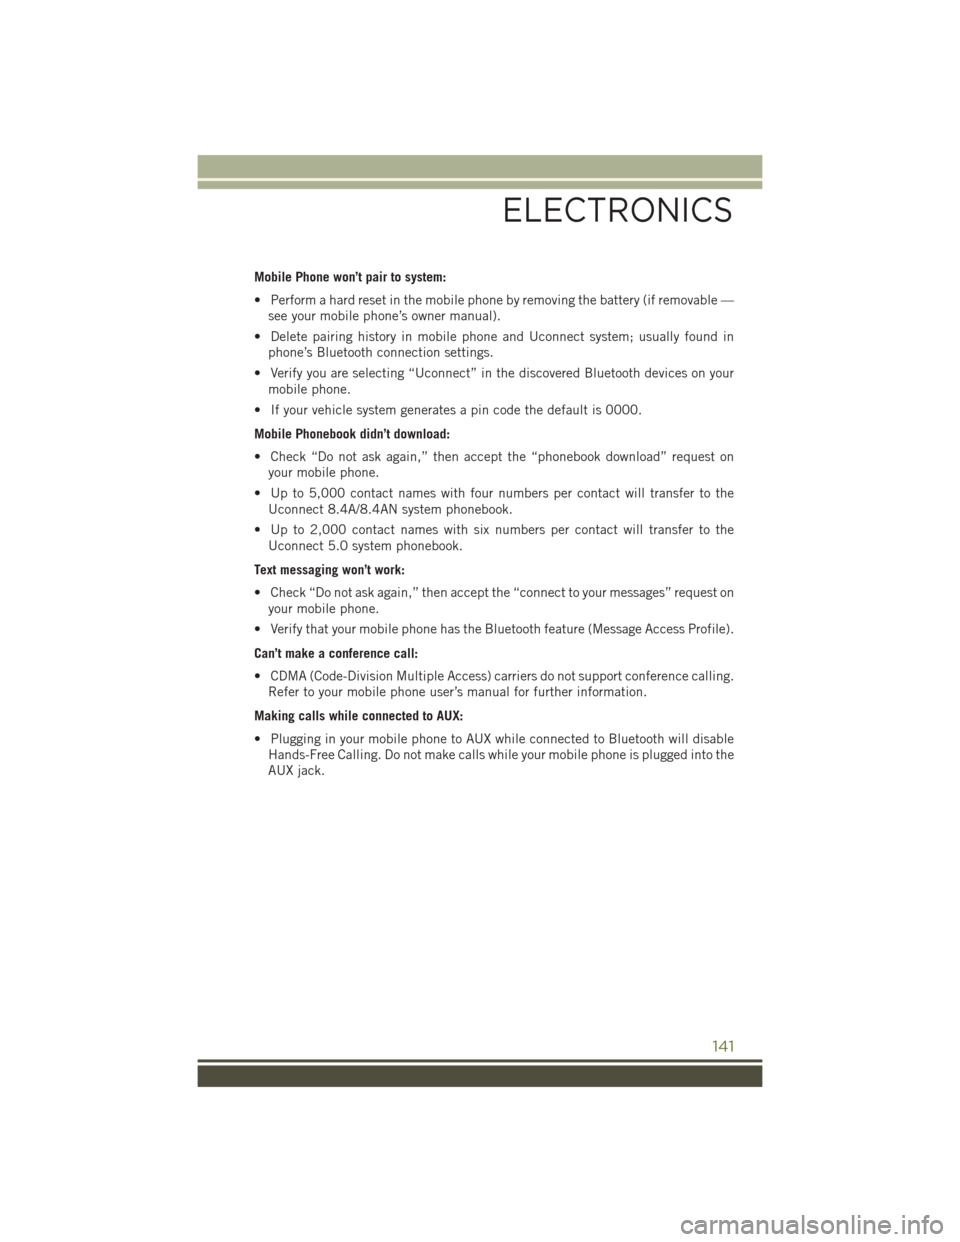
Mobile Phone won’t pair to system:
• Perform a hard reset in the mobile phone by removing the battery (if removable —see your mobile phone’s owner manual).
• Delete pairing history in mobile phone and Uconnect system; usually found in phone’s Bluetooth connection settings.
• Verify you are selecting “Uconnect” in the discovered Bluetooth devices on your mobile phone.
• If your vehicle system generates a pin code the default is 0000.
Mobile Phonebook didn’t download:
• Check “Do not ask again,” then accept the “phonebook download” request on your mobile phone.
• Up to 5,000 contact names with four numbers per contact will transfer to the Uconnect 8.4A/8.4AN system phonebook.
• Up to 2,000 contact names with six numbers per contact will transfer to the Uconnect 5.0 system phonebook.
Text messaging won’t work:
• Check “Do not ask again,” then accept the “connect to your messages” request on your mobile phone.
• Verify that your mobile phone has the Bluetooth feature (Message Access Profile).
Can’t make a conference call:
• CDMA (Code-Division Multiple Access) carriers do not support conference calling. Refer to your mobile phone user’s manual for further information.
Making calls while connected to AUX:
• Plugging in your mobile phone to AUX while connected to Bluetooth will disable Hands-Free Calling. Do not make calls while your mobile phone is plugged into the
AUX jack.
ELECTRONICS
141
Page 144 of 236
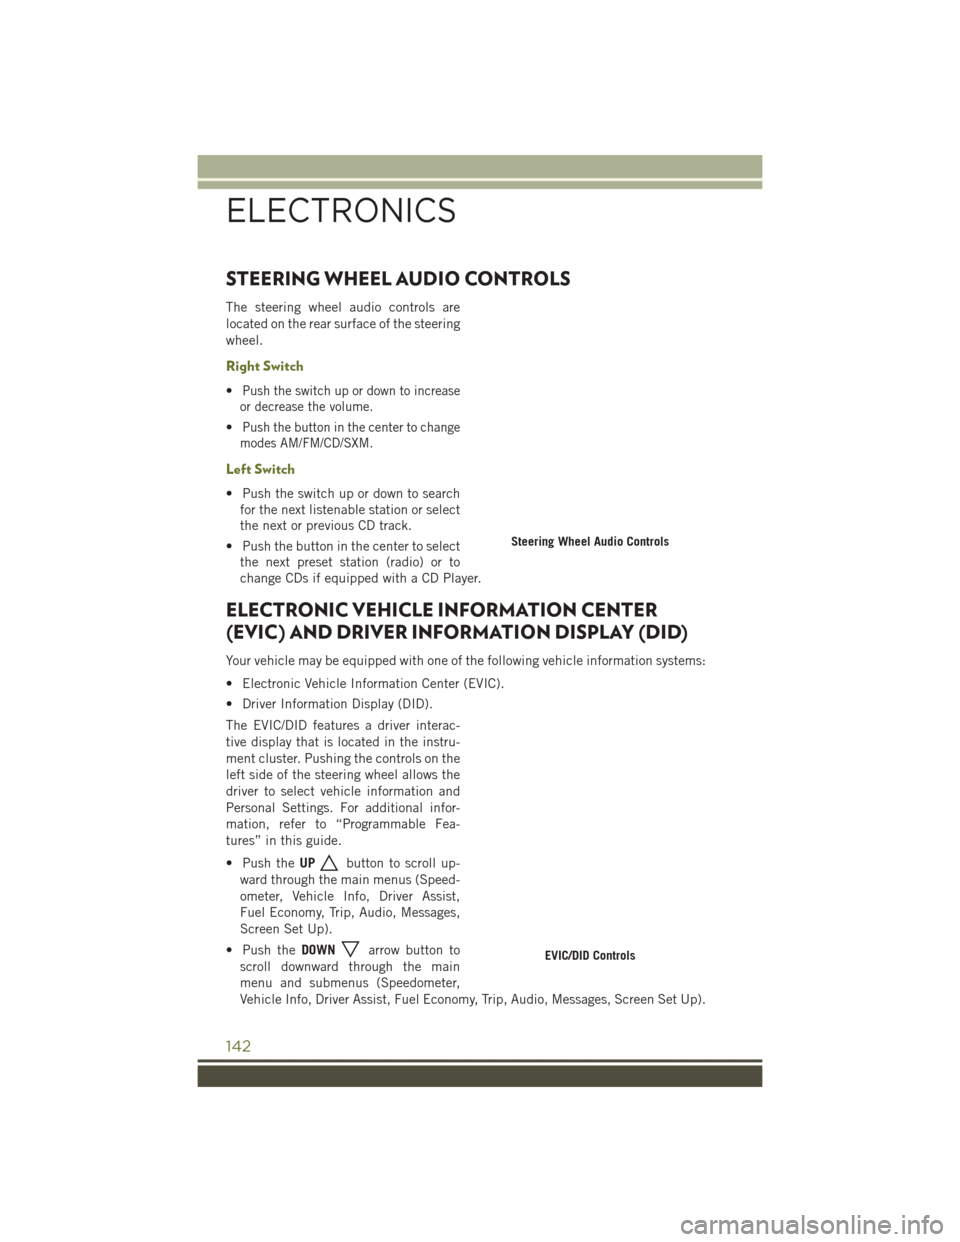
STEERING WHEEL AUDIO CONTROLS
The steering wheel audio controls are
located on the rear surface of the steering
wheel.
Right Switch
•Push the switch up or down to increase
or decrease the volume.
•Push the button in the center to change
modes AM/FM/CD/SXM.
Left Switch
• Push the switch up or down to search for the next listenable station or select
the next or previous CD track.
• Push the button in the center to select the next preset station (radio) or to
change CDs if equipped with a CD Player.
ELECTRONIC VEHICLE INFORMATION CENTER
(EVIC) AND DRIVER INFORMATION DISPLAY (DID)
Your vehicle may be equipped with one of the following vehicle information systems:
• Electronic Vehicle Information Center (EVIC).
• Driver Information Display (DID).
The EVIC/DID features a driver interac-
tive display that is located in the instru-
ment cluster. Pushing the controls on the
left side of the steering wheel allows the
driver to select vehicle information and
Personal Settings. For additional infor-
mation, refer to “Programmable Fea-
tures” in this guide.
• Push the UP
button to scroll up-
ward through the main menus (Speed-
ometer, Vehicle Info, Driver Assist,
Fuel Economy, Trip, Audio, Messages,
Screen Set Up).
• Push the DOWN
arrow button to
scroll downward through the main
menu and submenus (Speedometer,
Vehicle Info, Driver Assist, Fuel Economy, Trip, Audio, Messages, Screen Set Up).
Steering Wheel Audio Controls
EVIC/DID Controls
ELECTRONICS
142
Page 145 of 236
• Push theRIGHTarrow button to access the information screens or submenu
screens of a main menu item.
• Push the LEFT
arrow button to access the information screens or submenu
screens of a main menu item.
• Push the OKbutton to access/select the information screens or submenu screens
of a main menu item. Push and hold the OKarrow button for two seconds to reset
displayed/selected features that can be reset.
Compass Calibration
This compass is self-calibrating, which eliminates the need to set the compass
manually. When the vehicle is new, the compass may appear erratic, and the
EVIC/DID will display “CAL” until the compass is calibrated.
You may also calibrate the compass by completing one or more 360 degree turns (in
an area free from large metal or metallic objects) until the “CAL” message displayed
in the EVIC/DID turns off. The compass will now function normally.
PROGRAMMABLE FEATURES
Uconnect Customer Programmable Features
The Uconnect system allows you to access Customer Programmable feature settings
through buttons on the touchscreen.
•
Push the MORE or SETTINGS button (Uconnect 5.0), or press the “Apps” button
(Uconnect 8.4) located near the bottom of the touchscreen, then press the “Settings”
button on the touchscreen to access the Settings screen. When making a selection,
scroll up or down until the preferred setting is highlighted, then press and release the
preferred setting until a check-mark appears next to the setting, showing that setting
has been selected. The following feature settings are available:
• Display • Engine Off Options
• Voice • Audio
• Clock • Phone/Bluetooth
• Safety & Driving Assistance • SiriusXM Setup
• Lights • Restore Settings
• Compass (Uconnect 5.0) • Clear Personal Data
• Doors & Locks • System Information
• Auto-On Comfort
NOTE:
Depending on the vehicles options, feature settings may vary.
ELECTRONICS
143
Page 149 of 236
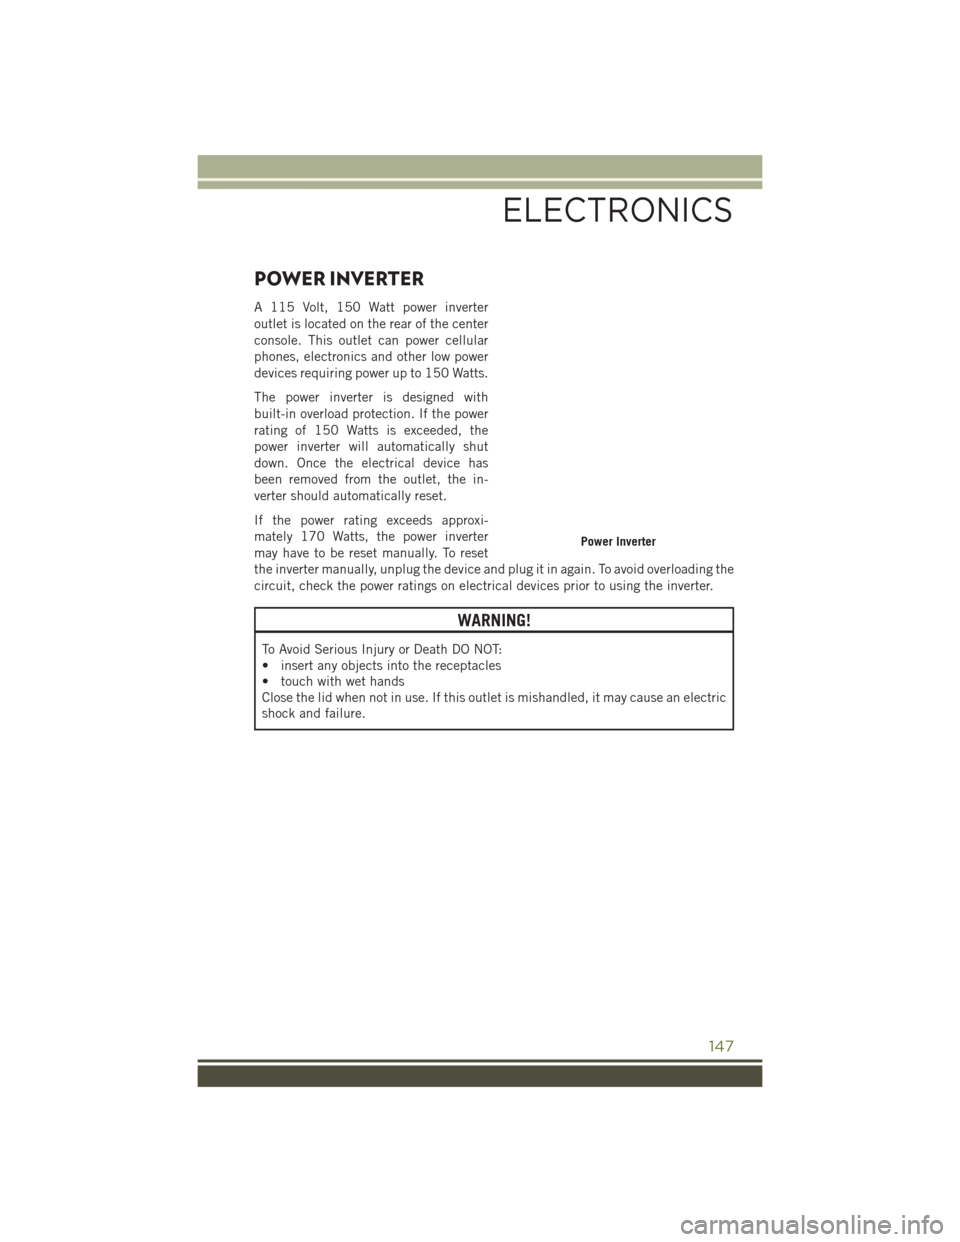
POWER INVERTER
A 115 Volt, 150 Watt power inverter
outlet is located on the rear of the center
console. This outlet can power cellular
phones, electronics and other low power
devices requiring power up to 150 Watts.
The power inverter is designed with
built-in overload protection. If the power
rating of 150 Watts is exceeded, the
power inverter will automatically shut
down. Once the electrical device has
been removed from the outlet, the in-
verter should automatically reset.
If the power rating exceeds approxi-
mately 170 Watts, the power inverter
may have to be reset manually. To reset
the inverter manually, unplug the device and plug it in again. To avoid overloading the
circuit, check the power ratings on electrical devices prior to using the inverter.
WARNING!
To Avoid Serious Injury or Death DO NOT:
• insert any objects into the receptacles
• touch with wet hands
Close the lid when not in use. If this outlet is mishandled, it may cause an electric
shock and failure.
Power Inverter
ELECTRONICS
147
Page 171 of 236

Oil Life Reset
• Your vehicle is equipped with an engine oil change indicator system. The “OilChange Due” message will flash in the EVIC display for approximately 10 seconds
after a single chime has sounded to indicate the next scheduled oil change
interval. The engine oil change indicator system is duty cycle based, which means
the engine oil change interval may fluctuate, dependent upon your personal
driving style.
• Unless reset, this message will continue to display each time you turn the ignition switch to the ON/RUN position or cycle the ignition to the ON/RUN position if
equipped with Keyless Enter-N-Go. To turn off the message temporarily, push and
release the MENU button. To reset the oil change indicator system (after perform-
ing the scheduled maintenance), refer to the following procedure:
Vehicles Equipped With Passive Entry
Without pushing the brake pedal, push the ENGINE START/STOP button and cycle
the ignition to the ON/RUN position (Do not start the engine).
1. Push the OKbutton to enter the EVIC menu screen.
2.
Push and release theDOWNarrow button to access the ”Oil Life” menu screen.
3. Push the LEFT
arrow button or RIGHTarrow button to access the “VEHICLE
INFO” submenu.
4. Hold the OKbutton to reset the “OIL LIFE” to 100%.
5. Push the UP
arrow button to exit the EVIC menu screen.
Vehicles Not Equipped With Passive Entry
Without pushing the brake pedal, cycle the ignition to the ON/RUN position (Do not
start the engine).
1. Push the OKbutton to enter the EVIC menu screen.
2.
Push and release theDOWNarrow button to access the ”Oil Life” menu screen.
3. Push the LEFT
arrow button or RIGHTarrow button to access the “VEHICLE
INFO” submenu.
4. Hold the OKbutton to reset the “OIL LIFE” to 100%.
5. Push the UP
arrow button to exit the EVIC menu screen.
NOTE:
If the indicator message illuminates when you start the vehicle, the oil change
indicator system did not reset. If necessary, repeat this procedure.
WHAT TO DO IN EMERGENCIES
169