Page 190 of 642
3-92
Convenient features of your vehicle
Average Fuel Economy (2)
The average fuel economy is calcu-lated by the total driving distance and fuel consumption since the last
average fuel economy reset.
- Fuel economy range:0.0 ~ 99.9 MPG or L/100km or km/L
The average fuel economy can be reset both manually and automati-
cally.
Manual reset
To clear the average fuel economy
manually, press the OK button on the
steering wheel for more than 1 sec-
ond when the average fuel economy
is displayed.
For more information on the OK
button, refer to the "LCD Display
Control" in this chapter.
Automatic reset
To reset the average fuel economy
automatically whenever refueling,select the "After refueling" mode in
User Setting menu of the LCD display(Refer to "LCD Display" ).
Under "After refueling" mode, the
average fuel economy will be cleared
to zero (---) when the vehicle speed
exceeds 1 km/h after refueling morethan 1.6 gallons (6 liters).
Information
The vehicle must be driven for a min-
imum of 0.19 mile [0.3 km] since the
last ignition key cycle before the aver-
age fuel economy will be recalculated.
Instant Fuel Economy (3)
This mode displays the instanta-
neous fuel economy while driving
when the vehicle speed is greaterthan 6.2 mph [10 kph].
- Fuel economy range: 0 ~ 50 MPG or 0 ~ 30 L/100km
i
Page 195 of 642
3-97
Convenient features of your vehicle
3
Information - Electronic
Brake force Distribution (EBD)
System Warning Light
When the ABS Warning Light is on or
both ABS and Parking Brake & Brake
Fluid Warning Lights are on, the
speedometer, odometer, or tripmeter
may not work. Also, the EPS Warning
Light may illuminate and the steering
effort may increase or decrease.
In this case, have your vehicle inspect-
ed by an authorized HYUNDAI dealer.Electronic Power Steering (EPS)Warning Light
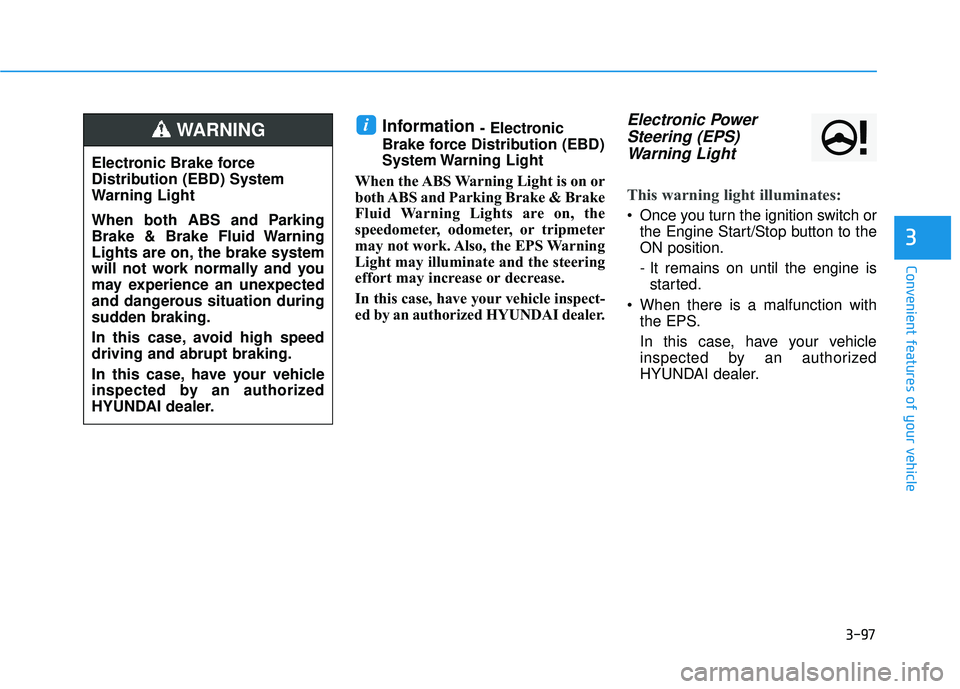
This warning light illuminates:
Once you turn the ignition switch or the Engine Start/Stop button to the ON position.
- It remains on until the engine isstarted.
When there is a malfunction with the EPS.
In this case, have your vehicle
inspected by an authorized
HYUNDAI dealer.
i
Electronic Brake force
Distribution (EBD) System
Warning Light
When both ABS and Parking
Brake & Brake Fluid Warning
Lights are on, the brake system
will not work normally and you
may experience an unexpected
and dangerous situation during
sudden braking.
In this case, avoid high speed driving and abrupt braking.
In this case, have your vehicle
inspected by an authorized
HYUNDAI dealer.
WARNING
Page 209 of 642
3-111
Convenient features of your vehicle
3
When in operation, the fog lamps
consume large amounts of vehicle
electrical power. Only use the fog
lamps when visibility is poor.
Battery saver function
The purpose of this feature is to pre-
vent the battery from being dis-
charged. The system automatically
turns off the parking lamp when the
key is removed (remote key) or when
the driver turns the engine off (smart
key) and opens the driver-side door.
With this feature, the parking lamps
will turn off automatically if the driver
parks on the side of road at night.
If necessary, to keep the lamps on
when the engine is turned off, perform
the following:
1) Open the driver-side door.
2) Turn the parking lamps OFF andON again using the light switch on
the steering column.
Headlamp delay function
If the key is removed from the ignition
switch or placed in the ACC position orthe LOCK/OFF position with the head-lamps ON, the headlamps (and/or
parking lamps) remain on for about 5
minutes. However, if the driver’s dooris opened and closed, the headlights
are turned off after 15 seconds.
However, with the engine off if the dri-
ver’s door is opened and closed, the
headlamps (and/or parking lamps) are
turned off after 15 seconds.
The headlamps (and/or parking lamps)
can be turned off by pressing the lock
button on the remote key or smart key
twice or turning the light switch to the
OFF or AUTO position. However, if you
turn the light switch to the AUTO posi-
tion when it is dark outside, the head-
lamps will not be turned off.
NOTICE
Page 255 of 642
3-157
Convenient features of your vehicle
3
To prevent damage to the Power Outlets :
Use the power outlet only whenthe engine is running and
remove the accessory plug after
use. Using the accessory plug
for prolonged periods of timewith the engine off could cause
the battery to discharge.
Only use 12V electric acces- sories which are less than 180 W
in electric capacity.
Adjust the air-conditioner or heater to the lowest operating
level when using the power outlet.
(Continued)(Continued)
Close the cover when not in use.
Some electronic devices can
cause electronic interference
when plugged into a vehicle’s
power outlet. These devices may
cause excessive audio staticand malfunctions in other elec-
tronic systems or devices used
in your vehicle.
Push the plug in as far as it will go. If good contact is not made,
the plug may overheat and the
fuse may blow.
Plug in battery equipped electri- cal/electronic devices with
reverse current protection. The
current from the battery may
flow into the vehicle’s electri-
cal/electronic system and causesystem malfunction.
Clock
NOTICE
Avoid electrical shocks. Do not
place your fingers or foreign
objects (pin, etc.) into a power
outlet or touch the power outletwith a wet hand.
WARNING
Do not adjust the clock while
driving, you may lose your
steering control and cause an
accident that results in severe
personal injury or death.
WARNING
Page 264 of 642
Multimedia System
Multimedia System.................................................4-2
AUX, USB and iPod®
Port ...............................................4-2
Antenna ...............................................................................4-2
Steering Wheel Audio Control........................................4-3
Audio / Video / Navigation System (AVN) ..................4-4
Bluetooth® Wireless Technology Hands-Free ...........4-4
How Vehicle Audio Works ...............................................4-5
Features of Your Vehicle.................................................4-7
Caring for Disc ...................................................................4-8
System Controllers and Functions ..........4-18, 4-71
Audio Head Unit ...................................................4-18, 4-71
Steering-Wheel Mounted Controls .................4-20, 4-73
Radio Mode ...........................................................4-22, 4-75 SiriusXM Radio Mode / XM TM
Radio
Mode .......................................................................4-26, 4-77
Media Mode ..........................................................4-28, 4-79
Audio CD Mode.....................................................4-29, 4-80
MP3 CD Mode .......................................................4-31, 4-82
USB Mode ..............................................................4-34, 4-85
iPod ®
Mode ...........................................................4-37, 4-88
AUX Mode..............................................................4-39, 4-90
MY Music Mode ...................................................4-40, 4-91
Bluetooth® Wireless Technology
Audio Mode ...........................................................4-43, 4-94 Voice Recognition ..............................................4-58, 4-109
Setup .....................................................................4-64, 4-116
Rear View Camera .............................................4-69, 4-121
4
Page 266 of 642
4-3
Multimedia System
Steering Wheel Audio Control
Do not operate audio remote con-
trol buttons simultaneously.
VOLUME (VOL + / - ) (1)
Move the VOLUME lever up toincrease volume.
Move the VOLUME lever down to decrease volume.
SEEK/PRESET ( / ) (2)
If the SEEK/PRESET lever is moved
up or down and held for 0.8 second
or more, it will function in the follow-ing modes;
RADIO mode
It will function as the AUTO SEEK
select button. It will SEEK until you
release the button.
MEDIA mode
It will function as the FF/REW button.
If the SEEK/PRESET lever is moved
up or down, it will function in the fol-
lowing modes;
RADIO mode
It will function as the PRESET STA-
TION UP/DOWN button.
MEDIA mode
It will function as the TRACK UP/
DOWN button.
MODE (3)
Press the MODE button to select
Radio, XM, Disc, or AUX.
Information
Detailed information for audio control
buttons are described in the following
pages in this chapter.
iNOTICE
4
OTLA045238
Page 283 of 642
4-20
Multimedia System
Steering-Wheel Mounted Controls
❈The actual feature in the vehicle may differ from the
illustration.
NameDescription
- Starts voice recognition
- When selecting during a voice prompt, stops the
prompt and converts to voice command waiting state
- Ends voice recognition
MODE in order of FM1 ➟FM2 ➟AM ➟XM1 ➟XM2 ➟
XM3 ➟CD ➟USB or iPod ➟AUX ➟My Music ➟
BT Audio
inserted, corresponding modes will be disabled.
,VOL-VOL+Used to control volume.
,
- Radio mode : searches broadcast frequencies andchannels saved to presets.
- Media(CD / USB / iPod ®
/ My Music / BT Audio)
modes : changes the track, file or chap ter.
- Radio mode, automatically searches broadcast fre- quencies and channels
- Media(CD / USB / iPod ®
/ My Music) modes,
rewinds or fast forwards the track or song(file)
- BT Audio mode may not be supported in some mobile phones.
Page 308 of 642
4-45
Multimedia System
4
Pairing a Bluetooth®Wireless
Technology Device
What is Bluetooth® Wireless
Technology Pairing?
Pairing refers to the process of syn-
chronizing your
Bluetooth®Wireless
Technology phone or device with the
car audio system for connection.
Pairing is necessary to connect anduse the
Bluetooth®Wireless Technology
feature.
Pairing Key / Key
on the Steering Remote
Controller
When No Devices have been
Paired
1.Press the key or the key on the steering remote con-
troller. The following screen is dis-
played.
2.Press the button to enter the Pair Phone screen. 1) Vehicle Name : Name of device as
shown when searching from your
Bluetooth®Wireless Technology
device
2) Passkey : Passkey used to pair the device
3.From your
Bluetooth®Wireless
Technology device (i.e. Mobile
Phone), search and select your car audio system.
OK
PHONE
PHONE