2016 Hyundai Santa Fe Sport user settings
[x] Cancel search: user settingsPage 30 of 763
39
Safety features of your vehicle
Recalling positions from memory
1. Shift the shift lever into P or Nwhile the engine start/stop button
is ON or ignition switch ON.
2. To recall the position in the memo- ry, press the desired memory but-
ton (1 or 2). The system will beep
once, then the driver’s seat will
automatically adjust to the stored
position.
Adjusting the control switch for the
driver’s seat while the system is
recalling the stored position will
cause the movement to stop and
move in the direction that the control
switch is moved.Easy access function (if equipped)
The system will move the driver's
seat automatically as follows:
Without smart key system
- It will move the driver’s seat rear-ward when the ignition key is
removed and front driver’s door is
opened.
- It will move the driver’s seat for- ward when the ignition key is
inserted.
With smart key system - It will move the driver’s seat rear-ward when the engine start/stop
button is changed to the OFF
position and front driver’s door is
opened.
- It will move the driver’s seat for- ward when the engine start/stop
button is changed to the ACC or
START position.
You can activate or deactivate this
feature. Refer to "User settings" in
section 4.
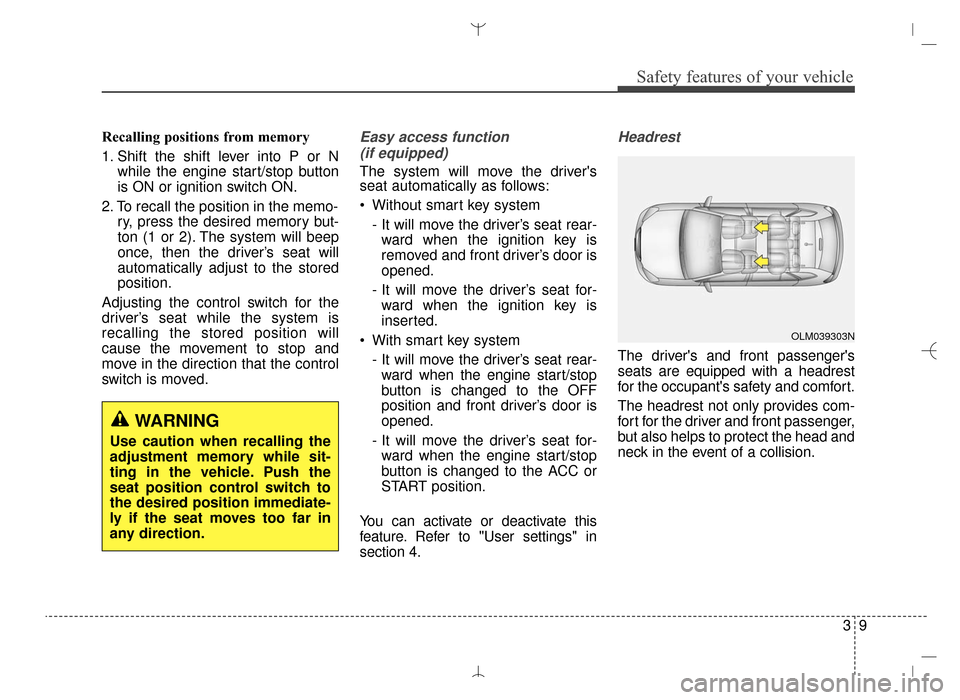
Headrest
The driver's and front passenger's
seats are equipped with a headrest
for the occupant's safety and comfort.
The headrest not only provides com-
fort for the driver and front passenger,
but also helps to protect the head and
neck in the event of a collision.
WARNING
Use caution when recalling the
adjustment memory while sit-
ting in the vehicle. Push the
seat position control switch to
the desired position immediate-
ly if the seat moves too far in
any direction.
OLM039303N
AN HMA 3.QXP 3/5/2015 3:09 PM Page 9
Page 94 of 763
Mirrors . . . . . . . . . . . . . . . . . . . . . . . . . . . . . . . . . . 4-60\
• Inside rearview mirror . . . . . . . . . . . . . . . . . . . . . . . . 4-60
• Outside rearview mirror. . . . . . . . . . . . . . . . . . . . . . . 4-76
• Blind zone mirror (BZM) . . . . . . . . . . . . . . . . . . . . . . 4-78
Instrument cluster . . . . . . . . . . . . . . . . . . . . . . . . . 4-79
• Instrument Cluster Control . . . . . . . . . . . . . . . . . . . . 4-80
• LCD Display Control . . . . . . . . . . . . . . . . . . . . . . . . . 4-80
• Gauges . . . . . . . . . . . . . . . . . . . . . . . . . . . . . . . . . . . . \
. 4-81
• Transaxle Shift Indicator . . . . . . . . . . . . . . . . . . . . . . 4-84
LCD display . . . . . . . . . . . . . . . . . . . . . . . . . . . . . . 4-85
• LCD Modes . . . . . . . . . . . . . . . . . . . . . . . . . . . . . . . . . 4-85
• Service Mode . . . . . . . . . . . . . . . . . . . . . . . . . . . . . . . . 4-86
• User Settings Mode . . . . . . . . . . . . . . . . . . . . . . . . . . . 4-87
• A/V Mode . . . . . . . . . . . . . . . . . . . . . . . . . . . . . . . . . . . 4-\
90
• Turn By Turn Mode . . . . . . . . . . . . . . . . . . . . . . . . . . 4-90
• Warning Messages . . . . . . . . . . . . . . . . . . . . . . . . . . . . 4-91
Trip computer . . . . . . . . . . . . . . . . . . . . . . . . . . . . . 4-98
• Overview . . . . . . . . . . . . . . . . . . . . . . . . . . . . . . . . . . . 4-\
98
• Trip A/B . . . . . . . . . . . . . . . . . . . . . . . . . . . . . . . . . . . . \
4-99
• Fuel Economy . . . . . . . . . . . . . . . . . . . . . . . . . . . . . . 4-100
Warning and indicator lights . . . . . . . . . . . . . . . 4-102
• Warning lights . . . . . . . . . . . . . . . . . . . . . . . . . . . . . . 4-102
• Indicator Lights . . . . . . . . . . . . . . . . . . . . . . . . . . . . . 4-110
Rear parking assist system . . . . . . . . . . . . . . . . . 4-114
• Operation . . . . . . . . . . . . . . . . . . . . . . . . . . . . . . . . . . 4-114• Non-operational conditions . . . . . . . . . . . . . . . . . . . 4-115
• Self-diagnosis . . . . . . . . . . . . . . . . . . . . . . . . . . . . . . . 4-117
Rearview camera . . . . . . . . . . . . . . . . . . . . . . . . . 4-118
Hazard warning flasher . . . . . . . . . . . . . . . . . . . . 4-119
Lighting . . . . . . . . . . . . . . . . . . . . . . . . . . . . . . . . . 4-120
• Battery saver function. . . . . . . . . . . . . . . . . . . . . . . . 4-120
• Headlamp delay function . . . . . . . . . . . . . . . . . . . . . 4-120
• Lighting control . . . . . . . . . . . . . . . . . . . . . . . . . . . . . 4-121
• Daytime running light . . . . . . . . . . . . . . . . . . . . . . . . 4-123
• High - beam operation . . . . . . . . . . . . . . . . . . . . . . . 4-123
• Turn signals and lane change signals . . . . . . . . . . . 4-124
• Front fog light . . . . . . . . . . . . . . . . . . . . . . . . . . . . . . 4-125
Wipers and washers . . . . . . . . . . . . . . . . . . . . . . . 4-126
• Windshield wipers (front) . . . . . . . . . . . . . . . . . . . . . 4-126
• Windshield washers (front) . . . . . . . . . . . . . . . . . . . 4-128
• Rear window wiper and washer switch. . . . . . . . . . 4-129
Interior light . . . . . . . . . . . . . . . . . . . . . . . . . . . . . 4-130
• Automatic turn off function . . . . . . . . . . . . . . . . . . . 4-130
• Map lamp . . . . . . . . . . . . . . . . . . . . . . . . . . . . . . . . . . 4-13\
0
• Room lamp . . . . . . . . . . . . . . . . . . . . . . . . . . . . . . . . . 4-131
• Luggage room lamp . . . . . . . . . . . . . . . . . . . . . . . . . 4-132
• Vanity mirror lamp . . . . . . . . . . . . . . . . . . . . . . . . . . 4-132
Welcome system . . . . . . . . . . . . . . . . . . . . . . . . . . 4-133
• Headlamp welcome . . . . . . . . . . . . . . . . . . . . . . . . . . 4-133
• Interior light. . . . . . . . . . . . . . . . . . . . . . . . . . . . . . . . 4-133
4
AN HMA 4A.QXP 3/5/2015 3:17 PM Page 2
Page 97 of 763
45
Features of your vehicle
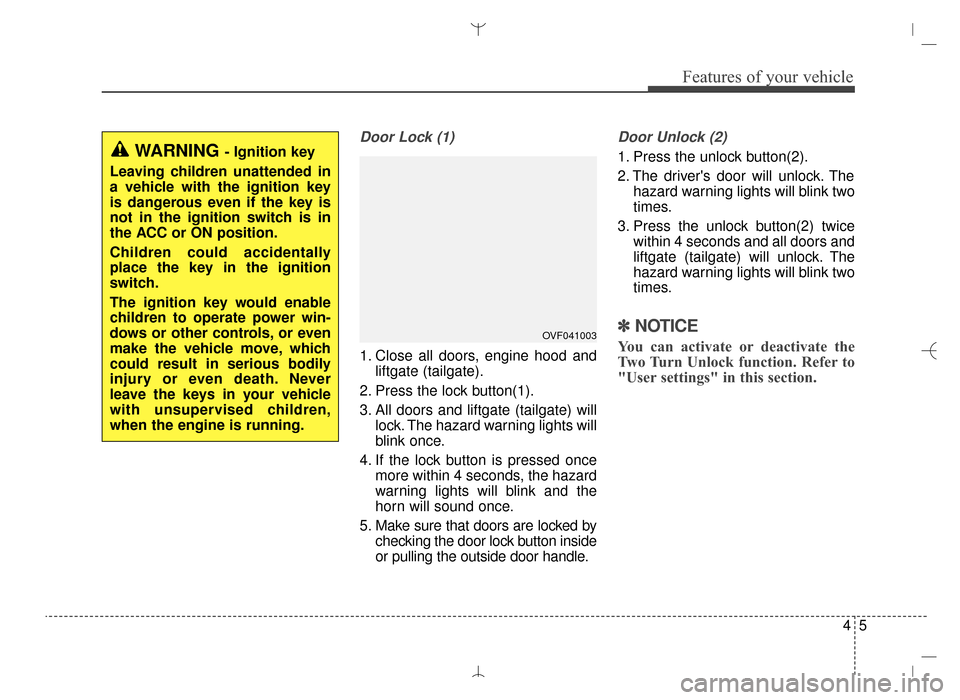
Door Lock (1)
1. Close all doors, engine hood andliftgate (tailgate).
2. Press the lock button(1).
3. All doors and liftgate (tailgate) will lock. The hazard warning lights will
blink once.
4. If the lock button is pressed once more within 4 seconds, the hazard
warning lights will blink and the
horn will sound once.
5. Make sure that doors are locked by checking the door lock button inside
or pulling the outside door handle.
Door Unlock (2)
1. Press the unlock button(2).
2. The driver's door will unlock. Thehazard warning lights will blink two
times.
3. Press the unlock button(2) twice within 4 seconds and all doors and
liftgate (tailgate) will unlock. The
hazard warning lights will blink two
times.
✽ ✽NOTICE
You can activate or deactivate the
Two Turn Unlock function. Refer to
"User settings" in this section.
WARNING - Ignition key
Leaving children unattended in
a vehicle with the ignition key
is dangerous even if the key is
not in the ignition switch is in
the ACC or ON position.
Children could accidentally
place the key in the ignition
switch.
The ignition key would enable
children to operate power win-
dows or other controls, or even
make the vehicle move, which
could result in serious bodily
injury or even death. Never
leave the keys in your vehicle
with unsupervised children,
when the engine is running.
OVF041003
AN HMA 4A.QXP 3/5/2015 3:17 PM Page 5
Page 104 of 763
Features of your vehicle
12
4
Unlocking
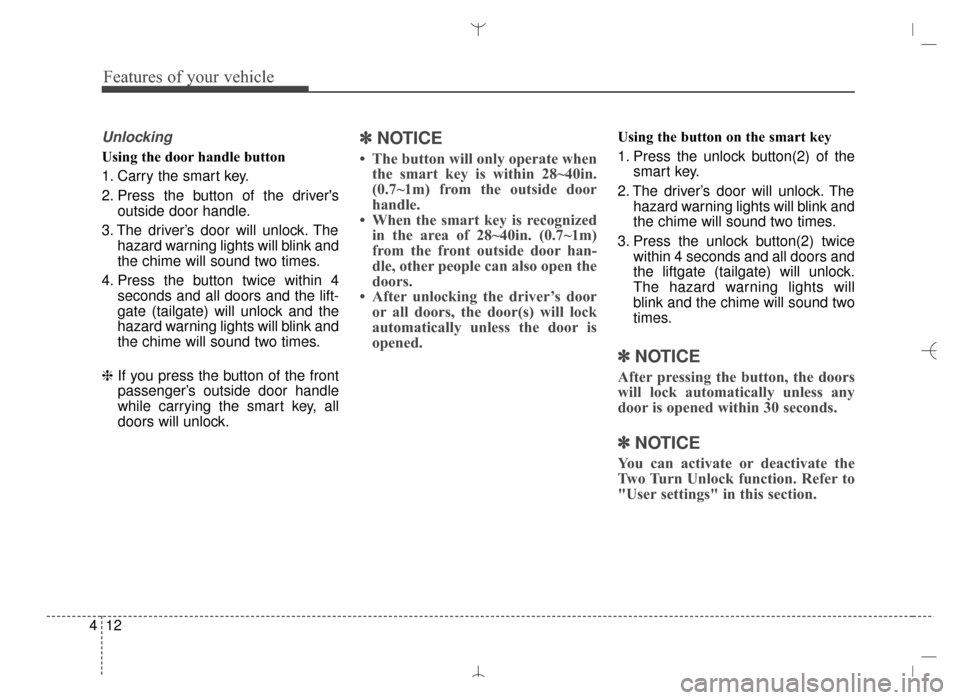
Using the door handle button
1. Carry the smart key.
2. Press the button of the driver's
outside door handle.
3. The driver’s door will unlock. The hazard warning lights will blink and
the chime will sound two times.
4. Press the button twice within 4 seconds and all doors and the lift-
gate (tailgate) will unlock and the
hazard warning lights will blink and
the chime will sound two times.
❈ If you press the button of the front
passenger’s outside door handle
while carrying the smart key, all
doors will unlock.
✽ ✽
NOTICE
• The button will only operate when
the smart key is within 28~40in.
(0.7~1m) from the outside door
handle.
• When the smart key is recognized in the area of 28~40in. (0.7~1m)
from the front outside door han-
dle, other people can also open the
doors.
• After unlocking the driver’s door or all doors, the door(s) will lock
automatically unless the door is
opened.
Using the button on the smart key
1. Press the unlock button(2) of the
smart key.
2. The driver’s door will unlock. The hazard warning lights will blink and
the chime will sound two times.
3. Press the unlock button(2) twice within 4 seconds and all doors and
the liftgate (tailgate) will unlock.
The hazard warning lights will
blink and the chime will sound two
times.
✽ ✽NOTICE
After pressing the button, the doors
will lock automatically unless any
door is opened within 30 seconds.
✽ ✽NOTICE
You can activate or deactivate the
Two Turn Unlock function. Refer to
"User settings" in this section.
AN HMA 4A.QXP 3/5/2015 3:18 PM Page 12
Page 114 of 763
Features of your vehicle
22
4
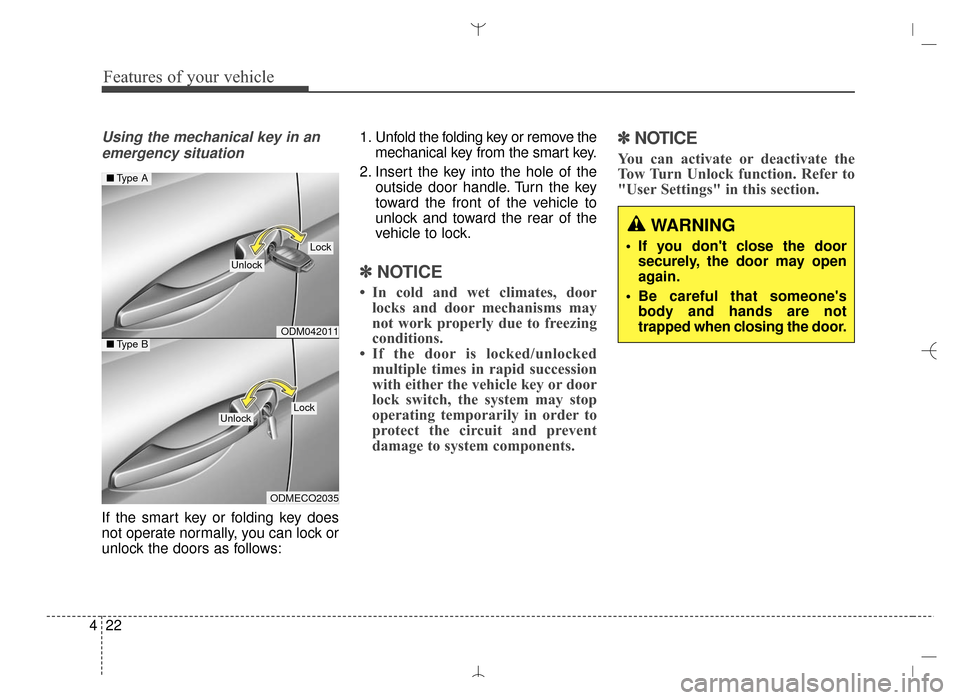
Using the mechanical key in an
emergency situation
If the smart key or folding key does
not operate normally, you can lock or
unlock the doors as follows: 1. Unfold the folding key or remove the
mechanical key from the smart key.
2. Insert the key into the hole of the outside door handle. Turn the key
toward the front of the vehicle to
unlock and toward the rear of the
vehicle to lock.
✽ ✽NOTICE
• In cold and wet climates, door
locks and door mechanisms may
not work properly due to freezing
conditions.
• If the door is locked/unlocked multiple times in rapid succession
with either the vehicle key or door
lock switch, the system may stop
operating temporarily in order to
protect the circuit and prevent
damage to system components.
✽ ✽ NOTICE
You can activate or deactivate the
Tow Turn Unlock function. Refer to
"User Settings" in this section.
WARNING
If you don't close the door
securely, the door may open
again.
Be careful that someone's body and hands are not
trapped when closing the door.
ODM042011
ODMECO2035
■ Type A
■Type B
Lock
Unlock
LockUnlock
AN HMA 4A.QXP 3/5/2015 3:18 PM Page 22
Page 117 of 763
425
Features of your vehicle
Impact sensing door unlock
system
All doors will be automatically
unlocked if an impact or collision is
detected by the impact sensors while
the ignition switch is ON.
However, the doors may not be
unlocked if mechanical problems
occur with the door lock system or
battery.
✽ ✽NOTICE
You can select some auto door
lock/unlock features in “User
Settings” as follows;
• Speed sensing auto door lock
• Auto door unlock when the igni-
tion key is removed from the igni-
tion switch or engine is turned off.
• Auto door lock/unlock by shifting the shift lever out of P(Park) or
into P(Park).
For more information, refer to
“User Settings” in this section.
Child-protector rear door lock
The child safety lock is provided to
help prevent children from acciden-
tally opening the rear doors from
inside the vehicle. The rear door
safety locks should be used whenev-
er children are in the vehicle.
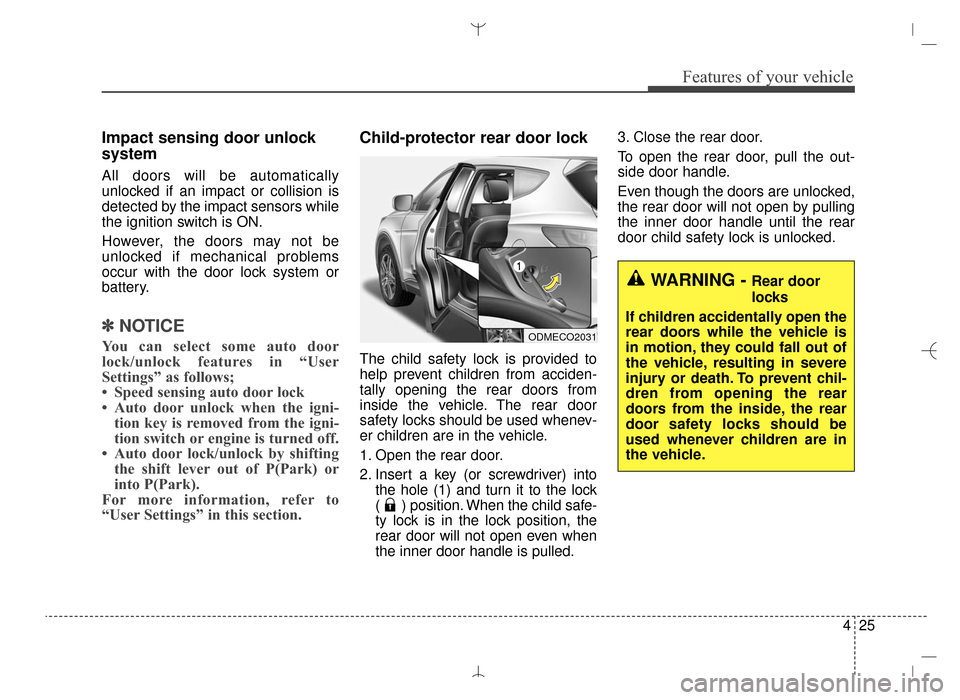
1. Open the rear door.
2. Insert a key (or screwdriver) into
the hole (1) and turn it to the lock
( ) position. When the child safe-
ty lock is in the lock position, the
rear door will not open even when
the inner door handle is pulled. 3. Close the rear door.
To open the rear door, pull the out-
side door handle.
Even though the doors are unlocked,
the rear door will not open by pulling
the inner door handle until the rear
door child safety lock is unlocked.
WARNING - Rear door
locks
If children accidentally open the
rear doors while the vehicle is
in motion, they could fall out of
the vehicle, resulting in severe
injury or death. To prevent chil-
dren from opening the rear
doors from the inside, the rear
door safety locks should be
used whenever children are in
the vehicle.
ODMECO2031
AN HMA 4A.QXP 3/5/2015 3:18 PM Page 25
Page 125 of 763
433
Features of your vehicle
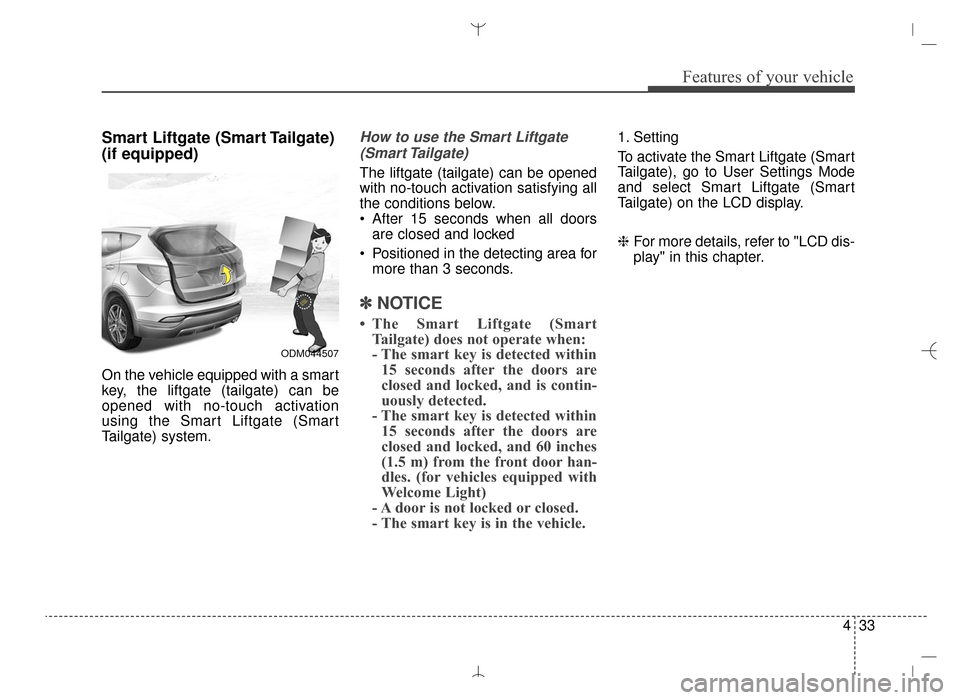
Smart Liftgate (Smart Tailgate)
(if equipped)
On the vehicle equipped with a smart
key, the liftgate (tailgate) can be
opened with no-touch activation
using the Smart Liftgate (Smart
Tailgate) system.
How to use the Smart Liftgate(Smart Tailgate)
The liftgate (tailgate) can be opened
with no-touch activation satisfying all
the conditions below.
After 15 seconds when all doors are closed and locked
Positioned in the detecting area for more than 3 seconds.
✽ ✽ NOTICE
• The Smart Liftgate (Smart
Tailgate) does not operate when:
- The smart key is detected within15 seconds after the doors are
closed and locked, and is contin-
uously detected.
- The smart key is detected within 15 seconds after the doors are
closed and locked, and 60 inches
(1.5 m) from the front door han-
dles. (for vehicles equipped with
Welcome Light)
- A door is not locked or closed.
- The smart key is in the vehicle.
1. Setting
To activate the Smart Liftgate (Smart
Tailgate), go to User Settings Mode
and select Smart Liftgate (Smart
Tailgate) on the LCD display.
❈ For more details, refer to "LCD dis-
play" in this chapter.
ODM044507
AN HMA 4A.QXP 3/5/2015 3:18 PM Page 33
Page 175 of 763
483
Features of your vehicle
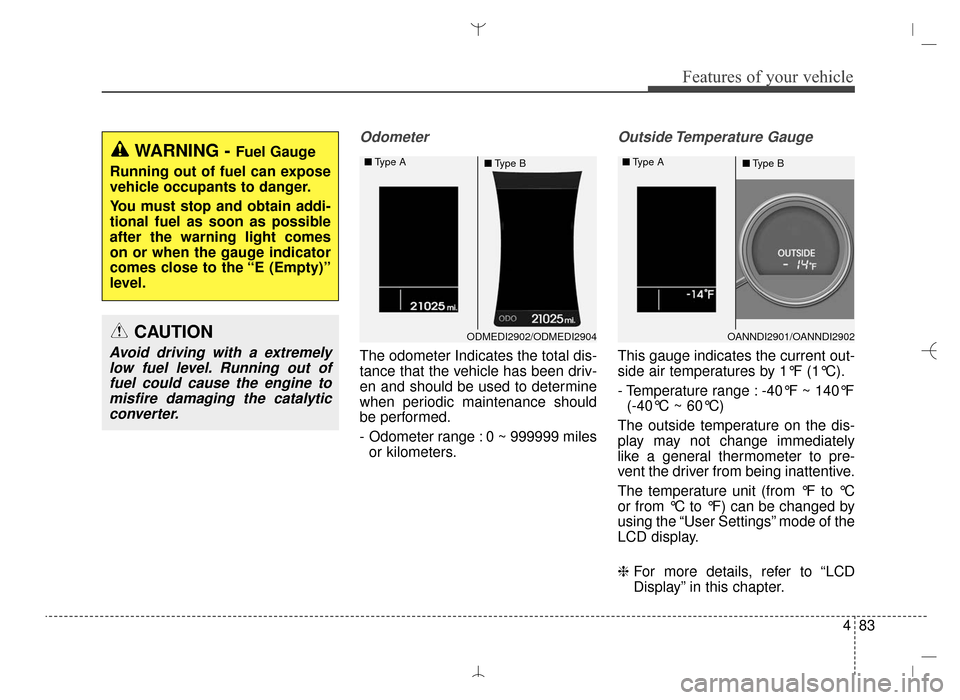
Odometer
The odometer Indicates the total dis-
tance that the vehicle has been driv-
en and should be used to determine
when periodic maintenance should
be performed.
- Odometer range : 0 ~ 999999 milesor kilometers.
Outside Temperature Gauge
This gauge indicates the current out-
side air temperatures by 1°F (1°C).
- Temperature range : -40°F ~ 140°F (-40°C ~ 60°C)
The outside temperature on the dis-
play may not change immediately
like a general thermometer to pre-
vent the driver from being inattentive.
The temperature unit (from °F to °C
or from °C to °F) can be changed by
using the “User Settings” mode of the
LCD display.
❈ For more details, refer to “LCD
Display” in this chapter.
WARNING - Fuel Gauge
Running out of fuel can expose
vehicle occupants to danger.
You must stop and obtain addi-
tional fuel as soon as possible
after the warning light comes
on or when the gauge indicator
comes close to the “E (Empty)”
level.
CAUTION
Avoid driving with a extremely low fuel level. Running out offuel could cause the engine tomisfire damaging the catalyticconverter.
ODMEDI2902/ODMEDI2904
■
Type A
■Type BOANNDI2901/OANNDI2902
■
Type A
■Type B
AN HMA 4A.QXP 3/5/2015 3:18 PM Page 83