Page 413 of 473

7-50
Maintenance
4. Tire ply composition andmaterial
The number of layers or plies of rub-
ber-coated fabric are in the tire. Tire
manufacturers also must indicate the
materials in the tire, which include
steel, nylon, polyester, and others.
The letter "R" means radial ply con-
struction; the letter "D" means diago-
nal or bias ply construction; and theletter "B" means belted-bias ply con-
struction.
5. Maximum permissible infla-tion pressure
This number is the greatest amountof air pressure that should be put in
the tire. Do not exceed the maximum
permissible inflation pressure. Refer
to the Tire and Loading Information
label for recommended inflation
pressure.
6. Maximum load rating
This number indicates the maximum
load in kilograms and pounds that
can be carried by the tire. When
replacing the tires on the vehicle,
always use a tire that has the same
load rating as the factory installed
tire.
A vehicle’s electrical system is pro-
tected from electrical overload dam-
age by fuses.
This vehicle has 3 fuse panels, one
located in the driver’s side panel bol-
ster, the other in the engine compart-
ment near the battery.
If any of your vehicle’s lights, acces-
sories, or controls do not work, check
the appropriate circuit fuse. If a fuse
has blown, the element inside thefuse will be melted.
FFUU SSEE SS
1VQA4037
Normal
Normal Normal
Blown
Blown
Blown
Page 416 of 473
7-53
7
Maintenance
If the headlights or other electrical
components do not work and the
fuses are OK, check the fuse block in
the engine compartment. If a fuse is
blown, it must be replaced.Engine compartment panel fusereplacement
1.Turn the ignition switch and all other switches off.
2.Remove the fuse box cover by pressing the tap and pulling up.
3.Check the removed fuse; replace it if it is blown. To remove or insert
the fuse, use the fuse puller in the
engine compartment fuse panel.
4.Push in a new fuse of the same rat- ing, and make sure it fits tightly in
the clips.
If it fits loosely, we recommend that
you consult an authorized
HYUNDAI dealer.
OEU074029 After checking the fuse box in
the engine compartment,
securely install the fuse box
cover. If not, electrical failures
may occur from water leakingin.
CAUTION
Page 430 of 473

7-67
7
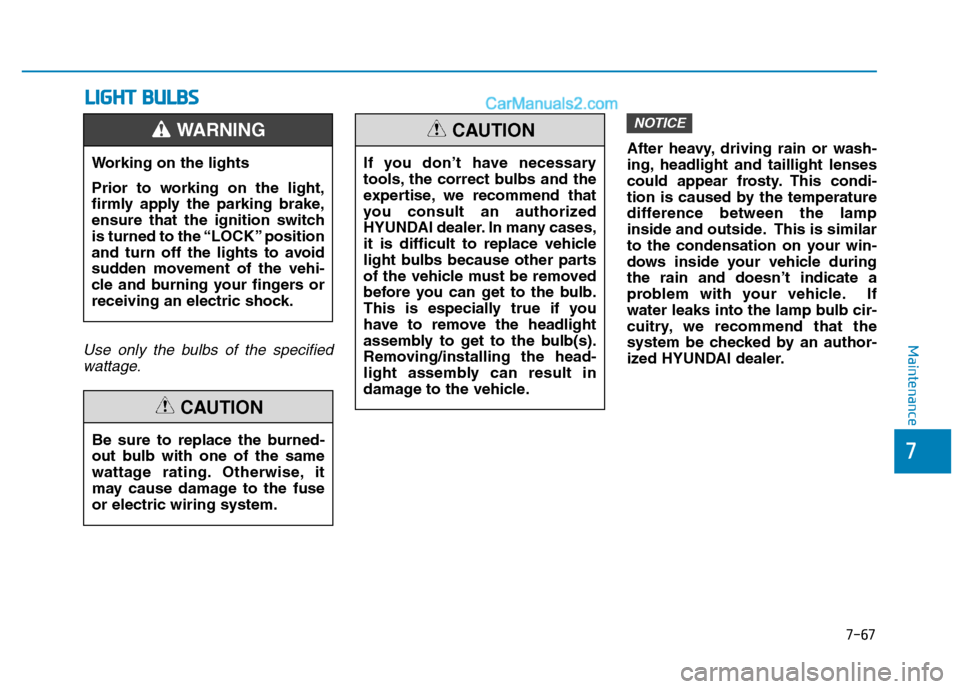
MaintenanceUse only the bulbs of the specifiedwattage.
After heavy, driving rain or wash-
ing, headlight and taillight lenses
could appear frosty. This condi-
tion is caused by the temperature
difference between the lamp
inside and outside. This is similar
to the condensation on your win-
dows inside your vehicle duringthe rain and doesn’t indicate a
problem with your vehicle. If
water leaks into the lamp bulb cir-
cuitry, we recommend that the
system be checked by an author-
ized HYUNDAI dealer.
NOTICE
LL IIGG HH TT BB UU LLBB SS
Working on the lights
Prior to working on the light,
firmly apply the parking brake,
ensure that the ignition switch
is turned to the “LOCK” position
and turn off the lights to avoid
sudden movement of the vehi-
cle and burning your fingers or
receiving an electric shock.
WARNING
Be sure to replace the burned-
out bulb with one of the same
wattage rating. Otherwise, it
may cause damage to the fuseor electric wiring system.
CAUTION
If you don’t have necessary
tools, the correct bulbs and the
expertise, we recommend that
you consult an authorized
HYUNDAI dealer. In many cases,
it is difficult to replace vehicle
light bulbs because other parts
of the vehicle must be removed
before you can get to the bulb.
This is especially true if you
have to remove the headlight
assembly to get to the bulb(s).
Removing/installing the head-
light assembly can result in
damage to the vehicle.
CAUTION
Page 434 of 473

7-71
7
Maintenance
2.The vehicle should be placed on aflat floor.
3.Draw vertical lines (Vertical lines passing through respective head
lamp centers) and a horizontal line
(Horizontal line passing throughcenter of head lamps) on thescreen.
4.With the head lamp and battery in normal condition, aim the head
lamps so the brightest portion falls
on the horizontal and vertical lines.
5-1. MFR type To aim the low/high beam left or
right, turn the screw (1) clockwise
or counterclockwise. To aim the
low/high beam up or down, turn the
screw (2) clockwise or counter-
clockwise. 5-2. Projection type
1) Low beam aiming
To aim the low beam left orright, turn the screw (3) clock-
wise or counterclockwise.
To aim the low beam up or
down, turn the screw (4) clock-
wise or counterclockwise.
2) High beam aiming High beam aiming is available
up direction or down.
To aim the high beam up or
down, turn the screw (5) clock-
wise or counterclockwise.Front fog light aiming
The front fog light can be aimed asthe same manner of the head lampsaiming.
With the front fog lights and battery
normal condition, aim the front fog
lights. To aim the front fog light up or
down, turn the bolt clockwise or
counterclockwise.
OEU074050
■■Fog light aiming
Page 442 of 473

7-79
7
Maintenance
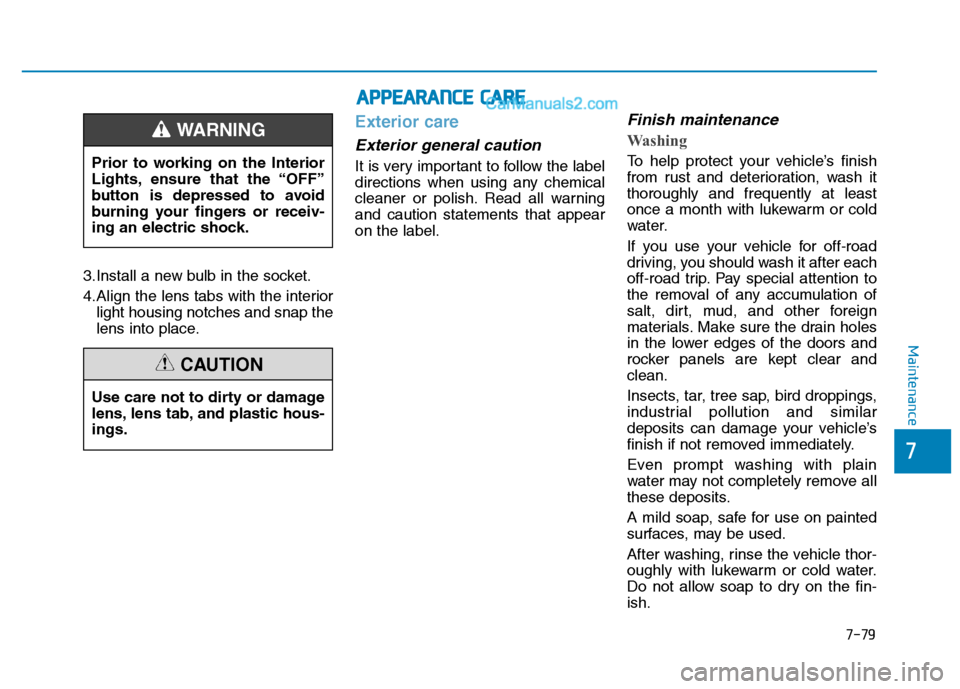
3.Install a new bulb in the socket.
4.Align the lens tabs with the interiorlight housing notches and snap the
lens into place.
Exterior care
Exterior general caution
It is very important to follow the label
directions when using any chemical
cleaner or polish. Read all warningand caution statements that appearon the label.
Finish maintenance
Washing
To help protect your vehicle’s finish
from rust and deterioration, wash itthoroughly and frequently at least
once a month with lukewarm or cold
water.
If you use your vehicle for off-road
driving, you should wash it after each
off-road trip. Pay special attention to
the removal of any accumulation of
salt, dirt, mud, and other foreign
materials. Make sure the drain holes
in the lower edges of the doors and
rocker panels are kept clear andclean.
Insects, tar, tree sap, bird droppings,
industrial pollution and similar
deposits can damage your vehicle’s
finish if not removed immediately.
Even prompt washing with plain
water may not completely remove all
these deposits.
A mild soap, safe for use on painted
surfaces, may be used.
After washing, rinse the vehicle thor-
oughly with lukewarm or cold water.
Do not allow soap to dry on the fin-ish.
Prior to working on the Interior
Lights, ensure that the “OFF”
button is depressed to avoid
burning your fingers or receiv-
ing an electric shock.
WARNING
Use care not to dirty or damage
lens, lens tab, and plastic hous-ings.
CAUTION
AA
PPPPEEAA RRAA NN CCEE CC AA RREE
Page 457 of 473
8-4
Specifications & Consumer informationB
B UU LLBB WW AATTTTAA GG EE
* If equipped
Light BulbWattage
MFRProjection
Headlights (Low/High)55
Front fog lights*35
Front turn signal lights2121
Front position lights5LED
DRL lights*21LED
Side repeaterLED
Side marker lights*5
Rear stop / tail lamp21/5
Back up lamp16
Rear turn signal lamp21
Rear fog lights21
License plate light5
High mounted stop lightLED
Over head console lamps10
Room lamps*LED (if equipped)10
Step lamp*5
Cargo lamps*10
Reading lamps*LED
Page 473 of 473

I-8Trailer brakes ............................................................5-54
Trip computer ..............................................................3-60 Driving distance/average vehicle speed/elapsed time ............................................................3-62
Driving Information ...................................................3-66
Fuel economy.............................................................3-63
Overview....................................................................3-60
Total AUTO STOP Hour ...........................................3-66
Trip modes .................................................................3-61
Urea solution filler lid ...............................................3-34
Urea Solution Gauge .................................................3-65
Urea solution filler lid ..................................................3-34
Vehicle certification label .............................................8-10
Vehicle identification number (VIN)............................8-10
Vehicle weight ..............................................................5-62 Warning and indicator lights ........................................3-66
Washer fluid ..................................................................7-29
Windows .......................................................................3-26
Power windows..........................................................3-27
Rear seat windows .....................................................3-29
Windshield defrosting and defogging ........................3-121
Winter driving...............................................................5-48
Wiper blades .................................................................7-34
Wipers and washers ....................................................3-102 Windshield washers .................................................3-105
Windshield wiper/washer.........................................3-102
Windshield wipers ......................................................3-102
Index
V
W
U