2016 Hyundai H350 ESP
[x] Cancel search: ESPPage 157 of 473

3-95
Convenient features of your vehicle
3
This system is a supplemental sys-
tem that shows behind the vehicle
through the rearview display mirror
while backing-up.The hazard warning flasher should
be used whenever you find it neces-
sary to stop the vehicle in a haz-
ardous location. When you must
make such an emergency stop,
always pull off the road as far as pos-
sible.
The hazard warning lights are turned
on by pushing in the hazard switch.
This causes all turn signal lights to
blink. The hazard warning lights will
operate even though the key is not in
the ignition switch.
To turn the hazard warning lights off,
push the switch a second time.Battery saver function
The purpose of this feature is toprevent the battery from being dis-
charged. The system automatically
turns off the parking lights when
the driver removes the ignition key
and opens the driver- side door.
With this feature, the parking lights will be turned off automatically if
the driver parks on the side of roadat night.
If necessary, to keep the lights on
when the ignition key is removed,
perform the following :
1) Open the driver-side door.
2) Turn the parking lights OFF and ON again using the light switch
on the steering column.
This system is a supplemen-
tary function only. It is theresponsibility of the driver to
always check the inside/out-
side rearview mirror and the
area behind the vehicle before
and while backing up becausethere is a dead zone that can't
see through the camera.
Always keep the camera lens
clean. If lens is covered with
foreign matter, the camera
may not operate normally.
WARNING
HHAAZZAA RRDD WW AARRNN IINN GG FF LLAA SSHH EERR
OEU044191
LLIIGG HH TTIINN GG
Page 163 of 473

3-101
Convenient features of your vehicle
3
Daytime running light (if equipped)
Daytime Running Lights (DRL) can
make it easier for others to see the
front of your vehicle during the day.
DRL can be helpful in many different
driving conditions, and it is especial-
ly helpful after dawn and before sun-set.
The DRL system will make the head-
lights turn OFF when:
1. The parklight switch is ON.
2. Engine stops.
Headlight leveling device (if equipped)
To adjust the headlight beam level
according to the number of the pas-
sengers and the loading weight in
the luggage area, turn the beam lev-
eling switch.The higher the number of the switch
position, the lower the headlight
beam level. Always keep the head-
light beam at the proper leveling
position, or headlights may dazzle
other road users.
Listed below are the examples of
proper switch settings. For loadingconditions other than those listed
below, adjust the switch position so
that the beam level may be the near-est as the condition obtained accord-ing to the list.
OEU044186
Loading condition Switch position
VAN/TRUCK BUS
Driver only 0 0
Maximum permissible mass 31
Page 180 of 473
3-118
Convenient features of your vehicle
When using the air conditioningsystem, monitor the temperature
gauge closely while driving up
hills or in heavy traffic when out-
side temperatures are high. Airconditioning system operation
may cause engine overheating.
Continue to use the blower fan
but turn the air conditioning sys-
tem off if the temperature gauge
indicates engine overheating.
When opening the windows in humid weather air conditioning
may create water droplets inside
the vehicle. Since excessive
water droplets may cause dam-
age to electrical equipment, air
conditioning should only be run
with the windows closed.
Air conditioning system operation
tips
If the vehicle has been parked indirect sunlight during hot weather,
open the windows for a short time
to let the hot air inside the vehicle
escape.
To help reduce moisture inside of the windows on rainy or humid
days, decrease the humidity inside
the vehicle by operating the airconditioning system.
During air conditioning system operation, you may occasionallynotice a slight change in enginespeed as the air conditioning com-
pressor cycles. This is a normal
system operation characteristic.
Use the air conditioning system every month only for a few minutes
to ensure maximum system per-
formance. When using the air conditioning
system, you may notice clear water
dripping (or even puddling) on the
ground under the passenger rear
side of the vehicle. This is a normal
system operation characteristic.
Operating the air conditioning sys- tem in the recirculated air position
provides maximum cooling, how-
ever, continual operation in this
mode may cause the air inside the
vehicle to become stale.
During cooling operation, you may occasionally notice a misty air flow
because of rapid cooling and
humid air intake. This is a normal
system operation characteristics.
NOTICE
Page 183 of 473
3-121
Convenient features of your vehicle
3
For maximum defrosting, set thetemperature control to the extreme
right/hot position and the fan speedcontrol to the highest speed.
If warm air to the floor is desired while defrosting or defogging, setthe mode to the floor-defrost posi-tion.
Before driving, clear all snow and ice from the windshield, rear win-
dow, outside rear view mirrors, and
all side windows.
Clear all snow and ice from the hood and air inlet in the cowl grill to
improve heater and defroster effi-ciency and to reduce the probabili-
ty of fogging up the inside of thewindshield.To defog inside windshield
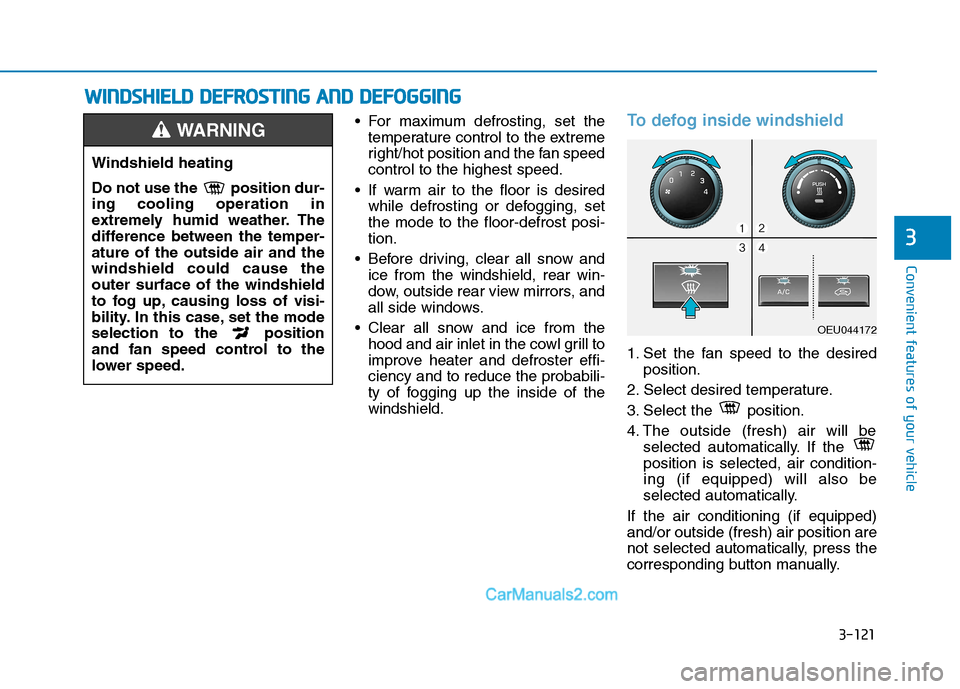
1. Set the fan speed to the desired position.
2. Select desired temperature.
3. Select the position.
4. The outside (fresh) air will be selected automatically. If the position is selected, air condition-ing (if equipped) will also be
selected automatically.
If the air conditioning (if equipped)and/or outside (fresh) air position are
not selected automatically, press the
corresponding button manually.
Windshield heating
Do not use the position dur- ing cooling operation in
extremely humid weather. The
difference between the temper-ature of the outside air and thewindshield could cause theouter surface of the windshield
to fog up, causing loss of visi-
bility. In this case, set the mode
selection to the position
and fan speed control to the
lower speed.
WARNING
WW IINN DDSSHH IIEE LLDD DD EEFFRR OO SSTT IINN GG AA NN DD DD EEFFOO GGGGIINN GG
OEU044172
Page 192 of 473
3-130
Convenient features of your vehicle
❈If your vehicle is equipped with
loading rails in the load compart-
ment floor, you can place lashingrods directly in front of and behindthe load.
As the driver, you are respon-
sible for ensuring that:
The applicable requirements and
guidelines relating to load-securing
practices must be met.
If this is not the case, this may con-
stitute a punishable offence,depending on local legislation and
any ensuing consequences.
You should therefore observe the
respective legal requirements for
the relevant country.
- Make sure that the load is securebefore every journey and at regu-
lar intervals during a long journey.
Adjust the load as necessary
Luggage mass label
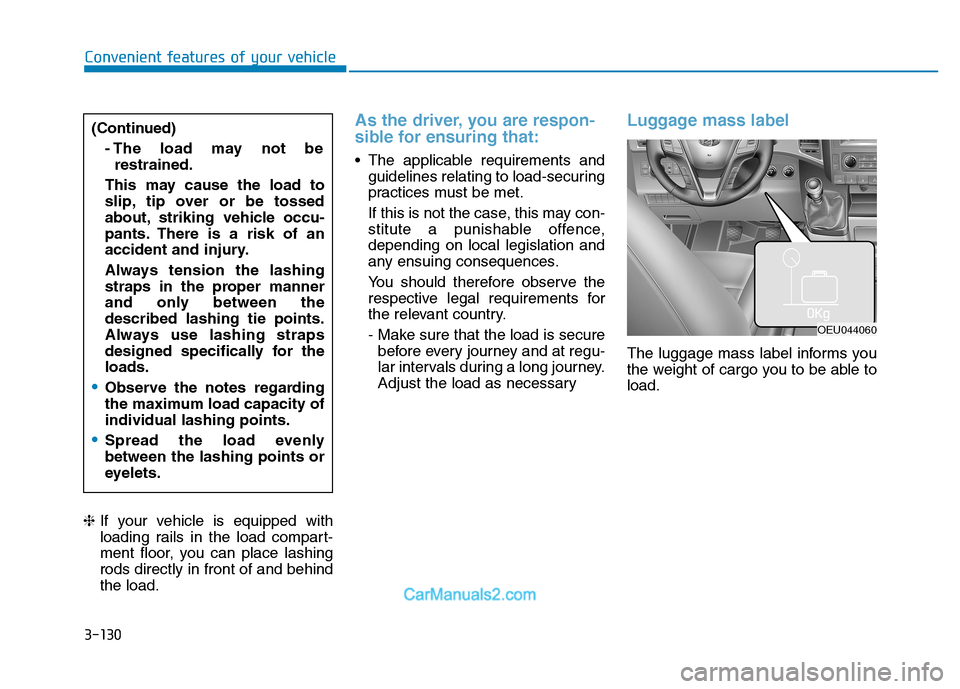
The luggage mass label informs you
the weight of cargo you to be able toload.
(Continued)
- The load may not berestrained.
This may cause the load to
slip, tip over or be tossed
about, striking vehicle occu-
pants. There is a risk of an
accident and injury.
Always tension the lashing
straps in the proper manner
and only between thedescribed lashing tie points.
Always use lashing straps
designed specifically for theloads.
Observe the notes regarding
the maximum load capacity ofindividual lashing points.
Spread the load evenly between the lashing points or
eyelets.
OEU044060
Page 201 of 473
4-9
Multimedia System
4
Operating the device while driv-ing could lead to accidents due
to a lack of attention to external
surroundings. First park the
vehicle before operating the
device.
Adjust the volume to levels that allow the driver to hear sounds
from outside of the vehicle.
Driving in a state where external
sounds cannot be heard maylead to accidents.
Pay attention to the volume set- ting when turning the device on.
A sudden output of extreme vol-
ume upon turning the device oncould lead to hearing impair-
ment. (Adjust the volume to a
suitable levels before turning off
the device.)
(Continued)(Continued)
Turn on the vehicle ignition
before using this device. Do not
operate the audio system forlong periods of time with the
ignition turned off as such oper-
ations may lead to battery dis-
charge.
Do not subject the device to severe shock or impact. Direct
pressure onto the front side of
the monitor may cause damage
to the LCD or touch screen.
When cleaning the device, make sure to turn off the device and
use a dry and smooth cloth.
Never use tough materials,
chemical cloths, or solvents
(alcohol, benzene, thinners, etc.)
as such materials may damage
the device panel or causecolor/quality deterioration
(Continued)
NOTICE(Continued)
Driving while distracted can
result in a loss of vehicle con-
trol that may lead to an acci-
dent, severe personal injury,
and death. The driver's pri-
mary responsibility is in the
safe and legal operation of a
vehicle, and use of any hand-
held devices, other equip-
ment, or vehicle systems
which take the driver's eyes,
attention and focus away from
the safe operation of a vehicle
or which are not permissible
by law should never be usedduring operation of the vehi-
cle.
Page 222 of 473
4-30
Multimedia System
RRAA DDIIOO (( FF OO RR RR DD SS MM OODDEELL)) ::
F
F MM ,, AA MM
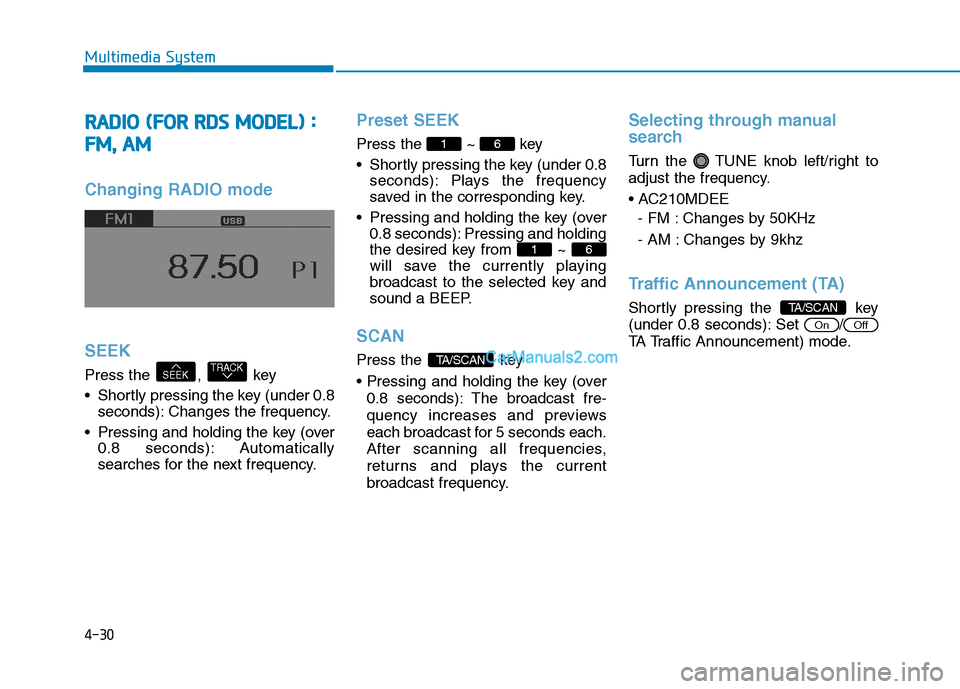
Changing RADIO mode SEEK
Press the , key
Shortly pressing the key (under 0.8
seconds): Changes the frequency.
Pressing and holding the key (over 0.8 seconds): Automatically
searches for the next frequency.
Preset SEEK
Press the ~ key
Shortly pressing the key (under 0.8 seconds): Plays the frequency
saved in the corresponding key.
Pressing and holding the key (over 0.8 seconds): Pressing and holding
the desired key from ~
will save the currently playing
broadcast to the selected key and
sound a BEEP.
SCAN
Press the key
0.8 seconds): The broadcast fre-
quency increases and previews
each broadcast for 5 seconds each.
After scanning all frequencies,
returns and plays the current
broadcast frequency.
Selecting through manual
search
Turn the TUNE knob left/right to
adjust the frequency.
- FM : Changes by 50KHz
- AM : Changes by 9khz
Traffic Announcement (TA)
Shortly pressing the key
(under 0.8 seconds): Set /
TA Traffic Announcement) mode.
OffOn
TA/SCAN
TA/SCAN
61
61
TRACKSEEK
Page 224 of 473
4-32
Multimedia System
RRAA DDIIOO
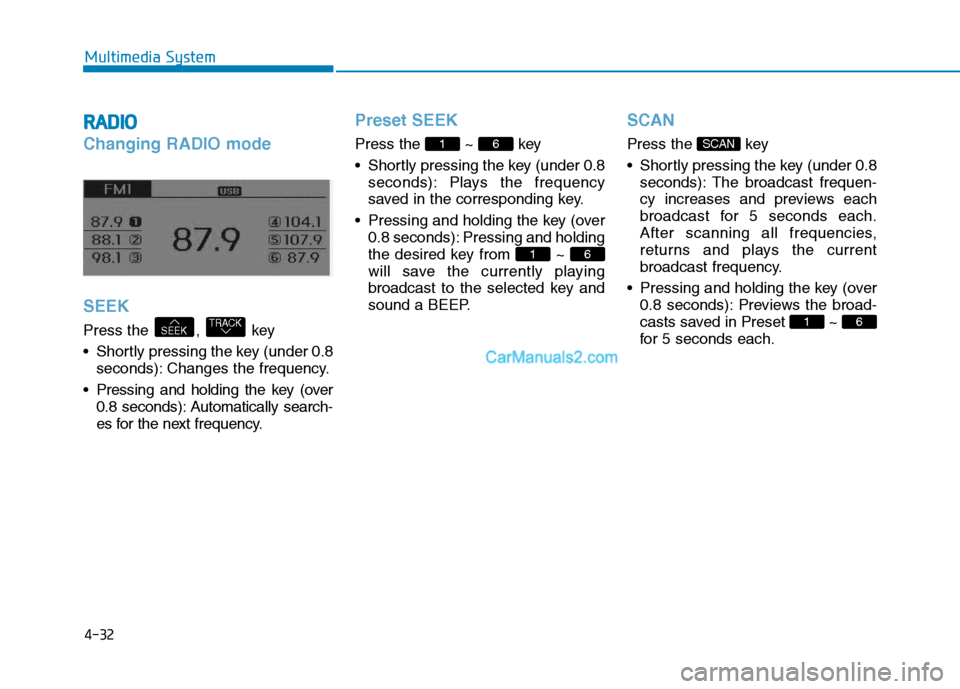
Changing RADIO mode SEEK
Press the , key
Shortly pressing the key (under 0.8
seconds): Changes the frequency.
Pressing and holding the key (over 0.8 seconds): Automatically search-
es for the next frequency.
Preset SEEK
Press the ~ key
Shortly pressing the key (under 0.8 seconds): Plays the frequency
saved in the corresponding key.
Pressing and holding the key (over 0.8 seconds): Pressing and holding
the desired key from ~
will save the currently playing
broadcast to the selected key and
sound a BEEP.
SCAN
Press the key
Shortly pressing the key (under 0.8seconds): The broadcast frequen-
cy increases and previews each
broadcast for 5 seconds each.
After scanning all frequencies,
returns and plays the current
broadcast frequency.
Pressing and holding the key (over 0.8 seconds): Previews the broad-
casts saved in Preset ~
for 5 seconds each.
61
SCAN
61
61
TRACKSEEK