Page 233 of 502
3-142
Convenient features of your vehicle
Parking Guide System
(For Europe, if equipped)
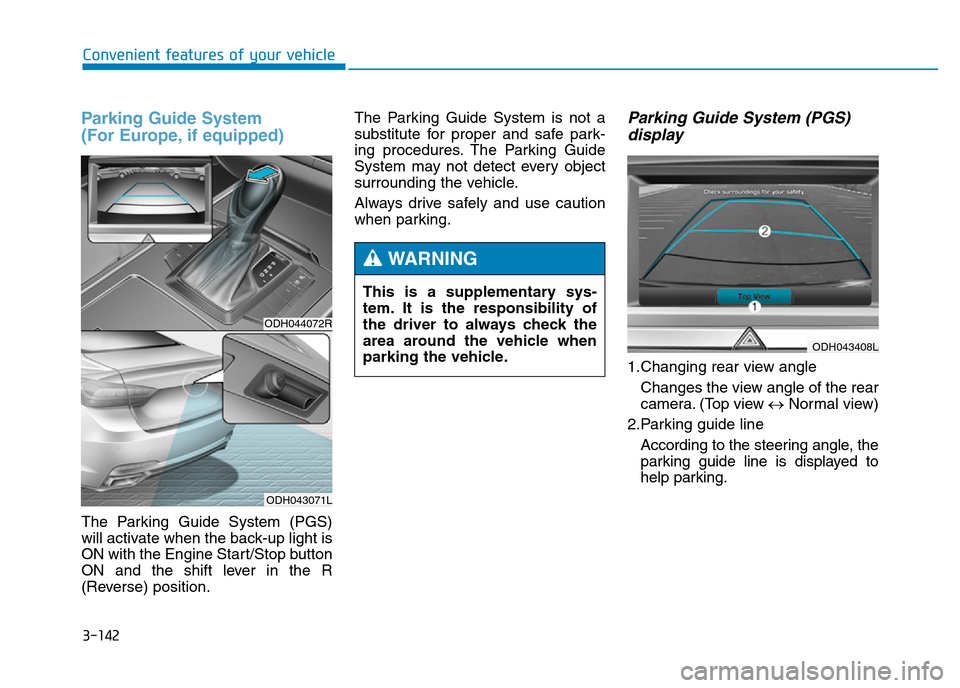
The Parking Guide System (PGS)
will activate when the back-up light is
ON with the Engine Start/Stop button
ON and the shift lever in the R
(Reverse) position.The Parking Guide System is not a
substitute for proper and safe park-
ing procedures. The Parking Guide
System may not detect every object
surrounding the vehicle.
Always drive safely and use caution
when parking.
Parking Guide System (PGS)
display
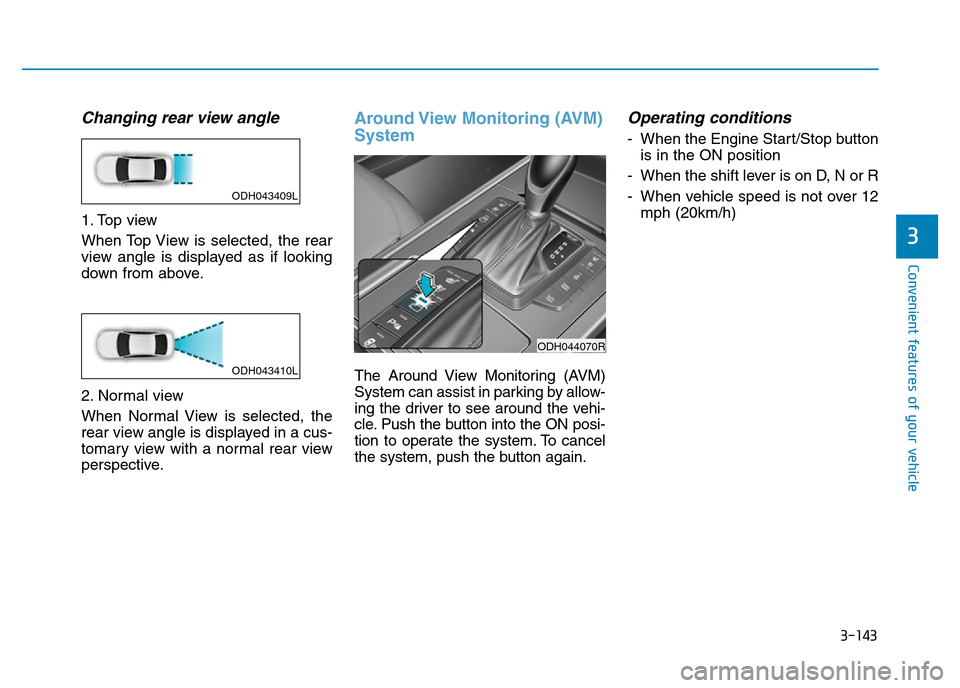
1.Changing rear view angle
Changes the view angle of the rear
camera. (Top view ↔Normal view)
2.Parking guide line
According to the steering angle, the
parking guide line is displayed to
help parking.
ODH044072R
ODH043071L
This is a supplementary sys-
tem. It is the responsibility of
the driver to always check the
area around the vehicle when
parking the vehicle.
WARNING
ODH043408L
Page 234 of 502
3-143
Convenient features of your vehicle
3
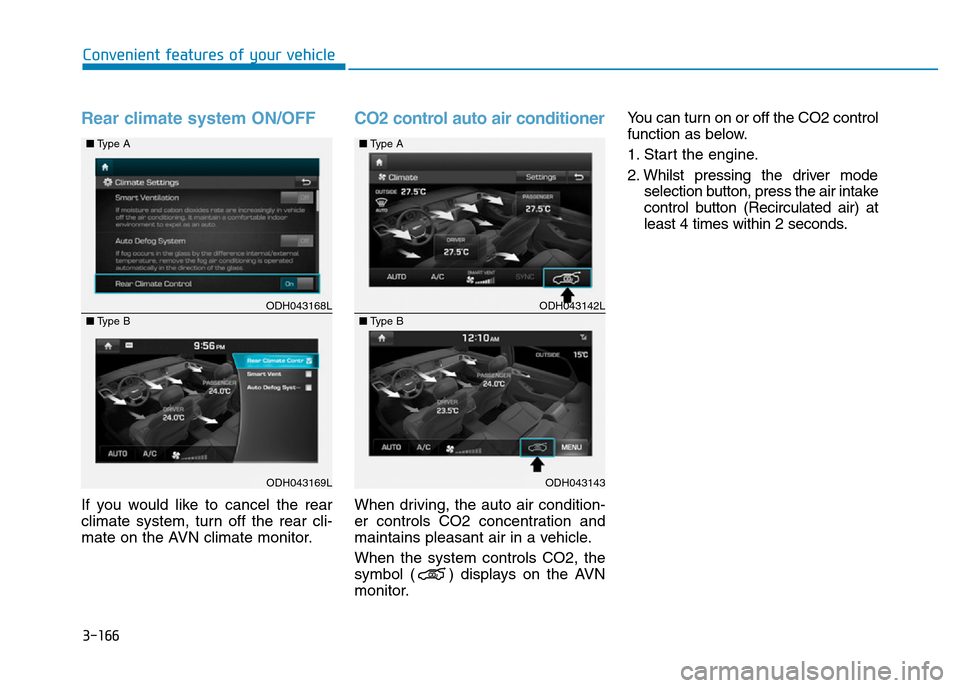
Changing rear view angle
1. Top view
When Top View is selected, the rear
view angle is displayed as if looking
down from above.
2. Normal view
When Normal View is selected, the
rear view angle is displayed in a cus-
tomary view with a normal rear view
perspective.
Around View Monitoring (AVM)
System
The Around View Monitoring (AVM)
System can assist in parking by allow-
ing the driver to see around the vehi-
cle. Push the button into the ON posi-
tion to operate the system. To cancel
the system, push the button again.
Operating conditions
- When the Engine Start/Stop button
is in the ON position
- When the shift lever is on D, N or R
- When vehicle speed is not over 12
mph (20km/h)
ODH044070R
ODH043409L
ODH043410L
Page 239 of 502
3-148
Convenient features of your vehicle
Automatic heating and air con-
ditioning
1. Press the AUTO button.
The modes, fan speeds, air intake
and air conditioning will be controlled
automatically according to the tem-
perature setting.
2. Turn the temperature control knob
to set the desired temperature.
✽NOTICE
• To turn the automatic operation off,
select any button of the following:
- Mode selection button
- Front windscreen defrost button
(Press the button one more time
to deselect the front windscreen
defroster function. The 'AUTO'
sign will illuminate on the infor-
mation display once again.)
- Fan speed control button
The selected function will be con-
trolled manually whilst other
functions operate automatically.
• For your convenience, use the
AUTO button and set the temper-
ature to 23°C (73°F).
ODM043083
ODH044084R
ODH043085
■Front
■Rear
Page 245 of 502
3-154
Convenient features of your vehicle
Adjusting temperature and mode of
the driver & front passenger side
equally (Type B)
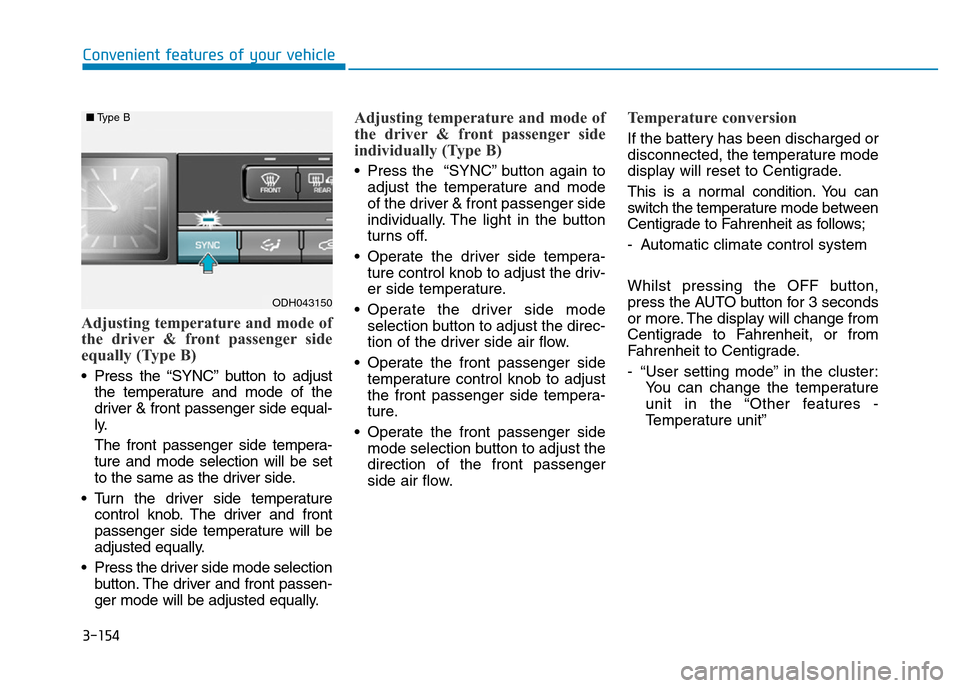
• Press the “SYNC” button to adjust
the temperature and mode of the
driver & front passenger side equal-
ly.
The front passenger side tempera-
ture and mode selection will be set
to the same as the driver side.
• Turn the driver side temperature
control knob. The driver and front
passenger side temperature will be
adjusted equally.
• Press the driver side mode selection
button. The driver and front passen-
ger mode will be adjusted equally.
Adjusting temperature and mode of
the driver & front passenger side
individually (Type B)
• Press the “SYNC” button again to
adjust the temperature and mode
of the driver & front passenger side
individually. The light in the button
turns off.
• Operate the driver side tempera-
ture control knob to adjust the driv-
er side temperature.
• Operate the driver side mode
selection button to adjust the direc-
tion of the driver side air flow.
• Operate the front passenger side
temperature control knob to adjust
the front passenger side tempera-
ture.
• Operate the front passenger side
mode selection button to adjust the
direction of the front passenger
side air flow.
Temperature conversion
If the battery has been discharged or
disconnected, the temperature mode
display will reset to Centigrade.
This is a normal condition. You can
switch the temperature mode between
Centigrade to Fahrenheit as follows;
- Automatic climate control system
Whilst pressing the OFF button,
press the AUTO button for 3 seconds
or more. The display will change from
Centigrade to Fahrenheit, or from
Fahrenheit to Centigrade.
- “User setting mode” in the cluster:
You can change the temperature
unit in the “Other features -
Temperature unit”
ODH043150
■Type B
Page 256 of 502
3-165
Convenient features of your vehicle
3
CLIMATE CONTROL ADDITIONAL FEATURES (IF EQUIPPED)
Cluster ionizer
When the Engine Start/Stop button
is in the ON position, the clean air
function turns on automatically.
Also, the clean air function turns off
automatically, when the Engine
Start/Stop button is in the OFF posi-
tion.
Smart ventilation
When driving and the heater and air
conditioning system is off, the smart
ventilation system maintains pleas-
ant indoor aerial environment by
controlling the temperature, humidity
and CO2 of interior.
“SMART VENTILATION ON” mes-
sage is displayed on the AVN climate
monitor for 5 seconds when the
smart ventilation system is operat-
ing.
Smart ventilation system ON/OFF
If you would like to cancel the smart
ventilation system, turn off the Smart
ventilation on the AVN climate moni-
tor.
ODH043166L
ODH043167L ■Type A
■Type B
Page 257 of 502
3-166
Convenient features of your vehicle
Rear climate system ON/OFF
If you would like to cancel the rear
climate system, turn off the rear cli-
mate on the AVN climate monitor.
CO2 control auto air conditioner
When driving, the auto air condition-
er controls CO2 concentration and
maintains pleasant air in a vehicle.
When the system controls CO2, the
symbol ( ) displays on the AVN
monitor.You can turn on or off the CO2 control
function as below.
1. Start the engine.
2. Whilst pressing the driver mode
selection button, press the air intake
control button (Recirculated air) at
least 4 times within 2 seconds.
ODH043168L
ODH043169L ■Type A
■Type B
ODH043142L
ODH043143 ■Type A
■Type B
Page 277 of 502
5-4
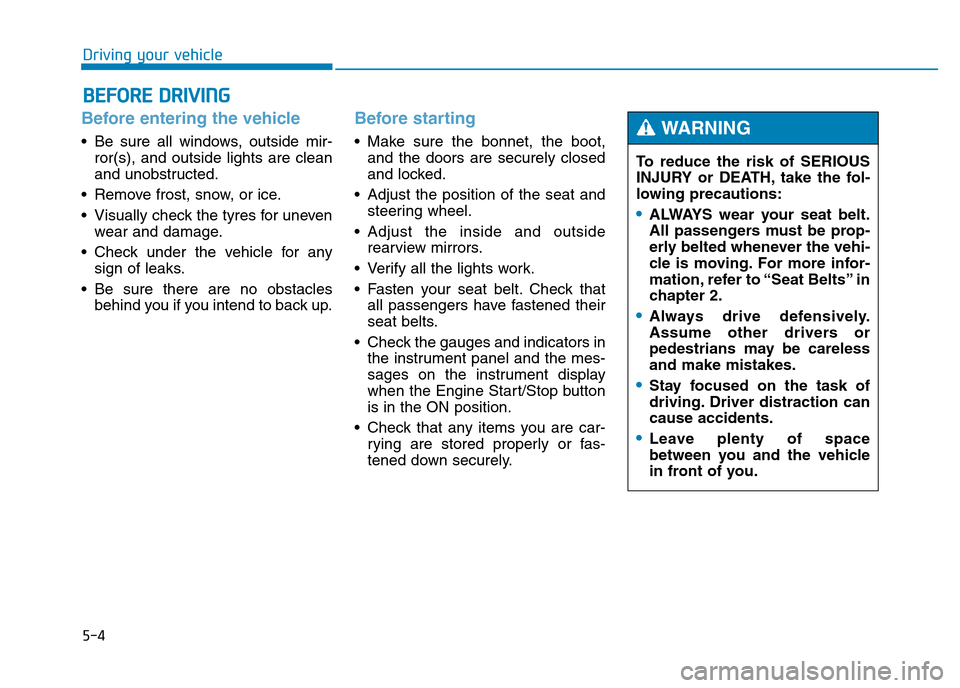
Driving your vehicle
Before entering the vehicle
• Be sure all windows, outside mir-
ror(s), and outside lights are clean
and unobstructed.
• Remove frost, snow, or ice.
• Visually check the tyres for uneven
wear and damage.
• Check under the vehicle for any
sign of leaks.
• Be sure there are no obstacles
behind you if you intend to back up.
Before starting
• Make sure the bonnet, the boot,
and the doors are securely closed
and locked.
• Adjust the position of the seat and
steering wheel.
• Adjust the inside and outside
rearview mirrors.
• Verify all the lights work.
• Fasten your seat belt. Check that
all passengers have fastened their
seat belts.
• Check the gauges and indicators in
the instrument panel and the mes-
sages on the instrument display
when the Engine Start/Stop button
is in the ON position.
• Check that any items you are car-
rying are stored properly or fas-
tened down securely.
BEFORE DRIVING
To reduce the risk of SERIOUS
INJURY or DEATH, take the fol-
lowing precautions:
•ALWAYS wear your seat belt.
All passengers must be prop-
erly belted whenever the vehi-
cle is moving. For more infor-
mation, refer to “Seat Belts” in
chapter 2.
•Always drive defensively.
Assume other drivers or
pedestrians may be careless
and make mistakes.
•Stay focused on the task of
driving. Driver distraction can
cause accidents.
•Leave plenty of space
between you and the vehicle
in front of you.
WARNING
Page 285 of 502

5-12
Driving your vehicle
The indicator in the instrument clus-
ter displays the shift lever position
when the Engine Start/Stop button is
in the ON position.
P (Park)
Always come to a complete stop
before shifting into P (Park).
To shift from P (Park), you must
depress firmly on the brake pedal
and make sure your foot is off the
accelerator pedal.
If you have done all of the above and
still cannot shift the lever out of P
(Park), see “Shift-Lock Release” on
page 5-16.
The shift lever must be in P (Park)
before turning the engine off. To reduce the risk of serious
injury or death:
•ALWAYS check the surround-
ing areas near your vehicle for
people, especially children,
before shifting a vehicle into
D (Drive) or R (Reverse).
•Before leaving the driver’s
seat, always make sure the
shift lever is in the P (Park)
position, then set the parking
brake, and place the Engine
Start/Stop button in the OFF
position. Unexpected and
sudden vehicle movement
can occur if these precautions
are not followed.
•Do not use engine braking
(shifting from a high gear to
lower gear) rapidly on slip-
pery roads. The vehicle may
slip causing an accident.
WARNING
•Shifting into P (Park) whilst
the vehicle is in motion may
cause you to lose control of
the vehicle.
•After the vehicle has stopped,
always make sure the shift
lever is in P (Park), apply the
parking brake, and turn the
engine off.
•Do not use the P (Park) posi-
tion in place of the parking
brake.
WARNING