2016 Hyundai Genesis instrument panel
[x] Cancel search: instrument panelPage 77 of 502

2-59
Safety system of your vehicle
2
After complete inflation, the air bag
immediately starts deflating, enabling
the driver to maintain forward visibili-
ty and the ability to steer or operate
other controls.
What to expect after an air bag
inflates
After a frontal or side air bag inflates,
it will deflate very quickly. Air bag
inflation will not prevent the driver
from seeing out of the windscreen or
being able to steer. Curtain air bags
may remain partially inflated for
some time after they deploy.
OLMB033056/H
■Driver’s front air bag (3)
OLMB033057/H
■Passenger’s front air bag
To prevent objects from becom-
ing dangerous projectiles when
the passenger's air bag inflates:
•Do not install or place any
objects (drink holder, CD
holder, stickers, etc.) on the
front passenger's panel above
the glove box where the pas-
senger's air bag is located.
•Do not install a container of
liquid air freshener near the
instrument cluster or on the
instrument panel surface.
WARNING
After an air bag inflates, take
the following precautions:
•Open your windows and
doors as soon as possible
after impact to reduce pro-
longed exposure to the smoke
and powder released by the
inflating air bag.
•Do not touch the air bag stor-
age area’s internal compo-
nents immediately after an air
bag has inflated. The parts
that come into contact with an
inflating air bag may be very
hot.
(Continued)
WARNING
Page 80 of 502

2-62
Safety system of your vehicle
Do not install a child restraint
on the front passenger seat
Never install a child restraint in the
front passenger’s seat. An inflating
air bag can forcefully strike a child or
restraint resulting in serious or fatal
injury.If your vehicle is equipped with the
passenger’s front air bag ON/OFF
switch, you can activate or deactivate
the front passenger’s air bag when
necessary. For more details, please
refer to page 2-60.
OYDESA2042
OLM034310 ■Type A
■Type B
•Extreme hazard! Do not use a
rearward facing child restraint
on a seat protected by an air
bag in front of it!
•NEVER use a rearward facing
child restraint on a seat pro-
tected by an ACTIVE AIRBAG
in front of it, DEATH or SERI-
OUS INJURY to the CHILD can
occur.
•Never put a child restraint in
the front passenger’s seat. If
the front passenger air bag
inflates, it would cause seri-
ous or fatal injuries.
WARNING
If the passenger’s front air bag
ON/OFF switch malfunctions,
the following conditions may
occur:
•The air bag warning light ( )
on the instrument panel will
illuminate.
•The passenger air bag OFF
indicator ( ) will not illumi-
nate and the ON indicator ( )
will come on and go off after
approximately 60 seconds.
The passenger’s front air bag
will inflate in a frontal impact
even though the passenger’s
front air bag ON/OFF switch is
set to the OFF position.
•We recommend that a
HYUNDAI authorised repairer
inspect the passenger’s front
air bag ON/OFF switch and the
SRS air bag system as soon as
possible.
WARNING
Page 87 of 502

2-69
Safety system of your vehicle
2
Additional safety precautions
Passengers should not move out of
or change seats whilst the vehicle
is moving.A passenger who is not
wearing a seat belt during a crash or
emergency stop can be thrown
against the inside of the vehicle,
against other occupants, or be ejected
from the vehicle.
Do not use any accessories on seat
belts.Devices claiming to improve
occupant comfort or reposition the
seat belt can reduce the protection
provided by the seat belt and increase
the chance of serious injury in a crash.
Do not modify the front seats.
Modification of the front seats could
interfere with the operation of the sup-
plemental restraint system sensing
components or side air bags.
Do not place items under the front
seats.Placing items under the front
seats could interfere with the opera-
tion of the supplemental restraint sys-
tem sensing components and wiring
harnesses.
Do not cause impact to the doors.
Impact to the doors when the Engine
Start/Stop button is in the ON position
may cause the air bags to inflate. (Continued)•If components of the air bag
system must be discarded, or if
the vehicle must be scrapped,
certain safety precautions
must be observed. Consult a
HYUNDAI authorised repairer
for the necessary information.
Failure to follow these precau-
tions could increase the risk of
personal injury.To reduce the risk of serious
injury or death take the follow-
ing precautions:
•Do not attempt to modify or
disconnect the SRS compo-
nents or wiring, including the
addition of any kind of badges
to the pad covers or modifica-
tions to the body structure.
•Do not place objects over or
near the air bag modules on
the steering wheel, instrument
panel, and the front passen-
ger's panel above the glove
box.
•Clean the air bag pad covers
with a soft cloth moistened
with plain water. Solvents or
cleaners could adversely
affect the air bag covers and
proper deployment of the sys-
tem.
•We recommend that inflated
air bags be replaced by a
HYUNDAI authorised repairer.
(Continued)
WARNING
Page 107 of 502

3-16
The Driver Position Memory System
is provided to store and recall the fol-
lowing memory settings with a sim-
ple button operation.
- Driver's seat position
- Outside rearview mirror position
- Steering wheel position
- Instrument panel illumination intensity
- Head Up Display (HUD) position
and brightness✽NOTICE
• If the battery is disconnected, the
memory settings will be erased.
• If the Driver Position Memory
System does not operate normally,
we recommend that you have the
system checked by a HYUNDAI
authorised repairer.
Storing memory positions
1. Move the shift lever into P (Park)
whilst the Engine Start/Stop but-
ton is in the ON position.
2. Adjust the driver's seat position,
outside rearview mirror position,
steering wheel position, instrument
panel illumination intensity and
Head Up Display height/brightness
to the desired position.
3. Press the SET button. The system
will beep once and notify you
"Press button to save settings"on
the LCD display.
4. Press one of the memory buttons
(1 or 2) within 5 seconds. The sys-
tem will beep twice when the mem-
ory has been successfully stored.
5.
"Driver 1 (or 2) settings saved" will
appear on the LCD display.
DRIVER POSITION MEMORY SYSTEM (IF EQUIPPED)
Convenient features of your vehicle
Never attempt to operate the driv-
er position memory system
whilst the vehicle is moving.
This could result in loss of con-
trol, and an accident causing
death, serious injury, or property
damage.
WARNING
ODH043156L/ODH043157L
ODH044041R
Page 108 of 502
3-17
Convenient features of your vehicle
Recalling memory position
1. Move the shift lever into P (Park)
whilst the Engine Start/Stop but-
ton is in the ON position.
2. Press the desired memory button
(1 or 2). The system will beep
once, and then the driver's seat
position, outside rearview mirror
position, steering wheel position,
instrument panel illumination
intensity and Head Up Display
height/brightness will automatical-
ly adjust to the stored positions.
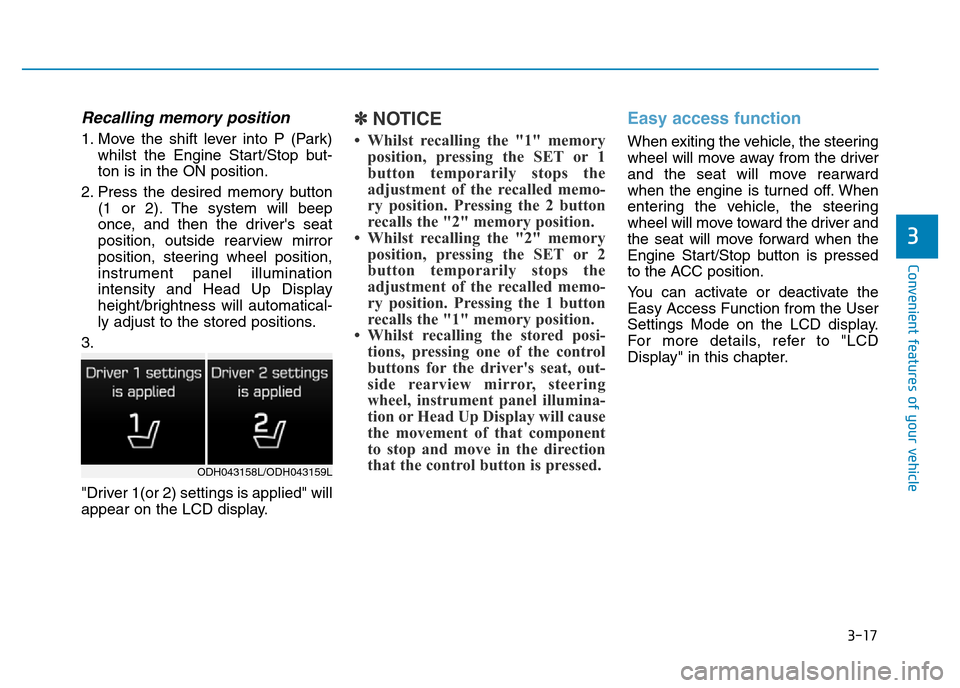
3.
"Driver 1(or 2) settings is applied" will
appear on the LCD display.
✽NOTICE
• Whilst recalling the "1" memory
position, pressing the SET or 1
button temporarily stops the
adjustment of the recalled memo-
ry position. Pressing the 2 button
recalls the "2" memory position.
• Whilst recalling the "2" memory
position, pressing the SET or 2
button temporarily stops the
adjustment of the recalled memo-
ry position. Pressing the 1 button
recalls the "1" memory position.
• Whilst recalling the stored posi-
tions, pressing one of the control
buttons for the driver's seat, out-
side rearview mirror, steering
wheel, instrument panel illumina-
tion or Head Up Display will cause
the movement of that component
to stop and move in the direction
that the control button is pressed.
Easy access function
When exiting the vehicle, the steering
wheel will move away from the driver
and the seat will move rearward
when the engine is turned off. When
entering the vehicle, the steering
wheel will move toward the driver and
the seat will move forward when the
Engine Start/Stop button is pressed
to the ACC position.
You can activate or deactivate the
Easy Access Function from the User
Settings Mode on the LCD display.
For more details, refer to "LCD
Display" in this chapter.
3
ODH043158L/ODH043159L
Page 142 of 502
3-51
Convenient features of your vehicle
3
Instrument Cluster Control
Instrument panel illumination
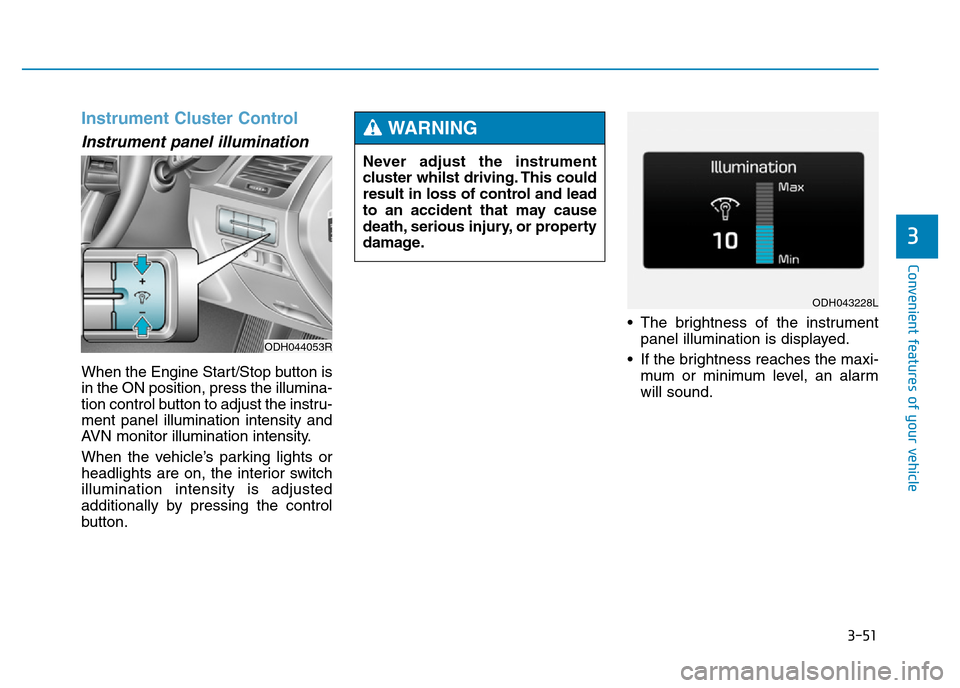
When the Engine Start/Stop button is
in the ON position, press the illumina-
tion control button to adjust the instru-
ment panel illumination intensity and
AVN monitor illumination intensity.
When the vehicle’s parking lights or
headlights are on, the interior switch
illumination intensity is adjusted
additionally by pressing the control
button.• The brightness of the instrument
panel illumination is displayed.
• If the brightness reaches the maxi-
mum or minimum level, an alarm
will sound.
ODH044053R
Never adjust the instrument
cluster whilst driving. This could
result in loss of control and lead
to an accident that may cause
death, serious injury, or property
damage.
WARNING
ODH043228L
Page 192 of 502

3-101
Convenient features of your vehicle
3
Exterior lights
Lighting control
To operate the lights, turn the knob at
the end of the control lever to one of
the following positions:
(1) OFF (O) position
(2) AUTO light position
(3) Parking lamp position
(4) Headlamp position
AUTO light position
When the light switch is in the AUTO
position, the parking lamp and head-
lamp will be turned ON or OFF auto-
matically depending on the amount
of light outside the vehicle.
Even with the AUTO light feature in
operation, it is recommended to
manually turn ON the lamps when
driving at night or in fog, or when you
enter dark areas, such as tunnels
and parking facilities.
LIGHT
ODH044422R
•Do not cover or spill anything
on the sensor (1) located on
the instrument panel.
•Do not clean the sensor using
a window cleaner, the
cleanser may leave a light film
which could interfere with
sensor operation.
•If your vehicle has window tint
or other types of metallic
coating on the front wind-
screen, the AUTO light system
may not work properly.
CAUTION
ODH043171
ODH043368L
■Type A
■Type B
Page 193 of 502
3-102
Convenient features of your vehicle
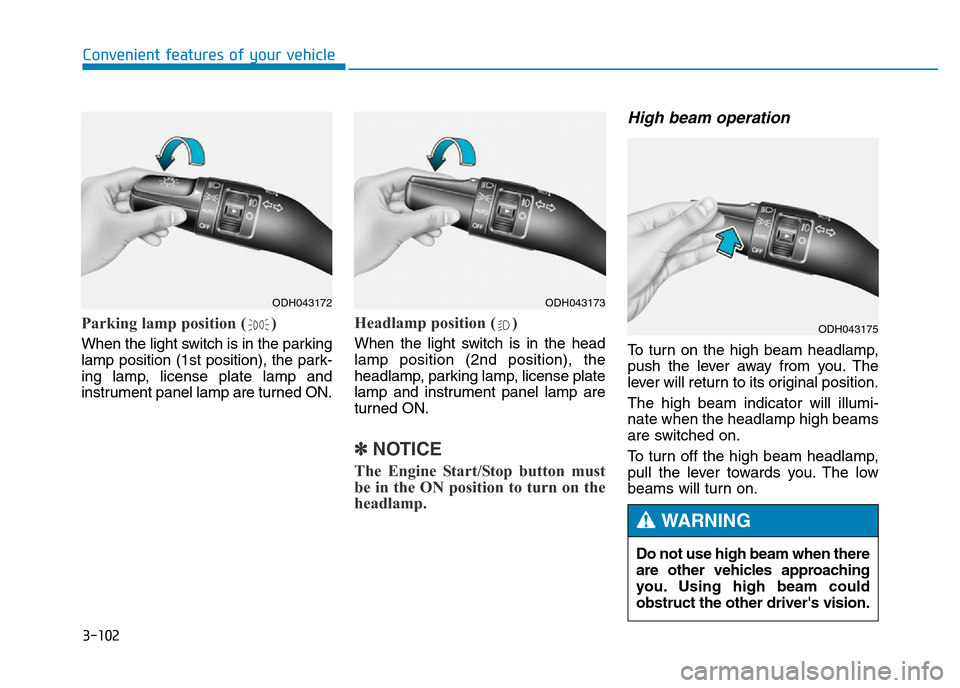
Parking lamp position ( )
When the light switch is in the parking
lamp position (1st position), the park-
ing lamp, license plate lamp and
instrument panel lamp are turned ON.
Headlamp position ( )
When the light switch is in the head
lamp position (2nd position), the
headlamp, parking lamp, license plate
lamp and instrument panel lamp are
turned ON.
✽NOTICE
The Engine Start/Stop button must
be in the ON position to turn on the
headlamp.
High beam operation
To turn on the high beam headlamp,
push the lever away from you. The
lever will return to its original position.
The high beam indicator will illumi-
nate when the headlamp high beams
are switched on.
To turn off the high beam headlamp,
pull the lever towards you. The low
beams will turn on.
ODH043172ODH043173
ODH043175
Do not use high beam when there
are other vehicles approaching
you. Using high beam could
obstruct the other driver's vision.
WARNING