Page 166 of 521

Features of your vehicle
86
4
Cruise indicator
(if equipped)
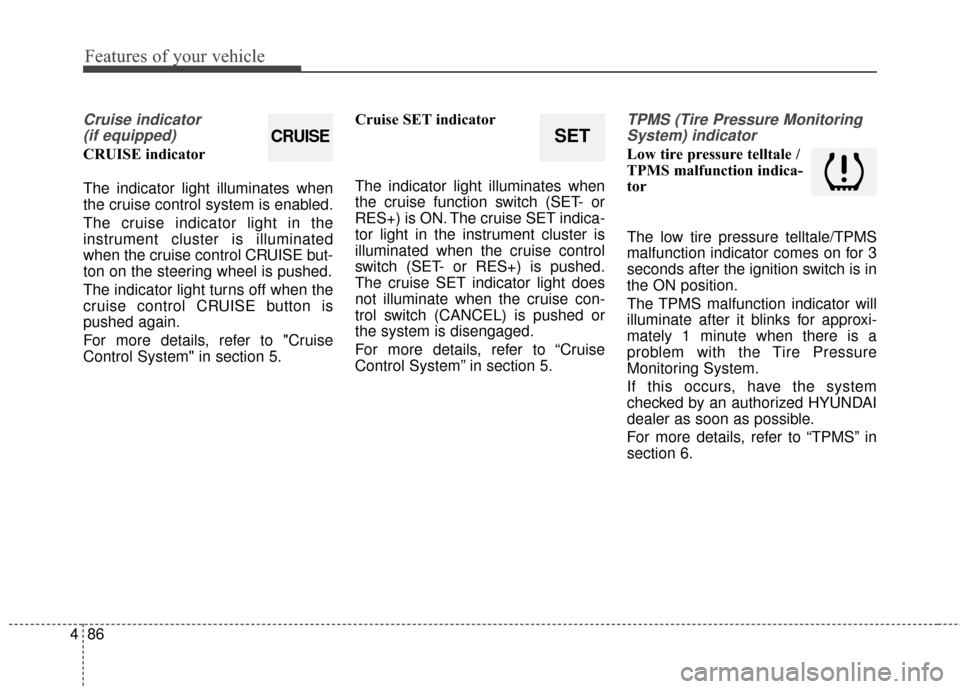
CRUISE indicator
The indicator light illuminates when
the cruise control system is enabled.
The cruise indicator light in the
instrument cluster is illuminated
when the cruise control CRUISE but-
ton on the steering wheel is pushed.
The indicator light turns off when the
cruise control CRUISE button is
pushed again.
For more details, refer to "Cruise
Control System" in section 5. Cruise SET indicator
The indicator light illuminates when
the cruise function switch (SET- or
RES+) is ON. The cruise SET indica-
tor light in the instrument cluster is
illuminated when the cruise control
switch (SET- or RES+) is pushed.
The cruise SET indicator light does
not illuminate when the cruise con-
trol switch (CANCEL) is pushed or
the system is disengaged.
For more details, refer to “Cruise
Control System” in section 5.
TPMS (Tire Pressure Monitoring
System) indicator
Low tire pressure telltale /
TPMS malfunction indica-
tor
The low tire pressure telltale/TPMS
malfunction indicator comes on for 3
seconds after the ignition switch is in
the ON position.
The TPMS malfunction indicator will
illuminate after it blinks for approxi-
mately 1 minute when there is a
problem with the Tire Pressure
Monitoring System.
If this occurs, have the system
checked by an authorized HYUNDAI
dealer as soon as possible.
For more details, refer to “TPMS” in
section 6.
SETCRUISE
Page 173 of 521
493
Features of your vehicle
Turn on "FUSE SWITCH"
This warning message illuminates if
the fuse switch located on the fuse
box under the steering wheel is OFF.
It means that you should turn the
fuse switch on.
For more details, refer to “Fuses”
in chapter 7.Align steering wheel (if equipped)
This warning message illuminates if
you start the engine when the steer-
ing wheel is turned to more than 90
degrees to the left or right.
It means that you should turn the
steering wheel and make the angle
of the steering wheel be less than 30
degrees.
Steering wheel aligning is completed
(if equipped)
If the steering wheel aligning is com-
pleted after “Align steering wheel”
warning message is displayed, this
message is displayed for 2 seconds.
■Type A■Type B
OHG045319L■Type A■Type B
OHG045332L/OHG045244N
■Type A■Type B
OHG045333L/OHG045243L
Page 180 of 521

Features of your vehicle
100
4
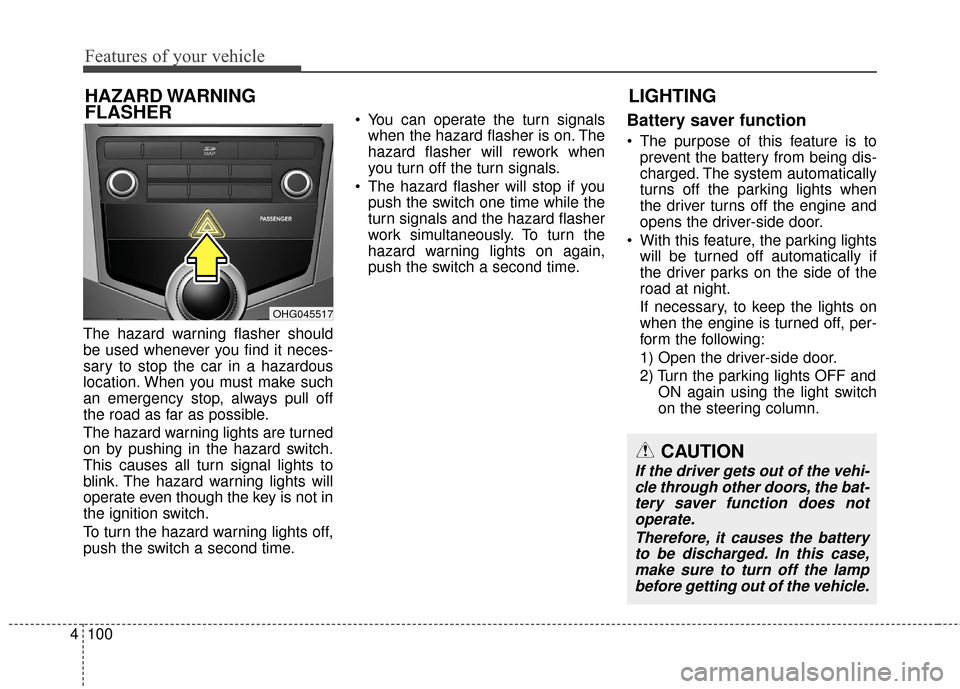
The hazard warning flasher should
be used whenever you find it neces-
sary to stop the car in a hazardous
location. When you must make such
an emergency stop, always pull off
the road as far as possible.
The hazard warning lights are turned
on by pushing in the hazard switch.
This causes all turn signal lights to
blink. The hazard warning lights will
operate even though the key is not in
the ignition switch.
To turn the hazard warning lights off,
push the switch a second time. You can operate the turn signals
when the hazard flasher is on. The
hazard flasher will rework when
you turn off the turn signals.
The hazard flasher will stop if you push the switch one time while the
turn signals and the hazard flasher
work simultaneously. To turn the
hazard warning lights on again,
push the switch a second time.
Battery saver function
The purpose of this feature is toprevent the battery from being dis-
charged. The system automatically
turns off the parking lights when
the driver turns off the engine and
opens the driver-side door.
With this feature, the parking lights will be turned off automatically if
the driver parks on the side of the
road at night.
If necessary, to keep the lights on
when the engine is turned off, per-
form the following:
1) Open the driver-side door.
2) Turn the parking lights OFF and ON again using the light switch
on the steering column.
LIGHTING
HAZARD WARNING
FLASHER
CAUTION
If the driver gets out of the vehi-
cle through other doors, the bat-tery saver function does notoperate.
Therefore, it causes the batteryto be discharged. In this case,make sure to turn off the lampbefore getting out of the vehicle.
OHG045517
Page 222 of 521

Features of your vehicle
142
4
The power outlet is designed to pro-
vide power for mobile telephones or
other devices designed to operate
with vehicle electrical systems. The
devices should draw less than 10
amps with the engine running.
Use the power outlet only when the
engine is running and remove the
accessory plug after use. Using the
accessory plug for prolonged peri-
ods of time with the engine off could
cause the battery to discharge.
Only use 12V electric accessories which are less than 10A in electric
capacity. If not, it could lead to an
overheated power outlet or electric
wiring in the vehicle and electric
systems may malfunction.
Adjust the air-conditioner or heater to the lowest operating level when
using the power outlet.
Close the cover when not in use.
Some electronic devices can cause electronic interference when
plugged into a vehicle’s power
outlet. These devices may cause
excessive audio static and malfunc-
tions in other electronic systems or
devices used in your vehicle.Digital clock (if equipped)
Whenever the battery terminals or
related fuses are disconnected, you
must reset the time.
Detailed information on setting the
clock is described in Audio system
section 4.
WARNING
Do not adjust the clock while
driving. You may lose your
steering control and cause an
accident that results in severe
personal injury or death.
WARNING - Electricshock
Do not put fingers or objects
(pin, coin, etc.) into a power out-
let and do not touch with wet
hands. You may get an electric
shock.
CAUTION
Make sure that the electric devices are plugged in secure-ly. If not, it could cause a mal-function of electric systems.
If you use an electric device with a battery, electric currentmay flow from the electricdevice into the vehicle andmay cause a malfunction ofelectric systems. Only useelectric devices which couldprevent inverse current.
Page 226 of 521

Features of your vehicle
146
4
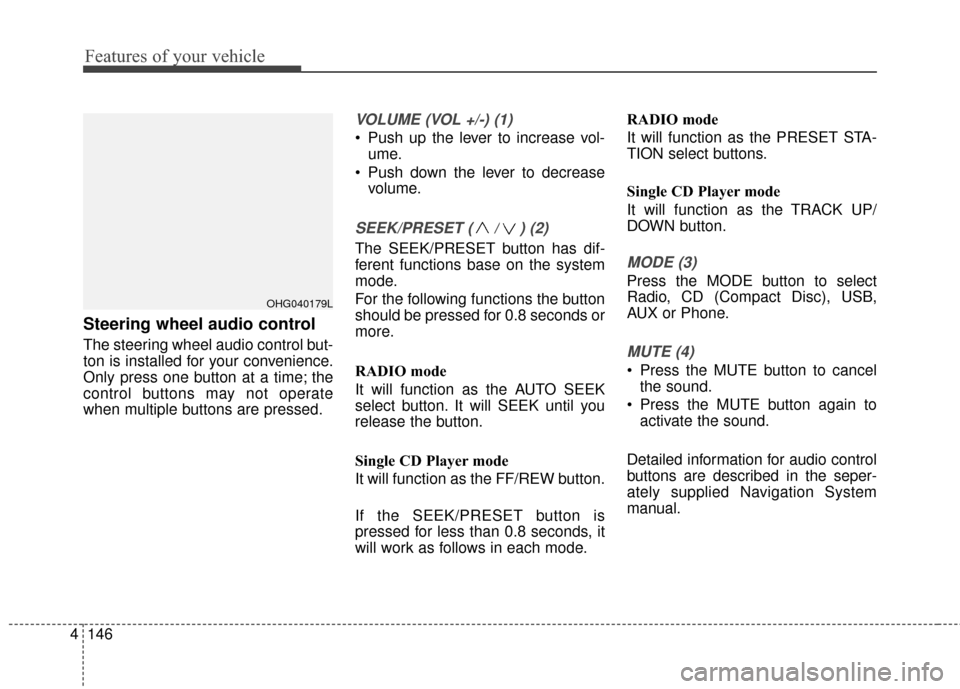
Steering wheel audio control
The steering wheel audio control but-
ton is installed for your convenience.
Only press one button at a time; the
control buttons may not operate
when multiple buttons are pressed.
VOLUME (VOL +/-) (1)
Push up the lever to increase vol-
ume.
Push down the lever to decrease volume.
SEEK/PRESET ( / ) (2)
The SEEK/PRESET button has dif-
ferent functions base on the system
mode.
For the following functions the button
should be pressed for 0.8 seconds or
more.
RADIO mode
It will function as the AUTO SEEK
select button. It will SEEK until you
release the button.
Single CD Player mode
It will function as the FF/REW button.
If the SEEK/PRESET button is
pressed for less than 0.8 seconds, it
will work as follows in each mode. RADIO mode
It will function as the PRESET STA-
TION select buttons.
Single CD Player mode
It will function as the TRACK UP/
DOWN button.MODE (3)
Press the MODE button to select
Radio, CD (Compact Disc), USB,
AUX or Phone.
MUTE (4)
Press the MUTE button to cancel
the sound.
Press the MUTE button again to activate the sound.
Detailed information for audio control
buttons are described in the seper-
ately supplied Navigation System
manual.
OHG040179L
Page 246 of 521
4166
Features of your vehicle
Steering wheel remote con-
troller
(1) VOLUME
Used to control volume.(2) SEEK
When pressed shortly (under 0.8
seconds).
- FM, AM, XM mode : searches broadcast frequencies saved to
presets.
- CD, USB, iPod, My Music, BT Audio mode : changes the track,
file.
When pressed and held (over 0.8 seconds).
- FM, AM, XM mode : automatically searches broadcast frequencies
and channels.
- CD, USB, iPod, My Music mode : rewinds or fast forwards the track
or file. (3) MODE
Each time this key is pressed, the
mode is changed in order of FM1,
FM2, AM, XM1, XM2, XM3, CD,
USB(iPod), AUX, My Music, BT
Audio.
If the media is not connected or a
disc is not inserted, corresponding
modes will be disabled.
Press and hold the key (over 0.8
seconds) to turn the audio system
on/off.
When power is off, press the key to
turn power back on.
(4) MUTE
Mutes audio volume.
Page 275 of 521
4195
Features of your vehicle
Pairing a Bluetooth®Wireless
Technology Device
What is Bluetooth® Wireless
Technology Pairing?
Pairing refers to the process of syn-
chronizing your
Bluetooth®Wireless
Technology phone or device with the
car audio system for connection.
Pairing is necessary to connect and
use the
Bluetooth®Wireless
Technology feature.
Pairing Key / Key
on the Steering Remote
Controller
When No Devices have been
Paired
1.Press the key or the key on the steering remote con-
troller. The following screen is dis-
played.
2.Select the button to enter the Pair Phone screen. 1) Car Name : Name of device as
shown when searching from your
Bluetooth®Wireless Technology
device
2) Passkey : Passkey used to pair the device
3.From your
Bluetooth®Wireless
Technology device (i.e. Mobile
Phone), search and select your car
audio system.
OK
PHONE
PHONE
Page 276 of 521
![Hyundai Azera 2016 Owners Manual Features of your vehicle
196
4
[Non SSP supported device]
(SSP: Secure Simple Pairing)
4. After a few moments, a screen is
displayed where the passkey is
entered.
Hear, enter the passkey “0000” to Hyundai Azera 2016 Owners Manual Features of your vehicle
196
4
[Non SSP supported device]
(SSP: Secure Simple Pairing)
4. After a few moments, a screen is
displayed where the passkey is
entered.
Hear, enter the passkey “0000” to](/manual-img/35/14461/w960_14461-275.png)
Features of your vehicle
196
4
[Non SSP supported device]
(SSP: Secure Simple Pairing)
4. After a few moments, a screen is
displayed where the passkey is
entered.
Hear, enter the passkey “0000” to
pair your
Bluetooth®Wireless
Technology device with the car
audio system.
[SSP supported device]
4. After a few moments, a screen is displayed 6 digits passkey.
Hear, check the passkey on your
Bluetooth®Wireless Technology
device and confirm.
5. Once pairing is complete, the fol- lowing screen is displayed.
✽ ✽NOTICE
If Bluetooth®Wireless Technology
devices are paired but none are cur-
rently connected, pressing the key or the key on the
steering wheel displays the following
screen. Press the [Pair] button to
pair a new device or press the
[Connect] to connect a previously
paired device.
Pairing through [PHONE]
Setup
Press the key Select
[Phone] Select [Pair Phone]
Select TUNE knob
1.The following steps are the same
as those described in the section
"When No Devices have been
Paired" on the previous page.SETUP
PHONE