Page 476 of 521
759
Maintenance
Engine compartment fuse panel
Inside the fuse/relay panel covers, you
can find the fuse/relay label describing
fuse/relay name and capacity.
✽ ✽NOTICE
Not all fuse panel descriptions in
this manual may be applicable to
your vehicle. It is accurate at the
time of printing. When you inspect
the fuse panel in your vehicle, refer
to the fuse panel label.
OHG076047N
OHG070023
Page 477 of 521
Maintenance
60
7
No.Fuse ratingSymbol Protected component
MULTI
FUSE
160AB+2Smart Junction Box (P/HANDLE 15A, SUNROOF 20A, DRV P/SEAT 10A, PASS P/SEAT 25A,
IPS 2, ARISU-LT 1)
260AB+3Smart Junction Box (P/WDW 25A, P/WDW RH 25A, S/HEATER FRT 10A, TRUNK 10A,
P/OUTLET 1 20A)
340AIG1PDM 1 (ACC) Relay, PDM 2 (IG1) Relay
440AESC1ESC Module
540ARR HTDRR HTD Relay
640ABLOWERBlower Relay
760AB+4Smart Junction Block (STOP LAMP 10A, S/HEATER RR 20A, IPS 3/4, ARISU-LT 2, AMP 25A,
P/OUTLET 2 20A)
880AMDPSMDPS Unit
FUSE
910AA/CONA/C Control Module
1010AB/UP LAMPRear Combination Lamp (IN) LH/RH, Electro Chromic Mirror, Audio, Front Monitor
1110AECU 4PCM, IDB(Injector Driver Box)
Engine compartment main fuse panel
Page 479 of 521
Maintenance
62
7
No.Fuse ratingSymbol Protected component
FUSE
2320ADEICERDeicer Relay
2430ADRV P/SEATDriver Lumbar Support Limit Switch, Driver IMS Module,
Power Seat Relay Box LH, Driver Reclining Limit Switch
2540AB+1Smart Junction Box (DR LOCK 20A, SMART KEY 1 25A,
Leak Current Autocut Device (Leak Current Autocut Relay,
Leak Current Autocut Switch, IPS 5))
2620AIGN COILIgnition Coil #1~#6, Condenser #1/#2
2710ASENSOR 2IDB (Injector Driver Box), PCM, Purge Control Solenoid Valve,
Oil Control Valve #1 ~ #4, Variable Intake Solenoid Valve #1, #2, Canister Close Valve,
E/R Junction (C/FAN Relay)
2810AECU 2IDB (Injector Driver Box)
2910AINJECTORPCM, EMS Box (F/Pump Relay)
3015ASENSOR 1PCM, Oxygen Sensor #1~#4
3115AECU 3PCM, IDB (Injector Driver Box)
3220AF/PUMPEMS Block (F/Pump Relay)
3315AHORNEMS Block (Horn Relay), ICM Relay Box(Burglar Horn Relay)
3430AECU 1EMS Block (Engine Control Relay)
Page 482 of 521

765
Maintenance
HID lamps have superior perform-
ance vs. halogen bulbs. HID lamps
are estimated by the manufacturer to
last twice as long or longer than
halogen bulbs depending on their
frequency of use. They will probably
require replacement at some point in
the life of the vehicle. Cycling the
headlamps on and off more than typ-
ical use will shorten HID lamps life.
HID lamps do not fail in the same
manner as halogen incandescent
lamps. If a headlamp goes out after a
period of operation but will immedi-
ately relight when the headlamp
switch is cycled it is likely the HID
lamp needs to be replaced. HID light-
ing components are more complex
than conventional halogen bulbs and
thus have higher replacement cost.
Headlight (bulb type)
1. Turn off the engine.
2. Open the hood.
3. Remove the headlight bulb coverby turning it counterclockwise.
4. Disconnect the headlight bulb socket connector. 5. Remove the bulb from the head-
light assembly.
6. Install a new headlight bulb.
7. Connect the headlight bulb socket connector.
8. Install the headlight bulb cover by turning it clockwise.
If the headlight aiming adjustment is
necessary after the headlight assem-
bly is reinstalled, consult an author-
ized HYUNDAI dealer.
OHG070045
OHG070044
■ High beam
■Low beam
Page 483 of 521

Maintenance
66
7
Turn signal light
1. Turn off the engine.
2. Open the hood.
3. Remove the socket from the
assembly by turning the socket
counterclockwise until the tabs on
the socket align with the slots on
the assembly.
4. Remove the bulb from the socket by pressing it in and rotating it
counterclockwise until the tabs on
the bulb align with the slots in the
socket. Pull the bulb out of the
socket. 5. Insert a new bulb by inserting it
into the socket and rotating it until
it locks into place.
6. Install the socket in the assembly by aligning the tabs on the socket
with the slots in the assembly.
Push the socket into the assembly
and turn the socket clockwise.
Position (Parking) light, front foglight and front side marker
If the light bulb does not operate,
have the vehicle checked by an
authorized HYUNDAI dealer.
✽ ✽ NOTICE
A skilled technician should check or
repair the position, front fog lights
and front side marker. Otherwise, it
may damage related parts of the
vehicle.
OHG070042
Page 485 of 521

Maintenance
68
7
Rear turn signal light
1. Turn off the engine.
2. Open the trunk.
3. Remove the service cover by
pulling out the service cover. 4. Remove the socket from the
assembly by turning the socket
counterclockwise until the tabs on
the socket align with the slots on
the assembly.
5. Remove the bulb from the socket by pressing it in and rotating it
counterclockwise until the tabs on
the bulb align with the slots in the
socket. Pull the bulb out of the
socket.
6. Insert a new bulb by inserting it into the socket and rotating it until
it locks into place.
7. Install the socket in the assembly by aligning the tabs on the socket
with the slots in the assembly.
Push the socket into the assembly
and turn the socket clockwise.
8. Install the service cover by putting it into the service hole.
Backup light
1. Turn off the engine.
2. Open the trunk.
3. Loosen the retaining screw of thetrunk lid cover and then remove
the cover.
4. Remove the socket from the assembly by turning the socket
counter clockwise until the tabs on
the socket align with the slots on
the assembly.
OHG070028
OHG070029
OHG070030
Page 486 of 521

769
Maintenance
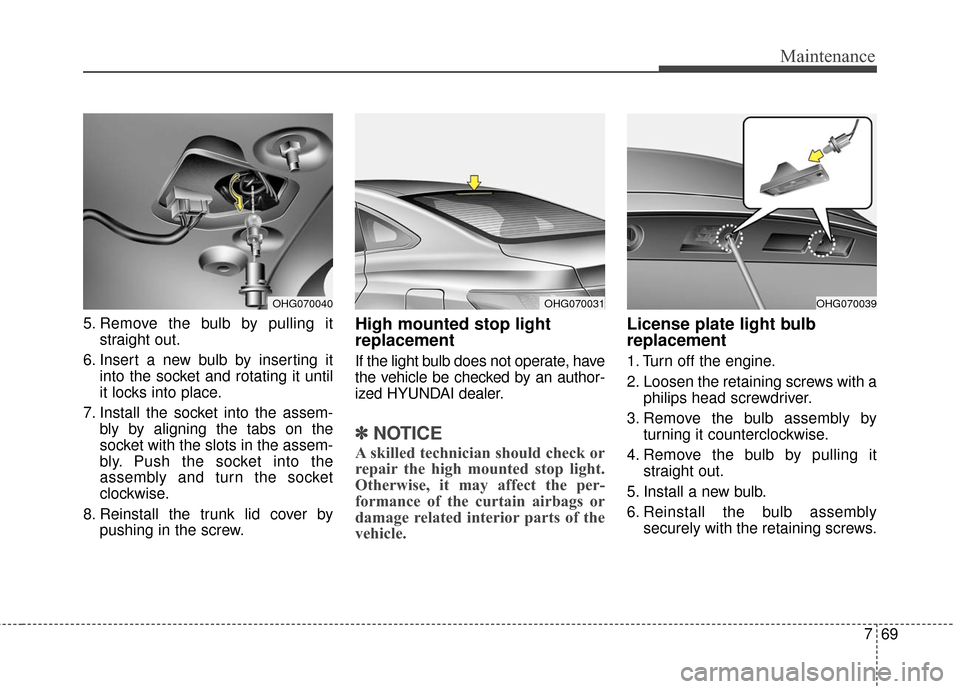
5. Remove the bulb by pulling itstraight out.
6. Insert a new bulb by inserting it into the socket and rotating it until
it locks into place.
7. Install the socket into the assem- bly by aligning the tabs on the
socket with the slots in the assem-
bly. Push the socket into the
assembly and turn the socket
clockwise.
8. Reinstall the trunk lid cover by pushing in the screw.High mounted stop light
replacement
If the light bulb does not operate, have
the vehicle be checked by an author-
ized HYUNDAI dealer.
✽ ✽NOTICE
A skilled technician should check or
repair the high mounted stop light.
Otherwise, it may affect the per-
formance of the curtain airbags or
damage related interior parts of the
vehicle.
License plate light bulb
replacement
1. Turn off the engine.
2. Loosen the retaining screws with a
philips head screwdriver.
3. Remove the bulb assembly by turning it counterclockwise.
4. Remove the bulb by pulling it straight out.
5. Install a new bulb.
6. Reinstall the bulb assembly securely with the retaining screws.
OHG070040OHG070031OHG070039
Page 490 of 521

773
Maintenance
Waxing
A good coat of wax is a barrier
between your paint and contaminate.
Keeping a good coat of wax on your
vehicle will help protect it.
Wax the vehicle when water will no
longer bead on the paint.
Always wash and dry the vehicle
before waxing. Use a good quality
liquid or paste wax, and follow the
manufacturer’s instructions. Wax all
metal trim to protect it and to main-
tain its luster.
Removing oil, tar, and similar materi-
als with a spot remover will usually
strip the wax from the finish. Be sure
to re-wax these areas even if the rest
of the vehicle does not yet need wax-
ing.CAUTION - Drying vehicle
Wiping dust or dirt off thebody with a dry cloth willscratch the finish.
Do not use steel wool, abra- sive cleaners, or strong deter-gents containing highly alka-line or caustic agents onchrome-plated or anodizedaluminum parts. This mayresult in damage to the protec-tive coating and cause discol-oration or paint deterioration.
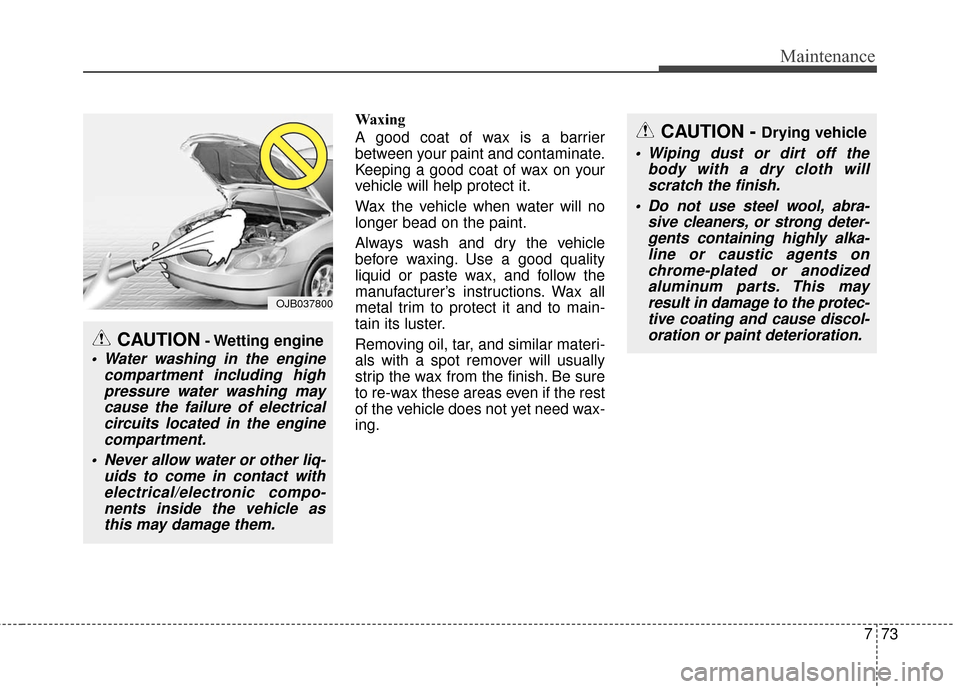
CAUTION- Wetting engine
Water washing in the engine compartment including highpressure water washing maycause the failure of electricalcircuits located in the enginecompartment.
Never allow water or other liq- uids to come in contact withelectrical/electronic compo-nents inside the vehicle asthis may damage them.
OJB037800