2016 HONDA HR-V lock
[x] Cancel search: lockPage 2 of 250
Contents
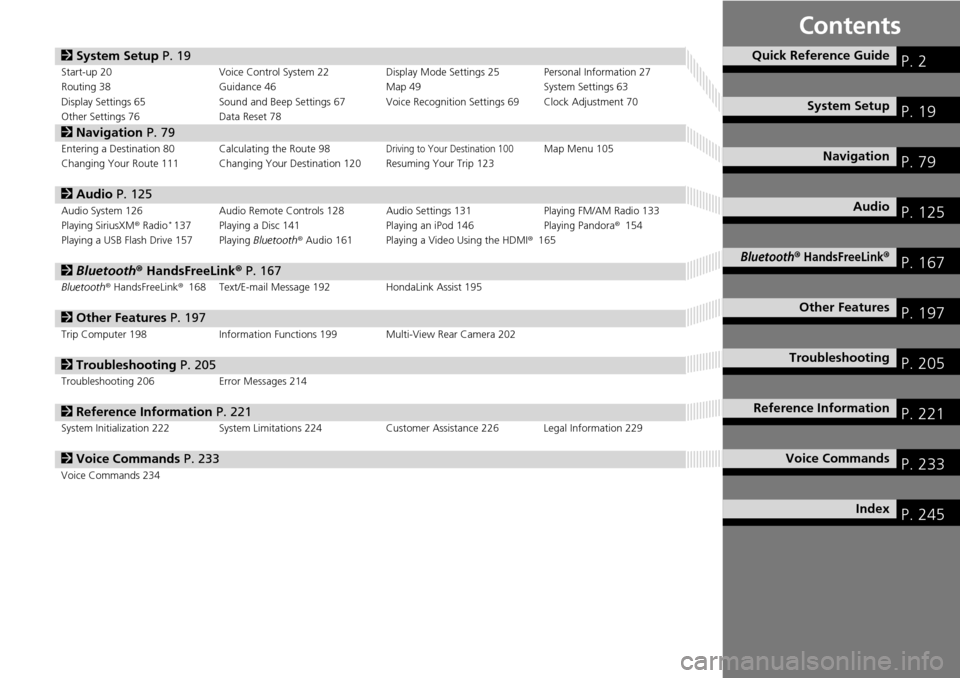
2System Setup P. 19Start-up 20 Voice Control System 22Display Mode Settings 25 Personal Information 27
Routing 38 Guidance 46 Map 49 System Settings 63
Display Settings 65 Sound and Beep Settings 67 Voice Recognition Settings 69Clock Adjustment 70
Other Settings 76 Data Reset 78
2Navigation P. 79Entering a Destination 80Calculating the Route 98Driving to Your Destination 100Map Menu 105
Changing Your Route 111 Changing Your Destination 120Resuming Your Trip 123
2Audio P. 125Audio System 126 Audio Remote Controls 128 Audio Settings 131 Playing FM/AM Radio 133
Playing SiriusXM® Rad io * 137 Playing a Disc 141 Playing an iPod 146Playing Pandora® 154
Playing a USB Flash Drive 157Playing Bluetooth® Audio 161Playing a Video Using the HDMI ® 165
2Bluetooth ® Hand sFreeLink® P. 167Bluetooth® HandsFreeLink® 168 Text/E-mail Message 192HondaLink Assist 195
2Other Features P. 197Trip Computer 198 Information Functions 199 Multi-View Rear Camera 202
2Troubleshooting P. 205Troubleshooting 206 Error Messages 214
2Reference Information P. 221System Initialization 222 System Limitations 224 Customer Assistance 226 Legal Information 229
2Voice Commands P. 233Voice Commands 234
Quick Reference GuideP. 2
System Setup P. 19
Navigation P. 79
Audio P. 125
Bluetooth® HandsFreeLink®P. 167
Other Features P. 197
TroubleshootingP. 205
Reference Information P. 221
Voice Commands P. 233
Index P. 245
Page 11 of 250

10
Quick Reference GuideMap Screen Legend
Park
Hospital
Golf CourseWater Area
Cemetery
University
Airport/Business
Industrial complex
Feature areas
Traffic status indicator* (P109)
Map orientation (P54)
GPS signal strength
North up Heading up
Best receptionGood reception
No icon: Poor/No reception
Traffic information availableFlow or incident data not available
Traffic information not available
Traffic information off or map
scale too large
Current map scale
Current street name
Map menu
(P105)
Map scale
(P58)
Current vehicle position (P62) Streets
Landmark icons (P59)
Shopping Mall Freeways
State routes
Verified streets
Unverified streets
One-way streets
Acura dealer
Honda dealer (U.S.)
ATM
School
Parking lot
Parking garage
Grocery store
Hotel/Lodging
Gas station
Hospital
Post office
Restaurant
Freeway exit information
Congestion
Incident
Weather
Construction
Road Closed/Blocked
Traffic incident icons* (P109)
Traffic flow indicator* (P109)
Heavy
Moderate
Free flow
3D map
Honda dealer (Canada)
*: Traffic is only available in certain areas.
Military Base
Page 20 of 250
19
System Setup
This section describes the start-up procedure and the navigation and setup functions.
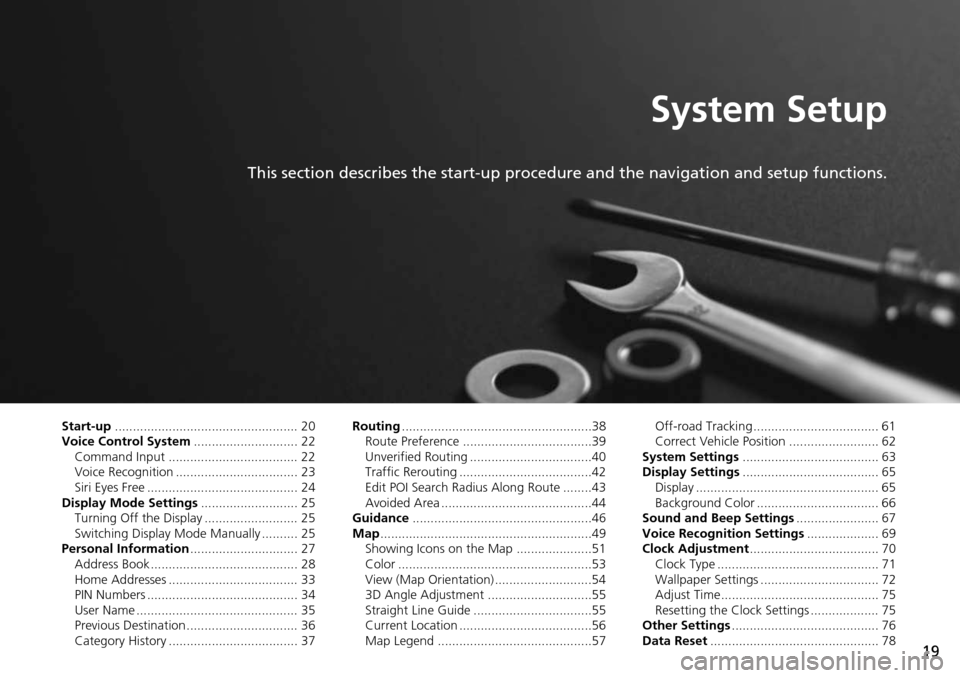
Start-up................................................... 20
Voice Control System ......................... .... 22
Command Input .................................... 22
Voice Recognition .................................. 23
Siri Eyes Free .......................................... 24
Display Mode Settings .......................
.... 25
Turning Off the Display .......................... 25
Switching Display Mode Manually .......... 25
Personal Information ..........................
.... 27
Address Book ......................................... 28
Home Addresses .................................... 33
PIN Numbers .......................................... 34
User Name ............................................. 35
Previous Destination ............................... 36
Category History .................................... 37 Routing
.........
.....................
.......................38
Route Preference ....................................39
Unverified Routing ..................................40
Traffic Rerouting .....................................42
Edit POI Search Radius Along Route ........43
Avoided Area ..........................................44
Guidance ......
.....................
.......................46
Map ............... ..................... .......................49
Showing Icons on the Map .....................51
Color ......................................................53
View (Map Orientation) ...........................54
3D Angle Adjustment .............................55
Straight Line Guide .................................55
Current Location .....................................56
Map Legend ...........................................57 Off-road Tracking ................................... 61
Correct Vehicle Position ......................... 62
System Settings ..................
....................
63
Display Settings ...................................... 65
Display ................................................... 65
Background Color .................................. 66
Sound and Beep Settings .......................
67
Voice Recognition Settings ....................69
Cl ock Adjustment .................................... 70
Clock Type ............................................. 71
Wallpaper Settings ................................. 72
Adjust Time............................................ 75
Resetting the Clock Settings ................... 75
Other Settings .....................
....................
76
Data Reset ........................... .................... 78
Page 63 of 250
62
uu Map u Correct Vehicle Position
System Setup
Correct Vehicle Position
H HOME u Settings u Navigation u Map tab u C orrect Vehicle Position
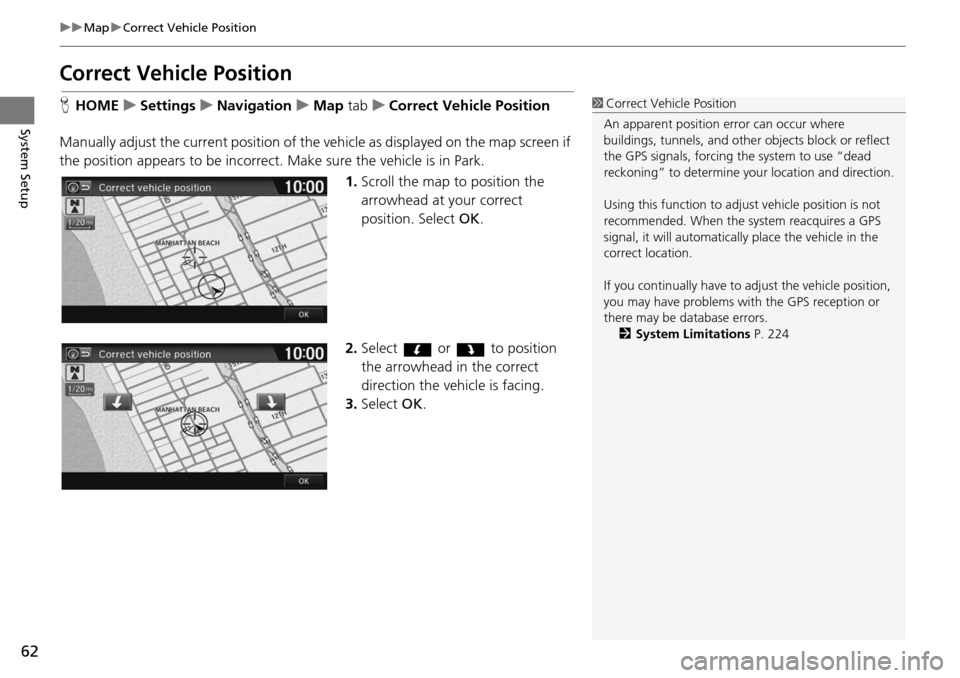
Manually adjust the current position of the vehicle as displaye
d on the map screen if
the position appears to be incorrect. Make sure the vehicle is in Park.
1.Scroll the map to position the
arrowhead at
your correct
position. Select OK.
2. Select or to position
the arrowhead in the correct
d i
rection the vehicle is facing.
3. Select OK.
1Correct Vehicle Position
An apparent position error can occur where
buildings, tunnels, and other objects block or reflect
the GPS signals, forcing the system to use “dead
reckoning” to determine your location and direction.
Using this function to adju st vehicle position is not
recommended. When the system reacquires a GPS
signal, it will automaticall y place the vehicle in the
correct location.
If you continually have to adjust the vehicle position,
you may have problems with the GPS reception or
there may be database errors. 2 System Limitations P. 224
Page 64 of 250

63
System Setup
System Settings
HHOME u Settings u System
Select an item.
The following items are available:
• Home tab: Chan
ges the setting for the HOME screen.
Home Screen Edit Order : Changes the
position of icons on the HOME screen.
2Home Screen Edit Order P. 64
• Display tab: Adjusts the screen’s preferences and change the background color
of the menu screen.
2 Display Settings P. 65
• Sound/Beep tab: Changes the system sound and beep settings.
2 Sound and Beep Settings P. 67
• Voice Recog tab: Changes the setting for the vo ice control system and modifies
Song By Voice and phonebook voice commands.
2 Voice Recognition Settings P. 69
• Clock tab: Sets the automatic adjustment of the system clock for daylight saving
and international time zones.
2 Clock Adjustment P. 70
• Others tab: Sets other basic settings for the system.
2 Other Settings P. 76
1 System Settings
Select All tab to see the all items in a list.
Page 71 of 250
70
System Setup
Clock Adjustment
HHOME u Settings u Clock/Info u Clock tab
Set the automatic adjustment of the sy st
em clock for daylight saving and
international time zones.
Select an item.
The following items are available:
• Clock/Wallpaper Type: Changes the clock display
type and the wallpaper type.
2Clock Type P. 71
• Clock Adjustment : Adjust the current time manually.
2Adjust Time P. 75
•Clock Format : Sets the time notation to either 12-hour clock ( 12H, factory
default) or 24-hour clock ( 24H).
• Auto Time Zone :
The navigation system automa tically adjusts the clock when
driving through different time zones.
On (factory default): Adjust s
the clock automatically.
Off : Disables
the feature.
• Auto Daylight : The
navigation system automati cally adjusts the clock (“spring
ahead” or “fall back” by one hour) when a daylight saving time change occurs.
On (factory default): Adjust s
the clock automatically.
Off : Disables
the feature.
• Clock Display :
Sets whether to display the clock at the header of the screen.
1Clock Adjustment
You can check the time a nd date from any screen
using voice commands.
2 Global Commands P. 234
Auto Time Zone
If you live and work in tw o different time zones, you
may want to turn Auto Time Zone to Off. When
driving near a time zone boundary, the displayed
time zone may fluctuat e between the two zone
times.
Auto Daylight
This function is not activated in areas that have not
adopted daylight saving time , even if you have set
Auto Daylight to On.
Page 72 of 250

71
uu Clock Adjustment u Clock Type
System Setup
• Clock Location : Sets the location of the clock while playing a video through
HDMI ®.
•Clock Reset : Resets the settings of all items in the Clock settings.
Clock Type
HHOME u Settings u Clock/Info u Clock tab u Clock/Wallpaper Type
u Clock tab
Set the design of the clock. 1.Select an option to change
the
design.
2. Select OK.
1Clock Type
Even though the time on the clock screen is based on
the GPS, some errors may be observed.
Page 73 of 250
72
uu Clock Adjustment u Wallpaper Settings
System Setup
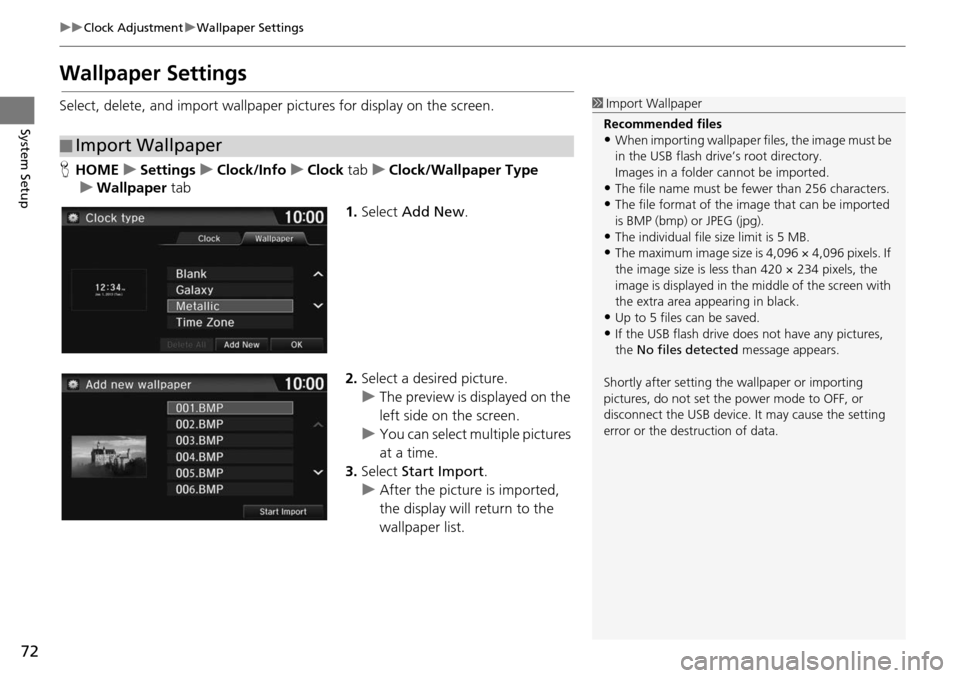
Wallpaper Settings
Select, delete, and import wallpaper pictures for display on the screen.
H HOME u Settings u Clock/Info u Clock tab u Clock/Wallpaper Type
u Wallpaper tab
1.Select Add New .
2. Select a desired picture.
u The preview is
displayed on the
left side on the screen.
u You can select multip
le pictures
at a time.
3. Select Start Im
port.
u After the picture is imported,
the display
will return to the
wallpaper list.
■ Import Wallpaper
1
Import Wallpaper
Recommended files
•When importing wallpaper files, the image must be
in the USB flash drive’s root directory.
Images in a folder cannot be imported.
•The file name must be fewer than 256 characters.•The file format of the im age that can be imported
is BMP (bmp) or JPEG (jpg).
•The individual file size limit is 5 MB.•The maximum image size is 4,096 × 4,096 pixels. If
the image size is less than 420 × 234 pixels, the
image is displayed in the middle of the screen with
the extra area appearing in black.
•Up to 5 files can be saved.
•If the USB flash drive doe s not have any pictures,
the No files detected message appears.
Shortly after setting th e wallpaper or importing
pictures, do not set the power mode to OFF, or
disconnect the USB device. It may cause the setting
error or the destruction of data.