Page 21 of 585

20
Quick Reference Guide
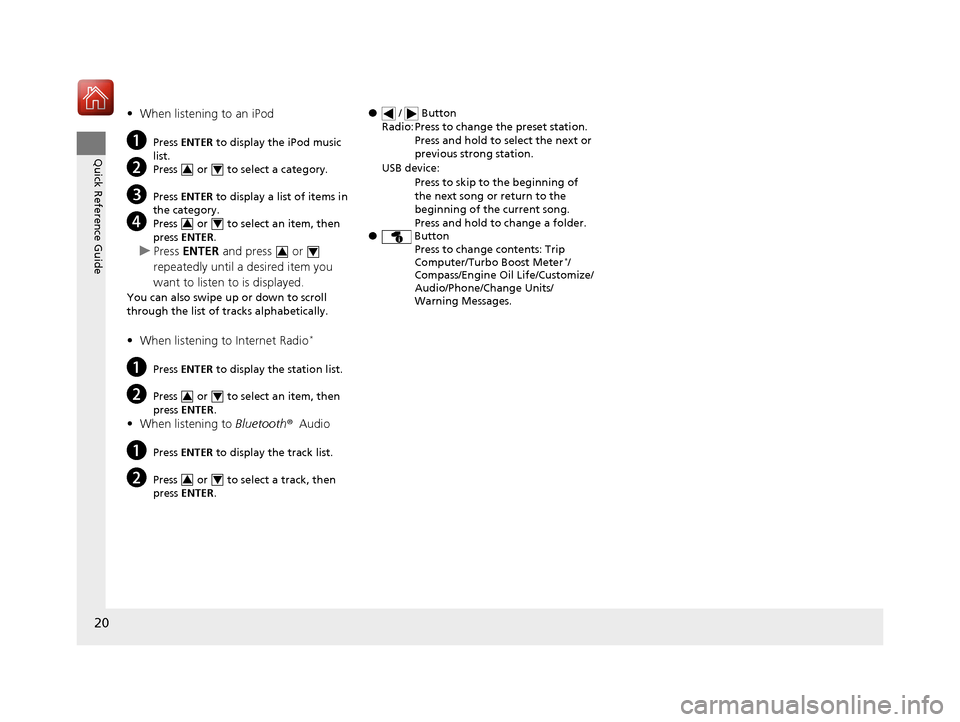
•When listening to an iPod
a Press ENTER to display the iPod music
list.
b Press or to select a category.
c Press ENTER to display a list of items in
the category.
d Press or to select an item, then press ENTER .
uPress ENTER and press or
repeatedly until a desired item you
want to listen to is displayed.
You can also swipe up or down to scroll through the list of tra cks alphabetically.
• When listening to Internet Radio *
a Press ENTER to display the station list.
b Press or to select an item, then press ENTER .
• When listening to Bluetooth®Audio
a Press ENTER to display the track list.
b Press or to select a track, then press ENTER .
34
34
34
34
34
● / Button
● Button
Radio: Press to change the preset station.
Press and hold to select the next or
previous strong station.
USB device:
Press to skip to the beginning of
the next song or return to the
beginning of the current song.
Press and hold to change a folder.
Press to change contents: Trip
Computer/Turbo Boost Meter *
/
Compass/Engine Oil Life/Customize/
Audio/Phone/Change Units/
Warning Messages.
16 CIVIC 2D HC2 (0A 01 0C)-31TBG6000.book 20 ページ >0>.>/6年>0月>/>0日 金 曜日 午後4時>/6分
Page 22 of 585
21
Quick Reference Guide
Audio system (P 188)
(P 195)Models with color audio system
(Seek/Skip) Button
RADIO Button
(Day/Night) Button
MEDIA Button
Preset Buttons (1-6)
(Seek/Skip) Button
VOL
/ (Volume/Power) Knob
Audio/Information Screen
(Back) Button
(Sound) Button
MENU/CLOCK Button
LIST/SELECT
(List/Selector) Knob
(Phone) Button
*
Not available on all models
16 CIVIC 2D HC2 (0A 01 0C)-31TBG6000.book 21 ページ >0>.>/6年>0月>/>0日 金 曜日 午後4時>/6分
Page 23 of 585
22
Quick Reference Guide
Menu
(P 213)
For navigation system operation () See the Navigation System ManualModels with Display Audio
(MENU ) Icon
VOL (Volume) Icons
(
HOME ) Icon
(BACK ) Icon
Audio/Information Touch Screen
(Audio) Icon
Driver Information Interface
(Instrument Panel) Icon
(Day/Night) Button
*
*
16 CIVIC 2D HC2 (0A 01 0C)-31TBG6000.book 22 ページ >0>.>/6年>0月>/>0日 金 曜日 午後4時>/6分
Page 110 of 585
109
uuGauges and DisplaysuDriver Information Interface*
Continued
Instrument Panel
Driver Information Interface *
The driver information interface show s the odometer, trip meter, outside
temperature indicator, and other gauges.
It also displays important messages such as warnings and other helpful information.
■ Main displays
Press the (display/information) button and press or to change the
display. Press ENTER to see detailed information.
■Switching the Display
(Display/
Information)
Button
Warning
Messages
Speed Unit
& Disp OFFMaintenance
MinderTMPhone
Turbo
Meter * AudioNavigation*
& Compass*
Range &
Fuel
Press , , or .
Press ENTER .
* Not available on all models
16 CIVIC 2D HC2 (0A 01 0C)-31TBG6000.book 109 ページ >0>.>/6年>0月>/>0日 金曜日 午後4時>/6分
Page 115 of 585

114
Controls
Clock
Adjusting the Clock
You can adjust the time in the clock display with the ignition switch in ON
(w*1
.
■ Using the MENU/CLOCK button
1. Press and hold the MENU/CLOCK button.
uAdjust Clock is selected.
2. Rotate to change hour, then press .
3. Rotate to change minute, then press
.
4. To enter the selection, rotate and select
Set , then press .
*1: Models with the smart entry system have an ENGINE START/STOP button instead of an
ignition switch.
■Adjusting the Time
1Adjusting the Clock The clock is automatically updated through the audio
system, so the time does not need to be adjusted.
You cannot adjust the time while the vehicle is moving.
Models with navigation system
Models with Display Audio
Models without navigation system
1Using the MENU/CLOCK button
These indications are used to show how to operate
the LIST/SELECT (List/Selector) knob.
Rotate to select.
Press to enter.
Models with color audio system
Models with color audio system
16 CIVIC 2D HC2 (0A 01 0C)-31TBG6000.book 114 ページ >0>.>/6年>0月>/>0日 金曜日 午後4時>/6分
Page 116 of 585

115
uuClockuAdjusting the Clock
Controls
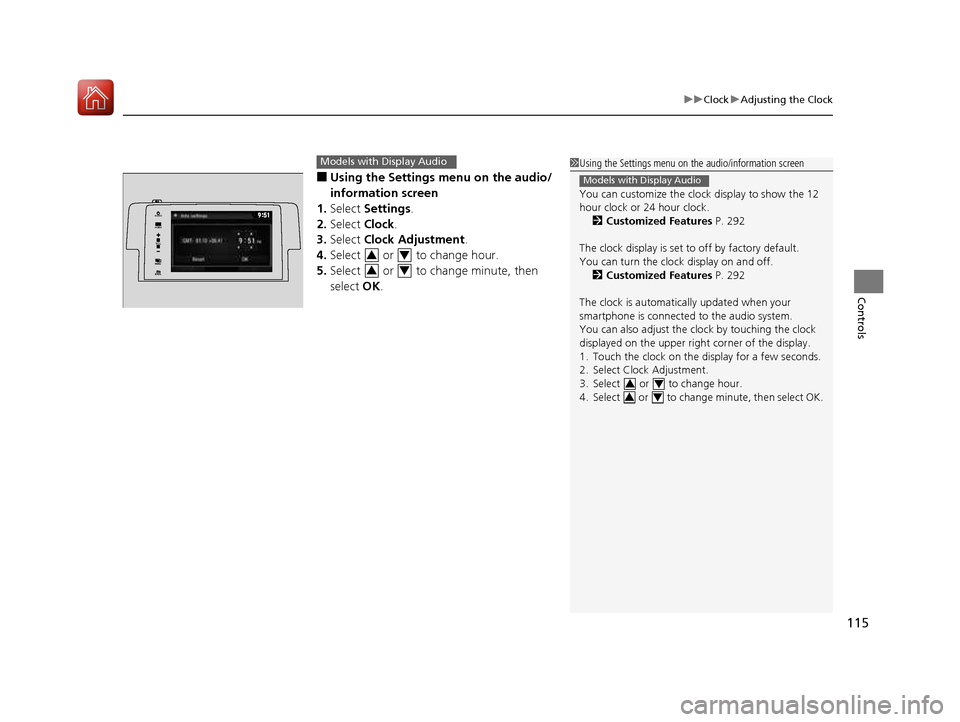
■Using the Settings menu on the audio/
information screen
1. Select Settings .
2. Select Clock.
3. Select Clock Adjustment .
4. Select or to change hour.
5. Select or to change minute, then select OK.
Models with Display Audio1Using the Settings menu on the audio/information screen
You can customize the clock display to show the 12
hour clock or 24 hour clock.
2 Customized Features P. 292
The clock display is set to off by factory default.
You can turn the clock display on and off. 2 Customized Features P. 292
The clock is automatica lly updated when your
smartphone is connected to the audio system.
You can also adjust the clock by touching the clock
displayed on the upper right corner of the display.
1. Touch the clock on the di splay for a few seconds.
2. Select Clock Adjustment.
3. Select or to change hour.
4. Select or to change minute, then select OK.
Models with Display Audio
3434
VO L
HOME
MENUBACK
AUDIO
34
34
16 CIVIC 2D HC2 (0A 01 0C)-31TBG6000.book 115 ページ >0>.>/6年>0月>/>0日
金曜日 午後4時>/6分
Page 120 of 585

119
uuLocking and Unlocking the DoorsuLocking/Unlocking the Doors from the Outside
Continued
Controls
Locking/Unlocking the Doors from the OutsideWhen you carry the smart entry remote, you
can lock/unlock the doors and open the trunk.
You can lock/unlock the doors within a radius
of about 32 inches (80 cm) of the outside door
handle. You can open the trunk within about
32 inches (80 cm) radius from the trunk
release button.
■ Locking the vehicle
Press the door lock button on either door.
uSome exterior lights flash; the beeper
sounds; both doors and the trunk lock;
and the security system sets.
■Using the Smart Entry with Push Button Start System *1Using the Smart Entry with Push Button Start System
*
• Do not leave the smart entry remote in the vehicle
when you get out. Carry it with you.
• Even if you are not carrying the smart entry remote,
you can lock/unlock the doors while someone else
with the remote is within range.
• The door may be unlocked if the door handle is
covered with water in heavy rain or in a car wash if
the smart entry remote is within range.
• If you grip either door handle wearing gloves, the
door sensor may be slow to respond or may not
respond by unlocking the doors.
• You cannot unlock the door by gripping the handle
after two seconds of locking it.
• The door might not open if you pull it immediately
after gripping the door handle. Grip the handle
again and confirm that th e door is unlocked before
pulling the handle.
• Even within the 32 inches (80 cm) radius, you may
not be able to lock/unlock the doors with the smart
entry remote if it is a bove or below the outside
handle.
• The smart entry remote may not operate if it is too
close to the door and door glass.
If the distance at which it works varies, the battery is
probably low.
If the LED does not come on when you press a
button, the battery is dead. 2 Replacing the Button Battery P. 521
You can customize the door lock mode and keyless
lock acknowledge ment setting.
2 Customized Features P. 292
Models with Display Audio
Door Lock Button
* Not available on all models
16 CIVIC 2D HC2 (0A 01 0C)-31TBG6000.book 119 ページ >0>.>/6年>0月>/>0日 金曜日 午後4時>/6分
Page 121 of 585

uuLocking and Unlocking the DoorsuLocking/Unlocking the Doors from the Outside
120
Controls
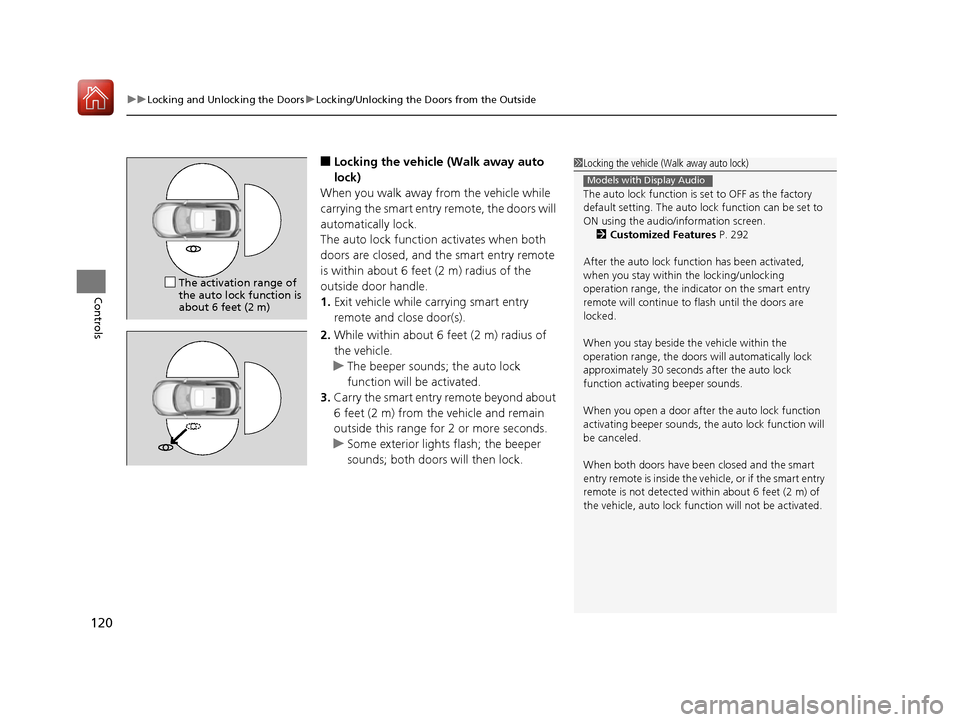
■ Locking the vehicle (Walk away auto
lock)
When you walk away from the vehicle while
carrying the smart entry remote, the doors will
automatically lock.
The auto lock function activates when both
doors are closed, and the smart entry remote
is within about 6 feet (2 m) radius of the
outside door handle. 1. Exit vehicle while carrying smart entry
remote and close door(s).
2. While within about 6 feet (2 m) radius of
the vehicle.
uThe beeper sounds; the auto lock
function will be activated.
3. Carry the smart entry remote beyond about
6 feet (2 m) from the vehicle and remain
outside this range fo r 2 or more seconds.
uSome exterior lights flash; the beeper
sounds; both doors will then lock.
1Locking the vehicle (Walk away auto lock)
The auto lock function is set to OFF as the factory
default setting. The auto lo ck function can be set to
ON using the audio/information screen. 2 Customized Features P. 292
After the auto lock function has been activated,
when you stay within the locking/unlocking
operation range, the indicator on the smart entry
remote will continue to flash until the doors are
locked.
When you stay beside the vehicle within the
operation range, the doors wi ll automatically lock
approximately 30 seconds after the auto lock
function activating beeper sounds.
When you open a door after the auto lock function
activating beeper sounds, the auto lock function will
be canceled.
When both doors have been closed and the smart
entry remote is inside the vehicle, or if the smart entry
remote is not detected with in about 6 feet (2 m) of
the vehicle, auto lock func tion will not be activated.
Models with Display Audio
The activation range of the auto lock function is
about 6 feet (2 m)
16 CIVIC 2D HC2 (0A 01 0C)-31TBG6000.book 120 ページ >0>.>/6年>0月>/>0日 金曜日 午後4時>/6分