2016 FORD TAURUS center console
[x] Cancel search: center consolePage 5 of 424

Voice Control...................................................65
Cruise Control..................................................65
Information Display Control.......................65
Heated Steering Wheel...............................65
Pedals
Adjusting the Pedals
....................................66
Wipers and Washers
Windshield Wipers
.........................................67
Autowipers........................................................67
Windshield Washers.....................................68
Lighting
General Information.....................................69
Lighting Control..............................................69
Autolamps........................................................70
Instrument Lighting Dimmer
.......................71
Headlamp Exit Delay......................................71
Daytime Running Lamps
..............................71
Automatic High Beam Control..................72
Direction Indicators
........................................73
Interior Lamps..................................................73
Windows and Mirrors
Power Windows
..............................................75
Global Opening
...............................................76
Exterior Mirrors
................................................76
Interior Mirror
....................................................78
Sun Visors
.........................................................78
Sun Shades
......................................................78
Moonroof...........................................................79
Instrument Cluster
Gauges...............................................................80
Warning Lamps and Indicators
.................82
Audible Warnings and Indicators.............85 Information Displays
General Information.....................................86
Information Messages
.................................95
Climate Control
Manual Climate Control
............................106
Automatic Climate Control - Vehicles Without: Touchscreen Display............107
Automatic Climate Control - Vehicles With: Premium AM/FM/CD.................108
Automatic Climate Control - Vehicles With: Sony Audio System
......................110
Hints on Controlling the Interior Climate..........................................................112
Heated Windows and Mirrors...................114
Cabin Air Filter.................................................114
Remote Start...................................................115
Seats
Sitting in the Correct Position...................116
Head Restraints
.............................................116
Manual Seats
..................................................118
Power Seats
....................................................119
Memory Function..........................................122
Rear Seats.......................................................123
Heated Seats
..................................................124
Climate Controlled Seats
..........................125
Rear Seat Armrest........................................126
Universal Garage Door Opener
Universal Garage Door Opener................127
Auxiliary Power Points
Auxiliary Power Points................................132
Storage Compartments
Center Console
..............................................133
Overhead Console........................................133
2
Taurus (CPH) Canada/United States of America, enUSA, First Printing Table of Contents
Page 82 of 424

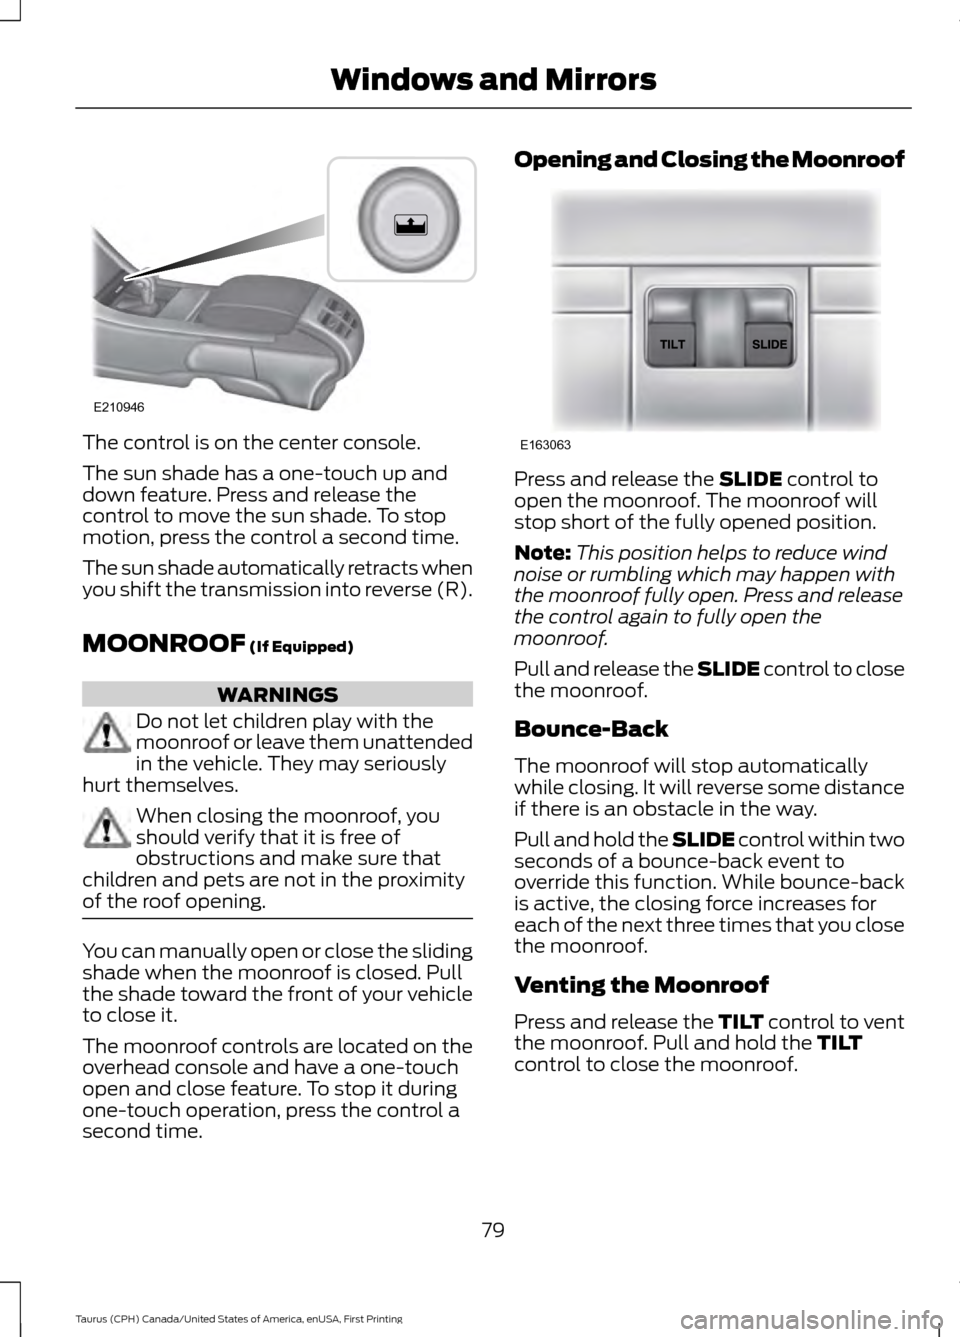
The control is on the center console.
The sun shade has a one-touch up and
down feature. Press and release the
control to move the sun shade. To stop
motion, press the control a second time.
The sun shade automatically retracts when
you shift the transmission into reverse (R).
MOONROOF (If Equipped)
WARNINGS
Do not let children play with the
moonroof or leave them unattended
in the vehicle. They may seriously
hurt themselves. When closing the moonroof, you
should verify that it is free of
obstructions and make sure that
children and pets are not in the proximity
of the roof opening. You can manually open or close the sliding
shade when the moonroof is closed. Pull
the shade toward the front of your vehicle
to close it.
The moonroof controls are located on the
overhead console and have a one-touch
open and close feature. To stop it during
one-touch operation, press the control a
second time. Opening and Closing the Moonroof
Press and release the
SLIDE control to
open the moonroof. The moonroof will
stop short of the fully opened position.
Note: This position helps to reduce wind
noise or rumbling which may happen with
the moonroof fully open. Press and release
the control again to fully open the
moonroof.
Pull and release the SLIDE control to close
the moonroof.
Bounce-Back
The moonroof will stop automatically
while closing. It will reverse some distance
if there is an obstacle in the way.
Pull and hold the SLIDE control within two
seconds of a bounce-back event to
override this function. While bounce-back
is active, the closing force increases for
each of the next three times that you close
the moonroof.
Venting the Moonroof
Press and release the TILT control to vent
the moonroof. Pull and hold the
TILT
control to close the moonroof.
79
Taurus (CPH) Canada/United States of America, enUSA, First Printing Windows and MirrorsE210946 E163063
Page 127 of 424

HEATED SEATS (If Equipped)
WARNING
People who are unable to feel pain
to their skin because of advanced
age, chronic illness, diabetes, spinal
cord injury, medication, alcohol use,
exhaustion or other physical conditions,
must exercise care when using the heated
seat. The heated seat may cause burns
even at low temperatures, especially if
used for long periods of time. Do not place
anything on the seat that insulates against
heat, such as a blanket or cushion. This
may cause the heated seat to overheat.
Do not puncture the seat with pins, needles
or other pointed objects. This may damage
the heating element which may cause the
heated seat to overheat. An overheated
seat may cause serious personal injury. Do not do the following:
•
Place heavy objects on the seat.
• Operate the heated seat if water or any
other liquid spills on the seat. Allow the
seat to dry thoroughly.
Note: You must switch the ignition on to
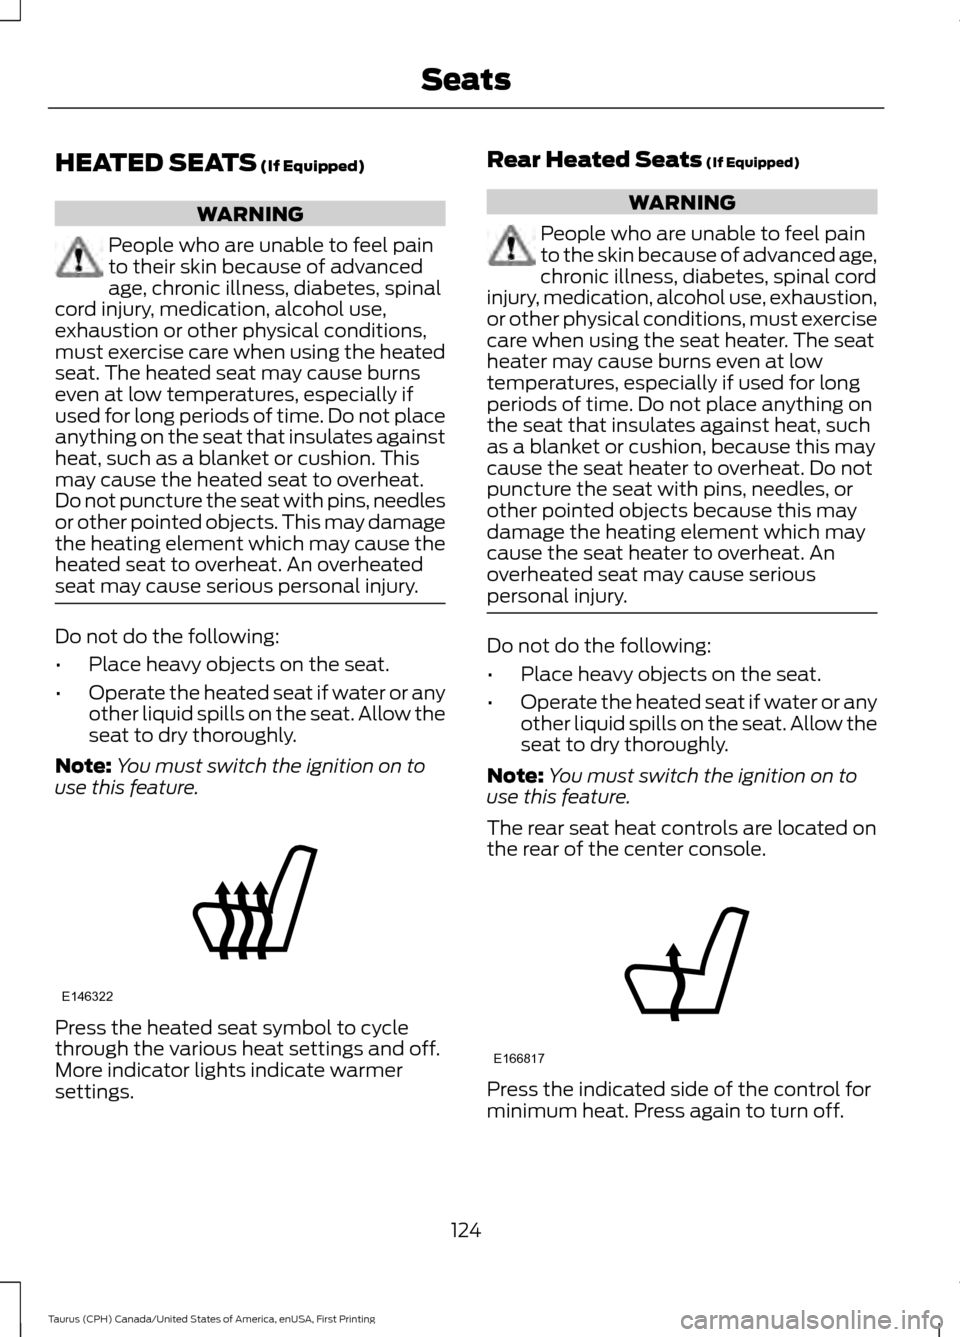
use this feature. Press the heated seat symbol to cycle
through the various heat settings and off.
More indicator lights indicate warmer
settings. Rear Heated Seats (If Equipped) WARNING
People who are unable to feel pain
to the skin because of advanced age,
chronic illness, diabetes, spinal cord
injury, medication, alcohol use, exhaustion,
or other physical conditions, must exercise
care when using the seat heater. The seat
heater may cause burns even at low
temperatures, especially if used for long
periods of time. Do not place anything on
the seat that insulates against heat, such
as a blanket or cushion, because this may
cause the seat heater to overheat. Do not
puncture the seat with pins, needles, or
other pointed objects because this may
damage the heating element which may
cause the seat heater to overheat. An
overheated seat may cause serious
personal injury. Do not do the following:
•
Place heavy objects on the seat.
• Operate the heated seat if water or any
other liquid spills on the seat. Allow the
seat to dry thoroughly.
Note: You must switch the ignition on to
use this feature.
The rear seat heat controls are located on
the rear of the center console. Press the indicated side of the control for
minimum heat. Press again to turn off.
124
Taurus (CPH) Canada/United States of America, enUSA, First Printing SeatsE146322 E166817
Page 135 of 424

12 Volt DC Power Point
WARNINGS
Do not plug optional electrical
accessories into the cigar lighter
socket. Incorrect use of the cigar
lighter can cause damage not covered by
the vehicle warranty, and can result in fire
or serious injury. Do not use a power point for
operating a cigar lighter. Incorrect
use of the power points can cause
damage not covered by the vehicle
warranty, and can result in fire or serious
injury. Note:
When you switch the ignition on, you
can use the socket to power 12 volt
appliances with a maximum current rating
of 15 amps.
If the power supply does not work after you
switch the ignition off, switch the ignition
on.
Note: Do not hang any accessory from the
accessory plug.
Note: Do not use the power point over the
vehicle capacity of 12 volt DC 180 watts or
a fuse may blow.
Note: Always keep the power point caps
closed when not in use.
Do not insert objects other than an
accessory plug into the power point. This
will damage the power point and blow the
fuse.
Run the vehicle for full capacity use of the
power point.
To prevent the battery from running out of
charge:
• Do not use the power point longer than
necessary when the vehicle is not
running.
• Do not leave devices plugged in
overnight or when you park your vehicle
for extended periods. Locations
Power points may be in the following
locations:
•
On the instrument panel.
• Inside the center console.
• On the rear of the center console.
132
Taurus (CPH) Canada/United States of America, enUSA, First Printing Auxiliary Power Points
Page 136 of 424

CENTER CONSOLE
Stow items in the cup holder carefully as
items may become loose during hard
braking, acceleration or crashes, including
hot drinks which may spill.
Available console features include:
Cup holder.
A
Center storage compartment
with auxiliary power point and
two USB ports.
B
Auxiliary power point and rear
heated seats control.
C Note:
Some consoles have panel doors
covering the cup holders and switches. Press
the doors to open them. Note:
Some cup holders have a divider. Pull
up on the divider and move it in the slots to
best fit the cup you are using.
OVERHEAD CONSOLE Press near the rear edge of the door to
open it.
133
Taurus (CPH) Canada/United States of America, enUSA, First Printing Storage CompartmentsE212007 E212008 E75193
Page 165 of 424

PRINCIPLE OF OPERATION
WARNINGS
Vehicle modifications involving
braking system, aftermarket roof
racks, suspension, steering system,
tire construction and wheel and tire size
may change the handling characteristics
of your vehicle and may adversely affect
the performance of the electronic stability
control system. In addition, installing any
stereo loudspeakers may interfere with
and adversely affect the electronic stability
control system. Install any aftermarket
stereo loudspeaker as far as possible from
the front center console, the tunnel, and
the front seats in order to minimize the risk
of interfering with the electronic stability
control sensors. Reducing the
effectiveness of the electronic stability
control system could lead to an increased
risk of loss of vehicle control, vehicle
rollover, personal injury and death. Remember that even advanced
technology cannot defy the laws of
physics. It’
s always possible to lose
control of a vehicle due to inappropriate
driver input for the conditions. Aggressive
driving on any road condition can cause
you to lose control of your vehicle
increasing the risk of personal injury or
property damage. Activation of the
electronic stability control system is an
indication that at least some of the tires
have exceeded their ability to grip the road;
this could reduce the operator ’s ability to
control the vehicle potentially resulting in
a loss of vehicle control, vehicle rollover,
personal injury and death. If your electronic
stability control system activates, SLOW
DOWN. The system automatically turns on each
time you switch the ignition on. If a driving condition activates either the
stability control or the traction control
system you may experience the following
conditions:
•
The stability and traction control light
flashes.
• Your vehicle slows down.
• Reduced engine power.
• A vibration in the brake pedal.
• The brake pedal is stiffer than usual.
• If the driving condition is severe and
your foot is not on the brake, the brake
pedal may move as the system applies
higher brake forces.
The stability control system has several
features built into it to help you maintain
control of your vehicle:
Electronic Stability Control
The system enhances your vehicle ’s ability
to prevent skids or lateral slides by
applying brakes to one or more of the
wheels individually and, if necessary,
reducing engine power.
162
Taurus (CPH) Canada/United States of America, enUSA, First Printing Stability Control
Page 186 of 424

The system notifies you to stay in your lane
through the steering system and the
instrument cluster display when the front
camera detects an unintentional drift out
of your lane is likely to occur. The system
automatically detects and tracks the road
lane markings using a camera mounted
behind the interior rear view mirror.
Switching the System On and Off
Note:
The system on or off setting is stored
until it is manually changed, unless a MyKey
is detected. If the system detects a MyKey
it defaults to on and the mode is set to Alert.
Note: If a MyKey is detected, pressing the
button will not affect the on or off status of
the system. Press the button located on the
center console to switch the
system on or off.
System Settings
The system has optional setting menus
available. To view or adjust the settings,
See General Information (page 86). The
system stores the last-known selection for
each of these settings. You do not need to
readjust your settings each time you turn
on the system.
Mode (if equipped): This setting allows
you to select which of the system features
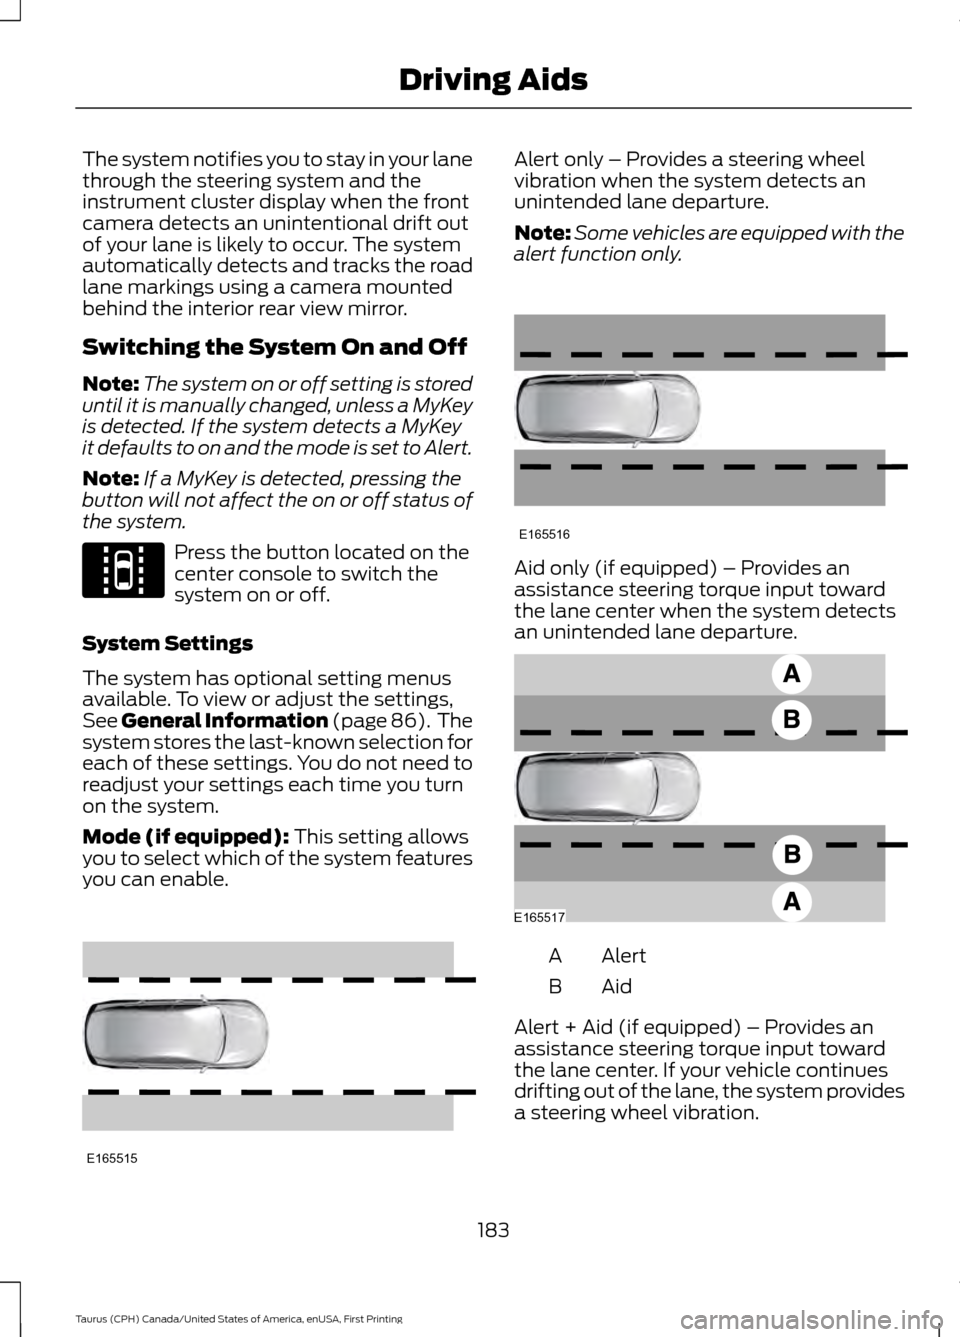
you can enable. Alert only – Provides a steering wheel
vibration when the system detects an
unintended lane departure.
Note:
Some vehicles are equipped with the
alert function only. Aid only (if equipped) – Provides an
assistance steering torque input toward
the lane center when the system detects
an unintended lane departure.
Alert
A
AidB
Alert + Aid (if equipped) – Provides an
assistance steering torque input toward
the lane center. If your vehicle continues
drifting out of the lane, the system provides
a steering wheel vibration.
183
Taurus (CPH) Canada/United States of America, enUSA, First Printing Driving AidsE144813 E165515 E165516 E165517
Page 325 of 424

AUDIO INPUT JACK
WARNINGS
Driving while distracted can result in
loss of vehicle control, crash and
injury. We strongly recommend that
you use extreme caution when using any
device that may take your focus off the
road. Your primary responsibility is the safe
operation of your vehicle. We recommend
against the use of any hand-held device
while driving and encourage the use of
voice-operated systems when possible.
Make sure you are aware of all applicable
local laws that may affect the use of
electronic devices while driving. For safety reasons, do not connect
or adjust the settings on your
portable music player while your
vehicle is moving. Store the portable music player in a
secure location, such as the center
console or the glove box, when your
vehicle is moving. Hard objects may
become projectiles in a collision or sudden
stop, which may increase the risk of serious
injury. The audio extension cable must be
long enough to allow the portable music
player to be safely stored while your
vehicle is moving. The auxiliary input jack allows you to
connect and play music from your portable
music player through your vehicle speakers.
You can use any portable music player
designed for use with headphones. Your
audio extension cable must have male
1/8th-inch (3.5 millimeter) connectors at
each end.
1. Switch off the engine, radio and
portable music player. Set the parking
brake and put the transmission in
position P.
2. Plug the extension cable from the portable music player into the auxiliary
input jack.
3. Switch the radio on. Select either a tuned FM station or a CD.
4. Adjust the volume as desired.
5. Switch your portable music player on and adjust its volume to half its
maximum level.
6. Press the media button until the audio
input option appears in the display. You
should hear music from your device
even if it is low.
7. Adjust the volume on your portable music player until it reaches the volume
level of the FM station or CD. Do this
by switching back and forth between
the AUX and FM or CD controls.
322
Taurus (CPH) Canada/United States of America, enUSA, First Printing Audio SystemE149149