2016 FORD SUPER DUTY turn signal
[x] Cancel search: turn signalPage 50 of 510
Note:
Replacing the battery will not delete
the transmitter from the vehicle. The
transmitter should operate normally.
The remote control uses one coin-type
three-volt lithium battery CR2032 or
equivalent.
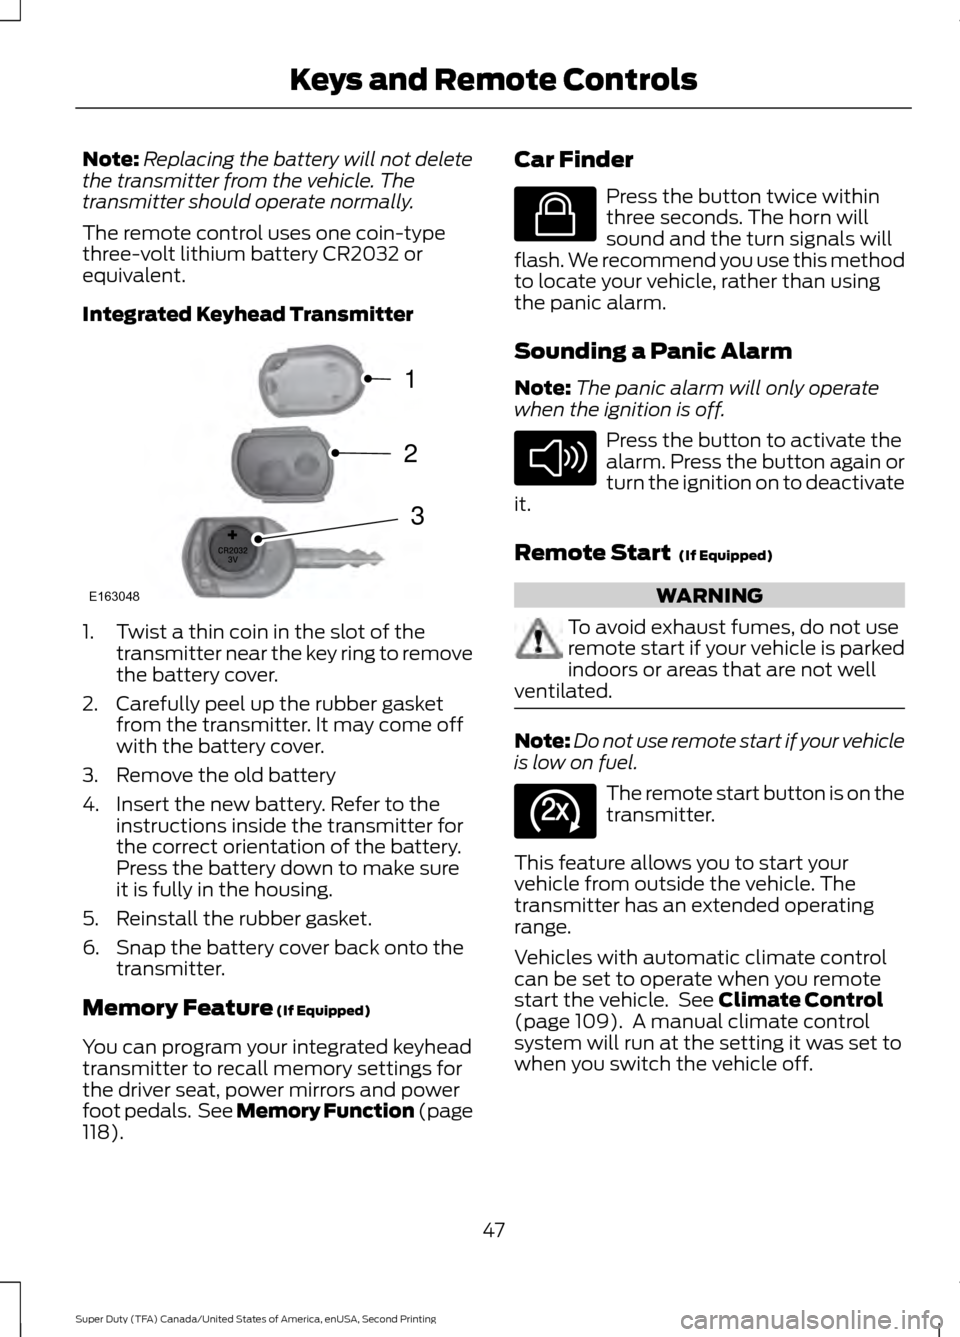
Integrated Keyhead Transmitter 1. Twist a thin coin in the slot of the
transmitter near the key ring to remove
the battery cover.
2. Carefully peel up the rubber gasket from the transmitter. It may come off
with the battery cover.
3. Remove the old battery
4. Insert the new battery. Refer to the instructions inside the transmitter for
the correct orientation of the battery.
Press the battery down to make sure
it is fully in the housing.
5. Reinstall the rubber gasket.
6. Snap the battery cover back onto the transmitter.
Memory Feature (If Equipped)
You can program your integrated keyhead
transmitter to recall memory settings for
the driver seat, power mirrors and power
foot pedals. See Memory Function (page
118
). Car Finder Press the button twice within
three seconds. The horn will
sound and the turn signals will
flash. We recommend you use this method
to locate your vehicle, rather than using
the panic alarm.
Sounding a Panic Alarm
Note: The panic alarm will only operate
when the ignition is off. Press the button to activate the
alarm. Press the button again or
turn the ignition on to deactivate
it.
Remote Start
(If Equipped) WARNING
To avoid exhaust fumes, do not use
remote start if your vehicle is parked
indoors or areas that are not well
ventilated. Note:
Do not use remote start if your vehicle
is low on fuel. The remote start button is on the
transmitter.
This feature allows you to start your
vehicle from outside the vehicle. The
transmitter has an extended operating
range.
Vehicles with automatic climate control
can be set to operate when you remote
start the vehicle. See
Climate Control
(page 109). A manual climate control
system will run at the setting it was set to
when you switch the vehicle off.
47
Super Duty (TFA) Canada/United States of America, enUSA, Second Printing Keys and Remote ControlsE163048
3
2
1 E138623 E138624 E138625
Page 58 of 510
LOCKING AND UNLOCKING
You can use the power door lock control
or the remote control to lock and unlock
your vehicle.
Power Door Locks (If Equipped)
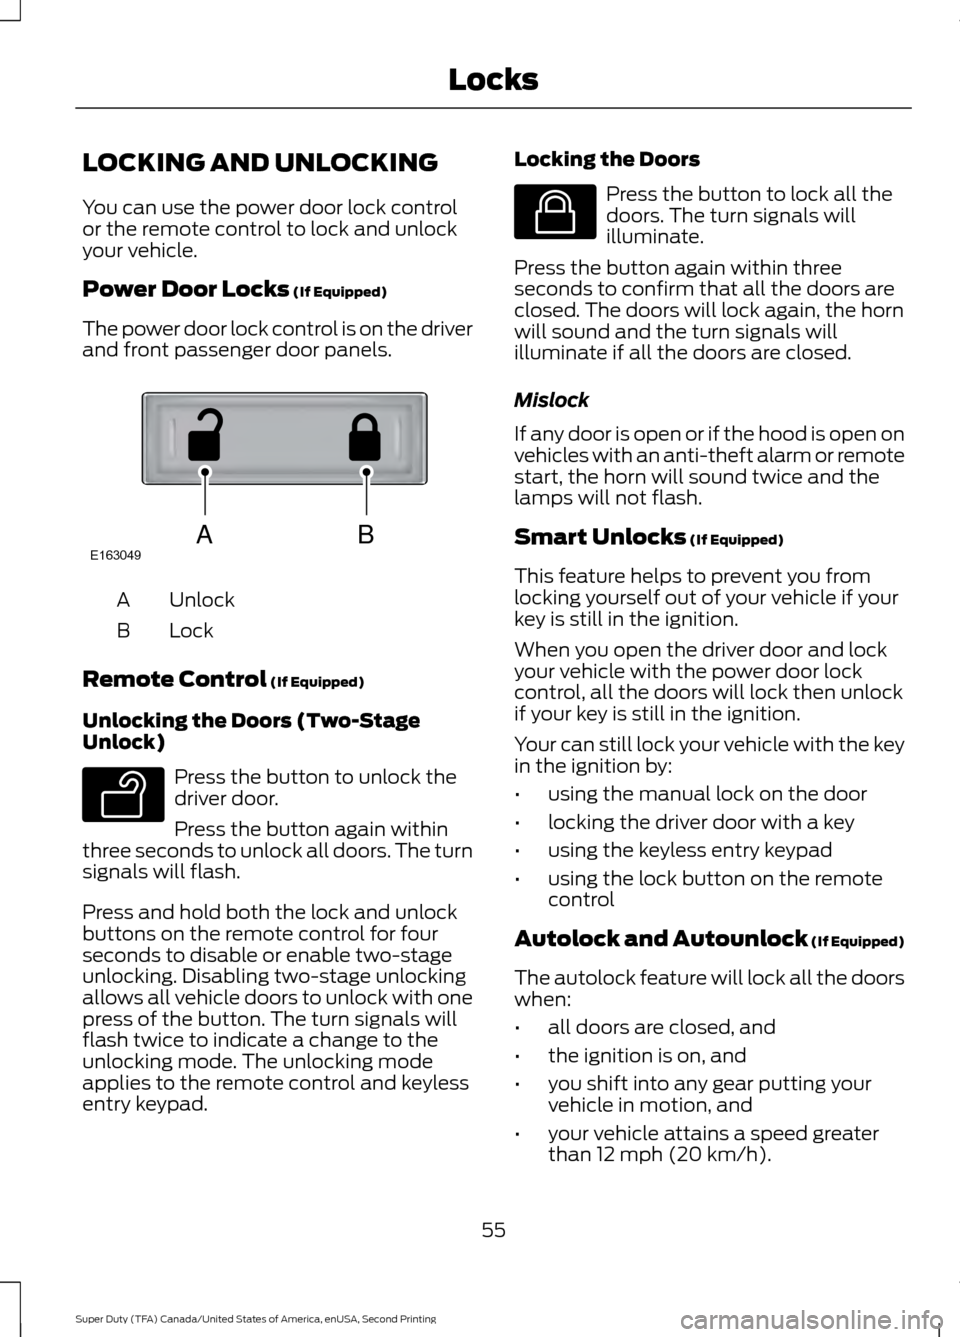
The power door lock control is on the driver
and front passenger door panels. Unlock
A
Lock
B
Remote Control
(If Equipped)
Unlocking the Doors (Two-Stage
Unlock) Press the button to unlock the
driver door.
Press the button again within
three seconds to unlock all doors. The turn
signals will flash.
Press and hold both the lock and unlock
buttons on the remote control for four
seconds to disable or enable two-stage
unlocking. Disabling two-stage unlocking
allows all vehicle doors to unlock with one
press of the button. The turn signals will
flash twice to indicate a change to the
unlocking mode. The unlocking mode
applies to the remote control and keyless
entry keypad. Locking the Doors Press the button to lock all the
doors. The turn signals will
illuminate.
Press the button again within three
seconds to confirm that all the doors are
closed. The doors will lock again, the horn
will sound and the turn signals will
illuminate if all the doors are closed.
Mislock
If any door is open or if the hood is open on
vehicles with an anti-theft alarm or remote
start, the horn will sound twice and the
lamps will not flash.
Smart Unlocks
(If Equipped)
This feature helps to prevent you from
locking yourself out of your vehicle if your
key is still in the ignition.
When you open the driver door and lock
your vehicle with the power door lock
control, all the doors will lock then unlock
if your key is still in the ignition.
Your can still lock your vehicle with the key
in the ignition by:
• using the manual lock on the door
• locking the driver door with a key
• using the keyless entry keypad
• using the lock button on the remote
control
Autolock and Autounlock
(If Equipped)
The autolock feature will lock all the doors
when:
• all doors are closed, and
• the ignition is on, and
• you shift into any gear putting your
vehicle in motion, and
• your vehicle attains a speed greater
than 12 mph (20 km/h).
55
Super Duty (TFA) Canada/United States of America, enUSA, Second Printing LocksABE163049 E138629 E138623
Page 87 of 510

WARNING
Driving your vehicle with the warning
lamp on is dangerous. A significant
decrease in braking performance
may occur. It will take you longer to stop
your vehicle. Have your vehicle checked by
your authorized dealer immediately. Driving
extended distances with the parking brake
engaged can cause brake failure and the
risk of personal injury. Check Fuel Cap (If Equipped)
Illuminates when the fuel cap
may not be properly installed.
Continued driving with this light
on may cause the Service engine soon
warning indicator to come on.
Cruise Control
(If Equipped) Illuminates when you switch this
feature on. See
Using Cruise
Control (page 181).
Direction Indicator Illuminates when the left or right
turn signal or the hazard warning
flasher is turned on. If the
indicators stay on or flash faster, check for
a burned out bulb.
Door Ajar Displays when the ignition is on
and any door is not completely
closed.
Electronic Locking Differential Illuminates when using the
electronic locking differential. Engine Coolant Temperature Illuminates when the engine
coolant temperature is high.
Stop the vehicle as soon as
possible, switch off the engine and let cool.
Engine Oil If it illuminates with the engine
running or when you are driving,
this indicates a malfunction.
Stop your vehicle as soon as it is safe to
do so and switch the engine off. Check the
engine oil level. See
Engine Oil Check
(page 235).
Note: Do not resume your journey if it
illuminates despite the level being correct.
Have the system checked by your authorized
dealer immediately.
Fasten Safety Belt It will illuminate and a chime will
sound to remind you to fasten
your safety belt.
Front Airbag If it fails to illuminate when you
start your vehicle, continues to
flash or remains on, it indicates
a malfunction. Have the system checked
by your authorized dealer.
High Beam Illuminates when you switch the
high beam headlamps on. It will
flash when you use the
headlamp flasher.
Hill Descent
(If Equipped) Illuminates when hill descent is
switched on.
84
Super Duty (TFA) Canada/United States of America, enUSA, Second Printing Instrument Cluster E71340 E163170 E163171
Page 134 of 510
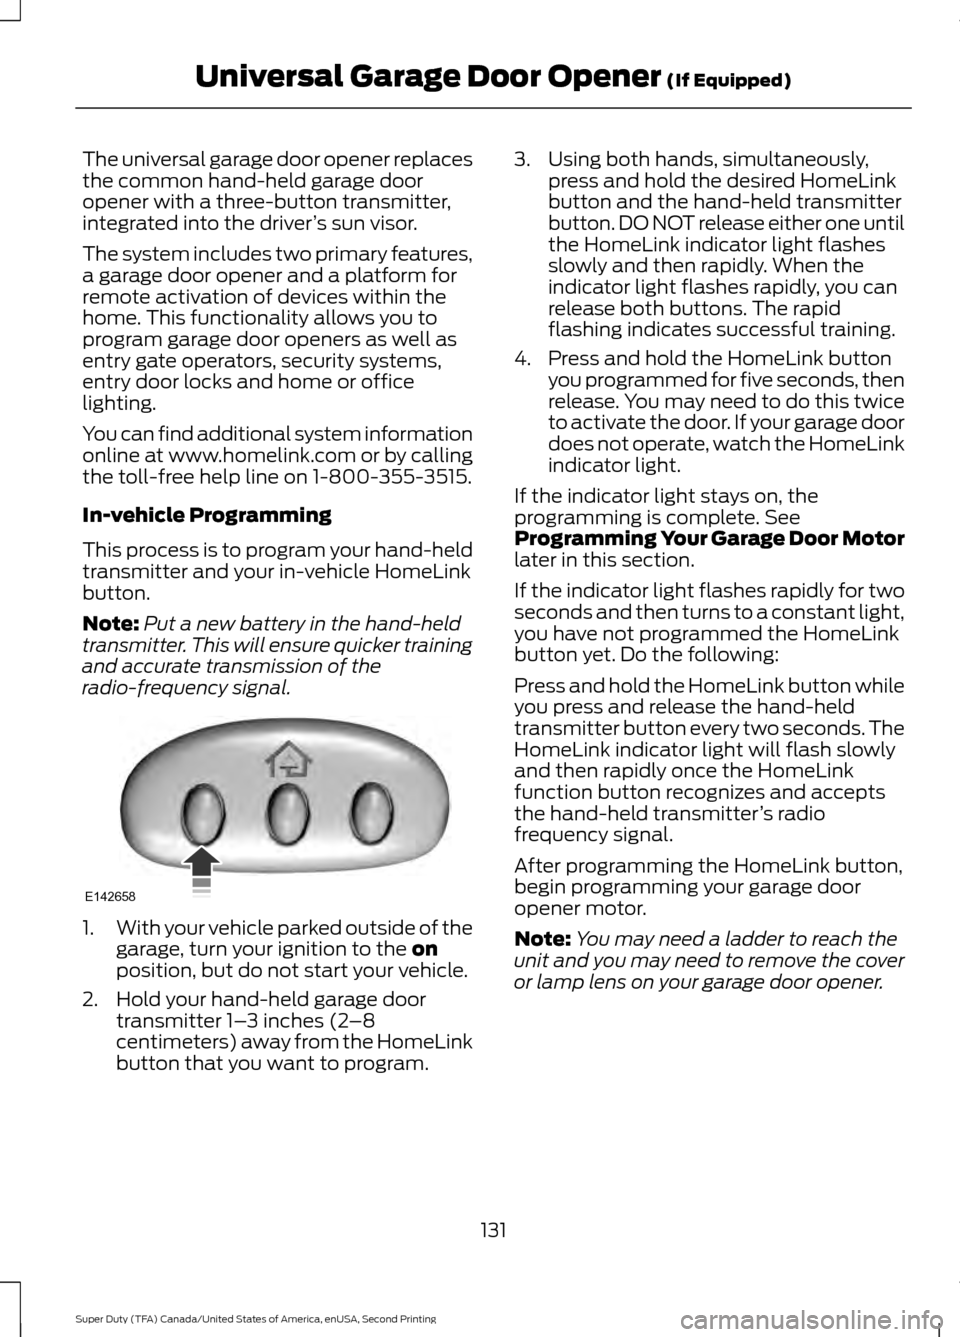
The universal garage door opener replaces
the common hand-held garage door
opener with a three-button transmitter,
integrated into the driver
’s sun visor.
The system includes two primary features,
a garage door opener and a platform for
remote activation of devices within the
home. This functionality allows you to
program garage door openers as well as
entry gate operators, security systems,
entry door locks and home or office
lighting.
You can find additional system information
online at www.homelink.com or by calling
the toll-free help line on 1-800-355-3515.
In-vehicle Programming
This process is to program your hand-held
transmitter and your in-vehicle HomeLink
button.
Note: Put a new battery in the hand-held
transmitter. This will ensure quicker training
and accurate transmission of the
radio-frequency signal. 1.
With your vehicle parked outside of the
garage, turn your ignition to the on
position, but do not start your vehicle.
2. Hold your hand-held garage door transmitter 1– 3 inches (2–8
centimeters) away from the HomeLink
button that you want to program. 3. Using both hands, simultaneously,
press and hold the desired HomeLink
button and the hand-held transmitter
button. DO NOT release either one until
the HomeLink indicator light flashes
slowly and then rapidly. When the
indicator light flashes rapidly, you can
release both buttons. The rapid
flashing indicates successful training.
4. Press and hold the HomeLink button you programmed for five seconds, then
release. You may need to do this twice
to activate the door. If your garage door
does not operate, watch the HomeLink
indicator light.
If the indicator light stays on, the
programming is complete. See
Programming Your Garage Door Motor
later in this section.
If the indicator light flashes rapidly for two
seconds and then turns to a constant light,
you have not programmed the HomeLink
button yet. Do the following:
Press and hold the HomeLink button while
you press and release the hand-held
transmitter button every two seconds. The
HomeLink indicator light will flash slowly
and then rapidly once the HomeLink
function button recognizes and accepts
the hand-held transmitter ’s radio
frequency signal.
After programming the HomeLink button,
begin programming your garage door
opener motor.
Note: You may need a ladder to reach the
unit and you may need to remove the cover
or lamp lens on your garage door opener.
131
Super Duty (TFA) Canada/United States of America, enUSA, Second Printing Universal Garage Door Opener
(If Equipped)E142658
Page 180 of 510
PARKING AID (If Equipped)
WARNINGS
The system does not relieve you of
your responsibility to drive with due
care and attention.
If your vehicles has a non-Ford
approved trailer tow module the
system may not correctly detect
objects. The sensors may not detect objects
in heavy rain or other conditions that
cause disruptive reflections.
The sensors may not detect objects
with surfaces that absorb ultrasonic
waves.
The system does not detect objects
that are moving away from your
vehicle. They will only be detected
shortly after they start to move toward
your vehicle. Take particular care when reversing
with a tow ball arm or a rear fitted
accessory. For example, a bicycle
carrier. The rear parking aid will only
indicate the approximate distance from
the rear bumper to an object. Note:
If you use a high pressure spray to
wash your vehicle, only spray the sensors
briefly from a distance not less than
8 in
(20 cm).
Note: If your vehicle has a tow ball arm, the
system is turned off automatically when
trailer lamps (or lighting boards) are
connected to the 13-pin socket through a
Ford approved trailer tow module.
Note: Keep the sensors free from dirt, ice
or snow. Do not clean with sharp objects.
Note: The system may emit false alerts if
it detects a signal using the same frequency
as the sensors or if your vehicle is fully
loaded. Note:
The outer sensors may detect the
side walls of a garage. If the distance
between the outer sensors and the side wall
remains constant for three seconds, the
alert will turn off. As you continue the inner
sensors will detect objects directly behind
your vehicle.
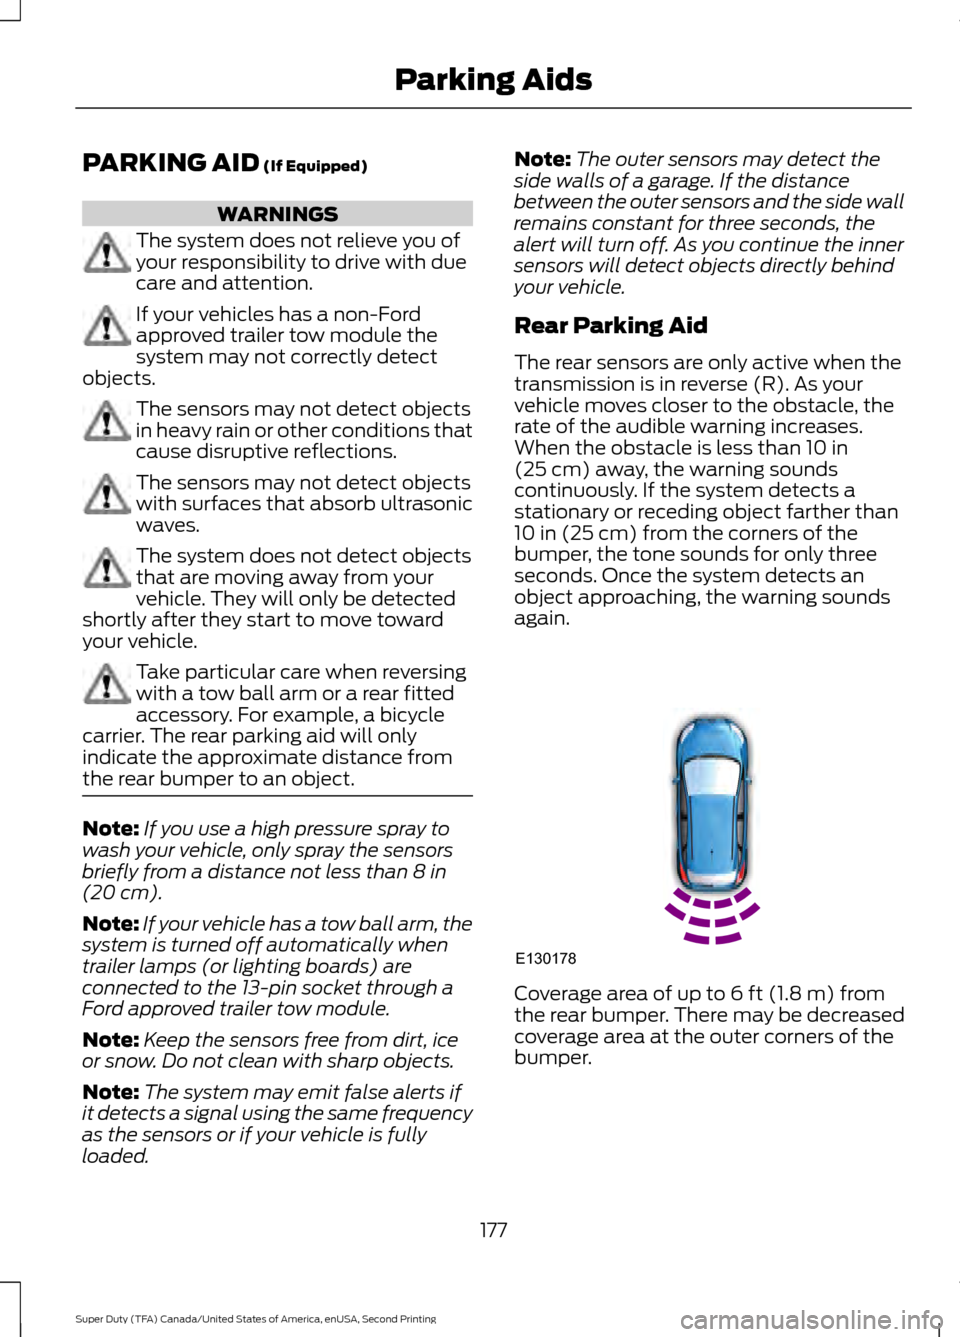
Rear Parking Aid
The rear sensors are only active when the
transmission is in reverse (R). As your
vehicle moves closer to the obstacle, the
rate of the audible warning increases.
When the obstacle is less than
10 in
(25 cm) away, the warning sounds
continuously. If the system detects a
stationary or receding object farther than
10 in (25 cm)
from the corners of the
bumper, the tone sounds for only three
seconds. Once the system detects an
object approaching, the warning sounds
again. Coverage area of up to
6 ft (1.8 m) from
the rear bumper. There may be decreased
coverage area at the outer corners of the
bumper.
177
Super Duty (TFA) Canada/United States of America, enUSA, Second Printing Parking AidsE130178
Page 198 of 510
•
Service your vehicle more frequently if
you tow a trailer. See your scheduled
maintenance information.
• If you use a rental trailer, follow the
instructions the rental agency gives
you.
See Load limits in the Load Carrying
chapter for load specification terms found
on the tire label and Safety Compliance
label and instructions on calculating your
vehicle's load.
Remember to account for the trailer
tongue weight as part of your vehicle load
when calculating the total vehicle weight.
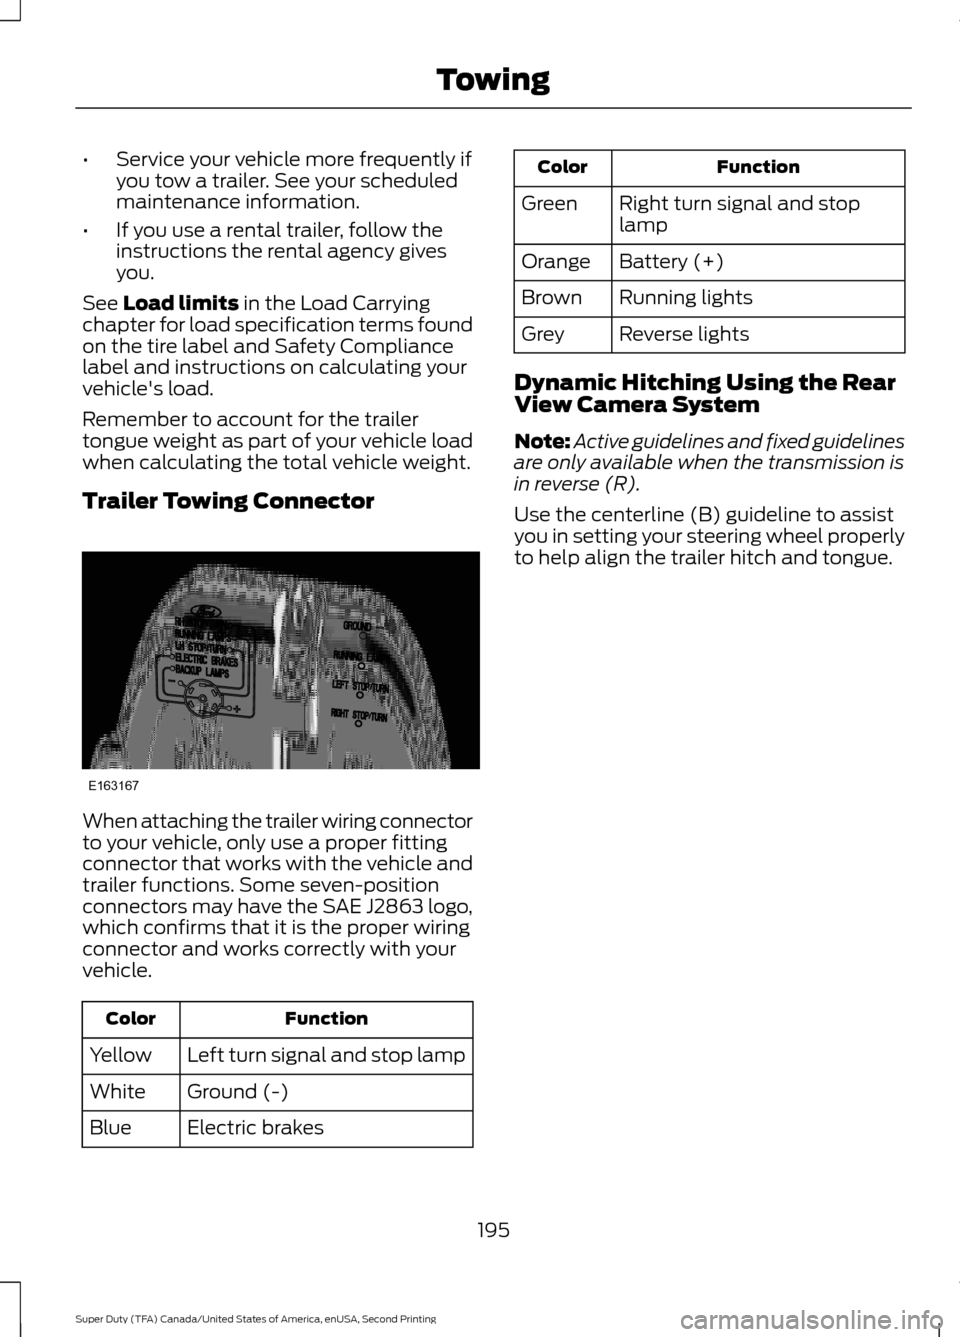
Trailer Towing Connector When attaching the trailer wiring connector
to your vehicle, only use a proper fitting
connector that works with the vehicle and
trailer functions. Some seven-position
connectors may have the SAE J2863 logo,
which confirms that it is the proper wiring
connector and works correctly with your
vehicle.
Function
Color
Left turn signal and stop lamp
Yellow
Ground (-)
White
Electric brakes
Blue Function
Color
Right turn signal and stop
lamp
Green
Battery (+)
Orange
Running lights
Brown
Reverse lights
Grey
Dynamic Hitching Using the Rear
View Camera System
Note: Active guidelines and fixed guidelines
are only available when the transmission is
in reverse (R).
Use the centerline (B) guideline to assist
you in setting your steering wheel properly
to help align the trailer hitch and tongue.
195
Super Duty (TFA) Canada/United States of America, enUSA, Second Printing TowingE163167
Page 204 of 510
•
The controller interacts with the brake
control system and powertrain control
system of your vehicle to provide the
best performance on different road
conditions.
• Your vehicle's brake system and the
trailer brake system work
independently of each other. Changing
the gain setting on the controller does
not affect the operation of your
vehicle's brakes.
• When you switch the engine off, the
controller output is disabled and the
display and module shut down.
Trailer Lamps WARNING
Never connect any trailer lamp wiring
to the vehicle's tail lamp wiring; this
may damage the electrical system
resulting in fire. Contact your authorized
dealer as soon as possible for assistance
in proper trailer tow wiring installation.
Additional electrical equipment may be
required. Trailer lamps are required on most towed
vehicles. Make sure all running lights, brake
lights, turn signals and hazard lights are
working.
Before Towing a Trailer
Practice turning, stopping and backing up
to get the feel of your vehicle-trailer
combination before starting on a trip.
When turning, make wider turns so the
trailer wheels clear curbs and other
obstacles.
When Towing a Trailer
•
Do not drive faster than 70 mph
(113 km/h) during the first 500 mi
(800 km).
• Do not make full-throttle starts. •
Check your hitch, electrical connections
and trailer wheel lug nuts thoroughly
after you have traveled 50 mi (80 km).
• When stopped in congested or heavy
traffic during hot weather, place the
gearshift in position P to aid engine and
transmission cooling and to help A/C
performance.
• Turn off the speed control with heavy
loads or in hilly terrain. The speed
control may turn off automatically
when you are towing on long, steep
grades.
• Shift to a lower gear when driving down
a long or steep hill. Do not apply the
brakes continuously, as they may
overheat and become less effective.
• If your transmission is equipped with a
Grade Assist or Tow/Haul feature, use
this feature when towing. This provides
engine braking and helps eliminate
excessive transmission shifting for
optimum fuel economy and
transmission cooling.
• If your vehicle is equipped with
AdvanceTrac with RSC, this system
may turn on during typical cornering
maneuvers with a heavily loaded trailer.
This is normal. Turning the corner at a
slower speed while towing may reduce
this tendency.
• If you are towing a trailer frequently in
hot weather, hilly conditions, at the
gross combined weight rating (or any
combination of these factors), consider
refilling your rear axle with synthetic
gear lubricant (if the axle is not already
filled with it). See
Capacities and
Specifications (page 303).
• Allow more distance for stopping with
a trailer attached. Anticipate stops and
brake gradually.
• Avoid parking on a grade. However, if
you must park on a grade:
201
Super Duty (TFA) Canada/United States of America, enUSA, Second Printing Towing
Page 232 of 510
Protected components
Fuse amp rating
Fuse or relay number
Driver lumbar motor
7.5A
7
Driver seat switch
Power mirror switch
10A
8
Auxiliary switch relay #3
10A
9
Customer access feed
10A
10
Run/accessory relay
Instrument cluster
10A
11
Interior lighting
15A
12
Lighted running board lamps
Right turn signals and brake lamps
15A
13
Left turn signals and brake lamps
15A
14
Backup lamps, Trailer tow backup relay
15A
15
High-mounted stop lamps
Reverse signal interior mirror
Right low beam headlamp
10A
16
Left low beam headlamp
10A
17
Brake shift interlock
10A
18
Keypad illumination
Passive anti-theft transceiver
Powertrain control module
Amplifier
20A
19
Subwoofer
Power door locks
20A
20
Brake on/off switch
10A
21
Horn
20A
22
Not used (spare)
15A
23
Diagnostic connector
15A
24
Electronic finish panel
Power fold mirror relay
Remote keyless entry
Steering wheel control module
Not used (spare)
15A
25
229
Super Duty (TFA) Canada/United States of America, enUSA, Second Printing Fuses