Page 189 of 363

AUTOMATIC TRANSMISSION
FLUID CHECK
Note:
Transmission fluid should be checked
by an authorized dealer. If required, fluid
should be added by an authorized dealer.
The automatic transmission does not have
a transmission fluid dipstick.
Have an authorized dealer check and
change the transmission fluid at the
correct service interval. See Scheduled
Maintenance (page 316). Your
transmission does not consume fluid.
However, the fluid level should be checked
if the transmission is not working properly,
(i.e., if the transmission slips or shifts
slowly) or if you notice some sign of fluid
leakage.
Do not use supplemental transmission
fluid additives, treatments or cleaning
agents. The use of these materials may
affect transmission operation and result
in damage to internal transmission
components.
BRAKE FLUID CHECK
Fluid levels between the MIN and MAX
lines are within the normal operating range;
there is no need to add fluid. If the fluid
levels are outside of the normal operating
range, the performance of the system
could be compromised; seek service from
your authorized dealer immediately.
POWER STEERING FLUID
CHECK
Your vehicle is equipped with an electric
power steering (EPS) system. There is no
fluid reservoir to check or fill. WASHER FLUID CHECK
Note:
The reservoir supplies the front and
rear washer systems.
When adding fluid, use a mixture of washer
fluid and water to help prevent freezing in
cold weather and improve the cleaning
capability. We recommend that you use
only high quality washer fluid.
For information on fluid dilution, refer to
the product instructions.
FUEL FILTER
Your vehicle is equipped with a lifetime
fuel filter that is integrated with the fuel
tank. Regular maintenance or replacement
is not needed.
CHANGING THE 12V BATTERY WARNING
For vehicles with start-stop the
battery requirement is different. You
must replace the battery with one of
exactly the same specification. Note:
Where applicable you must
reprogram the audio system using the
keycode.
The battery is located in the engine
compartment. See
Maintenance (page
177).
186
Fiesta (CCT) Canada/United States of America, enUSA, First Printing Maintenance
Page 192 of 363

5. Locate the vertical adjuster on each
headlamp. Using a Phillips #2
screwdriver, turn the adjuster either
clockwise or counterclockwise in order
to adjust the vertical aim of the
headlamp. The horizontal edge of the
brighter light should touch the
horizontal reference line.
6. Close the hood and turn the lamps off.
Horizontal Aim Adjustment
Horizontal aim is not required for this
vehicle and is not adjustable.
REMOVING A HEADLAMP
1. Open the hood. See Opening and
Closing the Hood (page 177). 2. Remove the screws. 3. Disconnect the electrical connector.
4. Remove the headlamp.
Note:
When fitting the headlamp, make
sure that you reconnect the electrical
connector correctly.
Note: When fitting the headlamp, make
sure that you fully engage the headlamp in
the retaining clips.
CHANGING A BULB - 4-DOOR WARNINGS
Switch the lamps and the ignition off.
Let the bulb cool down before
removing it.
Do not touch the glass of the bulb.
Note:
Only fit bulbs of the correct
specification.
Note: The following instructions describe
how to remove the bulbs. Fit replacements
in the reverse order unless otherwise stated.
189
Fiesta (CCT) Canada/United States of America, enUSA, First Printing MaintenanceE146878
2 E102590
3
4
Page 193 of 363
Headlamp
Note:
Remove the covers to gain access to
the bulbs. Side marker
A
Headlamp low beam
B
Headlamp high beam
C
Direction indicator
D
Side Marker
1. Remove the headlamp. See Removing a Headlamp (page 189). 2. Remove the bulb holder.
3. Remove the bulb.
Headlamp Low Beam
1. Remove the headlamp. See
Removing a Headlamp
(page 189). 2. Remove the cover.
3. Disconnect the electrical connector.
4. Release the clip and remove the bulb.
Note:
Do not touch the glass of the bulb.
Headlamp High Beam
1. Remove the headlamp. See Removing a Headlamp
(page 189). 2. Remove the cover.
190
Fiesta (CCT) Canada/United States of America, enUSA, First Printing MaintenanceBACD
E159827 E161707
A E146803
4
2 E146804
2
3
Page 194 of 363
3. Turn the bulb counterclockwise and
remove it.
Note: Do not touch the glass of the bulb.
Direction Indicator
1. Remove the headlamp. See Removing a Headlamp (page 189). 2.
Turn the bulb holder counterclockwise
and remove it.
3. Gently press the bulb into the bulb holder, turn it counterclockwise and
remove it. Side Direction Indicator
1. Press the side of the cover to release
the clips.
2. Remove the cover. 3. Remove the bulb and bulb holder.
Remove the bulb.
191
Fiesta (CCT) Canada/United States of America, enUSA, First Printing MaintenanceE146805
3 1
2
E112777 3
E112778
Page 198 of 363
CHANGING A BULB - 5-DOOR
WARNINGS
Switch the lamps and the ignition off.
Let the bulb cool down before
removing it.
Do not touch the glass of the bulb.
Note:
Only fit bulbs of the correct
specification.
Note: The following instructions describe
how to remove the bulbs. Fit replacements
in the reverse order unless otherwise stated.
Headlamp
Note: Remove the covers to gain access to
the bulbs. Side marker
A
Headlamp low beam
B
Headlamp high beam
C
Direction indicator
D
Side Marker
1. Remove the headlamp. See Removing a Headlamp (page 189). 2. Remove the bulb holder.
3. Remove the bulb.
Headlamp Low Beam
1. Remove the headlamp. See
Removing a Headlamp
(page 189). 2. Remove the cover.
3. Disconnect the electrical connector.
4. Release the clip and remove the bulb.
Note:
Do not touch the glass of the bulb.
195
Fiesta (CCT) Canada/United States of America, enUSA, First Printing MaintenanceBACD
E159827 E161707
A E146803
4
2
Page 199 of 363
Headlamp High Beam
1. Remove the headlamp. See
Removing a Headlamp (page 189). 2. Remove the cover.
3. Turn the bulb counterclockwise and
remove it.
Note: Do not touch the glass of the bulb.
Direction Indicator
1. Remove the headlamp. See Removing a Headlamp
(page 189). 2.
Turn the bulb holder counterclockwise
and remove it.
3. Gently press the bulb into the bulb holder, turn it counterclockwise and
remove it.
Side Direction Indicator 196
Fiesta (CCT) Canada/United States of America, enUSA, First Printing MaintenanceE146804
2
3 E146805
3 1
2
E112777
Page 204 of 363

CHANGING THE ENGINE AIR
FILTER
WARNING
To reduce the risk of vehicle damage
and personal burn injuries, do not
start your engine with the air cleaner
removed and do not remove it while the
engine is running. When changing the air filter element, use
only the air filter element listed. See
Motorcraft Parts (page 235).
On vehicles with an EcoBoost engine, when
servicing the air cleaner it is important that
no foreign material enters the air induction
system. The engine and turbocharger are
susceptible to damage from even small
particles.
Change the air filter element at the correct
interval. See
Normal Scheduled
Maintenance (page 319).
Note: Failure to use the correct air filter
element may result in severe engine
damage. Your warranty may be void for any
damage to the engine if the correct air filter
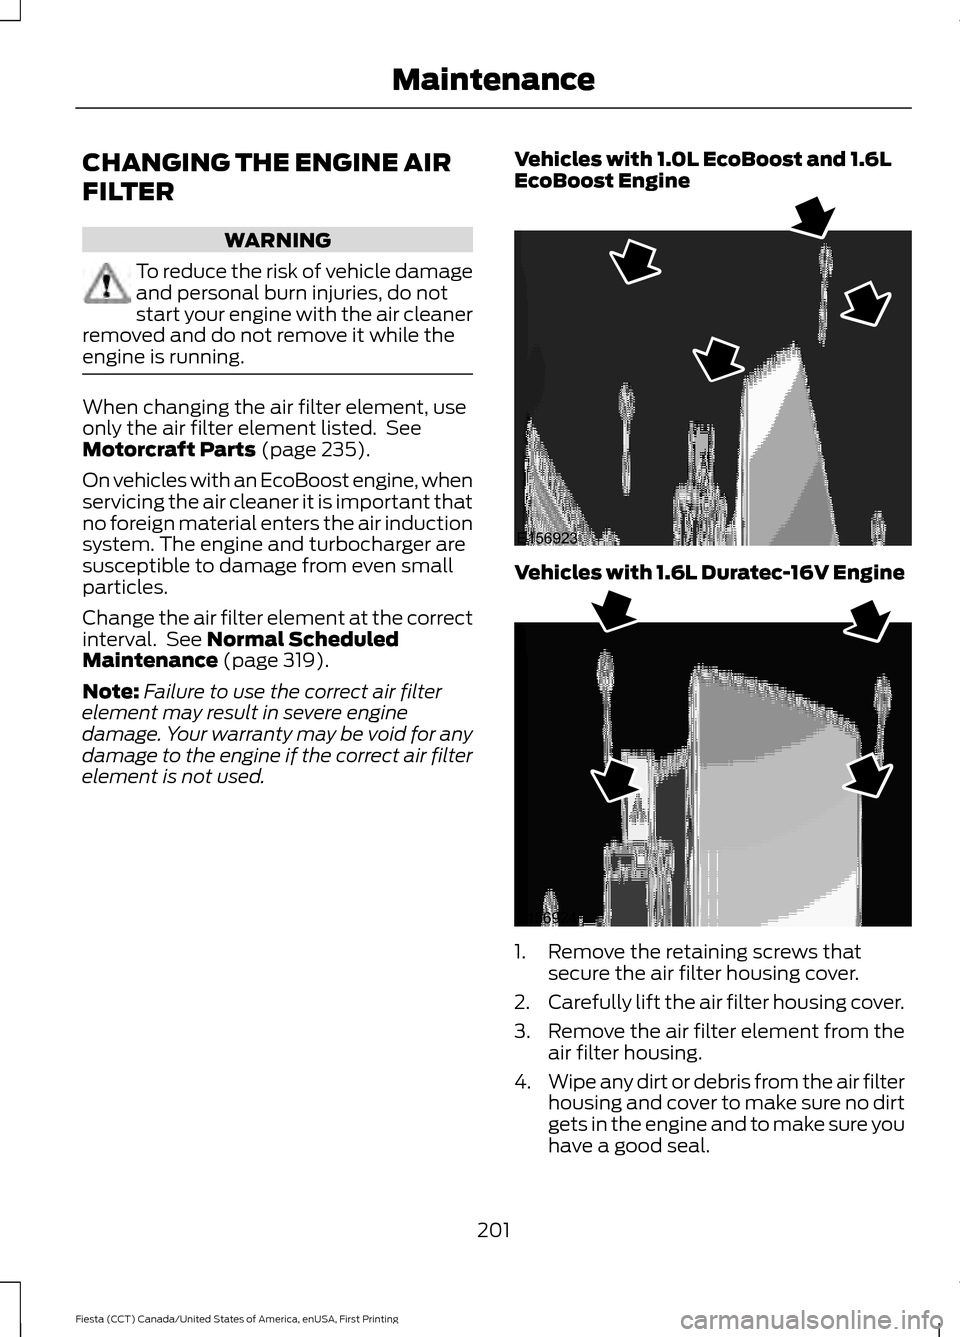
element is not used. Vehicles with 1.0L EcoBoost and 1.6L
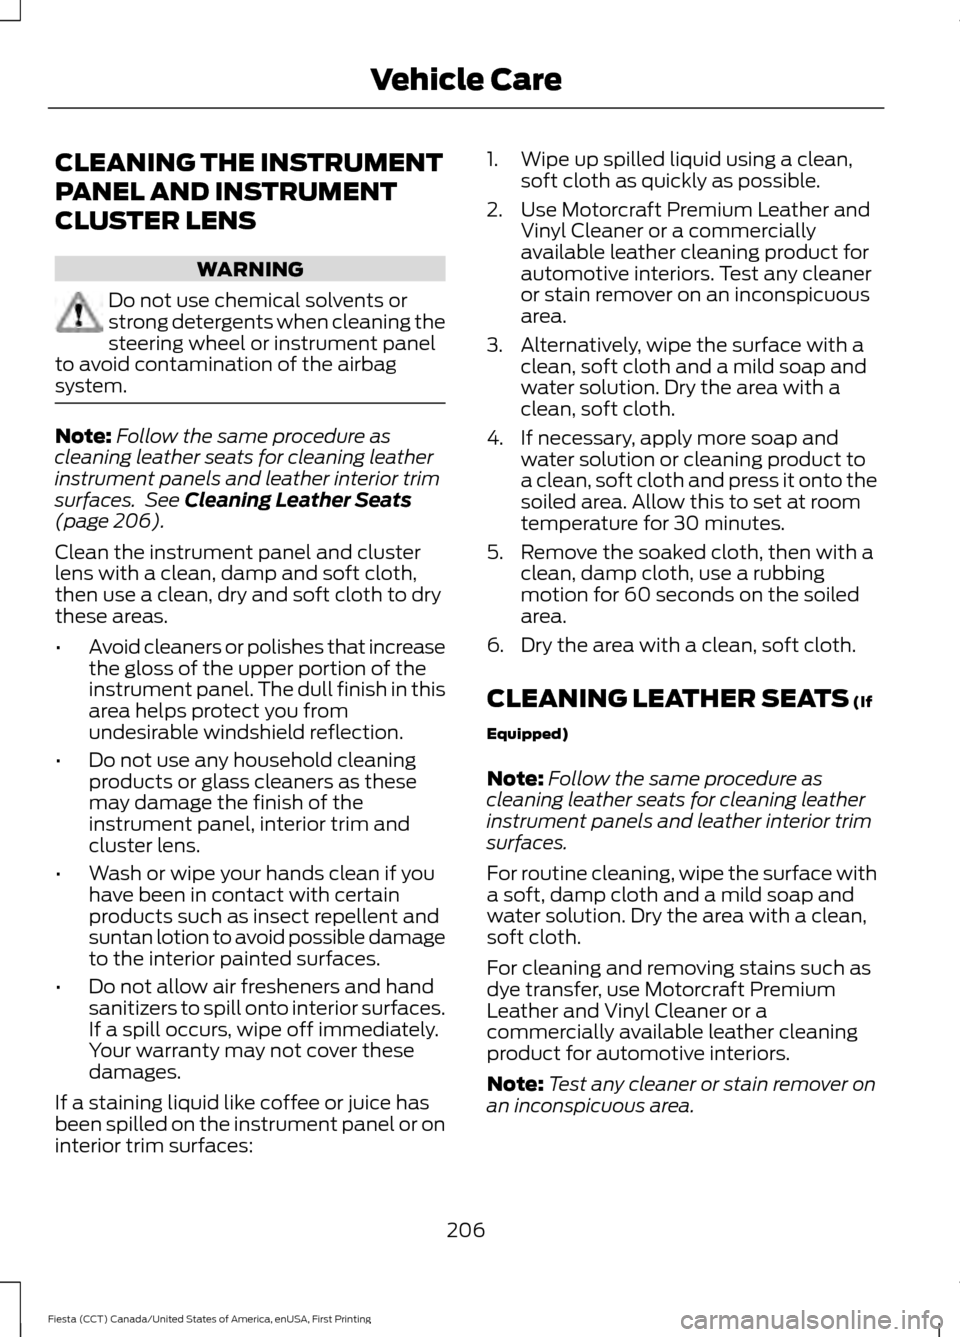
EcoBoost Engine Vehicles with 1.6L Duratec-16V Engine
1. Remove the retaining screws that
secure the air filter housing cover.
2. Carefully lift the air filter housing cover.
3. Remove the air filter element from the
air filter housing.
4. Wipe any dirt or debris from the air filter
housing and cover to make sure no dirt
gets in the engine and to make sure you
have a good seal.
201
Fiesta (CCT) Canada/United States of America, enUSA, First Printing MaintenanceE156923 E156924
Page 209 of 363

CLEANING THE INSTRUMENT
PANEL AND INSTRUMENT
CLUSTER LENS
WARNING
Do not use chemical solvents or
strong detergents when cleaning the
steering wheel or instrument panel
to avoid contamination of the airbag
system. Note:
Follow the same procedure as
cleaning leather seats for cleaning leather
instrument panels and leather interior trim
surfaces. See Cleaning Leather Seats
(page 206).
Clean the instrument panel and cluster
lens with a clean, damp and soft cloth,
then use a clean, dry and soft cloth to dry
these areas.
• Avoid cleaners or polishes that increase
the gloss of the upper portion of the
instrument panel. The dull finish in this
area helps protect you from
undesirable windshield reflection.
• Do not use any household cleaning
products or glass cleaners as these
may damage the finish of the
instrument panel, interior trim and
cluster lens.
• Wash or wipe your hands clean if you
have been in contact with certain
products such as insect repellent and
suntan lotion to avoid possible damage
to the interior painted surfaces.
• Do not allow air fresheners and hand
sanitizers to spill onto interior surfaces.
If a spill occurs, wipe off immediately.
Your warranty may not cover these
damages.
If a staining liquid like coffee or juice has
been spilled on the instrument panel or on
interior trim surfaces: 1. Wipe up spilled liquid using a clean,
soft cloth as quickly as possible.
2. Use Motorcraft Premium Leather and Vinyl Cleaner or a commercially
available leather cleaning product for
automotive interiors. Test any cleaner
or stain remover on an inconspicuous
area.
3. Alternatively, wipe the surface with a clean, soft cloth and a mild soap and
water solution. Dry the area with a
clean, soft cloth.
4. If necessary, apply more soap and water solution or cleaning product to
a clean, soft cloth and press it onto the
soiled area. Allow this to set at room
temperature for 30 minutes.
5. Remove the soaked cloth, then with a clean, damp cloth, use a rubbing
motion for 60 seconds on the soiled
area.
6. Dry the area with a clean, soft cloth.
CLEANING LEATHER SEATS
(If
Equipped)
Note: Follow the same procedure as
cleaning leather seats for cleaning leather
instrument panels and leather interior trim
surfaces.
For routine cleaning, wipe the surface with
a soft, damp cloth and a mild soap and
water solution. Dry the area with a clean,
soft cloth.
For cleaning and removing stains such as
dye transfer, use Motorcraft Premium
Leather and Vinyl Cleaner or a
commercially available leather cleaning
product for automotive interiors.
Note: Test any cleaner or stain remover on
an inconspicuous area.
206
Fiesta (CCT) Canada/United States of America, enUSA, First Printing Vehicle Care