2016 FORD F250 clock
[x] Cancel search: clockPage 301 of 507

Rear: F-350 dual rear wheel
Rear: F-450 and F-550
Jacking the Vehicle
1. Insert the jack handle into the pump
linkage. 2. Use an up-and-down motion with the
jack handle to raise the wheel
completely off the ground.
Note: Hydraulic jacks are equipped with a
pressure release valve that prevents lifting
loads which exceed the jack's rated
capacity.
3. Remove the lug nuts with the lug wrench.
4. Replace the flat tire with the spare tire,
making sure the valve stem is facing
outward on all front an inboard rear
wheels. If you are replacing the
outboard wheel, the valve stem must
be facing inward. Reinstall the lug nuts
until the wheel is snug against the hub.
Do not fully tighten the lug nuts until
the wheel has been lowered.
5. Lower the wheel by slowly turning the release valve counterclockwise.
Opening the release valve slowly will
provide a more controlled rate of
descent.
6. Remove the jack and fully tighten the lug nuts in the order shown. See
Technical Specifications (page 301).
7. Stow the flat tire. See Stowing the flat or spare tire if the vehicle is equipped
with a spare tire carrier.
8. Stow the jack, jack handle and lug wrench. Make sure the jack is securely
fastened so it does not rattle when
driving.
9. Unblock the wheels.
298
Super Duty (TFA) Canada/United States of America, enUSA, First Printing Wheels and TiresE162817 E162818 E162819
Page 303 of 507

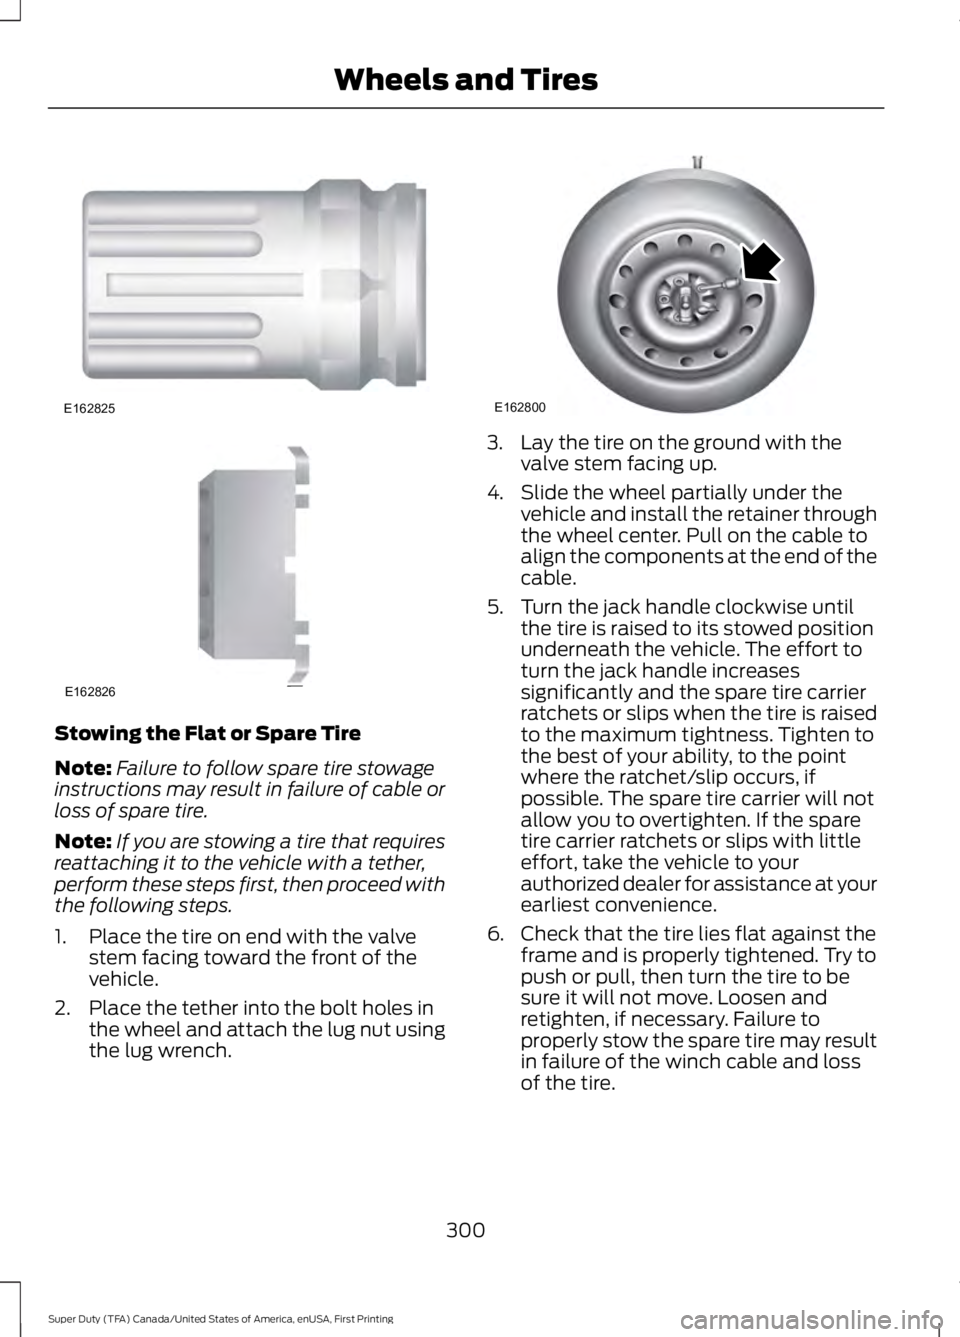
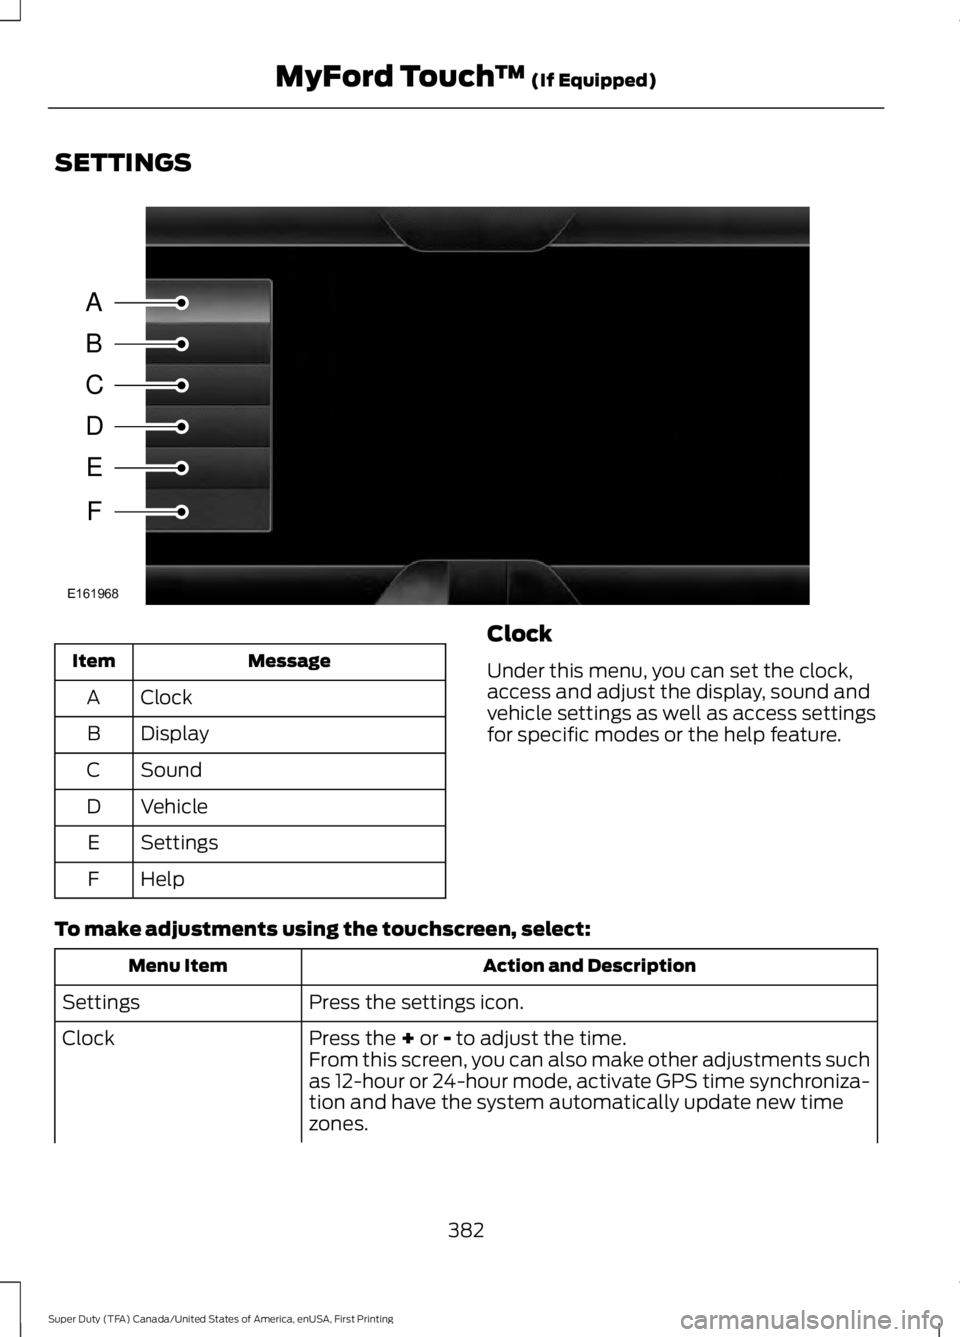
Stowing the Flat or Spare Tire
Note:
Failure to follow spare tire stowage
instructions may result in failure of cable or
loss of spare tire.
Note: If you are stowing a tire that requires
reattaching it to the vehicle with a tether,
perform these steps first, then proceed with
the following steps.
1. Place the tire on end with the valve stem facing toward the front of the
vehicle.
2. Place the tether into the bolt holes in the wheel and attach the lug nut using
the lug wrench. 3. Lay the tire on the ground with the
valve stem facing up.
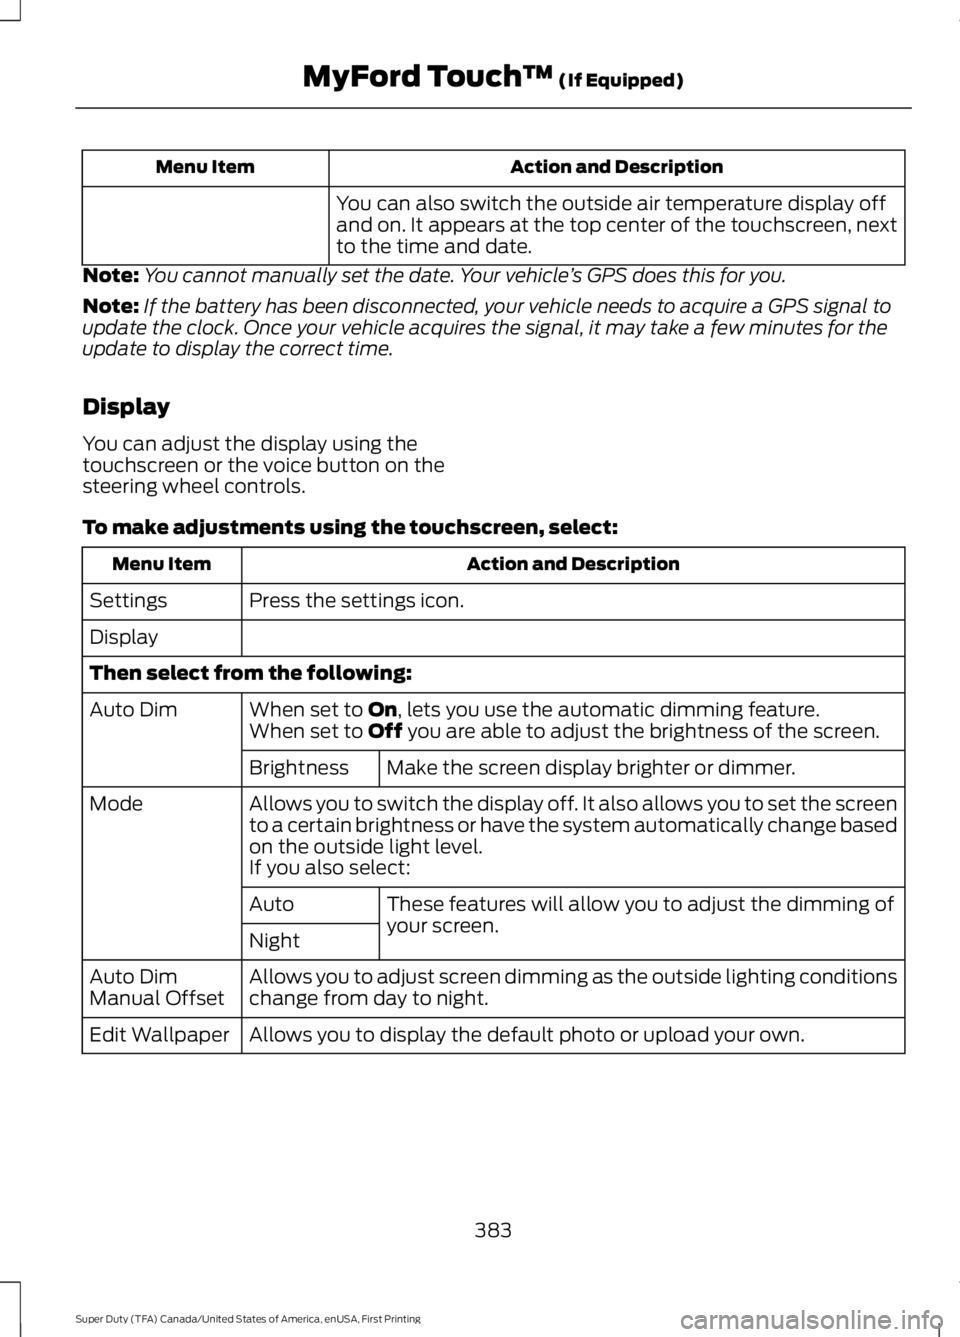
4. Slide the wheel partially under the vehicle and install the retainer through
the wheel center. Pull on the cable to
align the components at the end of the
cable.
5. Turn the jack handle clockwise until the tire is raised to its stowed position
underneath the vehicle. The effort to
turn the jack handle increases
significantly and the spare tire carrier
ratchets or slips when the tire is raised
to the maximum tightness. Tighten to
the best of your ability, to the point
where the ratchet/slip occurs, if
possible. The spare tire carrier will not
allow you to overtighten. If the spare
tire carrier ratchets or slips with little
effort, take the vehicle to your
authorized dealer for assistance at your
earliest convenience.
6. Check that the tire lies flat against the frame and is properly tightened. Try to
push or pull, then turn the tire to be
sure it will not move. Loosen and
retighten, if necessary. Failure to
properly stow the spare tire may result
in failure of the winch cable and loss
of the tire.
300
Super Duty (TFA) Canada/United States of America, enUSA, First Printing Wheels and TiresE162825 E162826 E162800
Page 322 of 507

CLK: Press this button to switch the display between the clock and radio
frequency. To set the time, press and hold the button until the hours start to
flash. Press the arrow buttons (B) to adjust the hours, then repeat to set the
minutes. Press
CLK again to exit clock mode.
A
Tune: Press these arrow buttons to manually search through the radio frequency
band. Press and hold for a fast search. In AUDIO mode, press the buttons to
adjust different sound settings.
B
AUDIO:
Press this button to access settings for Treble, Middle, Bass, Fade and
Balance.
C
SEEK:
Press this button to go to the previous or next strong station on the
frequency band.
D
Memory presets:
Store your favorite radio stations. To store a radio station,
tune to the station, then press and hold a preset button until sound returns.
E
AM/FM:
Press this button to select a frequency band.
F
VOL-PUSH:
Press the button to switch the system on and off. Turn the control
to adjust the volume.
G
AUDIO UNIT - VEHICLES WITH:
AM/FM/CD/SYNC WARNING
Driving while distracted can result in
loss of vehicle control, crash and
injury. We strongly recommend that
you use extreme caution when using any
device that may take your focus off the
road. Your primary responsibility is the safe
operation of your vehicle. We recommend
against the use of any hand-held device
while driving and encourage the use of
voice-operated systems when possible.
Make sure you are aware of all applicable
local laws that may affect the use of
electronic devices while driving. 319
Super Duty (TFA) Canada/United States of America, enUSA, First Printing Audio System
Page 378 of 507

This system uses a four-corner strategy to
provide quick access to several vehicle
features and settings. The touchscreen
provides easy interaction with your cell
phone, entertainment, information and
system settings. The corners display active
modes within the menus, for example; your
cell phone's status.
Note:
Some features are not available while
your vehicle is moving.
Note: You can access the entertainment
features for 30 minutes after you switch the
ignition off, and no doors are opened.
PHONE
Press to select any of the following: Message
Phone
Quick Dial
Phonebook
History
Messaging
Settings
NAVIGATION
Press to select any of the following: Message
My Home
Favorites
Previous Destinations
Point of Interest
Emergency
Street Address
Intersection Message
City Center
Map
Edit Route
Cancel Route
CLIMATE
Press the corresponding icons to control
the following options:
• Driver Settings
• Recirculated Air
• Auto
• Dual
• Passenger Settings
• A/C
• Defrost
SETTINGS Press to select any of the following:
Message
Clock
Display
Sound
Vehicle
Settings
Help
HOME Press to access the home
screen.
375
Super Duty (TFA) Canada/United States of America, enUSA, First Printing MyFord Touch
™ (If Equipped)E142607 E142613
Page 385 of 507

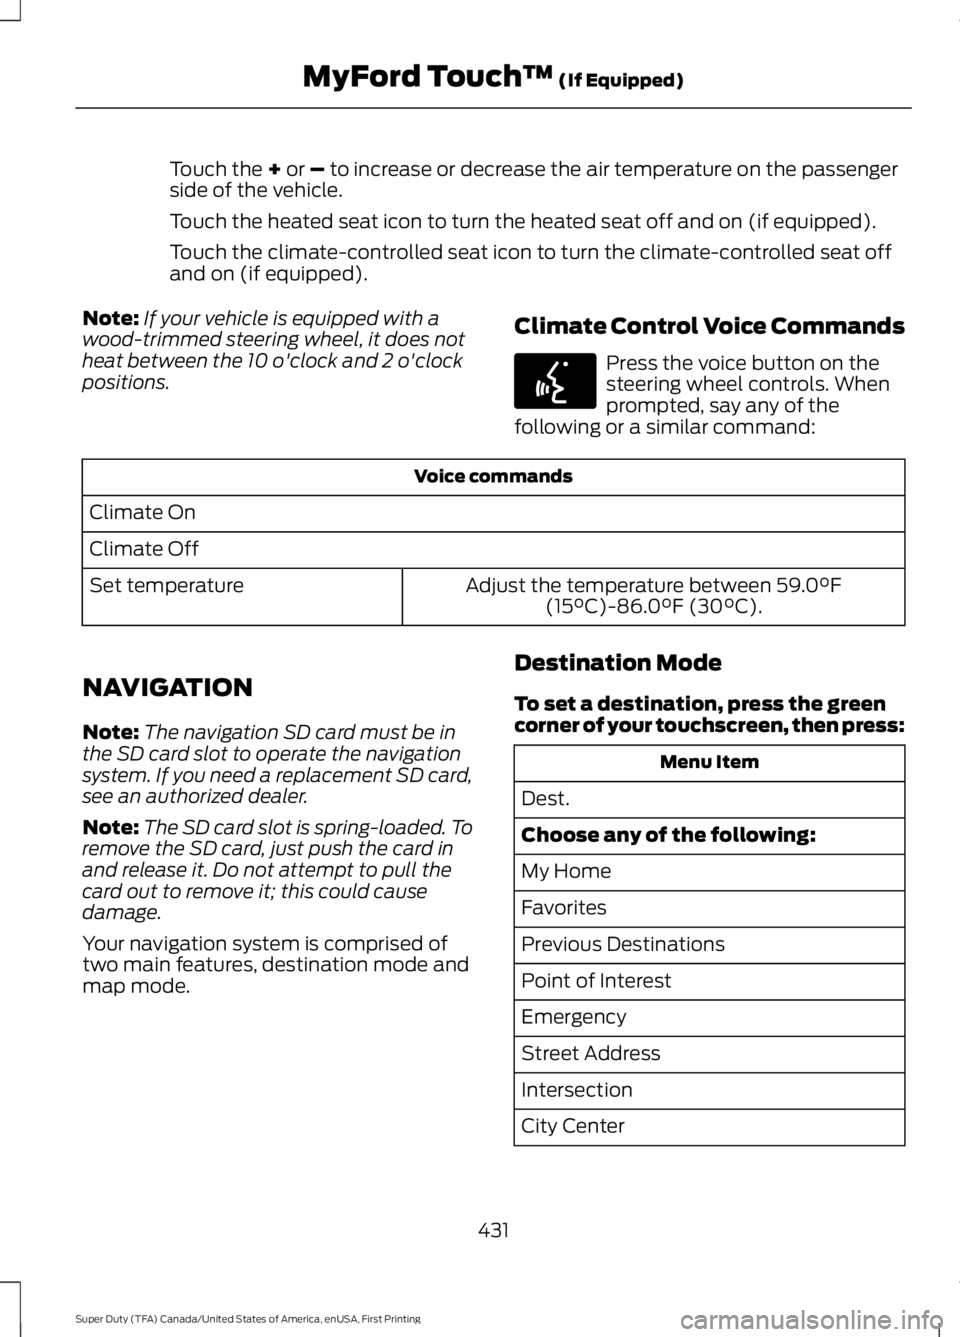
SETTINGS
Message
Item
Clock
A
Display
B
Sound
C
Vehicle
D
Settings
E
Help
F Clock
Under this menu, you can set the clock,
access and adjust the display, sound and
vehicle settings as well as access settings
for specific modes or the help feature.
To make adjustments using the touchscreen, select: Action and Description
Menu Item
Press the settings icon.
Settings
Press the + or - to adjust the time.
Clock
From this screen, you can also make other adjustments such
as 12-hour or 24-hour mode, activate GPS time synchroniza-
tion and have the system automatically update new time
zones.
382
Super Duty (TFA) Canada/United States of America, enUSA, First Printing MyFord Touch
™
(If Equipped)A
B
C
D
E
F
E161968
Page 386 of 507

Action and Description
Menu Item
You can also switch the outside air temperature display off
and on. It appears at the top center of the touchscreen, next
to the time and date.
Note: You cannot manually set the date. Your vehicle ’s GPS does this for you.
Note: If the battery has been disconnected, your vehicle needs to acquire a GPS signal to
update the clock. Once your vehicle acquires the signal, it may take a few minutes for the
update to display the correct time.
Display
You can adjust the display using the
touchscreen or the voice button on the
steering wheel controls.
To make adjustments using the touchscreen, select: Action and Description
Menu Item
Press the settings icon.
Settings
Display
Then select from the following:
When set to On, lets you use the automatic dimming feature.
Auto Dim
When set to Off you are able to adjust the brightness of the screen.
Make the screen display brighter or dimmer.
Brightness
Allows you to switch the display off. It also allows you to set the screen
to a certain brightness or have the system automatically change based
on the outside light level.
Mode
If you also select:These features will allow you to adjust the dimming of
your screen.
Auto
Night
Allows you to adjust screen dimming as the outside lighting conditions
change from day to night.
Auto Dim
Manual Offset
Allows you to display the default photo or upload your own.
Edit Wallpaper
383
Super Duty (TFA) Canada/United States of America, enUSA, First Printing MyFord Touch
™
(If Equipped)
Page 434 of 507

Touch the + or – to increase or decrease the air temperature on the passenger
side of the vehicle.
Touch the heated seat icon to turn the heated seat off and on (if equipped).
Touch the climate-controlled seat icon to turn the climate-controlled seat off
and on (if equipped).
Note: If your vehicle is equipped with a
wood-trimmed steering wheel, it does not
heat between the 10 o'clock and 2 o'clock
positions. Climate Control Voice Commands Press the voice button on the
steering wheel controls. When
prompted, say any of the
following or a similar command: Voice commands
Climate On
Climate Off Adjust the temperature between
59.0°F
(15°C)-86.0°F (30°C).
Set temperature
NAVIGATION
Note: The navigation SD card must be in
the SD card slot to operate the navigation
system. If you need a replacement SD card,
see an authorized dealer.
Note: The SD card slot is spring-loaded. To
remove the SD card, just push the card in
and release it. Do not attempt to pull the
card out to remove it; this could cause
damage.
Your navigation system is comprised of
two main features, destination mode and
map mode. Destination Mode
To set a destination, press the green
corner of your touchscreen, then press: Menu Item
Dest.
Choose any of the following:
My Home
Favorites
Previous Destinations
Point of Interest
Emergency
Street Address
Intersection
City Center
431
Super Duty (TFA) Canada/United States of America, enUSA, First Printing MyFord Touch
™
(If Equipped)E142599
Page 504 of 507

Rear Seats........................................................122
Folding the Rear Seat Back (Crew Cab)
........................................................................\
....... 122
Folding up the Rear Seat Cushion................122
Rear Under Seat Storage (Crew Cab).........123
Returning the Seat to the Seating Position.............................................................. 122
Rear View Camera.......................................180 Using the Rear View Camera System........180
Rear View Camera See: Rear View Camera................................... 180
Recommended Towing Weights............193 Calculating the Maximum Loaded Trailer
Weight for Your Vehicle............................... 196
Refueling..........................................................146 Fuel Filler Cap....................................................... 147
Remote Control...............................................47 Car Finder................................................................ 48
Integrated Keyhead Transmitters .................. 47
Memory Feature................................................... 48
Remote Start ........................................................ 48
Replacing the Battery......................................... 47
Sounding a Panic Alarm.................................... 48
Remote Start
..................................................116
Automatic Settings............................................. 116
Removing a Headlamp..............................249
Removing the Tailgate
.................................60
Repairing Minor Paint Damage...............261
Replacement Parts Recommendation.........................................11
Collision Repairs..................................................... 11
Scheduled Maintenance and Mechanical Repairs................................................................... 11
Warranty on Replacement Parts..................... 12
Replacing a Lost Key or Remote Control............................................................50
Reporting Safety Defects (Canada Only)..............................................................222
Reporting Safety Defects (U.S. Only)...............................................................221 Roadside Assistance
...................................212
Vehicles Sold in Canada: Getting Roadside
Assistance......................................................... 212
Vehicles Sold in Canada: Using Roadside Assistance......................................................... 212
Vehicles Sold in the United States: Getting Roadside Assistance.................................... 212
Vehicles Sold in the United States: Using Roadside Assistance.................................... 212
Roadside Emergencies...............................212
Running-In See: Breaking-In................................................. 207
Running Out of Fuel....................................146
S
Safety Belt Height Adjustment.................33
Safety Belt Minder.........................................34 Belt-Minder™........................................................ 34
Safety Belts
......................................................29
Principle of Operation........................................ 29
Safety Belt Warning Lamp and Indicator Chime...............................................................33
Conditions of operation..................................... 34
Safety Canopy ™
............................................44
Safety Precautions......................................144
Satellite Radio
..............................................325
Satellite Radio Electronic Serial Number
(ESN)................................................................ 326
Satellite Radio Reception Factors...............326
SIRIUS® Satellite Radio Service.................. 326
Troubleshooting.................................................. 327
Scheduled Maintenance Record
...........462
Scheduled Maintenance...........................453
Seats...................................................................117
Security..............................................................64
Settings...........................................................382 Clock....................................................................... 382
Display................................................................... 383
Settings................................................................. 386
Sound.................................................................... 384
Vehicle................................................................... 384
Side Airbags
.....................................................43
Sitting in the Correct Position....................117
Sliding Windows
.............................................79
Power Sliding Back Window............................ 79
Snow Chains See: Using Snow Chains................................. 284
501
Super Duty (TFA) Canada/United States of America, enUSA, First Printing Index