2016 FORD EXPLORER tow
[x] Cancel search: towPage 173 of 541
•
Make sure the system is unplugged and
properly stowed before starting and
driving your vehicle. Make sure the
protective cover seals the prongs of the
block heater cord plug when not in use.
• Make sure the heater system is
checked for proper operation before
winter.
Using the Engine Block Heater
Make sure the receptacle terminals are
clean and dry prior to use. Clean them with
a dry cloth if necessary.
The heater uses 0.4 to 1.0 kilowatt-hours
of energy per hour of use. The system does
not have a thermostat. It achieves
maximum temperature after
approximately three hours of operation.
Using the heater longer than three hours
does not improve system performance and
unnecessarily uses electricity.
170
Explorer (TUB), enUSA, First Printing Starting and Stopping the Engine
Page 175 of 541
FUEL QUALITY
Choosing the Right Fuel
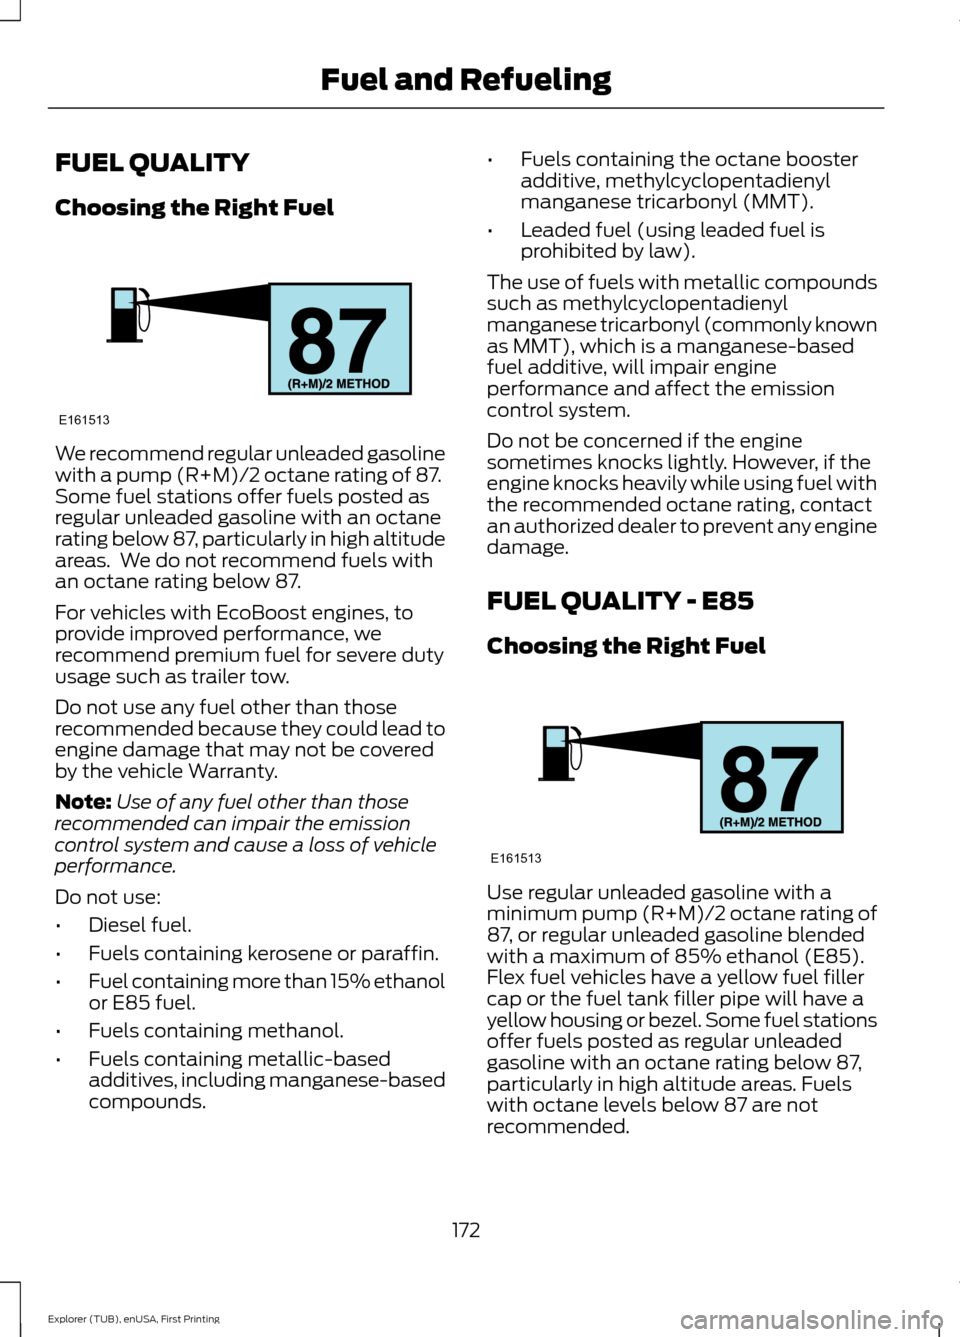
We recommend regular unleaded gasoline
with a pump (R+M)/2 octane rating of 87.
Some fuel stations offer fuels posted as
regular unleaded gasoline with an octane
rating below 87, particularly in high altitude
areas. We do not recommend fuels with
an octane rating below 87.
For vehicles with EcoBoost engines, to
provide improved performance, we
recommend premium fuel for severe duty
usage such as trailer tow.
Do not use any fuel other than those
recommended because they could lead to
engine damage that may not be covered
by the vehicle Warranty.
Note:
Use of any fuel other than those
recommended can impair the emission
control system and cause a loss of vehicle
performance.
Do not use:
• Diesel fuel.
• Fuels containing kerosene or paraffin.
• Fuel containing more than 15% ethanol
or E85 fuel.
• Fuels containing methanol.
• Fuels containing metallic-based
additives, including manganese-based
compounds. •
Fuels containing the octane booster
additive, methylcyclopentadienyl
manganese tricarbonyl (MMT).
• Leaded fuel (using leaded fuel is
prohibited by law).
The use of fuels with metallic compounds
such as methylcyclopentadienyl
manganese tricarbonyl (commonly known
as MMT), which is a manganese-based
fuel additive, will impair engine
performance and affect the emission
control system.
Do not be concerned if the engine
sometimes knocks lightly. However, if the
engine knocks heavily while using fuel with
the recommended octane rating, contact
an authorized dealer to prevent any engine
damage.
FUEL QUALITY - E85
Choosing the Right Fuel Use regular unleaded gasoline with a
minimum pump (R+M)/2 octane rating of
87, or regular unleaded gasoline blended
with a maximum of 85% ethanol (E85).
Flex fuel vehicles have a yellow fuel filler
cap or the fuel tank filler pipe will have a
yellow housing or bezel. Some fuel stations
offer fuels posted as regular unleaded
gasoline with an octane rating below 87,
particularly in high altitude areas. Fuels
with octane levels below 87 are not
recommended.
172
Explorer (TUB), enUSA, First Printing Fuel and RefuelingE161513 E161513
Page 180 of 541
Keep a record for at least 1 month and
record the type of driving (city or highway).
This provides an accurate estimate of the
vehicle
’s fuel economy under current
driving conditions. Additionally, keeping
records during summer and winter show
how temperature impacts fuel economy.
In general, lower temperatures mean lower
fuel economy.
Conditions
• Heavily loading a vehicle or towing a
trailer may reduce fuel economy at any
speed.
• Carrying unnecessary weight may
reduce fuel economy (approximately
1 mpg [0.4 km/L] is lost for every 400
pounds [180 kilograms] of weight
carried).
• Adding certain accessories to your
vehicle (for example bug deflectors,
rollbars/light bars, running boards, ski
racks) may reduce fuel economy.
• Using fuel blended with alcohol may
lower fuel economy.
• Fuel economy may decrease with lower
temperatures during the first 8– 10
miles (12 –16 kilometers) of driving.
• Driving on flat terrain offers improved
fuel economy as compared to driving
on hilly terrain.
• Transmissions give their best fuel
economy when operated in the top
cruise gear and with steady pressure
on the gas pedal.
• Close windows for high speed driving. EMISSION CONTROL SYSTEM WARNINGS
Do not park, idle, or drive your vehicle
in dry grass or other dry ground cover.
The emission system heats up the
engine compartment and exhaust system,
which can start a fire. Exhaust leaks may result in entry of
harmful and potentially lethal fumes
into the passenger compartment. If
you smell exhaust fumes inside your
vehicle, have your dealer inspect your
vehicle immediately. Do not drive if you
smell exhaust fumes. Your vehicle is equipped with various
emission control components and a
catalytic converter that will enable your
vehicle to comply with applicable exhaust
emission standards. To make sure that the
catalytic converter and other emission
control components continue to work
properly:
•
Use only the specified fuel listed.
• Avoid running out of fuel.
• Do not turn off the ignition while your
vehicle is moving, especially at high
speeds.
• Have the items listed in scheduled
maintenance information performed
according to the specified schedule.
The scheduled maintenance items listed
in scheduled maintenance information are
essential to the life and performance of
your vehicle and to its emissions system.
If you use parts other than Ford, Motorcraft
or Ford-authorized parts for maintenance
replacements, or for service of
components affecting emission control,
such non-Ford parts should be the
equivalent to genuine Ford Motor Company
parts in performance and durability.
177
Explorer (TUB), enUSA, First Printing Fuel and Refueling
Page 185 of 541
Upshifts when accelerating (recom-
mended for best fuel economy)
Shift from:15 mph (24 km/h)
1 - 2
25 mph (40 km/h)
2 - 3
40 mph (64 km/h)
3 - 4
45 mph (72 km/h)
4 - 5
50 mph (80 km/h)
5 - 6
The instrument cluster will display the
selected gear that you are currently in and
a shift indicator arrow to assist in
optimizing shifting.
SelectShift will automatically make some
shifts for you in the event that your engine
speed is running at too high, or too low an
RPM.
Note: Engine damage may occur if
excessive engine revving is held without
shifting.
Brake-Shift Interlock WARNINGS
Do not drive your vehicle until you
verify that the brake lamps are
working.
When doing this procedure, you will
be taking the vehicle out of park
which means the vehicle can roll
freely. To avoid unwanted vehicle
movement, always fully set the parking
brake prior to doing this procedure. Use
wheel chocks if appropriate. If the parking brake is fully released,
but the brake warning lamp remains
illuminated, the brakes may not be
working properly. See your authorized
dealer. Use the brake shift interlock lever to move
the gearshift lever from the park position
in the event of an electrical malfunction or
if your vehicle has a dead battery.
Apply the parking brake and turn the
ignition off before performing this
procedure.
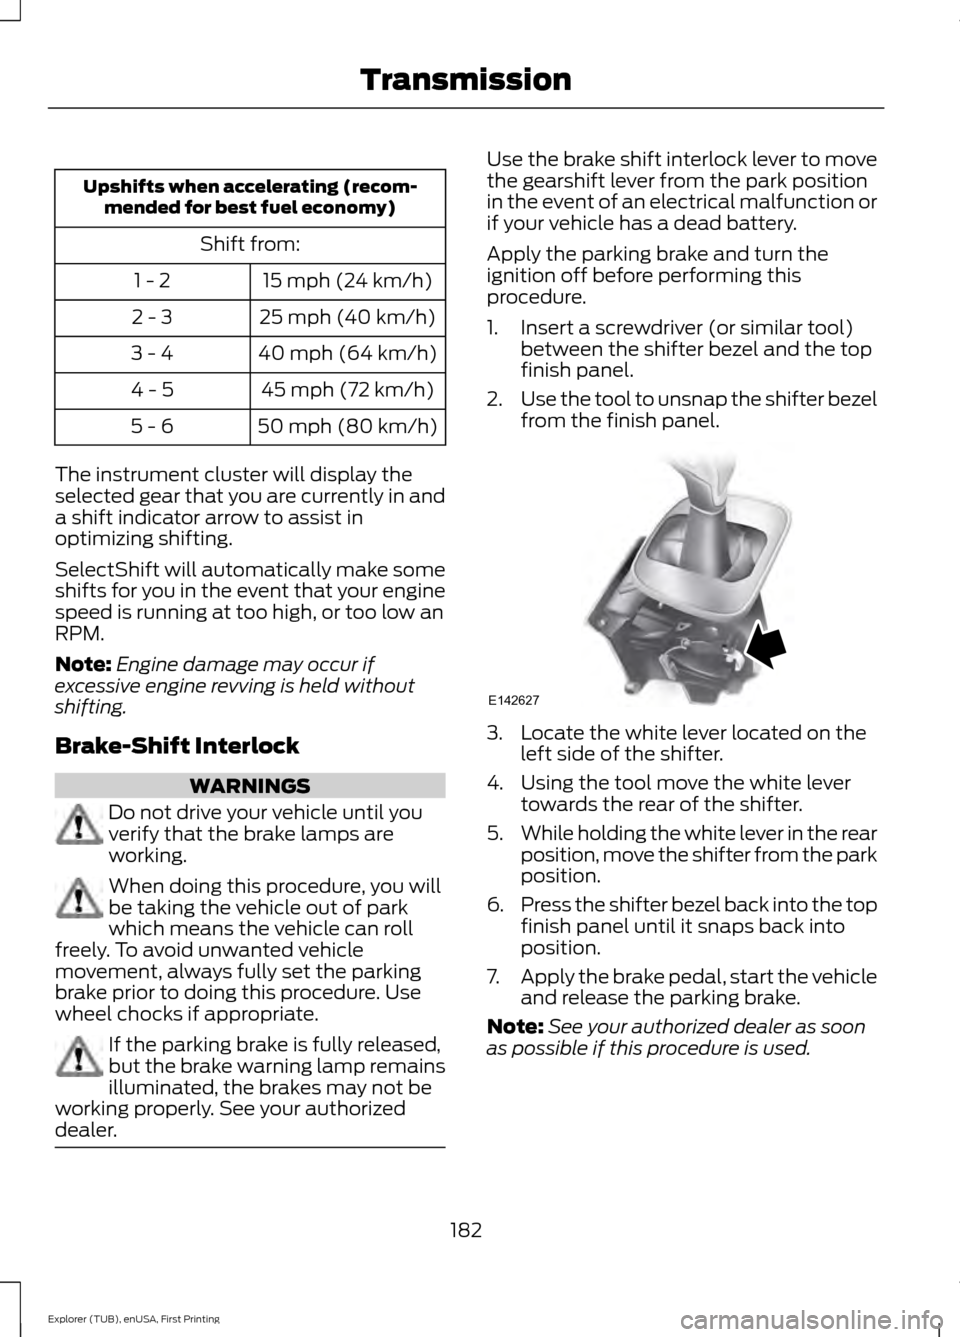
1. Insert a screwdriver (or similar tool)
between the shifter bezel and the top
finish panel.
2. Use the tool to unsnap the shifter bezel
from the finish panel. 3. Locate the white lever located on the
left side of the shifter.
4. Using the tool move the white lever towards the rear of the shifter.
5. While holding the white lever in the rear
position, move the shifter from the park
position.
6. Press the shifter bezel back into the top
finish panel until it snaps back into
position.
7. Apply the brake pedal, start the vehicle
and release the parking brake.
Note: See your authorized dealer as soon
as possible if this procedure is used.
182
Explorer (TUB), enUSA, First Printing TransmissionE142627
Page 192 of 541
GENERAL INFORMATION
Note:
Occasional brake noise is normal. If
a metal-to-metal, continuous grinding or
continuous squeal sound is present, the
brake linings may be worn-out and an
authorized dealer should check them. If the
vehicle has continuous vibration or shudder
in the steering wheel while braking, an
authorized dealer should check your vehicle.
Note: Brake dust may accumulate on the
wheels, even under normal driving
conditions. Some dust is inevitable as the
brakes wear and does not contribute to
brake noise. See Cleaning the Alloy
Wheels (page 304). See
Warning Lamps and
Indicators (page 96).
Wet brakes result in reduced braking
efficiency. Gently press the brake pedal a
few times when driving from a car wash or
standing water to dry the brakes.
Brake Over Accelerator
In the event the accelerator pedal
becomes stuck or entrapped, apply steady
and firm pressure to the brake pedal to
slow the vehicle and reduce engine power.
If you experience this condition, apply the
brakes and bring your vehicle to a safe
stop. Switch the engine off, move the
transmission to park (P) and apply the
parking brake. Inspect the accelerator
pedal and the area around it for any items
or debris that may be obstructing its
movement. If none are found and the
condition persists, have your vehicle towed
to the nearest authorized dealer. Emergency Brake Assist
Emergency brake assist detects when you
brake heavily by measuring the rate at
which you press the brake pedal. It
provides maximum braking efficiency as
long as you press the pedal. Emergency
brake assist can reduce stopping distances
in critical situations.
Anti-lock Brake System
This system helps you maintain steering
control during emergency stops by keeping
the brakes from locking.
This lamp momentarily
illuminates when you switch the
ignition on. If the light does not
illuminate during start up, remains on or
flashes, the anti-lock braking system may
be disabled. Have the system checked by
an authorized dealer. If the anti-lock brake
system is disabled, normal braking is still
effective. If the brake warning lamp
illuminates with the parking
brake released, have your brake
system serviced immediately.
HINTS ON DRIVING WITH
ANTI-LOCK BRAKES
Note: When the system is operating, the
brake pedal will pulse and may travel
further. Maintain pressure on the brake
pedal. You may also hear a noise from the
system. This is normal.
The anti-lock braking system will not
eliminate the risks when:
• You drive too closely to the vehicle in
front of you.
• Your vehicle is hydroplaning.
• You take corners too fast.
• The road surface is poor.
189
Explorer (TUB), enUSA, First Printing BrakesE138644 E138644
Page 198 of 541
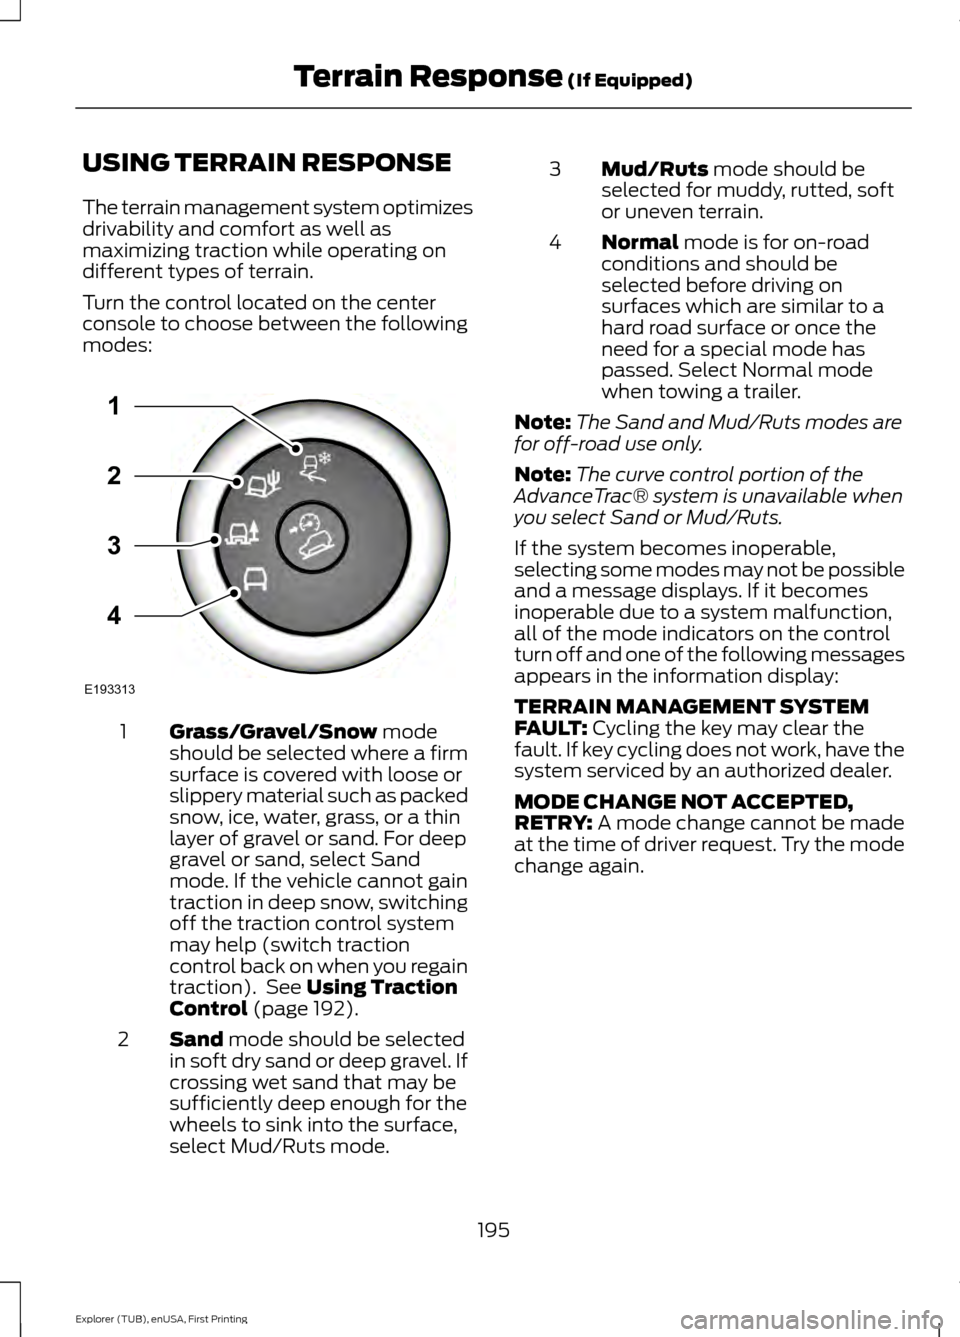
USING TERRAIN RESPONSE
The terrain management system optimizes
drivability and comfort as well as
maximizing traction while operating on
different types of terrain.
Turn the control located on the center
console to choose between the following
modes:
Grass/Gravel/Snow mode
should be selected where a firm
surface is covered with loose or
slippery material such as packed
snow, ice, water, grass, or a thin
layer of gravel or sand. For deep
1
gravel or sand, select Sand
mode. If the vehicle cannot gain
traction in deep snow, switching
off the traction control system
may help (switch traction
control back on when you regain
traction). See
Using Traction
Control (page 192).
Sand
mode should be selected
in soft dry sand or deep gravel. If
crossing wet sand that may be
sufficiently deep enough for the
wheels to sink into the surface,
select Mud/Ruts mode.
2 Mud/Ruts
mode should be
selected for muddy, rutted, soft
or uneven terrain.
3
Normal
mode is for on-road
conditions and should be
selected before driving on
surfaces which are similar to a
hard road surface or once the
need for a special mode has
passed. Select Normal mode
when towing a trailer.
4
Note: The Sand and Mud/Ruts modes are
for off-road use only.
Note: The curve control portion of the
AdvanceTrac® system is unavailable when
you select Sand or Mud/Ruts.
If the system becomes inoperable,
selecting some modes may not be possible
and a message displays. If it becomes
inoperable due to a system malfunction,
all of the mode indicators on the control
turn off and one of the following messages
appears in the information display:
TERRAIN MANAGEMENT SYSTEM
FAULT:
Cycling the key may clear the
fault. If key cycling does not work, have the
system serviced by an authorized dealer.
MODE CHANGE NOT ACCEPTED,
RETRY:
A mode change cannot be made
at the time of driver request. Try the mode
change again.
195
Explorer (TUB), enUSA, First Printing Terrain Response
(If Equipped)E193313
3
2
1
4
Page 202 of 541
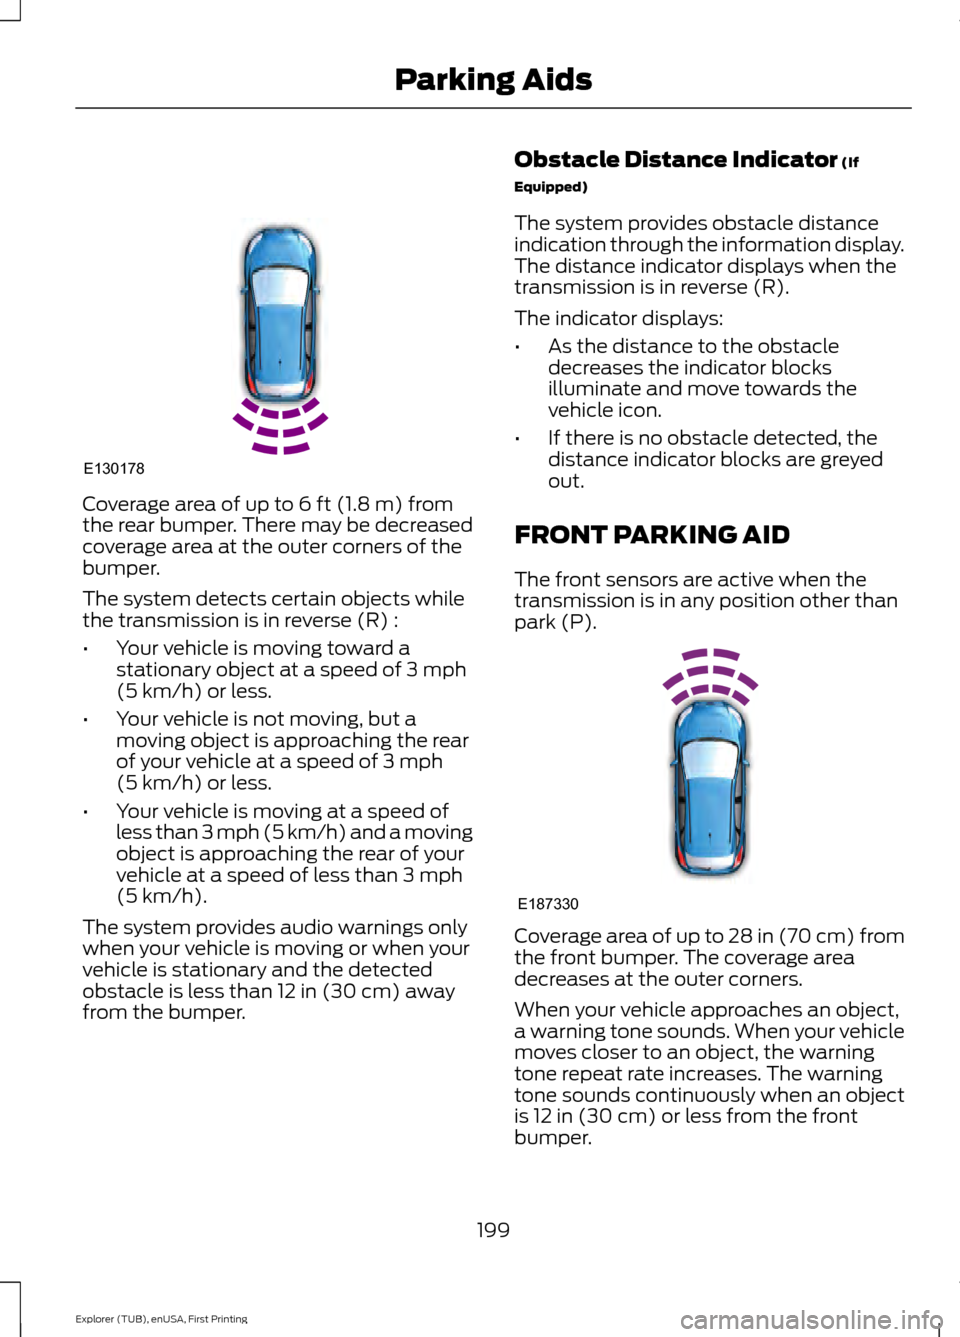
Coverage area of up to 6 ft (1.8 m) from
the rear bumper. There may be decreased
coverage area at the outer corners of the
bumper.
The system detects certain objects while
the transmission is in reverse (R) :
• Your vehicle is moving toward a
stationary object at a speed of
3 mph
(5 km/h) or less.
• Your vehicle is not moving, but a
moving object is approaching the rear
of your vehicle at a speed of
3 mph
(5 km/h) or less.
• Your vehicle is moving at a speed of
less than 3 mph (5 km/h) and a moving
object is approaching the rear of your
vehicle at a speed of less than
3 mph
(5 km/h).
The system provides audio warnings only
when your vehicle is moving or when your
vehicle is stationary and the detected
obstacle is less than
12 in (30 cm) away
from the bumper. Obstacle Distance Indicator
(If
Equipped)
The system provides obstacle distance
indication through the information display.
The distance indicator displays when the
transmission is in reverse (R).
The indicator displays:
• As the distance to the obstacle
decreases the indicator blocks
illuminate and move towards the
vehicle icon.
• If there is no obstacle detected, the
distance indicator blocks are greyed
out.
FRONT PARKING AID
The front sensors are active when the
transmission is in any position other than
park (P). Coverage area of up to
28 in (70 cm) from
the front bumper. The coverage area
decreases at the outer corners.
When your vehicle approaches an object,
a warning tone sounds. When your vehicle
moves closer to an object, the warning
tone repeat rate increases. The warning
tone sounds continuously when an object
is
12 in (30 cm) or less from the front
bumper.
199
Explorer (TUB), enUSA, First Printing Parking AidsE130178 E187330
Page 203 of 541
Obstacle Distance Indicator (If
Equipped)
The system provides obstacle distance
indication through the information display.
The indicator displays:
• As the distance to the obstacle
decreases the indicator blocks
illuminate and move towards the
vehicle icon.
• If there is no obstacle detected, the
distance indicator blocks are greyed
out.
If the transmission is in reverse (R), the
front sensing system provides audio
warnings when your vehicle is moving and
the detected obstacle is moving towards
your vehicle. Once the vehicle is stationary,
the audio warning will be stopped after 2
seconds.
If the transmission is in drive (D) or any
other forward gear (for example, low (L),
sport (S) or any forward gear in a manual
transmission), the front sensing system
provides audio and visual warnings when
your vehicle is moving below a speed of
7 mph (12 km/h) and an obstacle is located
inside the detection area. Once the vehicle
is stationary, the audio warning will be
stopped after 2 seconds and the visual
indication stops after 4 seconds. If the
obstacles detected are within
12 in
(30 cm), the visual indication remains on.
If the transmission is in neutral (N), the
system provides visual indication only
when your vehicle is moving at
7 mph
(12 km/h) or below and an obstacle is
located inside the detection area. Once
your vehicle is stationary, the visual
indication will stop after 4 seconds. SIDE SENSING SYSTEM
The side sensing system uses the front and
rear side sensors to detect and map
obstacles that are near to the sides of your
vehicle. The side sensors are active when
the transmission is in any position other
than park (P).
Note:
Obstacles that enter the side
detection area without being detected and
mapped by the front or rear side sensors will
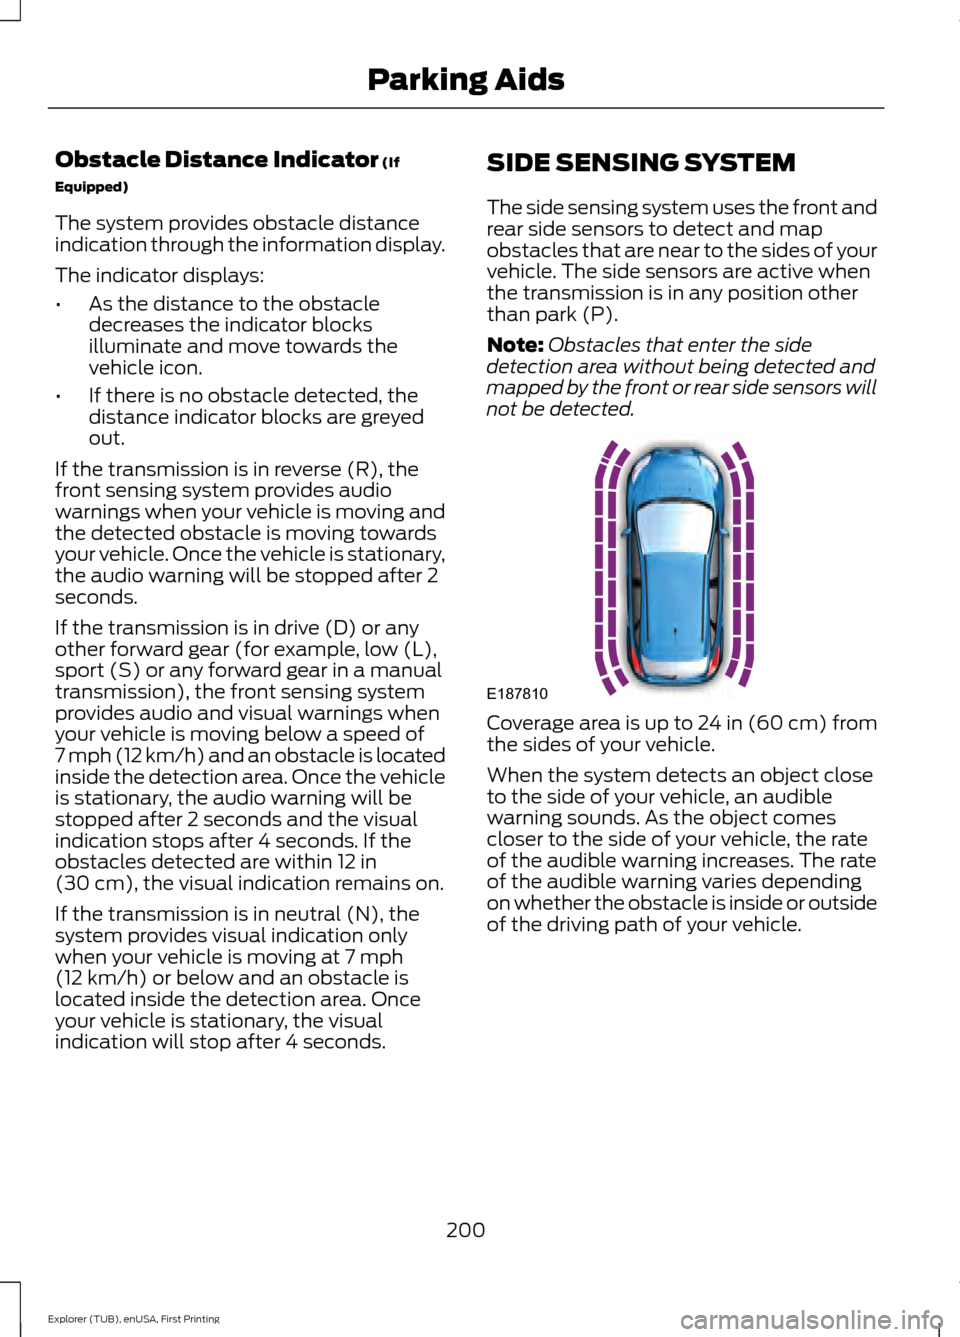
not be detected. Coverage area is up to 24 in (60 cm) from
the sides of your vehicle.
When the system detects an object close
to the side of your vehicle, an audible
warning sounds. As the object comes
closer to the side of your vehicle, the rate
of the audible warning increases. The rate
of the audible warning varies depending
on whether the obstacle is inside or outside
of the driving path of your vehicle.
200
Explorer (TUB), enUSA, First Printing Parking AidsE187810