2016 FORD EXPLORER change wheel
[x] Cancel search: change wheelPage 225 of 541

Aid only – Provides an assistance steering
torque input toward the lane center when
the system detects an unintended lane
departure.
Alert
A
AidB
Alert + Aid – Provides an assistance
steering torque input toward the lane
center. If your vehicle continues drifting out
of the lane, the system provides a steering
wheel vibration.
Note: The alert and aid diagrams illustrate
general zone coverage. They do not provide
exact zone parameters.
Intensity: This setting affects the intensity
of the steering wheel vibration used for the
alert and alert + aid modes. This setting
does not affect the aid mode.
• Low
• Normal
• High System Display
When you switch on the system, an
overhead graphic of a vehicle with lane
markings will display in the information
display. If you select aid mode when you
switch on the system, a separate white
icon will also appear or in some vehicles
arrows will display with the lane markings.
When you switch off the system, the lane
marking graphics will not display.
While the system is on, the color of the
lane markings will change to indicate the
system status.
Gray: Indicates that the system is
temporarily unable to provide a warning
or intervention on the indicated side(s).
This may be because:
•
Your vehicle is under the activation
speed.
• The turn indicator is active.
• Your vehicle is in a dynamic maneuver.
222
Explorer (TUB), enUSA, First Printing Driving AidsE165517 E151660
Page 251 of 541

•
Shift to a lower gear when driving down
a long or steep hill. Do not apply the
brakes continuously, as they may
overheat and become less effective.
• If your transmission is equipped with a
Grade Assist or Tow/Haul feature, use
this feature when towing. This provides
engine braking and helps eliminate
excessive transmission shifting for
optimum fuel economy and
transmission cooling.
• Allow more distance for stopping with
a trailer attached. Anticipate stops and
brake gradually.
• Avoid parking on a grade. However, if
you must park on a grade:
1. Turn the steering wheel to point your vehicle tires away from traffic flow.
2. Set your vehicle parking brake.
3. Place the automatic transmission in position P.
4. Place wheel chocks in front and back of the trailer wheels. (Chocks not
included with vehicle.)
Launching or Retrieving a Boat or
Personal Watercraft (PWC)
Note: Disconnect the wiring to the trailer
before
backing the trailer into the water.
Note: Reconnect the wiring to the trailer
after
removing the trailer from the water.
When backing down a ramp during boat
launching or retrieval:
• Do not allow the static water level to
rise above the bottom edge of the rear
bumper.
• Do not allow waves to break higher
than 6 inches (15 centimeters) above
the bottom edge of the rear bumper. Exceeding these limits may allow water to
enter vehicle components:
•
Causing internal damage to the
components.
• Affecting driveability, emissions, and
reliability.
Replace the rear axle lubricant anytime
the rear axle has been submerged in water.
Water may have contaminated the rear
axle lubricant, which is not normally
checked or changed unless a leak is
suspected or other axle repair is required.
TRANSPORTING THE VEHICLE If you need to have your vehicle towed,
contact a professional towing service or,
if you are a member of a roadside
assistance program, your roadside
assistance service provider.
248
Explorer (TUB), enUSA, First Printing TowingE143886
Page 255 of 541

BREAKING-IN
You need to break in new tires for
approximately 300 miles (480
kilometers). During this time, your vehicle
may exhibit some unusual driving
characteristics.
Avoid driving too fast during the first 1000
miles (1600 kilometers). Vary your speed
frequently and change up through the
gears early. Do not labor the engine.
Do not tow during the first 1000 miles
(1600 kilometers).
ECONOMICAL DRIVING
Your fuel economy is affected by several
things, such as how you drive, the
conditions you drive under, and how you
maintain your vehicle.
You may improve your fuel economy by
keeping these things in mind:
•
Accelerate and slow down in a smooth,
moderate fashion.
• Drive at steady speeds without
stopping.
• Anticipate stops; slowing down may
eliminate the need to stop.
• Combine errands and minimize
stop-and-go driving.
• Close the windows for high-speed
driving.
• Drive at reasonable speeds (traveling
at 55 mph [88 km/h] uses 15% less
fuel than traveling at 65 mph [105
km/h]).
• Keep the tires properly inflated and use
only the recommended size.
• Use the recommended engine oil.
• Perform all regularly scheduled
maintenance. Avoid these actions; they reduce your fuel
economy:
•
Sudden accelerations or hard
accelerations.
• Revving the engine before turning it off.
• Idle for periods longer than one minute.
• Warm up your vehicle on cold
mornings.
• Use the air conditioner or front
defroster.
• Use the speed control in hilly terrain.
• Rest your foot on the brake pedal while
driving.
• Drive a heavily loaded vehicle or tow a
trailer.
• Carry unnecessary weight
(approximately 1 mpg [0.4 km/L] is
lost for every 400 lb [180 kilogram] of
weight carried).
• Driving with the wheels out of
alignment.
Conditions
• Heavily loading a vehicle or towing a
trailer may reduce fuel economy at any
speed.
• Adding certain accessories to your
vehicle (for example bug deflectors,
rollbars, light bars, running boards, ski
racks or luggage racks) may reduce
fuel economy.
• To maximize the fuel economy, drive
with the tonneau cover installed (if
equipped).
• Using fuel blended with alcohol may
lower fuel economy.
• Fuel economy may decrease with lower
temperatures during the first 8– 10
miles (12 –16 kilometers) of driving.
• Driving on flat terrain offers improved
fuel economy as compared to driving
on hilly terrain.
252
Explorer (TUB), enUSA, First Printing Driving Hints
Page 285 of 541
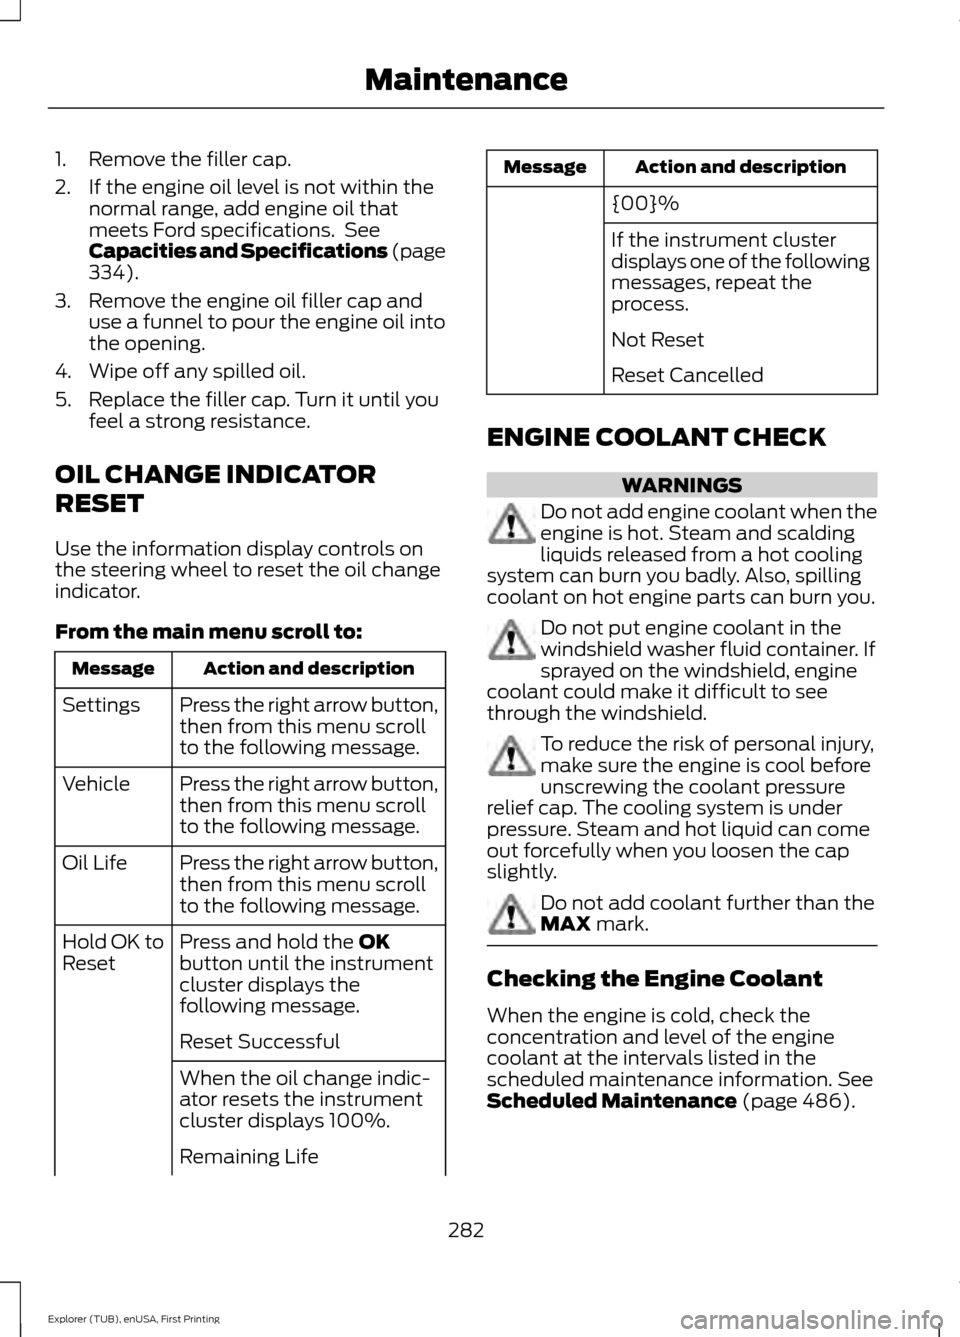
1. Remove the filler cap.
2. If the engine oil level is not within the
normal range, add engine oil that
meets Ford specifications. See
Capacities and Specifications (page
334).
3. Remove the engine oil filler cap and use a funnel to pour the engine oil into
the opening.
4. Wipe off any spilled oil.
5. Replace the filler cap. Turn it until you feel a strong resistance.
OIL CHANGE INDICATOR
RESET
Use the information display controls on
the steering wheel to reset the oil change
indicator.
From the main menu scroll to: Action and description
Message
Press the right arrow button,
then from this menu scroll
to the following message.
Settings
Press the right arrow button,
then from this menu scroll
to the following message.
Vehicle
Press the right arrow button,
then from this menu scroll
to the following message.
Oil Life
Press and hold the
OK
button until the instrument
cluster displays the
following message.
Hold OK to
Reset
Reset Successful
When the oil change indic-
ator resets the instrument
cluster displays 100%.
Remaining Life Action and description
Message
{00}%
If the instrument cluster
displays one of the following
messages, repeat the
process.
Not Reset
Reset Cancelled
ENGINE COOLANT CHECK WARNINGS
Do not add engine coolant when the
engine is hot. Steam and scalding
liquids released from a hot cooling
system can burn you badly. Also, spilling
coolant on hot engine parts can burn you. Do not put engine coolant in the
windshield washer fluid container. If
sprayed on the windshield, engine
coolant could make it difficult to see
through the windshield. To reduce the risk of personal injury,
make sure the engine is cool before
unscrewing the coolant pressure
relief cap. The cooling system is under
pressure. Steam and hot liquid can come
out forcefully when you loosen the cap
slightly. Do not add coolant further than the
MAX mark.
Checking the Engine Coolant
When the engine is cold, check the
concentration and level of the engine
coolant at the intervals listed in the
scheduled maintenance information.
See
Scheduled Maintenance (page 486).
282
Explorer (TUB), enUSA, First Printing Maintenance
Page 308 of 541
General
•
Store all vehicles in a dry, ventilated
place.
• Protect from sunlight, if possible.
• If vehicles are stored outside, they
require regular maintenance to protect
against rust and damage.
Body
• Wash your vehicle thoroughly to
remove dirt, grease, oil, tar or mud from
exterior surfaces, rear-wheel housing
and the underside of front fenders.
• Periodically wash your vehicle if it is
stored in exposed locations.
• Touch-up exposed or primed metal to
prevent rust.
• Cover chrome and stainless steel parts
with a thick coat of auto wax to prevent
discoloration. Re-wax as necessary
when you wash your vehicle.
• Lubricate all hood, door and luggage
compartment hinges and latches with
a light grade oil.
• Cover interior trim to prevent fading.
• Keep all rubber parts free from oil and
solvents.
Engine
• Change the engine oil and filter prior to
storage because used engine oil
contains contaminates which may
cause engine damage.
• Start the engine every 15 days for a
minimum of 15 minutes. Run at fast idle
with the climate controls set to defrost
until the engine reaches normal
operating temperature. •
With your foot on the brake, shift
through all the gears while the engine
is running.
• We recommend that you change the
engine oil before you use your vehicle
again.
Fuel system
• Fill the fuel tank with high-quality fuel
until the first automatic shutoff of the
fuel pump nozzle.
Cooling system
• Protect against freezing temperatures.
• When removing your vehicle from
storage, check coolant fluid level.
Confirm that there are no cooling
system leaks and that fluid is at the
recommended level.
Battery
• Check and recharge as necessary. Keep
connections clean.
• If storing your vehicle for more than 30
days without recharging the battery,
we recommend that you disconnect
the battery cables to maintain battery
charge for quick starting.
Note: It is necessary to reset memory
features if battery cables are disconnected.
Brakes
• Make sure the brakes and parking brake
release fully.
Tires
• Maintain recommended air pressure.
305
Explorer (TUB), enUSA, First Printing Vehicle Care
Page 310 of 541
GENERAL INFORMATION
Use only approved wheel and tire sizes,
using other sizes could damage your
vehicle. If you change the diameter of the
tires from that fitted at the factory, the
speedometer may not display the correct
speed. Take your vehicle to an authorized
Ford dealer to have the system
reprogrammed. If you intend to change the
size of the wheels from that fitted by the
manufacturer, you can check the suitability
with an authorized dealer.
Additional information related to the
functionality and maintenance of your tires
can be found later in this chapter. See Tire
Care (page 310).
The Ford recommended tire inflation
pressures can be found on the Tire Label,
which is located on the B-pillar or the edge
of the driver's door. This information can
also be found on the Safety Compliance
Certification Label (affixed to either the
door hinge pillar, door-latch post, or the
door edge that meets the door last post;
next to the driver ’s seating position).
Ford strongly recommends maintaining
these tire pressures at all times. Failure to
follow the tire pressure recommendations
can cause uneven treadwear patterns,
reduced fuel economy, and adversely
affect the way your vehicle handles.
Note: Check and set the tire pressure at the
ambient temperature in which you are
intending to drive your vehicle and when the
tires are cold.
Note: Check your tire pressures at least
once per month.
Set the pressure for your spare tire to the
highest value given for your vehicle and tire
size combination (if equipped). Notice to utility vehicle and truck
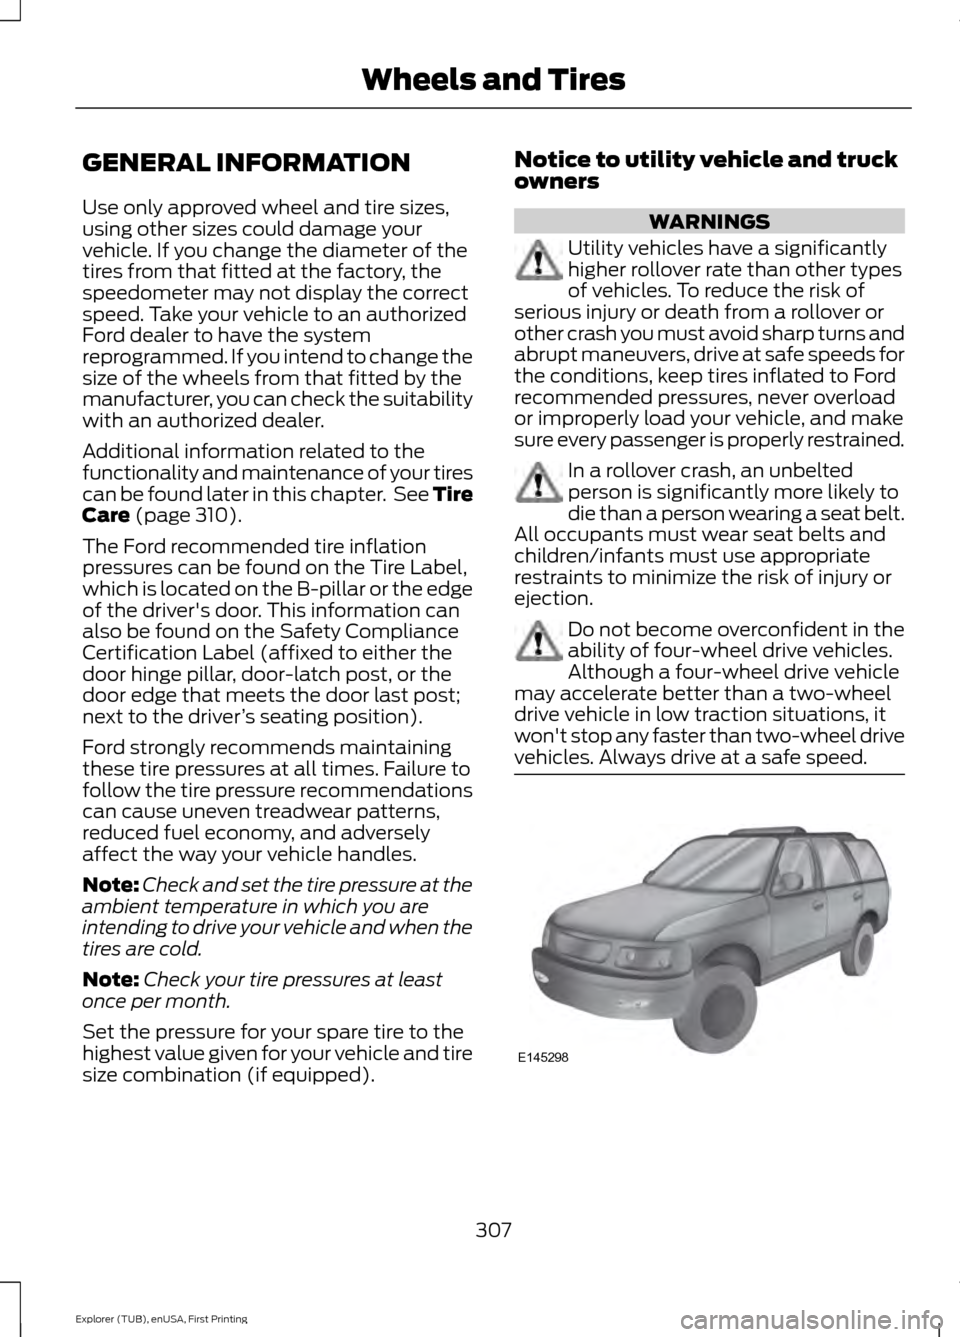
owners WARNINGS
Utility vehicles have a significantly
higher rollover rate than other types
of vehicles. To reduce the risk of
serious injury or death from a rollover or
other crash you must avoid sharp turns and
abrupt maneuvers, drive at safe speeds for
the conditions, keep tires inflated to Ford
recommended pressures, never overload
or improperly load your vehicle, and make
sure every passenger is properly restrained. In a rollover crash, an unbelted
person is significantly more likely to
die than a person wearing a seat belt.
All occupants must wear seat belts and
children/infants must use appropriate
restraints to minimize the risk of injury or
ejection. Do not become overconfident in the
ability of four-wheel drive vehicles.
Although a four-wheel drive vehicle
may accelerate better than a two-wheel
drive vehicle in low traction situations, it
won't stop any faster than two-wheel drive
vehicles. Always drive at a safe speed. 307
Explorer (TUB), enUSA, First Printing Wheels and TiresE145298
Page 316 of 541
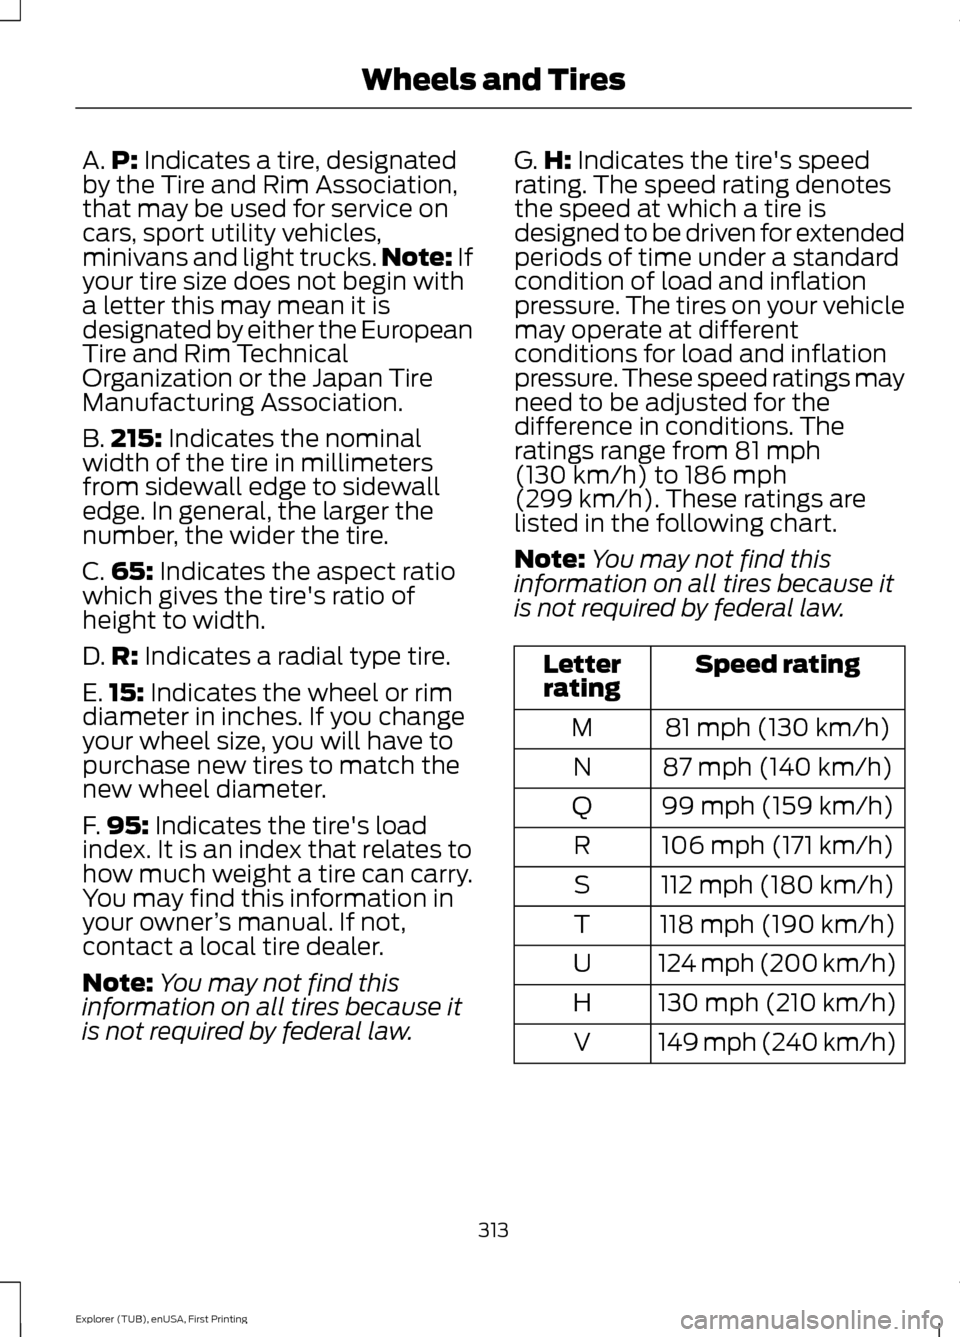
A.
P: Indicates a tire, designated
by the Tire and Rim Association,
that may be used for service on
cars, sport utility vehicles,
minivans and light trucks. Note:
If
your tire size does not begin with
a letter this may mean it is
designated by either the European
Tire and Rim Technical
Organization or the Japan Tire
Manufacturing Association.
B. 215:
Indicates the nominal
width of the tire in millimeters
from sidewall edge to sidewall
edge. In general, the larger the
number, the wider the tire.
C. 65:
Indicates the aspect ratio
which gives the tire's ratio of
height to width.
D. R:
Indicates a radial type tire.
E. 15:
Indicates the wheel or rim
diameter in inches. If you change
your wheel size, you will have to
purchase new tires to match the
new wheel diameter.
F. 95:
Indicates the tire's load
index. It is an index that relates to
how much weight a tire can carry.
You may find this information in
your owner ’s manual. If not,
contact a local tire dealer.
Note: You may not find this
information on all tires because it
is not required by federal law. G.
H:
Indicates the tire's speed
rating. The speed rating denotes
the speed at which a tire is
designed to be driven for extended
periods of time under a standard
condition of load and inflation
pressure. The tires on your vehicle
may operate at different
conditions for load and inflation
pressure. These speed ratings may
need to be adjusted for the
difference in conditions. The
ratings range from
81 mph
(130 km/h) to 186 mph
(299 km/h). These ratings are
listed in the following chart.
Note: You may not find this
information on all tires because it
is not required by federal law. Speed rating
Letter
rating
81 mph (130 km/h)
M
87 mph (140 km/h)
N
99 mph (159 km/h)
Q
106 mph (171 km/h)
R
112 mph (180 km/h)
S
118 mph (190 km/h)
T
124 mph (200 km/h)
U
130 mph (210 km/h)
H
149 mph (240 km/h)
V
313
Explorer (TUB), enUSA, First Printing Wheels and Tires
Page 320 of 541
C.
80: Indicates the aspect ratio
which gives the tire's ratio of
height to width. Numbers of 70 or
lower indicate a short sidewall.
D. D:
Indicates a diagonal type tire.
R:
Indicates a radial type tire.
E. 16:
Indicates the wheel or rim
diameter in inches. If you change
your wheel size, you will have to
purchase new tires to match the
new wheel diameter.
Recommended Tire Pressures
and Inflating Your Tires
Safe operation of your vehicle
requires that your tires are
properly inflated. Remember that
a tire can lose up to half of its air
pressure without appearing flat.
Every day before you drive, check
your tires. If one looks lower than
the others, use a tire gauge to
check the pressure of all tires and
adjust if required.
At least once a month and before
long trips, inspect each tire and
check the tire pressure with a tire
gauge (including spare, if
equipped). Inflate all tires to the
inflation pressure recommended
by Ford Motor Company. WARNING
Under-inflation is the most
common cause of tire failures
and may result in severe tire
cracking, tread separation, or
blowout, with unexpected loss of
vehicle control and increased risk
of injury. Under-inflation increase
sidewall flexing and rolling
resistance, resulting in heat
build-up and internal damage to
the tire. It also may result in
unnecessary tire stress, irregular
wear, loss of vehicle control, and
accidents. A tire can lose up to
half of its air pressure and not
appear flat. You are strongly urged to buy a
reliable tire pressure gauge, as
automatic service station gauges
may be inaccurate. Ford
recommends the use of a digital
or dial-type tire pressure gauge
rather than a stick-type tire
pressure gauge. Use the
recommended cold inflation
pressure for optimum tire
performance and wear.
Under-inflation or over-inflation
may cause uneven treadwear
patterns.
317
Explorer (TUB), enUSA, First Printing Wheels and Tires