2016 FORD EXPLORER Remove engine
[x] Cancel search: Remove enginePage 278 of 541
GENERAL INFORMATION
Have your vehicle serviced regularly to help
maintain its roadworthiness and resale
value. There is a large network of
authorized dealers that are there to help
you with their professional servicing
expertise. We believe that their specially
trained technicians are best qualified to
service your vehicle properly and expertly.
They are supported by a wide range of
highly specialized tools developed
specifically for servicing your vehicle.
To help you service your vehicle, we
provide scheduled maintenance
information which makes tracking routine
service easy. See Scheduled
Maintenance (page 486).
If your vehicle requires professional service,
an authorized dealer can provide the
necessary parts and service. Check your
warranty information to find out which
parts and services are covered.
Use only recommended fuels, lubricants,
fluids and service parts conforming to
specifications. Motorcraft® parts are
designed and built to provide the best
performance in your vehicle.
Precautions
• Do not work on a hot engine.
• Make sure that nothing gets caught in
moving parts.
• Do not work on a vehicle with the
engine running in an enclosed space,
unless you are sure you have enough
ventilation.
• Keep all open flames and other burning
material (such as cigarettes) away
from the battery and all fuel related
parts. Working with the Engine Off
1.
Set the parking brake and shift to park
(P).
2. Switch off the engine.
3. Block the wheels.
Working with the Engine On WARNING
To reduce the risk of vehicle damage
and/or personal burn injuries, do not
start your engine with the air cleaner
removed and do not remove it while the
engine is running. 1.
Set the parking brake and shift to park
(P).
2. Block the wheels
275
Explorer (TUB), enUSA, First Printing Maintenance
Page 284 of 541

ENGINE OIL DIPSTICK - 2.3L
ECOBOOST™
Minimum.
A
Maximum.
B
ENGINE OIL DIPSTICK - 3.5L
DURATEC/3.5L ECOBOOST™ MINA
MAX
B
ENGINE OIL CHECK
Note: Check the level before starting the
engine. Note:
Make sure that the level is between
the MIN and the MAX marks.
1. Make sure that your vehicle is on level ground.
2. Turn the engine off and wait 10 minutes
for the oil to drain into the oil pan.
3. Remove the dipstick and wipe it with a clean, lint-free cloth. Replace the
dipstick and remove it again to check
the oil level.
If the level is at the MIN mark, add oil
immediately.
Adding Engine Oil
Note: Do not remove the filler cap when
the engine is running.
Note: Do not add oil further than the MAX
mark. Oil levels above the MAX mark may
cause engine damage. Only use oils certified for gasoline engines
by the American Petroleum Institute (API).
An oil with this trademark symbol
conforms to the current engine and
emission system protection standards and
fuel economy requirements of the
International Lubricants Specification
Advisory Council (ILSAC), comprised of
U.S. and Japanese automobile
manufacturers.
281
Explorer (TUB), enUSA, First Printing MaintenanceE161560
AB E146429 E142732
Page 285 of 541
1. Remove the filler cap.
2. If the engine oil level is not within the
normal range, add engine oil that
meets Ford specifications. See
Capacities and Specifications (page
334).
3. Remove the engine oil filler cap and use a funnel to pour the engine oil into
the opening.
4. Wipe off any spilled oil.
5. Replace the filler cap. Turn it until you feel a strong resistance.
OIL CHANGE INDICATOR
RESET
Use the information display controls on
the steering wheel to reset the oil change
indicator.
From the main menu scroll to: Action and description
Message
Press the right arrow button,
then from this menu scroll
to the following message.
Settings
Press the right arrow button,
then from this menu scroll
to the following message.
Vehicle
Press the right arrow button,
then from this menu scroll
to the following message.
Oil Life
Press and hold the
OK
button until the instrument
cluster displays the
following message.
Hold OK to
Reset
Reset Successful
When the oil change indic-
ator resets the instrument
cluster displays 100%.
Remaining Life Action and description
Message
{00}%
If the instrument cluster
displays one of the following
messages, repeat the
process.
Not Reset
Reset Cancelled
ENGINE COOLANT CHECK WARNINGS
Do not add engine coolant when the
engine is hot. Steam and scalding
liquids released from a hot cooling
system can burn you badly. Also, spilling
coolant on hot engine parts can burn you. Do not put engine coolant in the
windshield washer fluid container. If
sprayed on the windshield, engine
coolant could make it difficult to see
through the windshield. To reduce the risk of personal injury,
make sure the engine is cool before
unscrewing the coolant pressure
relief cap. The cooling system is under
pressure. Steam and hot liquid can come
out forcefully when you loosen the cap
slightly. Do not add coolant further than the
MAX mark.
Checking the Engine Coolant
When the engine is cold, check the
concentration and level of the engine
coolant at the intervals listed in the
scheduled maintenance information.
See
Scheduled Maintenance (page 486).
282
Explorer (TUB), enUSA, First Printing Maintenance
Page 288 of 541
When Fail-Safe Mode Is Activated
WARNINGS
Fail-safe mode is for use during
emergencies only. Operate your
vehicle in fail-safe mode only as long
as necessary to bring your vehicle to rest
in a safe location and seek immediate
repairs. When in fail-safe mode, your
vehicle will have limited power, will not be
able to maintain high-speed operation, and
may completely shut down without
warning, potentially losing engine power,
power steering assist, and power brake
assist, which may increase the possibility
of a crash resulting in serious injury. Never remove the coolant reservoir
cap while the engine is running or hot.
You have limited engine power when in the
fail-safe mode, so drive your vehicle with
caution. Your vehicle will not maintain
high-speed operation and the engine will
operate poorly.
Remember that the engine is capable of
automatically shutting down to prevent
engine damage. In this situation:
1. Pull off the road as soon as safely
possible and switch off the engine.
2. Tow your vehicle to an authorized dealer.
3. If this is not possible, wait a short period for the engine to cool.
4. Check the coolant level and add if low.
5. Re-start the engine and drive your vehicle to an authorized dealer.
Note: Driving your vehicle without repair
increases the chance of engine damage.
Contact an authorized dealer as soon as
possible. Engine Fluid Temperature
Management (If Equipped) WARNINGS
To reduce the risk of crash and injury,
be prepared that the vehicle speed
may reduce and the vehicle may not
be able to accelerate with full power until
the fluid temperatures reduce. Never remove the coolant reservoir
cap while the engine is running or hot.
Your vehicle can pull a trailer, but because
of the added load, your vehicle
’s engine
may temporarily reach higher
temperatures during severe operating
conditions such as ascending a long or
steep grade while pulling a trailer in high
temperatures.
At this time, you may notice your engine
coolant temperature gauge needle move
toward the H and the POWER REDUCED
TO LOWER TEMP message may appear
in the information display.
You may notice a reduction in vehicle
speed caused by reduced engine power.
In order to manage the engine fluid
temperatures, your vehicle may enter this
mode if certain high-temperature and
high-load conditions take place. The
amount of speed reduction depends on
many factors such as vehicle loading,
towing, grade and ambient temperature.
If this occurs, there is no need to pull off
the road. You can continue to drive your
vehicle while this message is active.
The air conditioning may also cycle on and
off during severe operating conditions to
protect overheating of the engine. When
the engine coolant temperature decreases
to a normal operating temperature, the air
conditioning will turn on once again.
285
Explorer (TUB), enUSA, First Printing Maintenance
Page 290 of 541
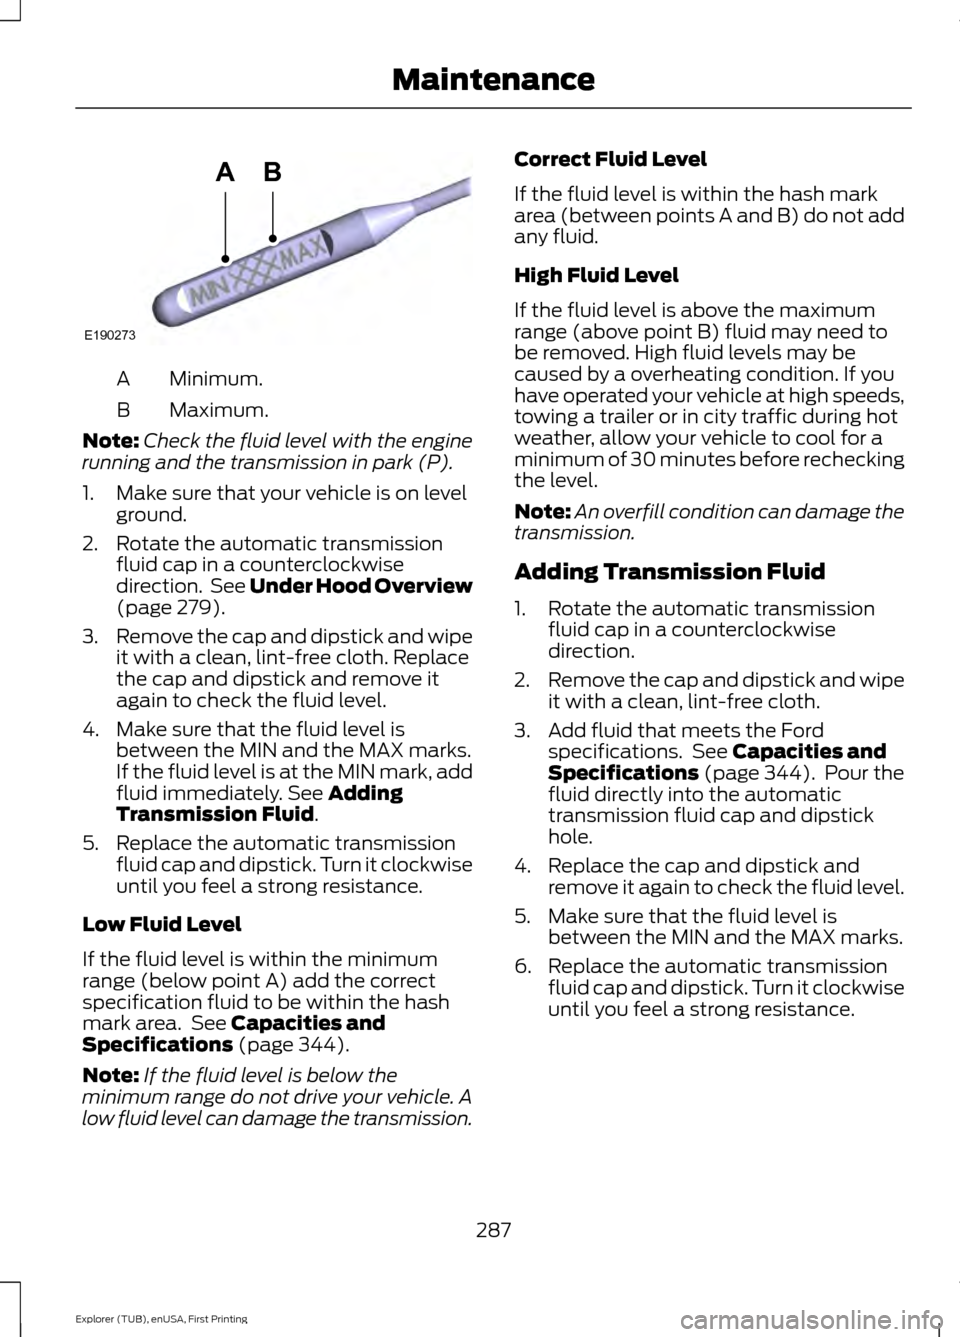
Minimum.
A
Maximum.
B
Note: Check the fluid level with the engine
running and the transmission in park (P).
1. Make sure that your vehicle is on level ground.
2. Rotate the automatic transmission fluid cap in a counterclockwise
direction. See Under Hood Overview
(page 279).
3. Remove the cap and dipstick and wipe
it with a clean, lint-free cloth. Replace
the cap and dipstick and remove it
again to check the fluid level.
4. Make sure that the fluid level is between the MIN and the MAX marks.
If the fluid level is at the MIN mark, add
fluid immediately. See
Adding
Transmission Fluid.
5. Replace the automatic transmission fluid cap and dipstick. Turn it clockwise
until you feel a strong resistance.
Low Fluid Level
If the fluid level is within the minimum
range (below point A) add the correct
specification fluid to be within the hash
mark area. See
Capacities and
Specifications (page 344).
Note: If the fluid level is below the
minimum range do not drive your vehicle. A
low fluid level can damage the transmission. Correct Fluid Level
If the fluid level is within the hash mark
area (between points A and B) do not add
any fluid.
High Fluid Level
If the fluid level is above the maximum
range (above point B) fluid may need to
be removed. High fluid levels may be
caused by a overheating condition. If you
have operated your vehicle at high speeds,
towing a trailer or in city traffic during hot
weather, allow your vehicle to cool for a
minimum of 30 minutes before rechecking
the level.
Note:
An overfill condition can damage the
transmission.
Adding Transmission Fluid
1. Rotate the automatic transmission fluid cap in a counterclockwise
direction.
2. Remove the cap and dipstick and wipe
it with a clean, lint-free cloth.
3. Add fluid that meets the Ford specifications. See
Capacities and
Specifications (page 344). Pour the
fluid directly into the automatic
transmission fluid cap and dipstick
hole.
4. Replace the cap and dipstick and remove it again to check the fluid level.
5. Make sure that the fluid level is between the MIN and the MAX marks.
6. Replace the automatic transmission fluid cap and dipstick. Turn it clockwise
until you feel a strong resistance.
287
Explorer (TUB), enUSA, First Printing MaintenanceE190273
AB
Page 293 of 541
Note:
If a person adds electrical or
electronic accessories or components to the
vehicle, the accessories or components may
adversely affect the low voltage battery
performance and durability and may also
affect the performance of other electrical
systems in the vehicle.
For longer, trouble-free operation, keep the
top of the battery clean and dry. Also,
make certain the battery cables are always
tightly fastened to the battery terminals.
If you see any corrosion on the battery or
terminals, remove the cables from the
terminals and clean with a wire brush. You
can neutralize the acid with a solution of
baking soda and water.
When a battery replacement is required,
the battery should only be replaced with
a Ford recommended replacement battery
that matches the electrical requirements
of the vehicle.
Because your vehicle ’s engine is
electronically-controlled by a computer,
some engine control settings are
maintained by power from the low voltage
battery. Some engine computer settings,
like the idle trim and fuel trim strategy,
optimize the driveability and performance
of the engine. Some other computer
settings, like the clock and radio station
presets, are also maintained in memory by
power from the low voltage battery. When
a technician disconnects and connects the
low voltage battery, these settings are
erased. Complete the following procedure
in order to restore the settings:
1. With the vehicle at a complete stop, set the parking brake.
2. Shift into park (P).
3. Switch off all accessories.
4. Fully press the brake pedal and start the vehicle. 5. Run the engine until it reaches normal
operating temperature. While the
engine is warming up, complete the
following: Reset the clock. See Audio
System (page 353). Reset the power
windows bounce-back feature. See
Windows and Mirrors
(page 87).
Reset the radio station presets. See
Audio System
(page 353).
6. Allow the engine to idle for at least one
minute. If the engine turns off, press
the accelerator pedal to start the
engine.
7. While the engine is running, press the brake pedal and shift into neutral (N).
8. Allow the engine to run for at least one
minute by pressing on the accelerator
pedal.
9. Drive the vehicle at least 12 mi (20 km)
to completely relearn the idle and fuel
trim strategy.
Note: If you do not allow the engine to
relearn the idle and fuel trim strategy, the
idle quality of your vehicle may be adversely
affected until the engine computer
eventually relearns the idle trim and fuel
trim strategy.
Make sure that you dispose of old batteries
in an environmentally friendly way. Seek
advice from your local authority about
recycling old batteries.
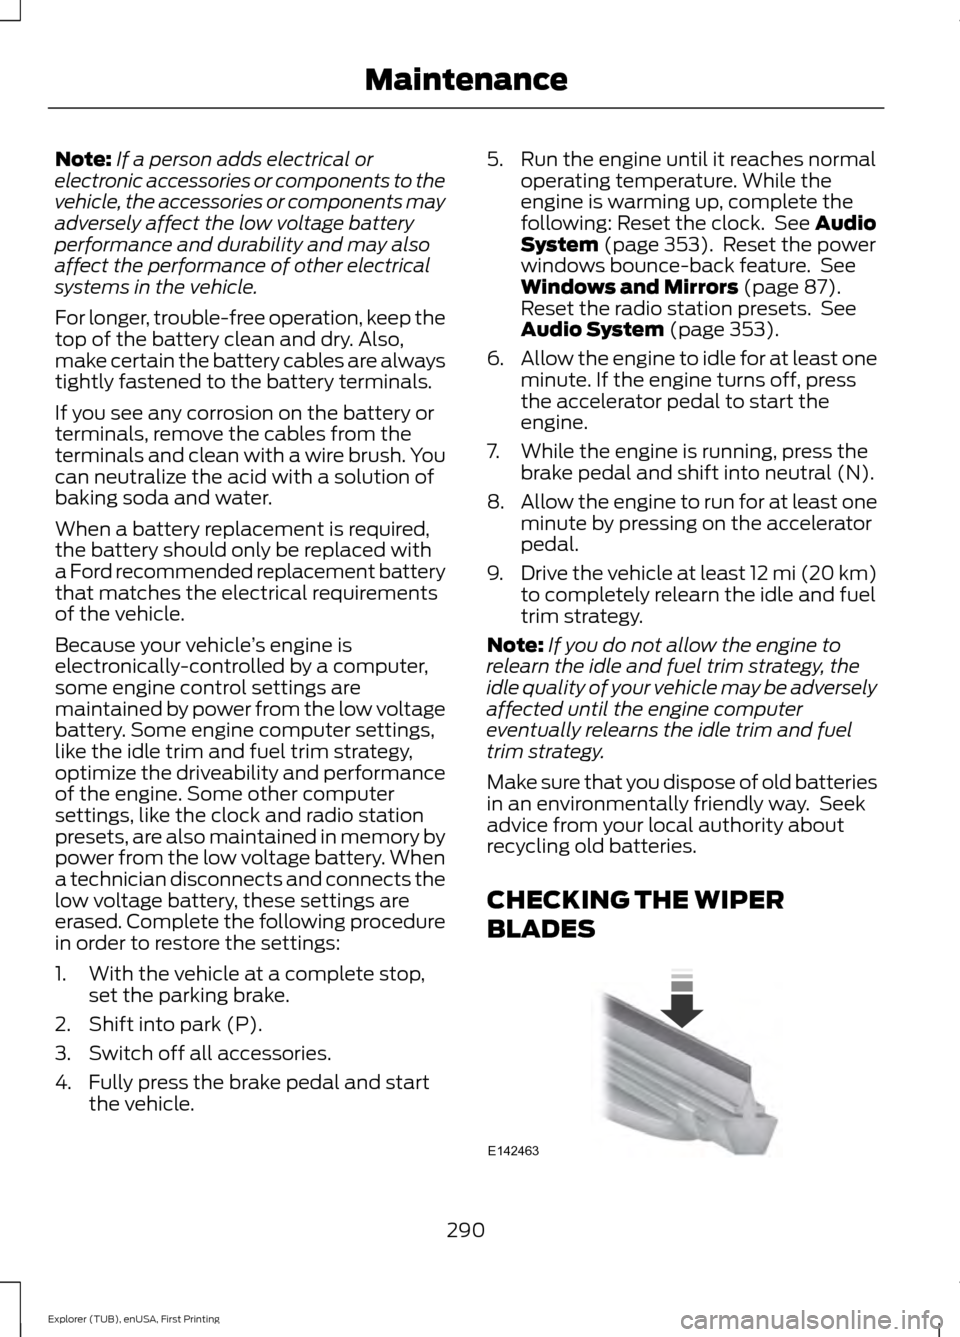
CHECKING THE WIPER
BLADES 290
Explorer (TUB), enUSA, First Printing MaintenanceE142463
Page 302 of 541
CHANGING THE ENGINE AIR
FILTER
WARNING
To reduce the risk of vehicle damage
and personal burn injuries, do not
start your engine with the air cleaner
removed and do not remove it while the
engine is running. When changing the engine air filter, do not
allow debris or foreign material to enter
the air induction system. Engine
components are susceptible to damage
not covered by the vehicle Warranty.
Change the air filter element at the correct
interval. See Scheduled Maintenance
(page 486).
Incorrect component use can cause
damage not covered by the vehicle
Warranty. See
Motorcraft Parts (page
336).
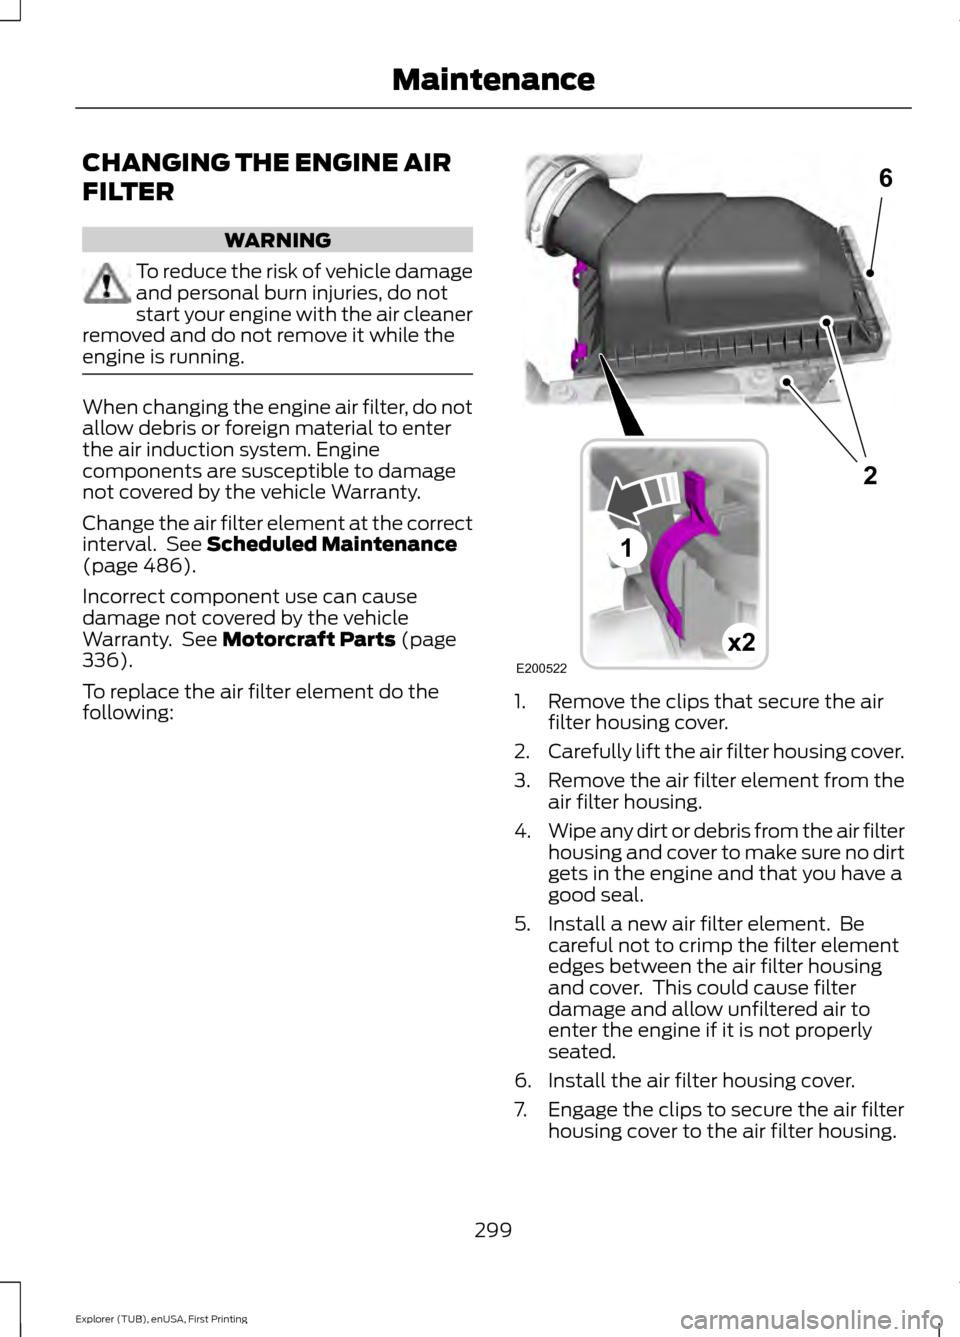
To replace the air filter element do the
following: 1. Remove the clips that secure the air
filter housing cover.
2. Carefully lift the air filter housing cover.
3. Remove the air filter element from the
air filter housing.
4. Wipe any dirt or debris from the air filter
housing and cover to make sure no dirt
gets in the engine and that you have a
good seal.
5. Install a new air filter element. Be careful not to crimp the filter element
edges between the air filter housing
and cover. This could cause filter
damage and allow unfiltered air to
enter the engine if it is not properly
seated.
6. Install the air filter housing cover.
7. Engage the clips to secure the air filter housing cover to the air filter housing.
299
Explorer (TUB), enUSA, First Printing MaintenanceE200522x2
6
1
2
Page 303 of 541
GENERAL INFORMATION
Your Ford or Lincoln authorized dealer has
many quality products available to clean
your vehicle and protect its finishes.
CLEANING PRODUCTS
For best results, use the following products
or products of equivalent quality:
•
Motorcraft Bug and Tar Remover
(ZC-42)
• Motorcraft Custom Bright Metal
Cleaner (ZC-15)
• Motorcraft Detail Wash (ZC-3-A)
• Motorcraft Dusting Cloth (ZC-24)
• Motorcraft Engine Shampoo and
Degreaser (U.S. only) (ZC-20)
• Motorcraft Engine Shampoo (Canada
only) (CXC-66-A)
• Motorcraft Multi-Purpose Cleaner
(Canada only) (CXC-101)
• Motorcraft Premium Glass Cleaner
(Canada only) (CXC-100)
• Motorcraft Premium Quality
Windshield Washer Fluid (Canada
only) [CXC-37-(A, B, D or F)]
• Motorcraft Premium Windshield Wash
Concentrate with Bitterant (U.S. only)
(ZC-32-B2)
• Motorcraft Professional Strength
Carpet & Upholstery Cleaner (ZC-54)
• Motorcraft Premium Leather and Vinyl
Cleaner (ZC-56)
• Motorcraft Spot and Stain Remover
(U.S. only) (ZC-14)
• Motorcraft Ultra-Clear Spray Glass
Cleaner (ZC-23)
• Motorcraft Wheel and Tire Cleaner
(ZC-37-A) CLEANING THE EXTERIOR
Wash your vehicle regularly with cool or
lukewarm water and a neutral pH
shampoo, we recommend Motorcraft
Detail Wash.
•
Never use strong household detergents
or soap, for example dish washing or
laundry liquid. These products can
discolor and spot painted surfaces.
• Never wash your vehicle when is hot to
the touch, or during strong or direct
sunlight.
• Dry your vehicle with a chamois or soft
terry cloth towel to eliminate water
spotting.
• Immediately remove fuel spillages, bird
droppings, insect deposits and road tar.
These may cause damage to your
vehicle ’s paintwork or trim over time.
We recommend Motorcraft Bug and
Tar Remover.
• Remove any exterior accessories, for
example antennas, before entering a
car wash.
Note: Suntan lotions and insect repellents
can damage painted surfaces. If these
substances come in contact with your
vehicle, wash the affected area as soon as
possible.
Exterior Chrome Parts
• Apply a high quality-cleaning product
to bumpers and other chrome parts.
Follow the manufacturer ’s instructions.
We recommend Motorcraft Custom
Bright Metal Cleaner.
• Do not apply the cleaning product to
hot surfaces. Do not leave the cleaning
product on chrome surfaces longer
than the time recommended.
• Using other non-recommended
cleaners can result in severe and
permanent cosmetic damage.
300
Explorer (TUB), enUSA, First Printing Vehicle Care