2016 FORD EXPLORER Remove engine
[x] Cancel search: Remove enginePage 74 of 541

You must have two previously
programmed coded keys and the new
unprogrammed key readily accessible. See
your authorized dealer to have the spare
key programmed if two previously
programmed coded keys are not available.
Read and understand the entire procedure
before you begin.
1.
Insert the first previously programmed
coded key into the ignition.
2. Switch the ignition from off to on. Keep
the ignition on for at least three
seconds, but no more than 10 seconds.
3. Switch the ignition off and remove the
first coded key from the ignition.
4. After three seconds but within 10 seconds of switching the ignition off,
insert the second previously coded key
into the ignition.
5. Switch the ignition from off to on. Keep
the ignition on for at least three
seconds, but no more than 10 seconds.
6. Switch the ignition off and remove the
second previously programmed coded
key from the ignition.
7. After three seconds but within 10 seconds of switching the ignition off
and removing the previously
programmed coded key, insert the new
unprogrammed key into the ignition.
8. Switch the ignition from off to on. Keep
the ignition on for at least six seconds.
9. Remove the newly programmed coded
key from the ignition.
If the key has been successfully
programmed it will start the engine and
operate the remote entry system (if the
new key is an integrated keyhead
transmitter).
If programming was not successful, wait
10 seconds and repeat Steps 1 through 8.
If you are still unsuccessful, take your
vehicle to your authorized dealer. Programming a Spare Intelligent
Access Key
See your authorized dealer to have
additional keys programmed to your
vehicle.
ANTI-THEFT ALARM
The system will warn you of an
unauthorized entry to your vehicle. It will
be triggered if any door, the luggage
compartment or the hood is opened
without using the key, remote control or
keyless entry keypad.
The direction indicators will flash and the
horn will sound if unauthorized entry is
attempted while the alarm is armed.
Take all remote controls to an authorized
dealer if there is any potential alarm
problem with your vehicle.
Arming the Alarm
The alarm is ready to arm when there is
not a key in your vehicle. Electronically lock
your vehicle to arm the alarm.
Disarming the Alarm
Disarm the alarm by any of the following
actions:
•
Unlock the doors or luggage
compartment with the remote control
or keyless entry keypad.
• Switch your vehicle on or start your
vehicle.
• Use a key in the driver door to unlock
your vehicle, then switch your vehicle
on within 12 seconds.
Note: Pressing the panic button on the
remote control will stop the horn and signal
indicators, but will not disarm the system.
71
Explorer (TUB), enUSA, First Printing Security
Page 99 of 541

Engine Coolant Temperature
Gauge
Shows the temperature of the engine
coolant. At normal operating temperature,
the needle will remain in the center section.
If the needle enters the red section, the
engine is overheating. Stop the engine,
switch the ignition off and determine the
cause once the engine has cooled down.
Note:
Do not restart the engine until the
cause of the overheating has been resolved. WARNING
Never remove the coolant reservoir
cap while the engine is running or hot.
Fuel Gauge
Note:
The fuel gauge may vary slightly
when your vehicle is moving or on a gradient.
Switch the ignition on. The fuel gauge will
indicate approximately how much fuel is
left in the fuel tank. The arrow adjacent to
the fuel pump symbol indicates on which
side of your vehicle the fuel filler door is
located.
The needle should move toward F when
you refuel your vehicle. If the needle points
to E after adding fuel, this indicates your
vehicle needs service soon.
After refueling some variability in needle
position is normal:
• It may take a short time for the needle
to reach full after leaving the gas
station. This is normal and depends
upon the slope of pavement at the gas
station.
• The fuel amount dispensed into the
tank is a little less or more than the
gauge indicated. This is normal and
depends upon the slope of pavement
at the gas station. •
If the gas station nozzle shuts off
before the tank is full, try a different
gas pump nozzle.
• There is a small reserve left in the tank
when the fuel gauge reaches empty.
Low Fuel Reminder
A low fuel reminder triggers when the
distance to empty reaches 75 miles (120
km), 50 miles (80 km), 25 miles (40 km),
10 miles (20 km) and 0 miles (0 km) .
Variations:
Note: The low fuel warning and
distance-to-empty warning can appear at
different fuel gauge positions depending on
fuel economy conditions. This variation is
normal.
WARNING LAMPS AND
INDICATORS
The following warning lamps and
indicators alert you to a vehicle condition
that may become serious. Some lamps
illuminate when you start your vehicle to
make sure they work. If any lamps remain
on after starting your vehicle, refer to the
respective system warning lamp for further
information.
Note: Some warning indicators appear in
the information display and function the
same as a warning lamp, but do not display
when you start your vehicle.
Adaptive Cruise Control (If Equipped) The speed control system
indicator light changes color to
indicate what mode the system
is in. See Using Adaptive Cruise Control
(page
214).
96
Explorer (TUB), enUSA, First Printing Instrument ClusterE144524
Page 103 of 541
AUDIBLE WARNINGS AND
INDICATORS
Key in Ignition Warning Chime
Sounds when you open the driver's door
and you have left the key in the ignition.
Engine On Warning Chime
A warning chime will sound when any door
is opened if the vehicle exceeds a relatively
low speed.
Keyless Warning Alert (If Equipped)
Sounds the horn twice when you exit the
vehicle and the keyless vehicle is in RUN,
indicating the vehicle is still on.
Headlamps On Warning Chime
Sounds when you remove the key from the
ignition and open the driver's door and you
have left the headlamps or parking lamps
on.
Parking Brake On Warning Chime
Sounds when you have left the parking
brake on and drive your vehicle. If the
warning chime remains on after you have
released the parking brake, have the
system checked by your authorized dealer
immediately.
Automatic Transmission Warning
Chime
Sounds when you have not moved the
transmission selector lever to position
P.
A message will be shown in the display.
100
Explorer (TUB), enUSA, First Printing Instrument Cluster
Page 129 of 541

Seats
Action
Message
Objects are by the passenger seat. After you move the objectsaway from the seat, if the warning stays on or continues to
come on, contact an authorized dealer as soon as possible.
Occupant Sensor
BLOCKED Remove
Objects Near Passenger Seat
A reminder that memory seats are not available while driving.
Memory Recall Not
Permitted While Driving
Shows where you have saved your memory setting.
Memory X Saved
Starting System Action
Message
A reminder to apply the brake when starting your vehicle.
To START Press Brake
The starter has exceeded its cranking time in attempting tostart your vehicle.
Cranking Time Exceeded
The starter is attempting to start your vehicle.
Engine Start Pending
Please Wait
The system has cancelled the pending start.
Pending Start Cancelled
Tire Pressure Monitoring System Action
Message
One or more tires on your vehicle have low tire pressure. SeeTire Pressure Monitoring System (page 325).
LOW Tire Pressure
The tire pressure monitoring system is malfunctioning. If thewarning stays on or continues to come on, contact an
authorized dealer.
See Tire Pressure Monitoring System (page 325).
Tire Pressure Monitor
Fault
A tire pressure sensor is malfunctioning, or your spare tire is
in use. If the warning stays on or continues to come on, contact
an authorized dealer as soon as possible. See Tire Pressure Monitoring System
(page 325).
Tire Pressure Sensor
Fault
126
Explorer (TUB), enUSA, First Printing Information Displays
Page 138 of 541
Note:
Do not place objects under the front
seats as this may interfere with the airflow
to the rear seats.
Note: Remove any snow, ice or leaves from
the air intake area at the base of the
windshield.
Note: To improve the time to reach comfort
in hot weather, drive with the windows fully
open until you feel cold air through the air
vents.
Manual Climate Control
Note: To reduce fogging of the windshield
during humid weather, adjust the air
distribution control to the windshield air
vents position. Automatic Climate Control
Note:
Adjusting the settings when your
vehicle interior is extremely hot or cold is
not necessary. The system automatically
adjusts to heat or cool the cabin to your
selected temperature as quickly as possible.
For the system to function efficiently, the
instrument panel and side air vents should
be fully open.
Note: If you select AUTO during cold
outside temperatures, the system directs
airflow to the windshield and side window
vents. In addition, the fan may run at a
slower speed until the engine warms up.
Note: If you select AUTO during hot outside
temperatures, or when the inside of the
vehicle is hot, the system automatically uses
recirculated air to maximize interior cooling.
When the interior reaches the selected
temperature, the system automatically
switches to using outside air.
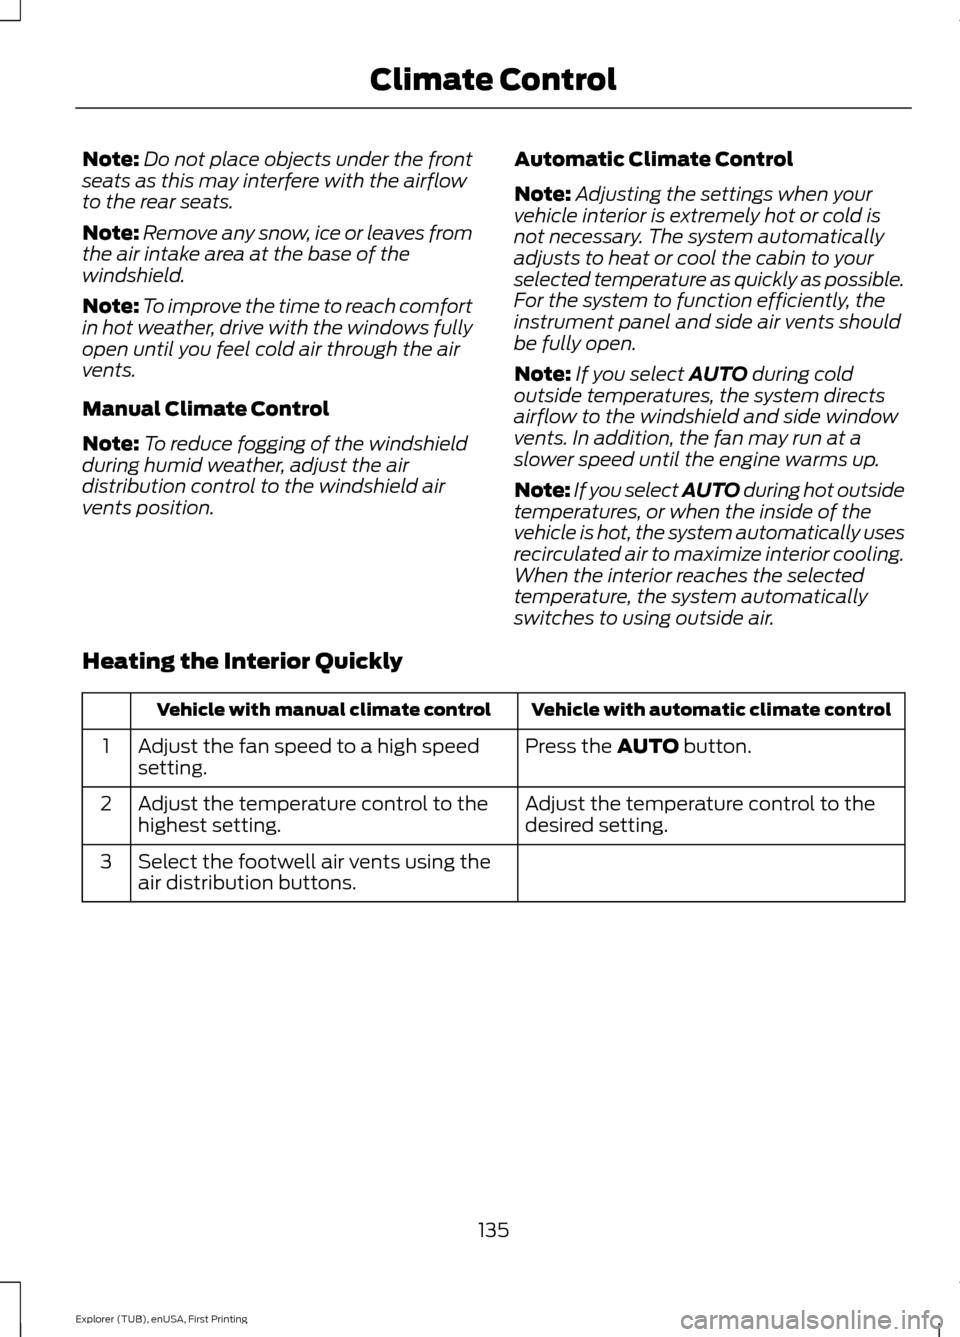
Heating the Interior Quickly Vehicle with automatic climate control
Vehicle with manual climate control
Press the
AUTO button.
Adjust the fan speed to a high speed
setting.
1
Adjust the temperature control to the
desired setting.
Adjust the temperature control to the
highest setting.
2
Select the footwell air vents using the
air distribution buttons.
3
135
Explorer (TUB), enUSA, First Printing Climate Control
Page 141 of 541
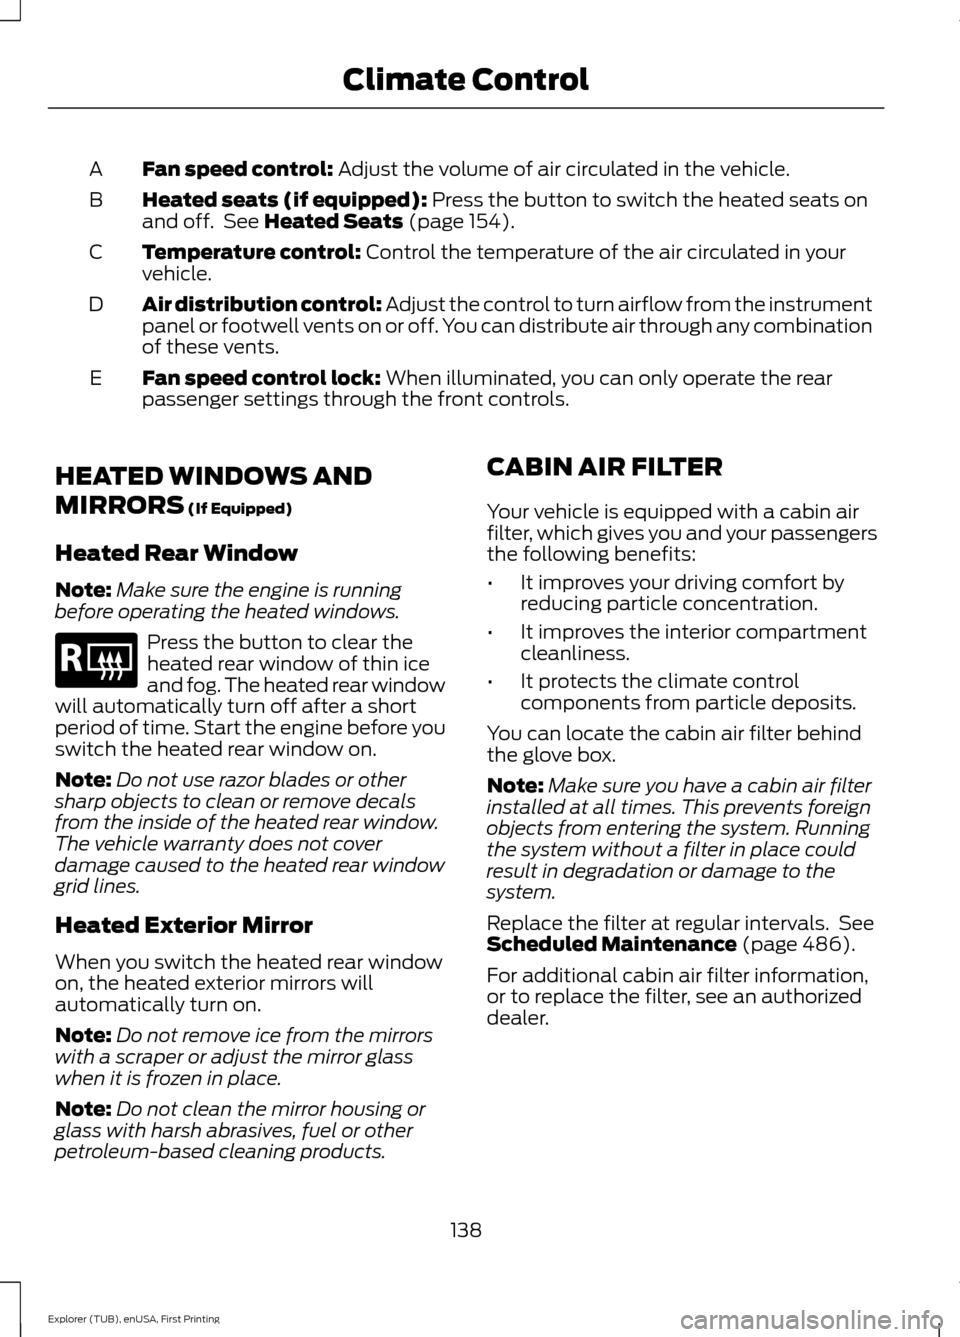
Fan speed control: Adjust the volume of air circulated in the vehicle.
A
Heated seats (if equipped):
Press the button to switch the heated seats on
and off. See Heated Seats (page 154).
B
Temperature control:
Control the temperature of the air circulated in your
vehicle.
C
Air distribution control:
Adjust the control to turn airflow from the instrument
panel or footwell vents on or off. You can distribute air through any combination
of these vents.
D
Fan speed control lock:
When illuminated, you can only operate the rear
passenger settings through the front controls.
E
HEATED WINDOWS AND
MIRRORS
(If Equipped)
Heated Rear Window
Note: Make sure the engine is running
before operating the heated windows. Press the button to clear the
heated rear window of thin ice
and fog. The heated rear window
will automatically turn off after a short
period of time. Start the engine before you
switch the heated rear window on.
Note: Do not use razor blades or other
sharp objects to clean or remove decals
from the inside of the heated rear window.
The vehicle warranty does not cover
damage caused to the heated rear window
grid lines.
Heated Exterior Mirror
When you switch the heated rear window
on, the heated exterior mirrors will
automatically turn on.
Note: Do not remove ice from the mirrors
with a scraper or adjust the mirror glass
when it is frozen in place.
Note: Do not clean the mirror housing or
glass with harsh abrasives, fuel or other
petroleum-based cleaning products. CABIN AIR FILTER
Your vehicle is equipped with a cabin air
filter, which gives you and your passengers
the following benefits:
•
It improves your driving comfort by
reducing particle concentration.
• It improves the interior compartment
cleanliness.
• It protects the climate control
components from particle deposits.
You can locate the cabin air filter behind
the glove box.
Note: Make sure you have a cabin air filter
installed at all times. This prevents foreign
objects from entering the system. Running
the system without a filter in place could
result in degradation or damage to the
system.
Replace the filter at regular intervals. See
Scheduled Maintenance
(page 486).
For additional cabin air filter information,
or to replace the filter, see an authorized
dealer.
138
Explorer (TUB), enUSA, First Printing Climate ControlE184884
Page 157 of 541
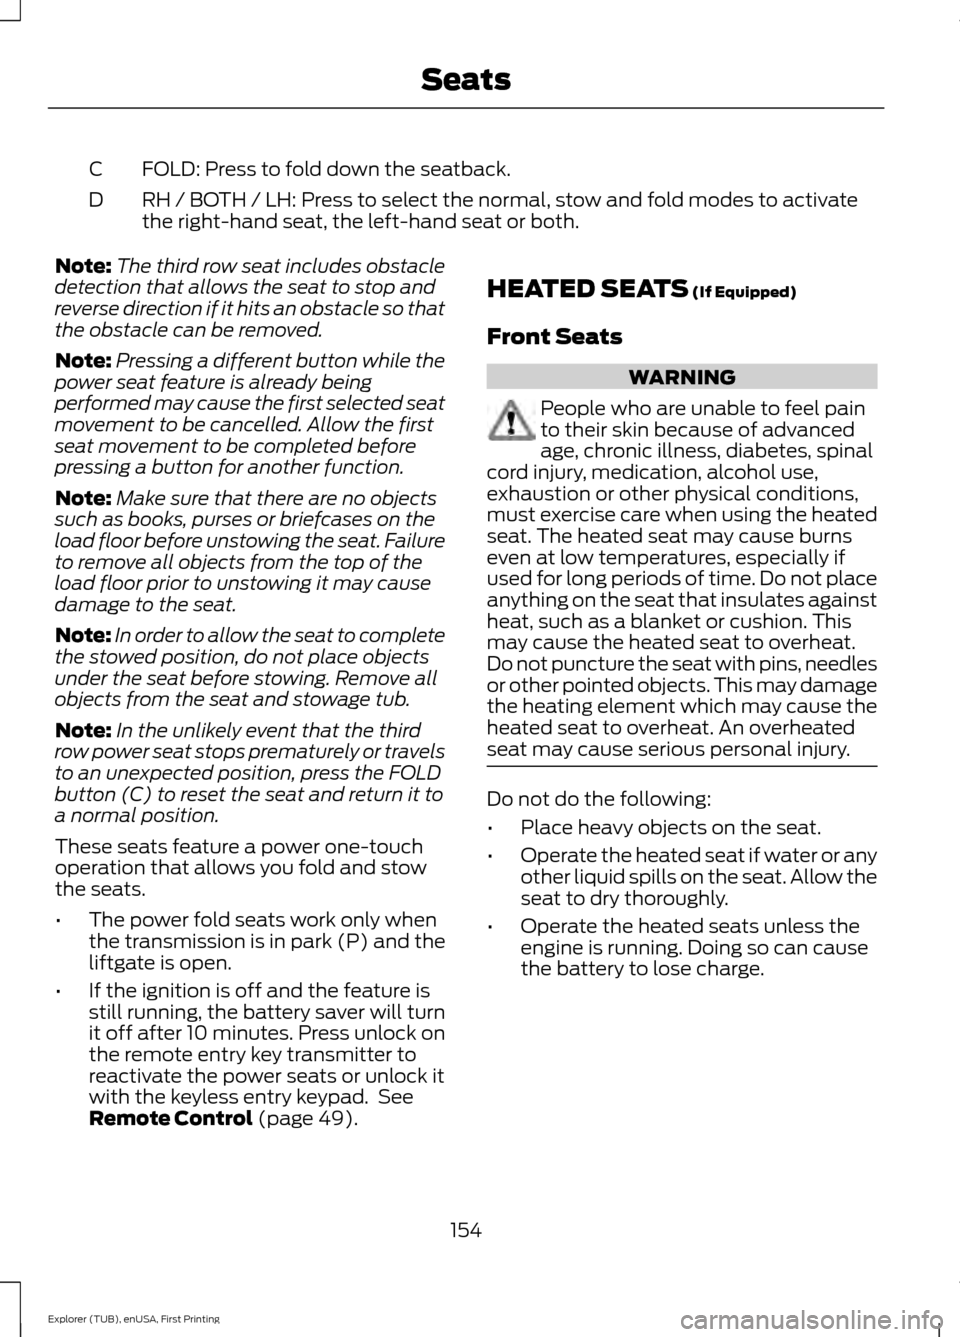
FOLD: Press to fold down the seatback.
C
RH / BOTH / LH: Press to select the normal, stow and fold modes to activate
the right-hand seat, the left-hand seat or both.
D
Note: The third row seat includes obstacle
detection that allows the seat to stop and
reverse direction if it hits an obstacle so that
the obstacle can be removed.
Note: Pressing a different button while the
power seat feature is already being
performed may cause the first selected seat
movement to be cancelled. Allow the first
seat movement to be completed before
pressing a button for another function.
Note: Make sure that there are no objects
such as books, purses or briefcases on the
load floor before unstowing the seat. Failure
to remove all objects from the top of the
load floor prior to unstowing it may cause
damage to the seat.
Note: In order to allow the seat to complete
the stowed position, do not place objects
under the seat before stowing. Remove all
objects from the seat and stowage tub.
Note: In the unlikely event that the third
row power seat stops prematurely or travels
to an unexpected position, press the FOLD
button (C) to reset the seat and return it to
a normal position.
These seats feature a power one-touch
operation that allows you fold and stow
the seats.
• The power fold seats work only when
the transmission is in park (P) and the
liftgate is open.
• If the ignition is off and the feature is
still running, the battery saver will turn
it off after 10 minutes. Press unlock on
the remote entry key transmitter to
reactivate the power seats or unlock it
with the keyless entry keypad. See
Remote Control (page 49). HEATED SEATS
(If Equipped)
Front Seats WARNING
People who are unable to feel pain
to their skin because of advanced
age, chronic illness, diabetes, spinal
cord injury, medication, alcohol use,
exhaustion or other physical conditions,
must exercise care when using the heated
seat. The heated seat may cause burns
even at low temperatures, especially if
used for long periods of time. Do not place
anything on the seat that insulates against
heat, such as a blanket or cushion. This
may cause the heated seat to overheat.
Do not puncture the seat with pins, needles
or other pointed objects. This may damage
the heating element which may cause the
heated seat to overheat. An overheated
seat may cause serious personal injury. Do not do the following:
•
Place heavy objects on the seat.
• Operate the heated seat if water or any
other liquid spills on the seat. Allow the
seat to dry thoroughly.
• Operate the heated seats unless the
engine is running. Doing so can cause
the battery to lose charge.
154
Explorer (TUB), enUSA, First Printing Seats
Page 174 of 541
SAFETY PRECAUTIONS
WARNINGS
Do not overfill the fuel tank. The
pressure in an overfilled tank may
cause leakage and lead to fuel spray
and fire. The fuel system may be under
pressure. If you hear a hissing sound
near the fuel filler door (Easy Fuel
capless fuel system), do not refuel until
the sound stops. Otherwise, fuel may spray
out, which could cause serious personal
injury. Automotive fuels can cause serious
injury or death if misused or
mishandled.
Flow of fuel through a fuel pump
nozzle can produce static electricity.
This can cause a fire if you are filling
an ungrounded fuel container. Fuel ethanol and gasoline may
contain benzene, which is a
cancer-causing agent.
When refueling always shut the
engine off and never allow sparks or
open flames near the filler neck.
Never smoke or use a cell phone while
refueling. Fuel vapor is extremely
hazardous under certain conditions. Avoid
inhaling excess fumes. Observe the following guidelines when
handling automotive fuel:
•
Extinguish all smoking materials and
any open flames before refueling your
vehicle.
• Always turn off the vehicle before
refueling. •
Automotive fuels can be harmful or
fatal if swallowed. Fuel such as
gasoline is highly toxic and if
swallowed can cause death or
permanent injury. If fuel is swallowed,
call a physician immediately, even if no
symptoms are immediately apparent.
The toxic effects of fuel may not be
visible for hours.
• Avoid inhaling fuel vapors. Inhaling too
much fuel vapor of any kind can lead
to eye and respiratory tract irritation.
In severe cases, excessive or prolonged
breathing of fuel vapor can cause
serious illness and permanent injury.
• Avoid getting fuel liquid in your eyes. If
fuel is splashed in the eyes, remove
contact lenses (if worn), flush with
water for 15 minutes and seek medical
attention. Failure to seek proper
medical attention could lead to
permanent injury.
• Fuels can also be harmful if absorbed
through the skin. If fuel is splashed on
the skin, clothing or both, promptly
remove contaminated clothing and
wash skin thoroughly with soap and
water. Repeated or prolonged skin
contact with fuel liquid or vapor causes
skin irritation.
• Be particularly careful if you are taking
“Antabuse ” or other forms of disulfiram
for the treatment of alcoholism.
Breathing gasoline vapors, or skin
contact could cause an adverse
reaction. In sensitive individuals, serious
personal injury or sickness may result.
If fuel is splashed on the skin, promptly
wash skin thoroughly with soap and
water. Consult a physician immediately
if you experience an adverse reaction.
171
Explorer (TUB), enUSA, First Printing Fuel and Refueling