2016 FORD EXPEDITION rear view mirror
[x] Cancel search: rear view mirrorPage 85 of 421

Heated Exterior Mirrors
See Heated Windows and Mirrors (page
121).
Memory Mirrors
(If Equipped)
You can save and recall the mirror
positions through the memory function.
See
Memory Function (page 126).
Auto-Dimming Feature
The driver exterior mirror automatically
dims with the auto-dimming interior mirror.
Signal Indicator Mirrors
(If Equipped)
The outer portion of the appropriate mirror
housing blinks when you switch on the
direction indicator.
Blind Spot Monitor
(If Equipped)
See
Blind Spot Information System
(page 188).
INTERIOR MIRROR WARNING
Do not adjust the mirror when your
vehicle is moving.
Note:
Do not clean the housing or glass of
any mirror with harsh abrasives, fuel or other
petroleum or ammonia-based cleaning
products.
You can adjust the interior mirror to your
preference. Some mirrors also have a
second pivot point. This lets you move the
mirror head up or down and from side to
side. Auto-Dimming Mirror
Note:
Do not block the sensors on the front
and back of the mirror. Mirror performance
may be affected. A rear center passenger or
raised rear center head restraint may also
block light from reaching the sensor.
The mirror will dim automatically to reduce
glare when bright lights are detected from
behind your vehicle. It will automatically
return to normal reflection when you select
reverse gear to make sure you have a clear
view when backing up.
CHILDMINDER MIRROR
On double bin overhead consoles, the
conversation mirror allows the driver to
view the rear seating area. WARNING
Do not use the childminder mirror to
view rearward traffic, do not allow
rear passengers to distract you from
the driving task, and make sure the rear
view mirror has a clear view of rearward
traffic. Failure to do so could increase the
risk of a crash from an unseen vehicle,
which may result in serious injury. Press the release area on the rear edge of
the bin door to open the childminder mirror.
The door will open to full open position.
82
Expedition (TB7) Canada/United States of America, enUSA, First Printing Windows and MirrorsE205354
Page 86 of 421
The rear view mirror may have to be
adjusted to its lower arm position to
prevent interference when the childminder
mirror is extended down.
REAR QUARTER WINDOWS (If
Equipped) WARNINGS
Do not leave children unattended in
your vehicle and do not let them play
with the power windows. They may
seriously injure themselves. When closing the power windows,
you should verify they are free of
obstructions and make sure that
children and pets are not in the proximity
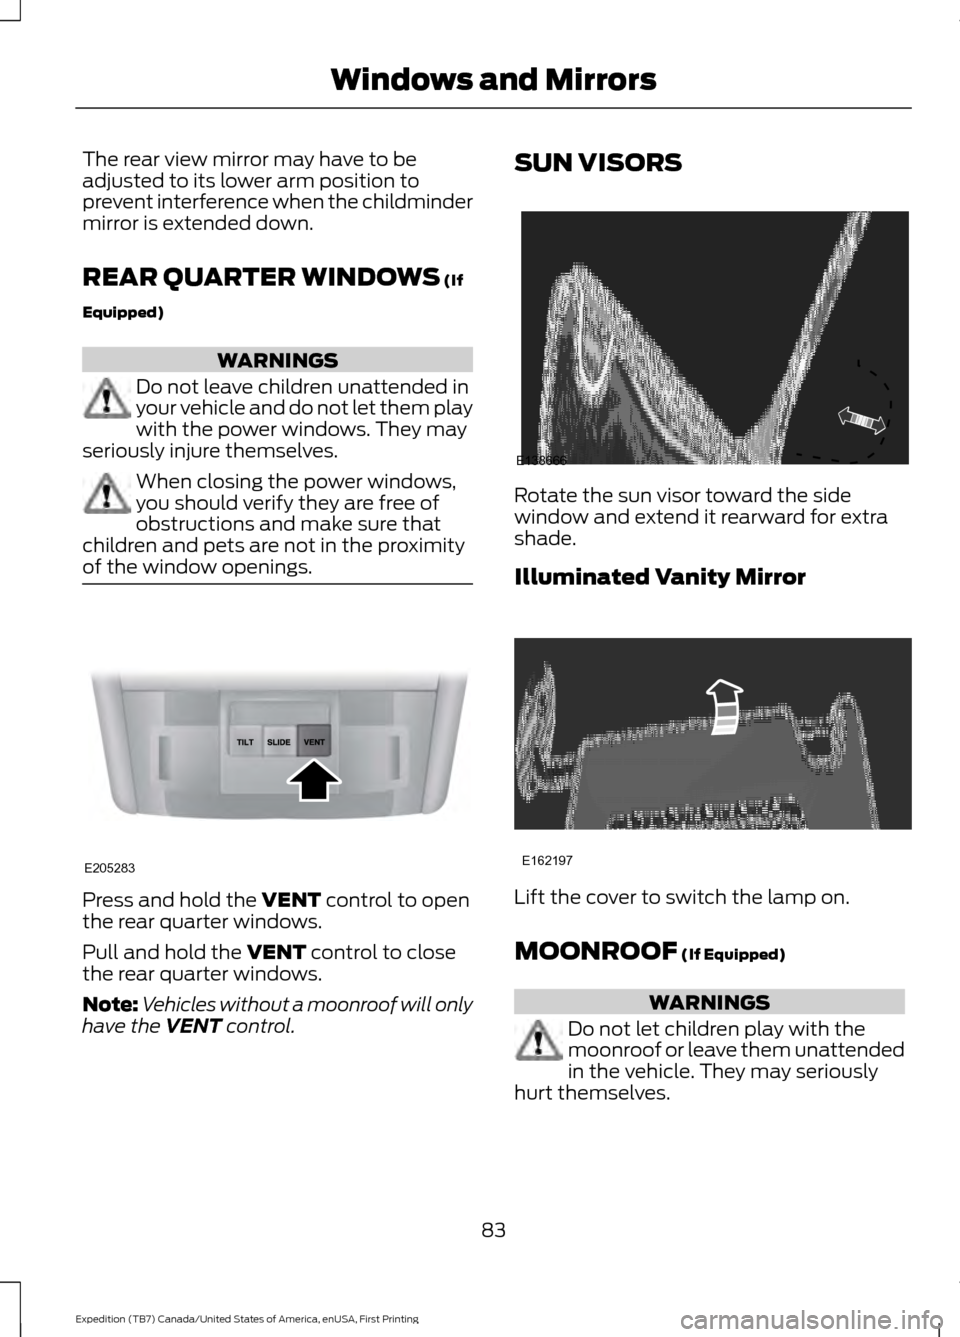
of the window openings. Press and hold the
VENT control to open
the rear quarter windows.
Pull and hold the
VENT control to close
the rear quarter windows.
Note: Vehicles without a moonroof will only
have the
VENT control. SUN VISORS
Rotate the sun visor toward the side
window and extend it rearward for extra
shade.
Illuminated Vanity Mirror
Lift the cover to switch the lamp on.
MOONROOF
(If Equipped)
WARNINGS
Do not let children play with the
moonroof or leave them unattended
in the vehicle. They may seriously
hurt themselves.
83
Expedition (TB7) Canada/United States of America, enUSA, First Printing Windows and MirrorsE205283 E138666 E162197
Page 100 of 421
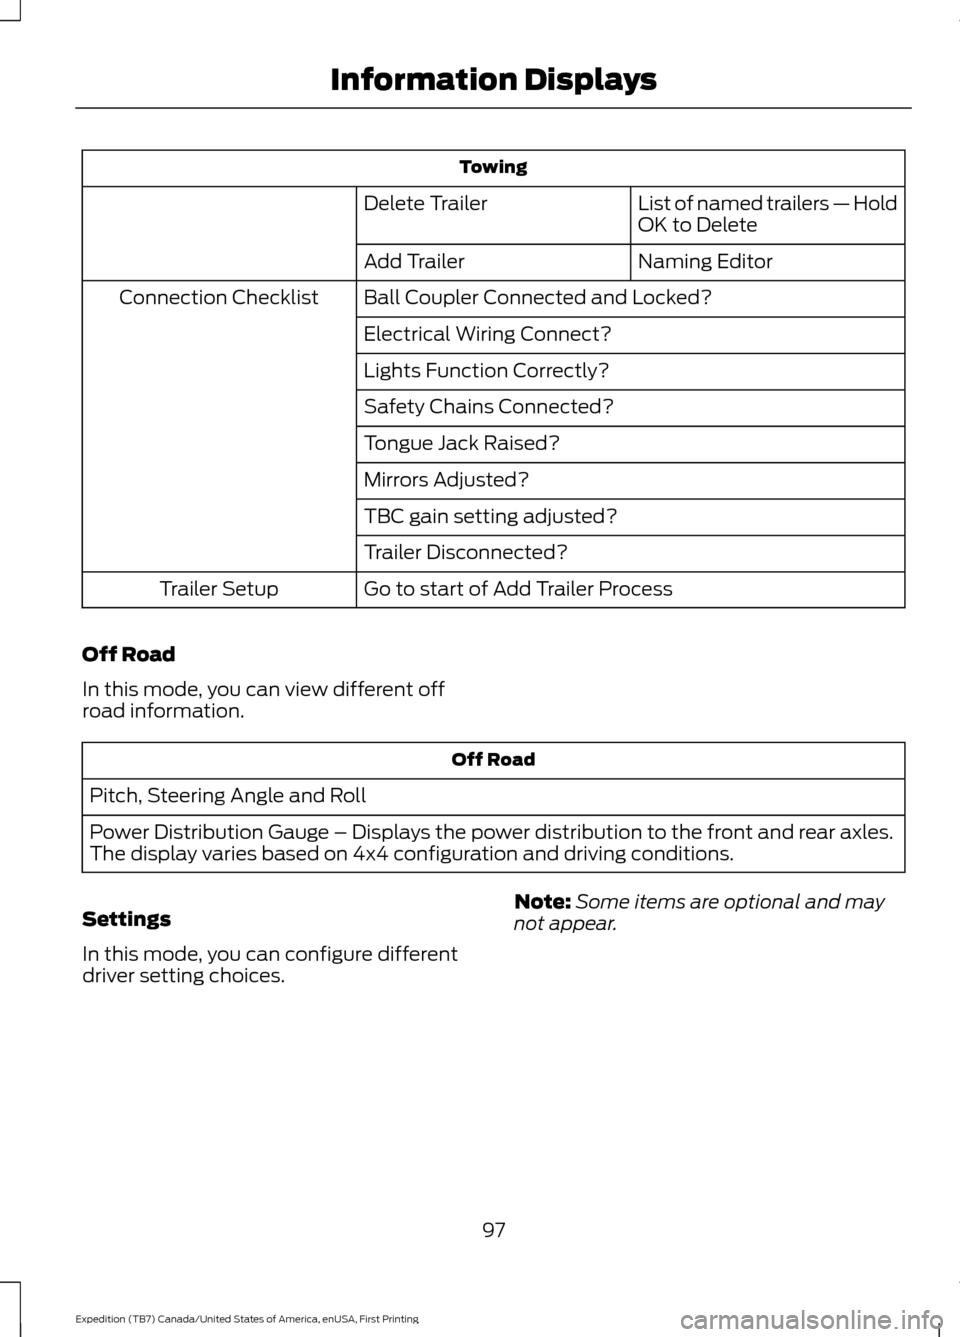
Towing
List of named trailers — Hold
OK to Delete
Delete Trailer
Naming Editor
Add Trailer
Ball Coupler Connected and Locked?
Connection Checklist
Electrical Wiring Connect?
Lights Function Correctly?
Safety Chains Connected?
Tongue Jack Raised?
Mirrors Adjusted?
TBC gain setting adjusted?
Trailer Disconnected?
Go to start of Add Trailer Process
Trailer Setup
Off Road
In this mode, you can view different off
road information. Off Road
Pitch, Steering Angle and Roll
Power Distribution Gauge – Displays the power distribution to the front and rear axles.
The display varies based on 4x4 configuration and driving conditions.
Settings
In this mode, you can configure different
driver setting choices. Note:
Some items are optional and may
not appear.
97
Expedition (TB7) Canada/United States of America, enUSA, First Printing Information Displays
Page 104 of 421
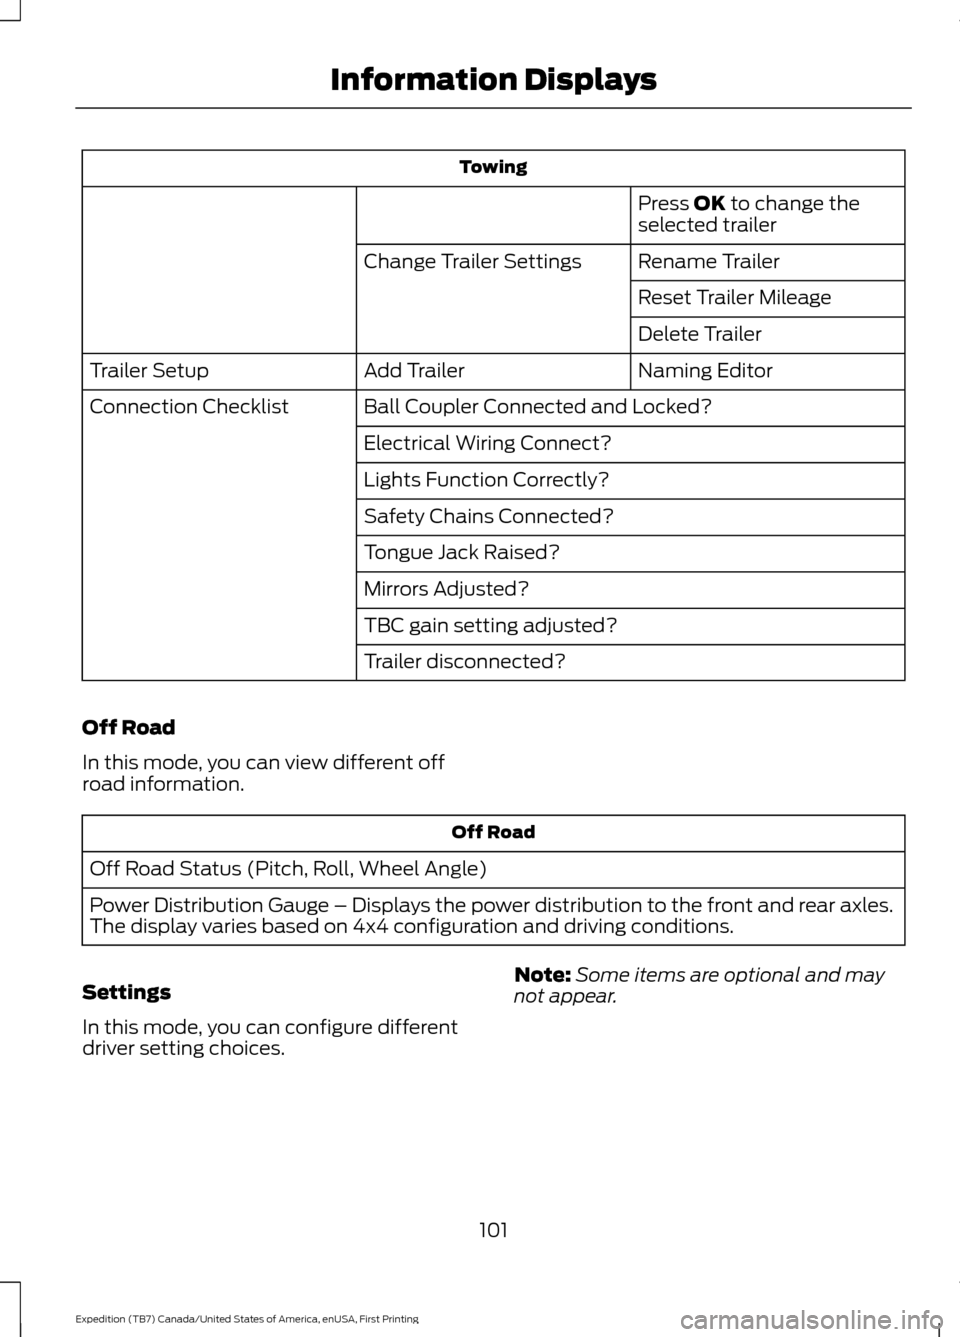
Towing
Press OK to change the
selected trailer
Rename Trailer
Change Trailer Settings
Reset Trailer Mileage
Delete Trailer
Naming Editor
Add Trailer
Trailer Setup
Ball Coupler Connected and Locked?
Connection Checklist
Electrical Wiring Connect?
Lights Function Correctly?
Safety Chains Connected?
Tongue Jack Raised?
Mirrors Adjusted?
TBC gain setting adjusted?
Trailer disconnected?
Off Road
In this mode, you can view different off
road information. Off Road
Off Road Status (Pitch, Roll, Wheel Angle)
Power Distribution Gauge – Displays the power distribution to the front and rear axles.
The display varies based on 4x4 configuration and driving conditions.
Settings
In this mode, you can configure different
driver setting choices. Note:
Some items are optional and may
not appear.
101
Expedition (TB7) Canada/United States of America, enUSA, First Printing Information Displays
Page 186 of 421
REAR VIEW CAMERA
WARNINGS
The rear view camera system is a
reverse aid supplement device that
still requires the driver to use it in
conjunction with the interior and exterior
mirrors for maximum coverage. Objects that are close to either
corner of the bumper or under the
bumper, might not be seen on the
screen due to the limited coverage of the
camera system. Back up as slow as possible since
higher speeds might limit your
reaction time to stop your vehicle.
Use caution when using the rear
video camera and the luggage
compartment door is ajar. If the
luggage compartment door is ajar, the
camera will be out of position and the
video image may be incorrect. All
guidelines disappear when the luggage
compartment door is ajar. Use caution when turning camera
features on or off. Make sure your
vehicle is not moving.
The rear view camera system provides a
video image of the area behind your
vehicle.
During operation, lines appear in the
display which represent your vehicle
’s path
and proximity to objects behind your
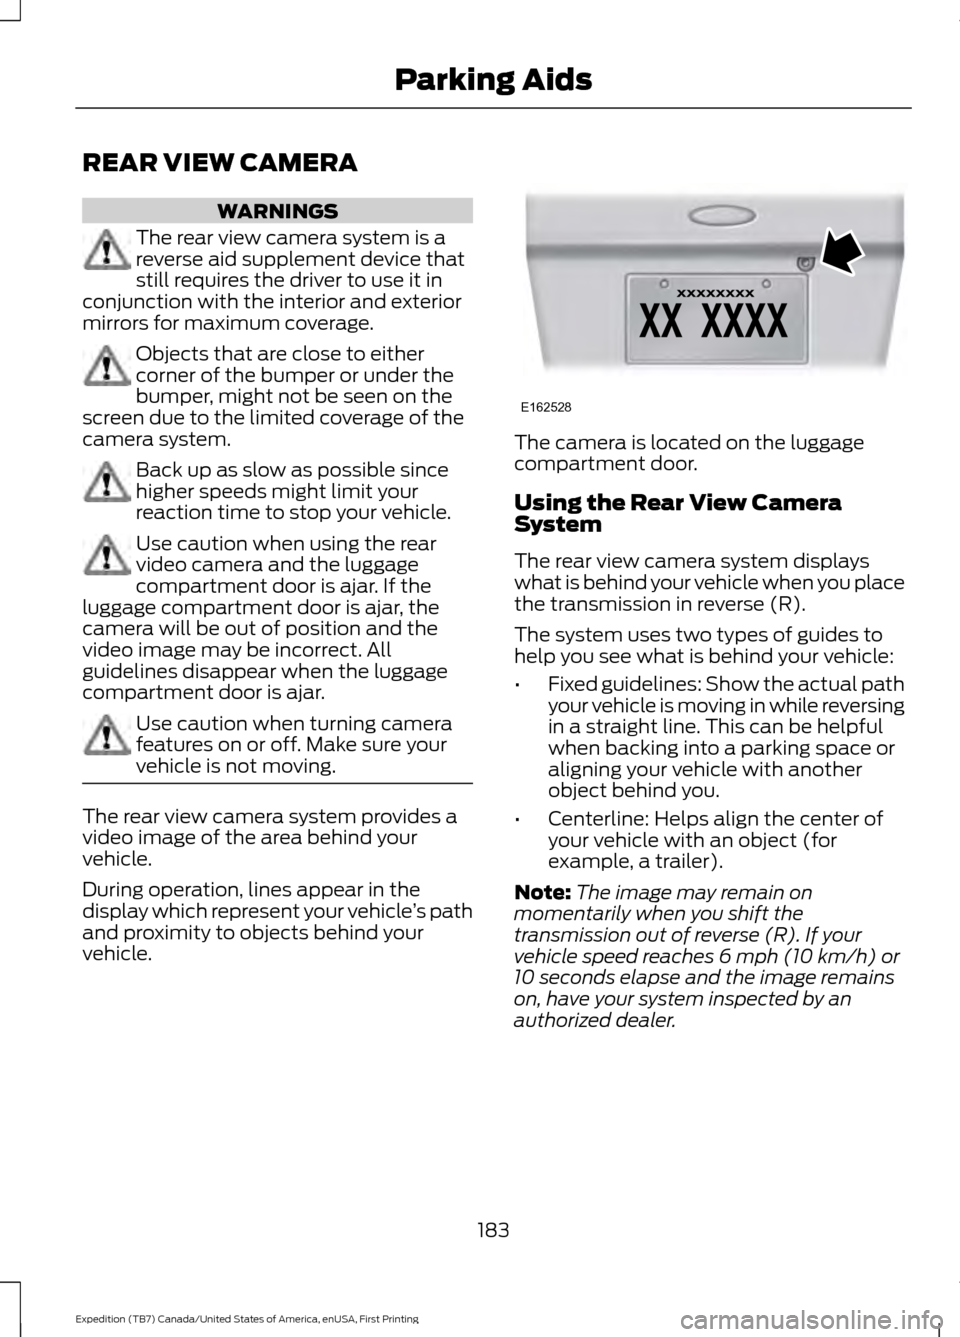
vehicle. The camera is located on the luggage
compartment door.
Using the Rear View Camera
System
The rear view camera system displays
what is behind your vehicle when you place
the transmission in reverse (R).
The system uses two types of guides to
help you see what is behind your vehicle:
•
Fixed guidelines: Show the actual path
your vehicle is moving in while reversing
in a straight line. This can be helpful
when backing into a parking space or
aligning your vehicle with another
object behind you.
• Centerline: Helps align the center of
your vehicle with an object (for
example, a trailer).
Note: The image may remain on
momentarily when you shift the
transmission out of reverse (R). If your
vehicle speed reaches 6 mph (10 km/h) or
10 seconds elapse and the image remains
on, have your system inspected by an
authorized dealer.
183
Expedition (TB7) Canada/United States of America, enUSA, First Printing Parking AidsE162528
Page 187 of 421
Note:
When towing, the camera only sees
what you are towing behind your vehicle.
This might not provide adequate coverage
as it usually provides in normal operation
and you might not see some objects. In
some vehicles, the guidelines may disappear
once you engage the trailer tow connector.
The camera may not operate correctly
under the following conditions:
• Nighttime or dark areas if one or both
reverse lamps are not operating.
• Mud, water or debris obstructs the
camera's view. Clean the lens with a
soft, lint-free cloth and non-abrasive
cleaner.
• The camera is misaligned due to
damage to the rear of your vehicle.
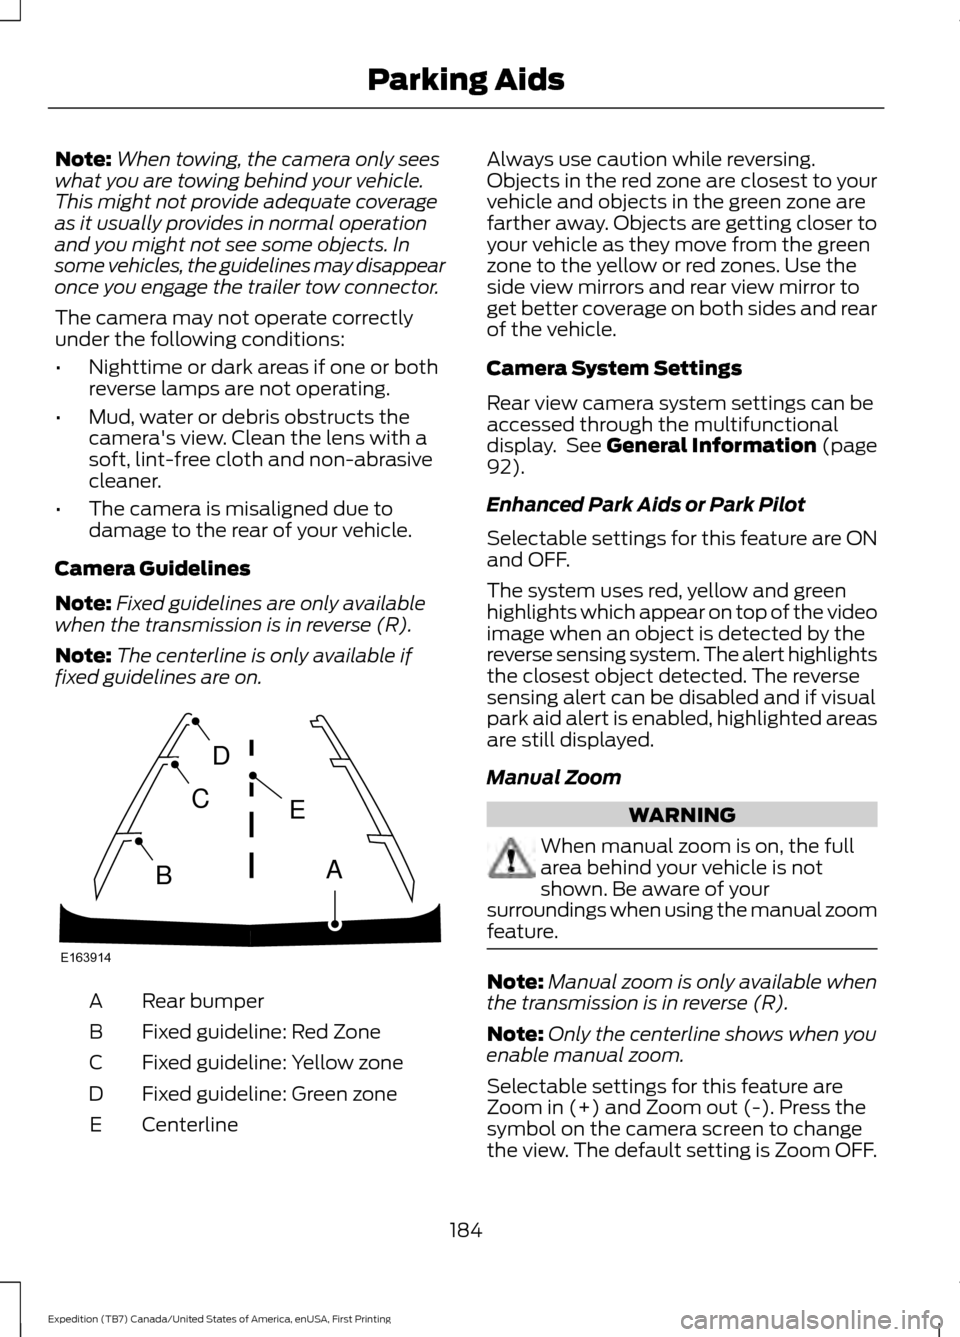
Camera Guidelines
Note: Fixed guidelines are only available
when the transmission is in reverse (R).
Note: The centerline is only available if
fixed guidelines are on. Rear bumper
A
Fixed guideline: Red Zone
B
Fixed guideline: Yellow zone
C
Fixed guideline: Green zone
D
Centerline
E Always use caution while reversing.
Objects in the red zone are closest to your
vehicle and objects in the green zone are
farther away. Objects are getting closer to
your vehicle as they move from the green
zone to the yellow or red zones. Use the
side view mirrors and rear view mirror to
get better coverage on both sides and rear
of the vehicle.
Camera System Settings
Rear view camera system settings can be
accessed through the multifunctional
display. See General Information (page
92).
Enhanced Park Aids or Park Pilot
Selectable settings for this feature are ON
and OFF.
The system uses red, yellow and green
highlights which appear on top of the video
image when an object is detected by the
reverse sensing system. The alert highlights
the closest object detected. The reverse
sensing alert can be disabled and if visual
park aid alert is enabled, highlighted areas
are still displayed.
Manual Zoom WARNING
When manual zoom is on, the full
area behind your vehicle is not
shown. Be aware of your
surroundings when using the manual zoom
feature. Note:
Manual zoom is only available when
the transmission is in reverse (R).
Note: Only the centerline shows when you
enable manual zoom.
Selectable settings for this feature are
Zoom in (+) and Zoom out (-). Press the
symbol on the camera screen to change
the view. The default setting is Zoom OFF.
184
Expedition (TB7) Canada/United States of America, enUSA, First Printing Parking AidsE163914
A
E
D
C
B