2016 FIAT DOBLO PANORAMA language
[x] Cancel search: languagePage 83 of 323

Adjusting the vehicle
interior lighting
– on the standard screen, they adjust
the brightness of the instrument panel
and the sound system.
Set-up menu
– within the menu, they allow you to
scroll up and down through the
options;
– during setting operations they
increase or decrease the value.
– within the menu, they allow you to
scroll up and down through the
options;
– during setting operations they
increase or decrease the value.SET-UP MENU
The menu comprises a series of
functions arranged in a circular way,
which can be selected through the
andbuttons to access the
different selection operations and
settings (setup) given in the following
paragraphs. A submenu is provided for
some items (Clock and Unit of
measurement).
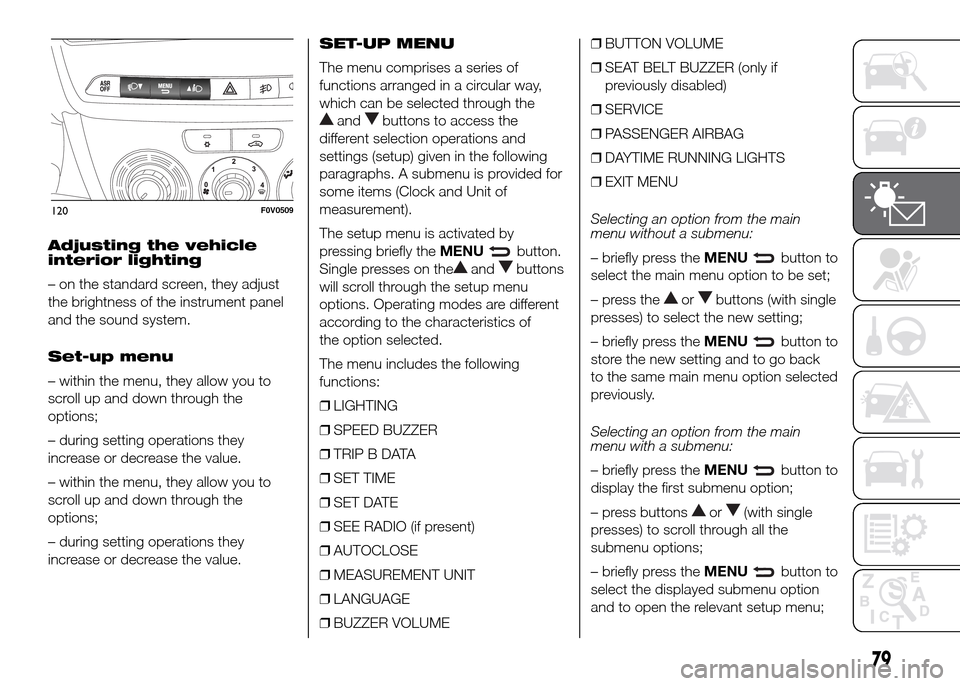
The setup menu is activated by
pressing briefly theMENU
button.
Single presses on the
andbuttons
will scroll through the setup menu
options. Operating modes are different
according to the characteristics of
the option selected.
The menu includes the following
functions:
❒LIGHTING
❒SPEED BUZZER
❒TRIP B DATA
❒SET TIME
❒SET DATE
❒SEE RADIO (if present)
❒AUTOCLOSE
❒MEASUREMENT UNIT
❒LANGUAGE
❒BUZZER VOLUME❒BUTTON VOLUME
❒SEAT BELT BUZZER (only if
previously disabled)
❒SERVICE
❒PASSENGER AIRBAG
❒DAYTIME RUNNING LIGHTS
❒EXIT MENU
Selecting an option from the main
menu without a submenu:
– briefly press theMENUbutton to
select the main menu option to be set;
– press the
orbuttons (with single
presses) to select the new setting;
– briefly press theMENU
button to
store the new setting and to go back
to the same main menu option selected
previously.
Selecting an option from the main
menu with a submenu:
– briefly press theMENU
button to
display the first submenu option;
– press buttons
or(with single
presses) to scroll through all the
submenu options;
– briefly press theMENU
button to
select the displayed submenu option
and to open the relevant setup menu;
120F0V0509
79
Page 86 of 323

To show the sound system information
on the display (On) or clear it (Off),
proceed as follows:
– briefly press theMENU
button,
making the display flash On or Off
depending on the previous setting;
– press the
orbutton to select;
– press theMENU
button briefly to
return to the menu screen or hold the
button down to return to the standard
screen without storing.
Autoclose (Automatic
central locking with the
vehicle moving)
(for versions/markets, where provided)
When activated (On), this function locks
the doors automatically when the
vehicle speed exceeds 20 km/h.
Proceed as follows to activate or
deactivate this function:
– press theMENU
button briefly to
display a submenu;
– press theMENU
button briefly to
make the display flash On or Off
according to the previous setting;
– press the
orbutton to select;
– press theMENU
button briefly to
return to the submenu screen or hold
the button down to return to the main
menu screen without saving;– hold theMENU
button down
again to return to the standard screen
or to the main menu according to
where you are in the menu.
Unit of measurement
(Setting the unit of
measurement)
With this function is possible to set the
unit of measurement in three
submenus: “Distance”, “Consumption”
and “Temperature”.
To set the required unit of measurement
proceed as follows:
– briefly press theMENU
button to
display the three submenus;
– press the
orbutton to navigate
through the three submenus;
– select the required option and then
pressMENU
briefly;
– if selecting the "Distance" submenu:
briefly press theMENU
button and
the display will show "km" or "mi"
depending on the previous setting;
– press the
orbutton to select;
when you select the “Consumption”
submenu: briefly pressing theMENU
button makes “km/l”, “l/100km” or
“mpg” appear on the display,
depending on the previous setting;If the set distance unit of measurement
is "km", the fuel consumption unit will
be displayed in km/l or l/100 km.
If the set distance unit of measurement
is "mi" the fuel consumption unit will
be displayed in "mpg".
– press the
orbutton to select;
– if selecting the "Temperature"
submenu: briefly press theMENU
button and the display will show
"°C" or "°F" depending on the previous
setting;
– press the
orbutton to select;
When you have made the required
settings, press theMENU
button
briefly to go back to the submenu
screen or hold the button down to go
back to the main menu screen without
saving.
– hold theMENU
button down
again to return to the standard screen
or to the main menu according to
where you are in the menu.
Language (Language
selection)
Display messages can be shown in
different languages: Italian, English,
German, Portuguese, Spanish, French,
Dutch, Polish and Turkish.
82
KNOWING THE INSTRUMENT PANEL
Page 87 of 323

To set the desired language, proceed
as follows:
– briefly press theMENU
button;
the previously set language will flash on
the display;
– press the
orbutton to select;
– press theMENU
button briefly to
return to the menu screen or hold the
button down to return to the standard
screen without storing.
Warnings volume
(Adjusting the
failure/warning acoustic
signal volume)
With this function the volume of the
acoustic signal which accompanies the
display of failure/warning can be
adjusted according to 8 levels.
To set the desired volume, proceed as
follows:
– briefly press theMENU
button;
the previously set volume level will flash
on the display;
– press the
orbutton to make the
adjustment;
– press theMENU
button briefly to
return to the menu screen or hold the
button down to return to the standard
screen without storing.Button volume
(Adjusting the button
volume)
This function may be used to adjust (to
8 levels) the volume of the noise made
when theMENU
,orbuttons
are pressed.
To set the desired volume, proceed as
follows:
– briefly press theMENU
button;
the previously set volume level will flash
on the display;
– press the
orbutton to make the
adjustment;
– press theMENU
button briefly to
return to the menu screen or hold the
button down to return to the standard
screen without storing.
Belt buzzer (Buzzer
activation for SBR
indication)
This function can be displayed only
after a Fiat Dealership has deactivated
the SBR system (see “SBR system”
in the “Safety” section).Service (Scheduled
servicing)
Using this function you can display
information about the mileage intervals
for vehicle servicing.
To consult the information, proceed as
follows:
– briefly press theMENU
button,
which makes the display show the
service interval in km or mi according to
the previous setting (see "Distance
units of measurement" paragraph);
– briefly press theMENU
button to
go back to the menu screen or hold
the button down to go back to the
standard screen.
83