Page 125 of 707
Door Latches
Check for proper closing, latching, and locking.
Fluid Leaks
Check area under vehicle after overnight parking for fuel,
engine coolant, oil, or other fluid leaks. Also, if gasoline
fumes are detected or if fuel, power steering fluid (if
equipped), or brake fluid leaks are suspected. The cause
should be located and corrected immediately.
2
THINGS TO KNOW BEFORE STARTING YOUR VEHICLE 123
Page 319 of 707

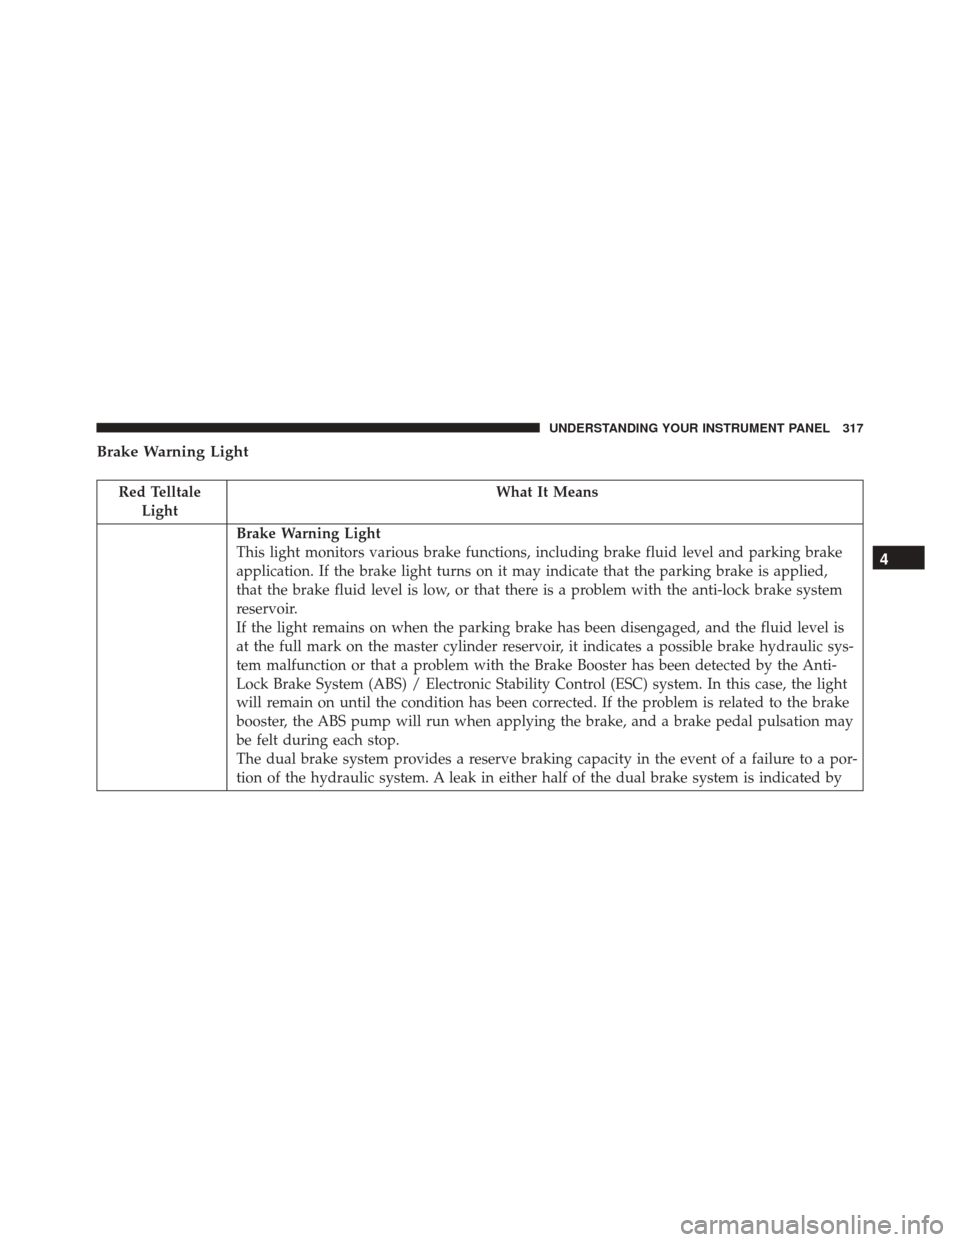
Brake Warning Light
Red TelltaleLight What It Means
Brake Warning Light
This light monitors various brake functions, including brake fluid level and parking brake
application. If the brake light turns on it may indicate that the parking brake is applied,
that the brake fluid level is low, or that there is a problem with the anti-lock brake system
reservoir.
If the light remains on when the parking brake has been disengaged, and the fluid level is
at the full mark on the master cylinder reservoir, it indicates a possible brake hydraulic sys-
tem malfunction or that a problem with the Brake Booster has been detected by the Anti-
Lock Brake System (ABS) / Electronic Stability Control (ESC) system. In this case, the light
will remain on until the condition has been corrected. If the problem is related to the brake
booster, the ABS pump will run when applying the brake, and a brake pedal pulsation may
be felt during each stop.
The dual brake system provides a reserve braking capacity in the event of a failure to a por-
tion of the hydraulic system. A leak in either half of the dual brake system is indicated by
4
UNDERSTANDING YOUR INSTRUMENT PANEL 317
Page 320 of 707

Red TelltaleLight What It Means
the Brake Warning Light, which will turn on when the brake fluid level in the master cylin-
der has dropped below a specified level.
The light will remain on until the cause is corrected.
NOTE:
The light may flash momentarily during sharp cornering maneuvers, which change fluid
level conditions. The vehicle should have service performed, and the brake fluid level
checked.
If brake failure is indicated, immediate repair is necessary.
WARNING!
Driving a vehicle with the red brake light on is
dangerous. Part of the brake system may have failed.
It will take longer to stop the vehicle. You could have
a collision. Have the vehicle checked immediately. Vehicles equipped with the Anti-Lock Brake System
(ABS) are also equipped with Electronic Brake Force
Distribution (EBD). In the event of an EBD failure, the
Brake Warning Light will turn on along with the ABS
Light. Immediate repair to the ABS system is required.
Operation of the Brake Warning Light can be checked by
turning the ignition switch from the OFF position to the
318 UNDERSTANDING YOUR INSTRUMENT PANEL
Page 345 of 707
•Wrong Key
• Damaged Key
• Key not programmed
• Vehicle Not in Park
• Key Left Vehicle
• Key Not Detected
• Press Brake Pedal and Push Button to Start
• Liftgate Ajar (chime will sound when vehicle starts
moving)
• Low Tire Pressure
• Service TPM System (refer to “Tire Pressure Monitor-
ing System” in “Starting And Operating”)
• Tire Pressure Screen With Low Tire(s) “Inflate Tire to
XX” •
Turn Signal On
• RKE Battery Low
• Service Keyless System
• Low Washer Fluid
• Oil Change Required
• Check Gascap
• Left Front Turn Signal Light Out
• Left Rear Turn Signal Light Out
• Right Front Turn Signal Light Out
• Right Rear Turn Signal Light Out
• Park Assist Disabled
• Service Park Assist System
• Personal Settings Not Available — Vehicle Not in Park
4
UNDERSTANDING YOUR INSTRUMENT PANEL 343
Page 464 of 707

�POWER STEERING .....................483
▫ Power Steering Fluid Check ..............484
� PARKING BRAKE ..................... .485
� BRAKE SYSTEM ...................... .488
� ELECTRONIC BRAKE CONTROL SYSTEM . . . .488
▫ Electronic Brake Force Distribution (EBD) . . . .488
▫ Brake System Warning Light ..............489
▫ Anti-Lock Brake System (ABS) ............489
▫ Anti-Lock Brake Warning Light ............491
▫ Brake Assist System (BAS) ...............491
▫ Hill Start Assist (HSA) .................492
▫ Traction Control System (TCS) ............495
▫ Electronic Stability Control (ESC) ..........495▫
Electronic Roll Mitigation (ERM) ...........499
▫ Trailer Sway Control (TSC) ..............500
� TIRE SAFETY INFORMATION .............501
▫ Tire Markings ....................... .501
▫ Tire Identification Number (TIN) ...........504
▫ Tire Terminology And Definitions ..........506
▫ Tire Loading And Tire Pressure ...........507
� TIRES — GENERAL INFORMATION ........512
▫ Tire Pressure ....................... .512
▫ Tire Inflation Pressures .................513
▫ Tire Pressures For High Speed Operation . . . .515
▫ Radial Ply Tires ..................... .515
▫ Tire Types .......................... .516
462 STARTING AND OPERATING
Page 487 of 707

CAUTION!
Do not use chemical flushes in your power steering
system as the chemicals can damage your power
steering components. Such damage is not covered by
the New Vehicle Limited Warranty.
WARNING!
Fluid level should be checked on a level surface and
with the engine off to prevent injury from moving
parts and to ensure accurate fluid level reading. Do
not overfill. Use only manufacturer’s recommended
power steering fluid.
If necessary, add fluid to restore to the proper indicated
level. With a clean cloth, wipe any spilled fluid from all
surfaces. Refer to “Fluids, Lubricants, And Genuine
Parts” in “Maintaining Your Vehicle” for further informa-
tion.
PARKING BRAKE
Before leaving the vehicle, make sure that the parking
brake is fully applied and place the shift lever in the
PARK position.
The foot operated parking brake is positioned below the
lower left corner of the instrument panel. To apply the
park brake, firmly push the park brake pedal fully. To
release the parking brake, press the park brake pedal a
second time and let your foot up as you feel the brake
disengage.
5
STARTING AND OPERATING 485
Page 577 of 707

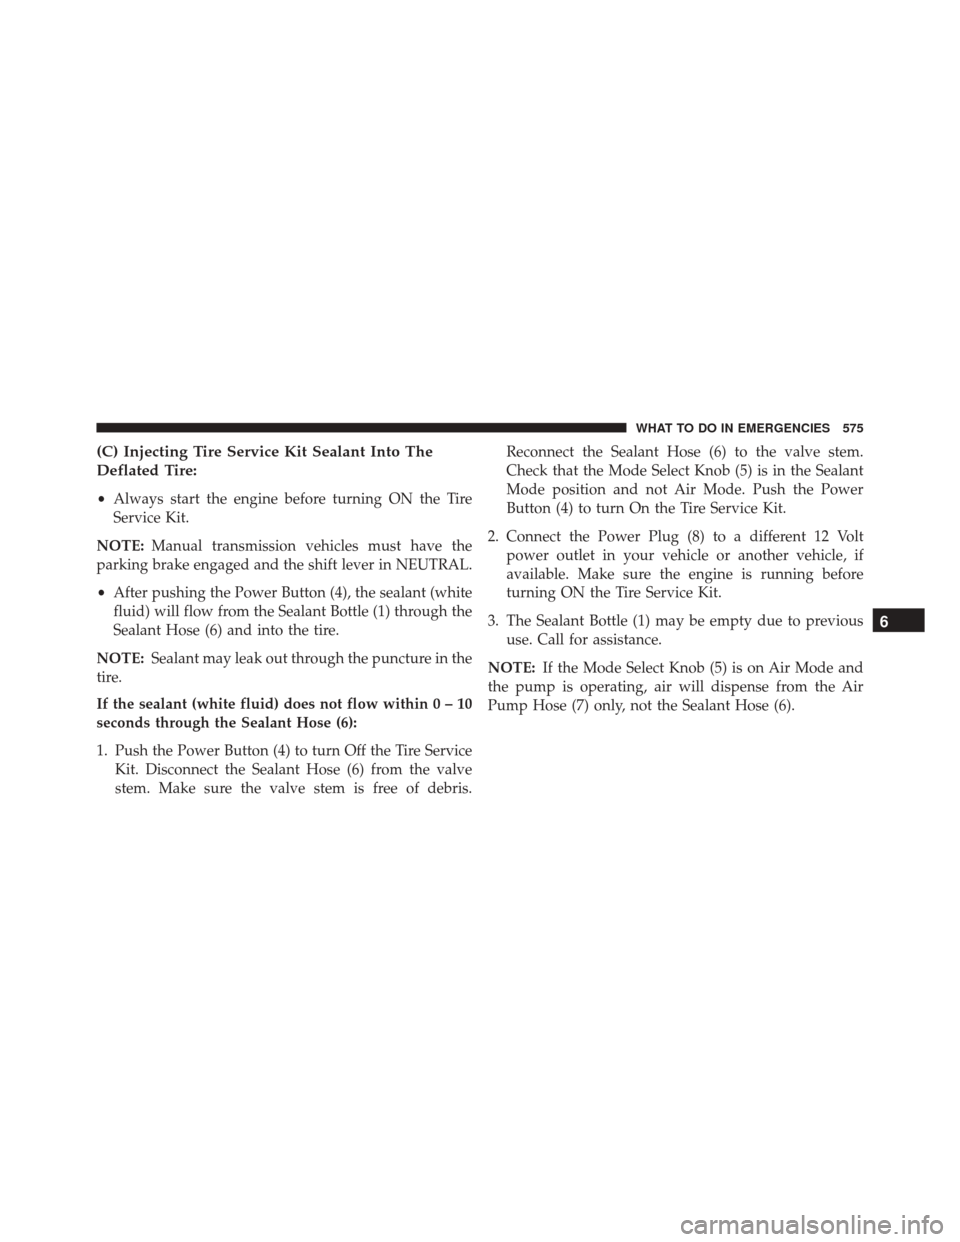
(C) Injecting Tire Service Kit Sealant Into The
Deflated Tire:
•Always start the engine before turning ON the Tire
Service Kit.
NOTE: Manual transmission vehicles must have the
parking brake engaged and the shift lever in NEUTRAL.
• After pushing the Power Button (4), the sealant (white
fluid) will flow from the Sealant Bottle (1) through the
Sealant Hose (6) and into the tire.
NOTE: Sealant may leak out through the puncture in the
tire.
If the sealant (white fluid) does not flow within0–10
seconds through the Sealant Hose (6):
1. Push the Power Button (4) to turn Off the Tire Service Kit. Disconnect the Sealant Hose (6) from the valve
stem. Make sure the valve stem is free of debris. Reconnect the Sealant Hose (6) to the valve stem.
Check that the Mode Select Knob (5) is in the Sealant
Mode position and not Air Mode. Push the Power
Button (4) to turn On the Tire Service Kit.
2. Connect the Power Plug (8) to a different 12 Volt power outlet in your vehicle or another vehicle, if
available. Make sure the engine is running before
turning ON the Tire Service Kit.
3. The Sealant Bottle (1) may be empty due to previous use. Call for assistance.
NOTE: If the Mode Select Knob (5) is on Air Mode and
the pump is operating, air will dispense from the Air
Pump Hose (7) only, not the Sealant Hose (6).
6
WHAT TO DO IN EMERGENCIES 575
Page 615 of 707
ENGINE COMPARTMENT — 3.6L
1 — Air Filter6 — Engine Coolant Reservoir
2 — Power Steering Fluid Reservoir 7 — Engine Oil Dipstick
3 — Brake Fluid Reservoir 8 — Engine Oil Fill
4 — Battery 9 — Coolant Pressure Cap
5 — Totally Integrated Power Module (Fuses) 10 — Washer Fluid Reservoir
7
MAINTAINING YOUR VEHICLE 613