Page 315 of 739

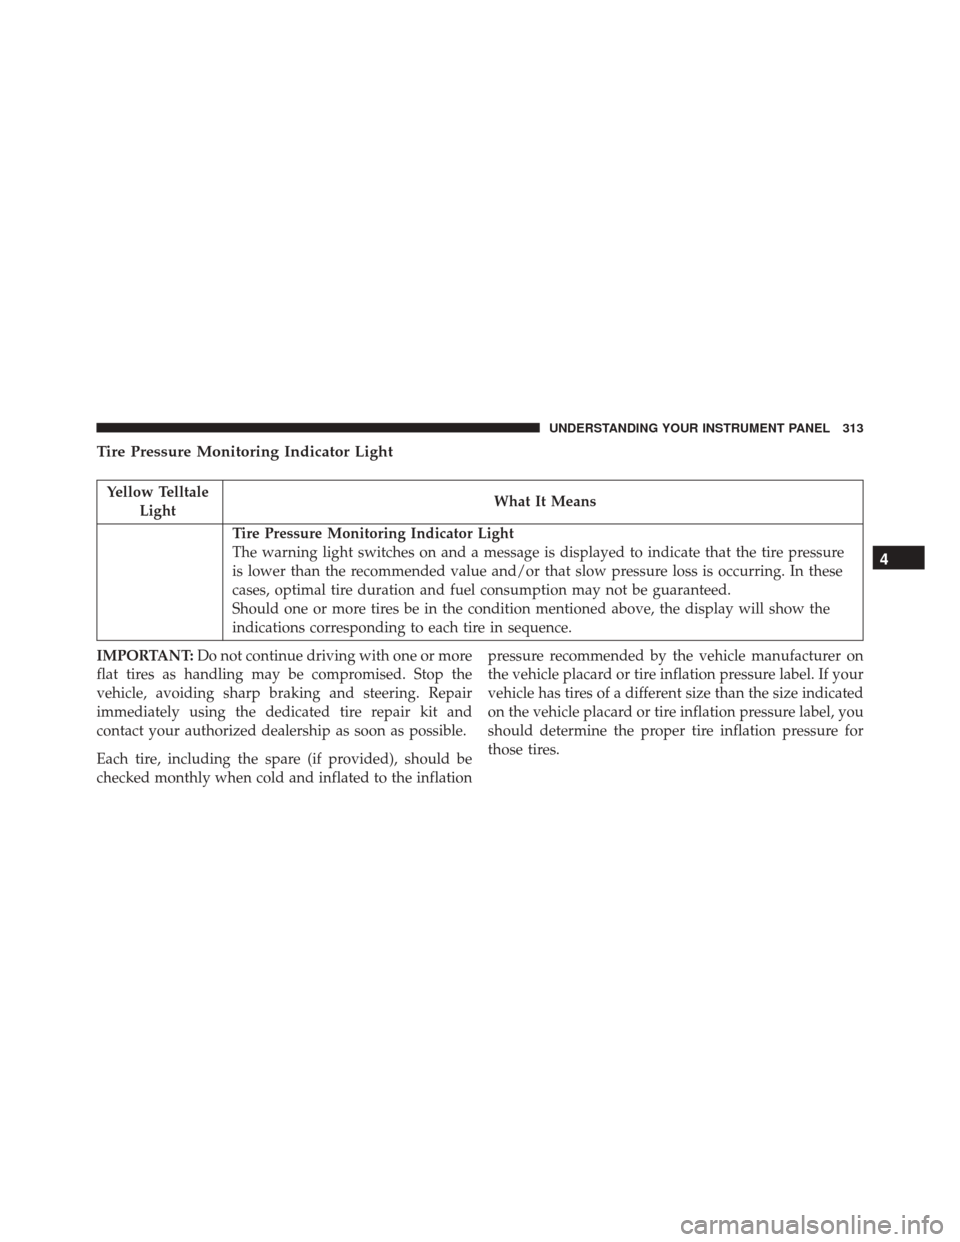
Tire Pressure Monitoring Indicator Light
Yellow TelltaleLight What It Means
Tire Pressure Monitoring Indicator Light
The warning light switches on and a message is displayed to indicate that the tire pressure
is lower than the recommended value and/or that slow pressure loss is occurring. In these
cases, optimal tire duration and fuel consumption may not be guaranteed.
Should one or more tires be in the condition mentioned above, the display will show the
indications corresponding to each tire in sequence.
IMPORTANT: Do not continue driving with one or more
flat tires as handling may be compromised. Stop the
vehicle, avoiding sharp braking and steering. Repair
immediately using the dedicated tire repair kit and
contact your authorized dealership as soon as possible.
Each tire, including the spare (if provided), should be
checked monthly when cold and inflated to the inflation pressure recommended by the vehicle manufacturer on
the vehicle placard or tire inflation pressure label. If your
vehicle has tires of a different size than the size indicated
on the vehicle placard or tire inflation pressure label, you
should determine the proper tire inflation pressure for
those tires.
4
UNDERSTANDING YOUR INSTRUMENT PANEL 313
Page 317 of 739
CAUTION!
The TPMS has been optimized for the original
equipment tires and wheels. TPMS pressures and
warning have been established for the tire size
equipped on your vehicle. Undesirable system opera-
tion or sensor damage may result when using re-
placement equipment that is not of the same size,
type, and/or style. Aftermarket wheels can cause
(Continued)
CAUTION!(Continued)
sensor damage. Using aftermarket tire sealants may
cause the Tire Pressure Monitoring System (TPMS)
sensor to become inoperable. After using an after-
market tire sealant it is recommended that you take
your vehicle to an authorized dealership to have your
sensor function checked.
Low Fuel Indicator Light
Yellow Telltale
Light What It Means
Low Fuel Indicator Light
When the fuel level reaches approximately 1.5 gal (5.8 L) this light will turn on, and remain
on until fuel is added.
4
UNDERSTANDING YOUR INSTRUMENT PANEL 315
Page 318 of 739
Anti-Lock Brake (ABS) Indicator Light
Yellow TelltaleLight What It Means
Anti-Lock Brake (ABS) Indicator Light
This light monitors the Anti-Lock Brake System (ABS). The light will turn on when the igni-
tion switch is placed in the ON/RUN position and may stay on for as long as four seconds.
If the ABS light remains on or turns on while driving, then the Anti-Lock portion of the
brake system is not functioning and service is required. However, the conventional brake
system will continue to operate normally if the brake warning light is not on.
If the ABS light is on, the brake system should be serviced as soon as possible to restore the
benefits of Anti-Lock Brakes. If the ABS light does not turn on when the ignition switch is
placed in the ON/RUN position, have the light inspected by an authorized dealer.
316 UNDERSTANDING YOUR INSTRUMENT PANEL
Page 319 of 739
Forward Collision Indicator Light — If Equipped
Yellow TelltaleLight What It Means
Forward Collision Indicator Light — If Equipped
This telltale will turn on to warn you of a possible collision with the vehicle in front of you.
Forward Collision Warning Off Indicator Light — If Equipped
Yellow Telltale
Light What It Means
Forward Collision Off Indicator Light — If Equipped
This light indicates the Forward Collision Warning is off.
4
UNDERSTANDING YOUR INSTRUMENT PANEL 317
Page 333 of 739
•Service Tire Pressure System
• Speed Warning Set to XXX MPH
• Speed Warning Exceeded
• Parking Brake Engaged
• Brake Fluid Low
• Service Electronic Braking System
• Engine Temperature Hot
• Lights On
• Right Front Turn Signal Light Out
• Right Rear Turn Signal Light Out
• Left Front Turn Signal Light Out
• Left Rear Turn Signal Light Out
• Ignition or Accessory On •
Vehicle Not In Park
• Remote Start Active Push Start Button
• Remote Start Canceled Fuel Low
• Remote Start Canceled Too Cold
• Remote Start Canceled Door Open
• Remote Start Canceled Hood Open
• Remote Start Canceled Liftgate Open
• Remote Start Canceled Time Expired
• Remote Start Disabled Start To Reset
• Service Air Bag System
• Service Air Bag Warning Light
• Door Open
• Doors Open
4
UNDERSTANDING YOUR INSTRUMENT PANEL 331
Page 338 of 739

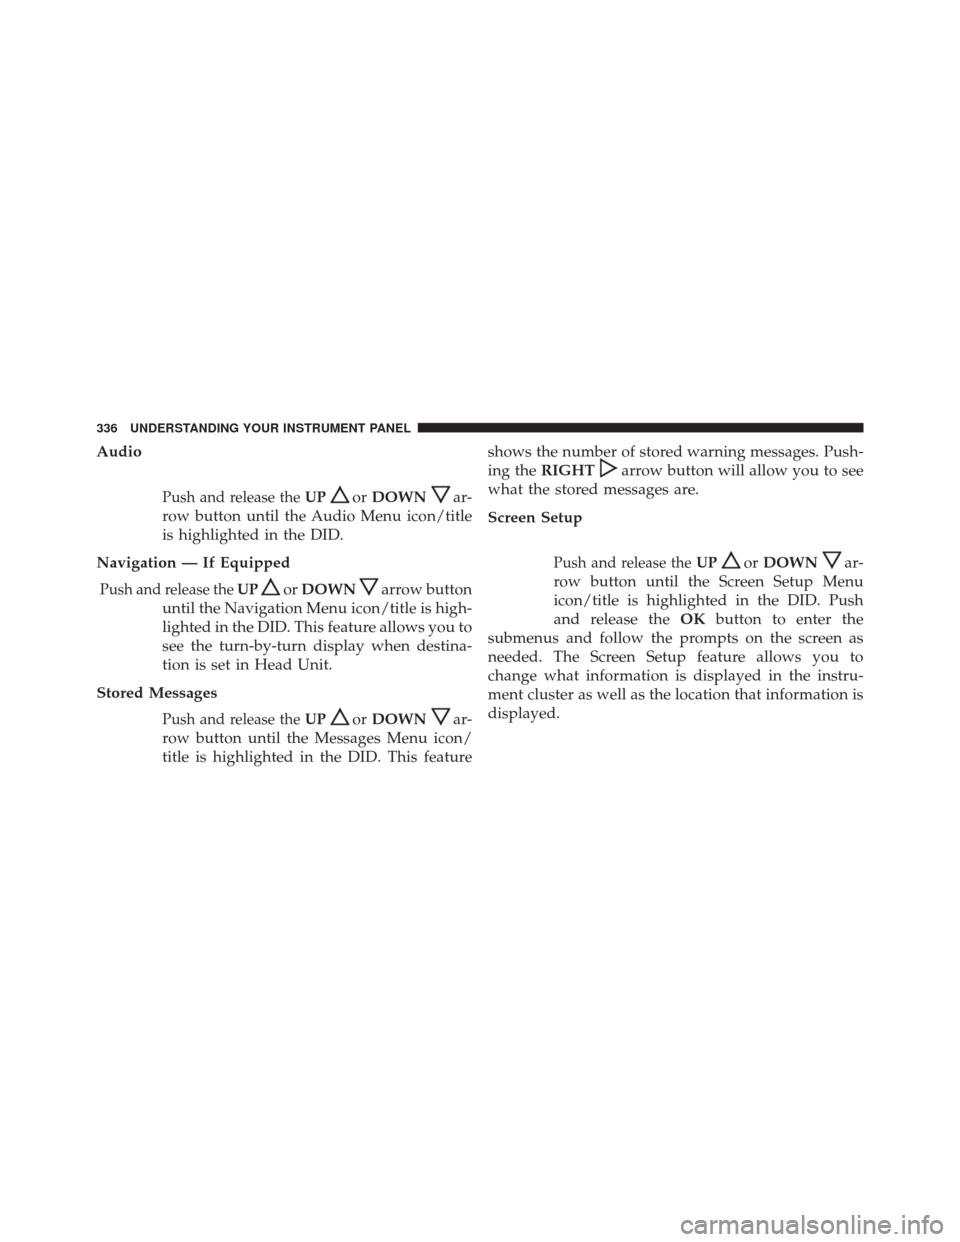
Audio
Push and release theUPorDOWNar-
row button until the Audio Menu icon/title
is highlighted in the DID.
Navigation — If Equipped
Push and release the UPorDOWNarrow button
until the Navigation Menu icon/title is high-
lighted in the DID. This feature allows you to
see the turn-by-turn display when destina-
tion is set in Head Unit.
Stored Messages
Push and release the UPorDOWNar-
row button until the Messages Menu icon/
title is highlighted in the DID. This feature shows the number of stored warning messages. Push-
ing the
RIGHT
arrow button will allow you to see
what the stored messages are.
Screen Setup
Push and release the UPorDOWNar-
row button until the Screen Setup Menu
icon/title is highlighted in the DID. Push
and release the OKbutton to enter the
submenus and follow the prompts on the screen as
needed. The Screen Setup feature allows you to
change what information is displayed in the instru-
ment cluster as well as the location that information is
displayed.
336 UNDERSTANDING YOUR INSTRUMENT PANEL
Page 352 of 739

touchscreen, indicating that the setting had been selected.
For further information, refer to “Forward Collision
Warning (FCW) With Mitigation” in “Understanding The
Features Of Your Vehicle.”
•Rear ParkSense Chime Volume
The Rear ParkSense Chime Volume settings can be se-
lected from the DID or Uconnect System — if equipped.
The chime volume settings include LOW, MEDIUM, and
HIGH. The factory default volume setting is MEDIUM.
To make your selection, press the “ParkSense Rear Chime
Volume” button on the touchscreen, indicating that the
setting had been selected. ParkSense will retain its last
known configuration state through ignition cycles.
• Rear ParkSense Braking Assist
To make your selection, press the “Rear ParkSense Brak-
ing Assist” button on the touchscreen, indicating that the
setting had been selected. •
Blind Spot Alert
When this feature is selected, the Blind Spot Alert feature
Provides alerts, visual and/or audible, to indicate objects
in your blind spot. The Blind Spot Alert feature can be
activated in “Lights” mode. When this mode is selected,
the Blind Spot Monitor (BSM) system is activated and
will only show a visual alert in the exterior mirrors.
When “Lights & Chime” mode is activated, the Blind
Spot Monitor (BSM) will show a visual alert in the
exterior mirrors as well as an audible alert when the turn
signal is on. When “Off” is selected, the Blind Spot
Monitor (BSM) system is deactivated. To change the
Blind Spot Alert status, press the “Off,” “Lights” or
“Lights & Chime” button on the touchscreen.
350 UNDERSTANDING YOUR INSTRUMENT PANEL
Page 458 of 739

Uconnect Access (8.4A/8.4AN)
WARNING!
ALWAYS obey traffic laws and pay attention to the
road. Some Uconnect Access services, including 9-1-1
and Assist, will NOT work without an operable 1X
(voice/data) or 3G (data) network connection.
NOTE: Your vehicle may be transmitting data as autho-
rized by the subscriber.
An included trial and/or subscription is required to take
advantage of the Uconnect Access services in the next
section of this guide. To register with Uconnect Access, press
the Apps button on the 8.4-inch touchscreen to get started.
Detailed registration instructions can be found on the next
page.
NOTE: Uconnect Access is available only on equipped
vehicles purchased within the continental United States, Alaska and Hawaii. Services can only be used where
coverage is available; see coverage map for details.
9-1-1 Call
Security Alarm Notification
Remote Door Lock/Unlock
Stolen Vehicle Assistance
Remote Vehicle Start**
Remote Horn and Lights
Yelp Search
Voice Texting
Roadside Assistance Call
WiFi Hotspot***
**If vehicle is equipped.
***Extra charges apply.
456 UNDERSTANDING YOUR INSTRUMENT PANEL