Page 111 of 671

WARNING!(Continued)
•It is extremely dangerous to ride in a cargo area,
inside or outside of a vehicle. In a collision, people
riding in these areas are more likely to be seriously
injured or killed.
• Do not allow people to ride in any area of your
vehicle that is not equipped with seats and seat
belts.
• Be sure everyone in your vehicle is in a seat and
using a seat belt properly.
Exhaust Gas
WARNING!
Exhaust gases can injure or kill. They contain carbon
monoxide (CO), which is colorless and odorless.
Breathing it can make you unconscious and can
(Continued)
WARNING! (Continued)
eventually poison you. To avoid breathing (CO),
follow these safety tips:
•Do not run the engine in a closed garage or in
confined areas any longer than needed to move
your vehicle in or out of the area.
• If you are required to drive with the trunk/liftgate/
rear doors open, make sure that all windows are
closed and the climate control BLOWER switch is
set at high speed. DO NOT use the recirculation
mode.
• If it is necessary to sit in a parked vehicle with the
engine running, adjust your heating or cooling
controls to force outside air into the vehicle. Set the
blower at high speed.
The best protection against carbon monoxide entry into
the vehicle body is a properly maintained engine exhaust
system.2
THINGS TO KNOW BEFORE STARTING YOUR VEHICLE 109
Page 226 of 671

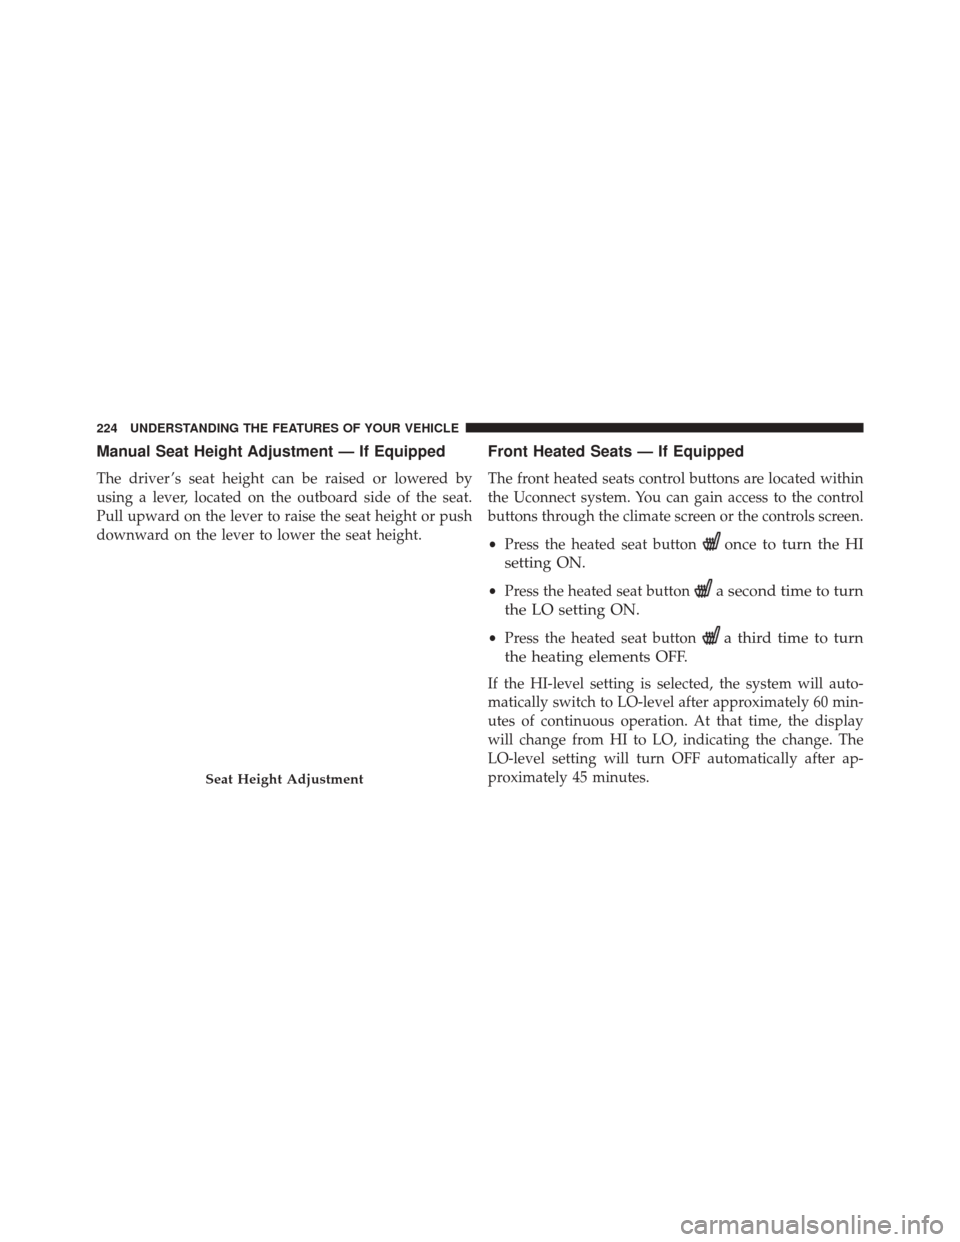
Manual Seat Height Adjustment — If Equipped
The driver ’s seat height can be raised or lowered by
using a lever, located on the outboard side of the seat.
Pull upward on the lever to raise the seat height or push
downward on the lever to lower the seat height.
Front Heated Seats — If Equipped
The front heated seats control buttons are located within
the Uconnect system. You can gain access to the control
buttons through the climate screen or the controls screen.
•Press the heated seat button
once to turn the HI
setting ON.
• Press the heated seat buttona second time to turn
the LO setting ON.
• Press the heated seat buttona third time to turn
the heating elements OFF.
If the HI-level setting is selected, the system will auto-
matically switch to LO-level after approximately 60 min-
utes of continuous operation. At that time, the display
will change from HI to LO, indicating the change. The
LO-level setting will turn OFF automatically after ap-
proximately 45 minutes.
Seat Height Adjustment
224 UNDERSTANDING THE FEATURES OF YOUR VEHICLE
Page 251 of 671

WARNING!
Do not adjust the steering column while driving.
Adjusting the steering column while driving or driv-
ing with the steering column unlocked, could cause
the driver to lose control of the vehicle. Failure to
follow this warning may result in serious injury or
death.
HEATED STEERING WHEEL — IF EQUIPPED
The steering wheel contains a heating element that helps
warm your hands in cold weather. The heated steering
wheel has only one temperature setting. Once the heated
steering wheel has been turned on it can operate for up to
165 minutes before automatically shutting off. The heated
steering wheel can shut off early or may not turn on
when the steering wheel is already warm.The heated steering wheel control button is located
within the Uconnect system. You can gain access to the
control button through the climate screen or the controls
screen.
•
Press the heated steering wheel button
once to
turn the heating element ON.
• Press the heated steering wheel buttona second
time to turn the heating element OFF.
NOTE: The engine must be running for the heated
steering wheel to operate.
Vehicles Equipped With Remote Start
On models that are equipped with remote start, the
heated steering wheel can be programmed to come on
during a remote start through the Uconnect system. Refer
to “Uconnect Settings” in “Understanding Your Instru-
ment Panel” for further information.
3
UNDERSTANDING THE FEATURES OF YOUR VEHICLE 249
Page 284 of 671

Sunshade Operation
The sunshade can be opened manually. However, the
sunshade will open automatically as the sunroof opens.
NOTE:The sunshade cannot be closed if the sunroof is
open.
Wind Buffeting
Wind buffeting can be described as the perception of
pressure on the ears or a helicopter-type sound in the
ears. Your vehicle may exhibit wind buffeting with the
windows down, or the sunroof (if equipped) in certain
open or partially open positions. This is a normal occur-
rence and can be minimized. If the buffeting occurs with
the rear windows open, open the front and rear windows
together to minimize the buffeting. If the buffeting occurs
with the sunroof open, adjust the sunroof opening to
minimize the buffeting or open any window.
Sunroof Maintenance
Use only a nonabrasive cleaner and a soft cloth to clean
the glass panel.
ELECTRICAL POWER OUTLETS — IF EQUIPPED
The 12 Volt (13 Amp) instrument panel power outlet is
located on the lower instrument panel, below the climate
controls. The power outlet has power available when the
ignition switch is in the ACC or RUN position. The
power outlet will also operate a conventional cigar
lighter unit (if equipped with an optional Smoker’s
Package).
282 UNDERSTANDING THE FEATURES OF YOUR VEHICLE
Page 296 of 671

REAR WINDOW FEATURES
Rear Window Defroster
The rear window defroster button is located on
the climate control. Push this button to turn on the
rear window defroster and the heated outside mirrors (if
equipped). An indicator in the button will illuminate
when the rear window defroster is on. The rear window
defroster automatically turns off after approximately 15
minutes. For an additional 15 minutes of operation, push
the button a second time.
CAUTION!
Failure to follow these cautions can cause damage to
the heating elements:
• Use care when washing the inside of the rear
window. Do not use abrasive window cleaners on
(Continued)
CAUTION! (Continued)
the interior surface of the window. Use a soft cloth
and a mild washing solution, wiping parallel to the
heating elements. Labels can be peeled off after
soaking with warm water.
• Do not use scrapers, sharp instruments, or abrasive
window cleaners on the interior surface of the
window.
• Keep all objects a safe distance from the window.
294 UNDERSTANDING THE FEATURES OF YOUR VEHICLE
Page 299 of 671
▫List Or Browse Mode ...................389
▫ Bluetooth Streaming Audio (BTSA) .........390
� STEERING WHEEL AUDIO CONTROLS ......392
▫ Radio Operation ..................... .392
▫ CD Player .......................... .393
� CD/DVD DISC MAINTENANCE ...........393
� RADIO OPERATION AND MOBILE DEVICES . .394
� CLIMATE CONTROLS ...................394 ▫
Manual Heating And Air Conditioning — If
Equipped .......................... .394
▫ Uconnect 8.4 Climate Controls — If
Equipped .......................... .399
▫ Climate Control Functions ...............405
▫ Automatic Temperature Control (ATC) ......406
▫ Operating Tips ...................... .408
4
UNDERSTANDING YOUR INSTRUMENT PANEL 297
Page 300 of 671
INSTRUMENT PANEL FEATURES
1 — Air Demister5 — Glove Compartment9 — Trunk Release
2 — Outlet 6 — Climate Control Hard Controls/
Uconnect System Hard Controls 10 — Hood Release
3 — Instrument Cluster 7 — Power Outlet11 — Dimmer Control
4 — Radio/Uconnect System 8 — Ignition Switch12 — Headlight Switch
298 UNDERSTANDING YOUR INSTRUMENT PANEL
Page 357 of 671

Vehicles Not Equipped With Passive Entry
•Turn the ignition switch to the ON/RUN position (do
not start the engine).
• Push and release the UP
or DOWNarrow
button to scroll through the main menu to “Vehicle
Info.”
• Push and release the RIGHTarrow button to
access the ”Oil Life” screen.
• Push and hold the RIGHTarrow button for one
second to reset the gauge and numeric display to
100% for ”Oil Life.”
• Push and release the UPor DOWNarrow
button to exit the DID screen.
NOTE: If the indicator message illuminates when you
start the vehicle, the oil change indicator system did not
reset. If necessary, repeat this procedure.
Uconnect SETTINGS
The Uconnect system uses a combination of buttons on
the touchscreen and buttons on the faceplate that allows
you to access and change the customer programmable
features.
Buttons On The Faceplate
Buttons on the faceplate are located below the Uconnect
system in the center of the instrument panel. In addition,
there is a Scroll/Enter control knob located on the right
side of the Climate Controls in the center of the instru-
ment panel. Turn the control knob to scroll through
menus and change settings (i.e., 30, 60, 90), press the
center of the control knob one or more times to select or
change a setting (i.e., ON, OFF).
4
UNDERSTANDING YOUR INSTRUMENT PANEL 355