Page 291 of 308

13
5
Driving safely
SAFETY
Display in the touch screen tablet then in the instrument panel
The display of traffic signs is done in the
following two phases:
- All new recognised traffic signs are
displayed in the touch screen tablet in
the form of a popup for 40 seconds.
- These traffic signs are then displayed in
the instrument panel.
The system can display two traffic signs
(speed limit and no overtaking ) in parallel
in the two dedicated zones of the instrument
panel.
If an additional traffic sign is detected, such
as one for a reduced speed limit when the
road is wet, this is displayed in an empty
window below the corresponding sign.
Additional traffic signs are filtered as follows:
- Signs related to snow or ice are
displayed only if the ambient
temperature is below 3°C.
- Signs related to snow, rain or fog are
displayed only if the wipers are on and
the ambient temperature is below 3°C.
- Signs related to heavy goods vehicles
are only displayed if they apply to
vehicles weighing less than 4 tonnes.
- Signs related to farm vehicles are not
displayed.
Principles
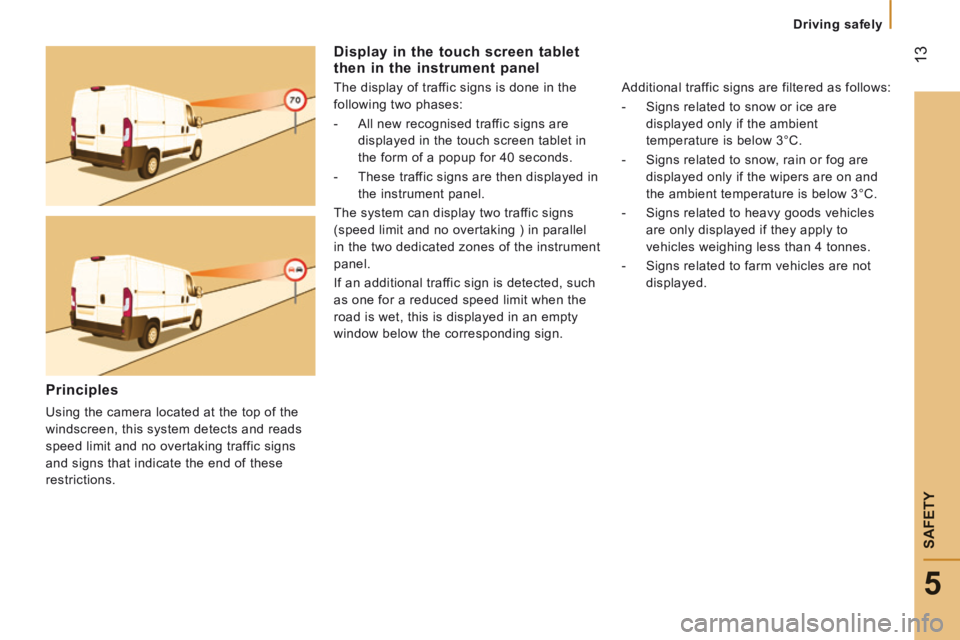
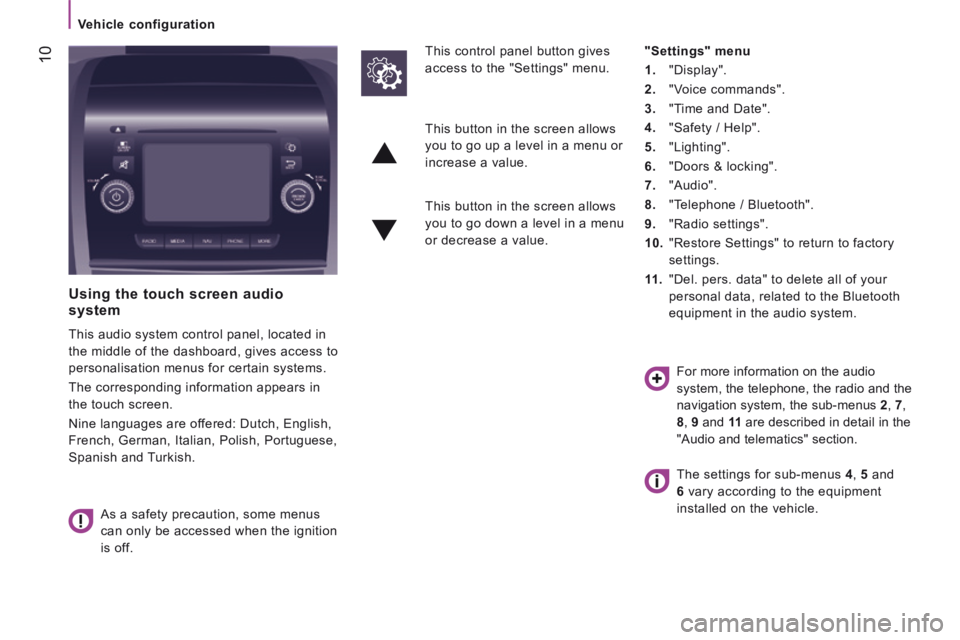
Using the camera located at the top of the
windscreen, this system detects and reads
speed limit and no overtaking traffic signs
and signs that indicate the end of these
restrictions.
Page 295 of 308
1
2
READY
TO GO
Instruments and controls
1. Speedometer (mph or km/h).
2. Display screen.
3. Fuel gauge.
4. Coolant temperature.
5. Rev counter (rpm or tr/min x 1000).
INSTRUMENT PANELS
Level 1 display screen
In the lower part:
- Time,
- Ambient temperature,
- Miles / kilometres travelled,
- Trip computer (range, fuel
consumption...),
- Headlamp beam height,
- Programmable overspeed warning,
- Cruise control or speed limiter,
- Gear efficiency indicator,
- Stop & Start.
In the upper part:
- Date,
- Service indicator,
- Alert messages,
- System status messages,
- Vehicle configuration.
Instrument panel / Level 1 display screen
Page 296 of 308
2
Instruments and controls
Level 2 display screen
In the left-hand part:
- Time,
- Ambient temperature,
- Alert or state indicators,
- Cruise control or speed limiter.
In the right-hand part:
- Date,
- Service indicator,
- Trip computer (range, fuel
consumption...),
- Alert messages,
- Messages on the state of systems,
- Vehicle configuration,
- Headlamp beam height,
- Miles / kilometres travelled.
Instrument panel / Level 2 display screen
Page 301 of 308
7
4
TECHNOLOGY
on
BOARD
Vehicle configuration
Menu... Press... Sub-menu… Press... Select… Confirm
and quit Enables you to...
1 Speed
beep
ON Increase Activate / Deactivate the audible
signal indicating exceeding of
the programmed speed and
select the speed.
Decrease
OFF
2 Headlamp
sensor
Increase Set the sensitivity of the
sunshine sensor (1 to 3). Decrease
3 Activation
Trip B
Activate Display a second distance
"Trip B". Deactivate
4 Traffic Sign Activate Activate / Deactivate the reading
of traffic signs. Deactivate
5 Setting
the time
Hours/
Minutes
Increase Set the clock. Decrease
Time format 24 Select the clock display mode. 12
6 Setting the
date
Year/Month/
Day
Activate Set the date. Deactivate
7 Autoclose While moving ON Activate / Deactivate automatic
door locking above approx
12 mph (20 km/h) OFF
Page 302 of 308
8
Vehicle configuration
Menu… Press... Sub-menu… Press... Select… Confirm
and quit Enables you to...
8 Measurement
unit (Unit)
Distance Km Select the distance display unit. Miles
Fuel
consumption
km/l Select the fuel consumption
display unit. l/100 km
Temperature °C Select the temperature display
unit. °F
9 Languages
List of
languages
available
Select the display language.
10 Volume of
announcements
(Buzz)
Increase Increase / Decrease the volume
of the announcements or of the
audible warning. Decrease
11 Service
Service (Miles/
km before
service)
Display the miles/kilometres
remaining before the next
service.
Oil (Miles/
Km before oil
change)
Display the miles/kilometres to
the next oil change
Page 304 of 308

10
Vehicle configuration
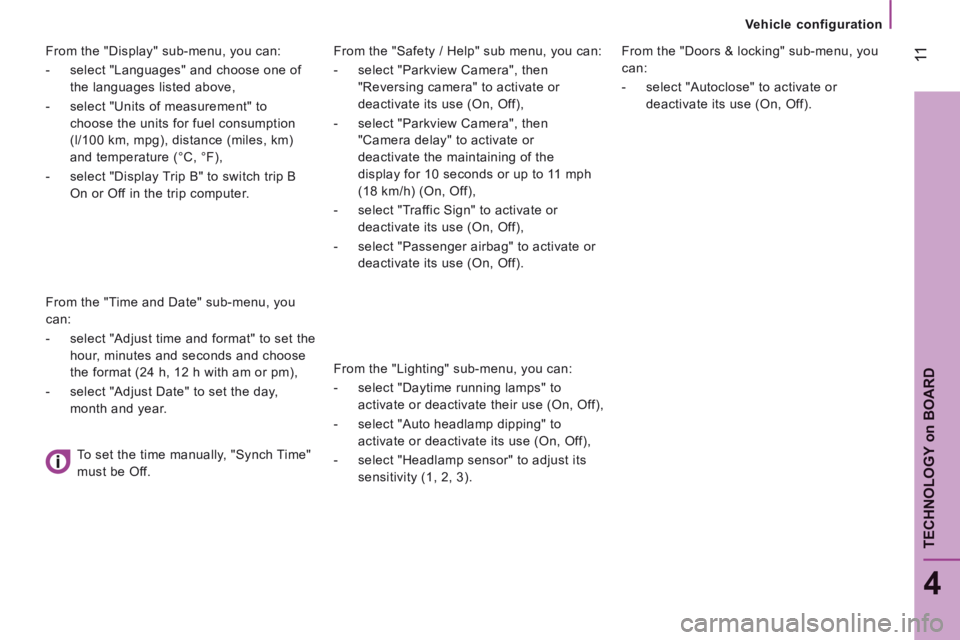
Using the touch screen audio system
This audio system control panel, located in
the middle of the dashboard, gives access to
personalisation menus for certain systems.
The corresponding information appears in
the touch screen.
Nine languages are offered: Dutch, English,
French, German, Italian, Polish, Portuguese,
Spanish and Turkish.
As a safety precaution, some menus
can only be accessed when the ignition
is off.
This control panel button gives
access to the "Settings" menu.
"Settings" menu
1. "Display".
2. "Voice commands".
3. "Time and Date".
4. "Safety / Help".
5. "Lighting".
6. "Doors & locking".
7. "Audio".
8. "Telephone / Bluetooth".
9. "Radio settings".
10. "Restore Settings" to return to factory
settings.
11 . "Del. pers. data" to delete all of your
personal data, related to the Bluetooth
equipment in the audio system.
This button in the screen allows
you to go up a level in a menu or
increase a value.
This button in the screen allows
you to go down a level in a menu
or decrease a value.
For more information on the audio
system, the telephone, the radio and the
navigation system, the sub-menus 2 , 7 ,
8 , 9 and 11 are described in detail in the
"Audio and telematics" section.
The settings for sub-menus 4 , 5 and
6 vary according to the equipment
installed on the vehicle.
Page 305 of 308

11
4
TECHNOLOGY
on
BOARD
Vehicle configuration
From the "Safety / Help" sub menu, you can:
- select "Parkview Camera", then
"Reversing camera" to activate or
deactivate its use (On, Off),
- select "Parkview Camera", then
"Camera delay" to activate or
deactivate the maintaining of the
display for 10 seconds or up to 11 mph
(18 km/h) (On, Off),
- select "Traffic Sign" to activate or
deactivate its use (On, Off),
- select "Passenger airbag" to activate or
deactivate its use (On, Off).
From the "Lighting" sub-menu, you can:
- select "Daytime running lamps" to
activate or deactivate their use (On, Off),
- select "Auto headlamp dipping" to
activate or deactivate its use (On, Off),
- select "Headlamp sensor" to adjust its
sensitivity (1, 2, 3).
From the "Doors & locking" sub-menu, you
can:
- select "Autoclose" to activate or
deactivate its use (On, Off).
From the "Display" sub-menu, you can:
- select "Languages" and choose one of
the languages listed above,
- select "Units of measurement" to
choose the units for fuel consumption
(l/100 km, mpg), distance (miles, km)
and temperature (°C, °F),
- select "Display Trip B" to switch trip B
On or Off in the trip computer.
From the "Time and Date" sub-menu, you
can:
- select "Adjust time and format" to set the
hour, minutes and seconds and choose
the format (24 h, 12 h with am or pm),
- select "Adjust Date" to set the day,
month and year.
To set the time manually, "Synch Time"
must be Off.
Page 306 of 308

12
Driving safely
TRAFFIC SIGN RECOGNITION
This system is a driving aid that make
use of a camera located at the top of the
windscreen.
The camera detects the following types of
traffic signs and displays the corresponding
information in the instrument panel:
- speed limits,
- no overtaking.
The units for the speed limits (mph or
km/h) depend on the country you are
driving in.
It should be taken into account so that you
observe the speed limit.
For the system to operate correctly when
you change country, the units for speed in
the instrument panel must be those for the
country you are driving in.
The automatic reading of traffic signs is
a driving assistance system and does
not always display speed limits correctly.
The speed limit signs present on the road
always take priority over the display by the
system.
The system cannot in any circumstances
replace the need for vigilance on the part of
the driver.
The driver must observe the driving
regulations and must adapt the speed of the
vehicle to suit the weather and traffic.
It is possible for the system to not display
the speed limit if it does not detect a speed
limit sign within a preset period.
The system is designed to detect signs that
conform to the Vienna Convention on traffic
signs.
To maintain correct operation of the
system:
- Regularly clean the area in front of the
camera.
- Do not carry out any repairs to the area
of the windscreen close to the camera
lens.
When replacing headlamp bulbs, you
are strongly recommended to fit genuine
replacement parts.
The use of other bulbs could reduce the
performance of the system.