Page 12 of 500

DS5_en_Chap00b_vue-ensemble_ed02-2015
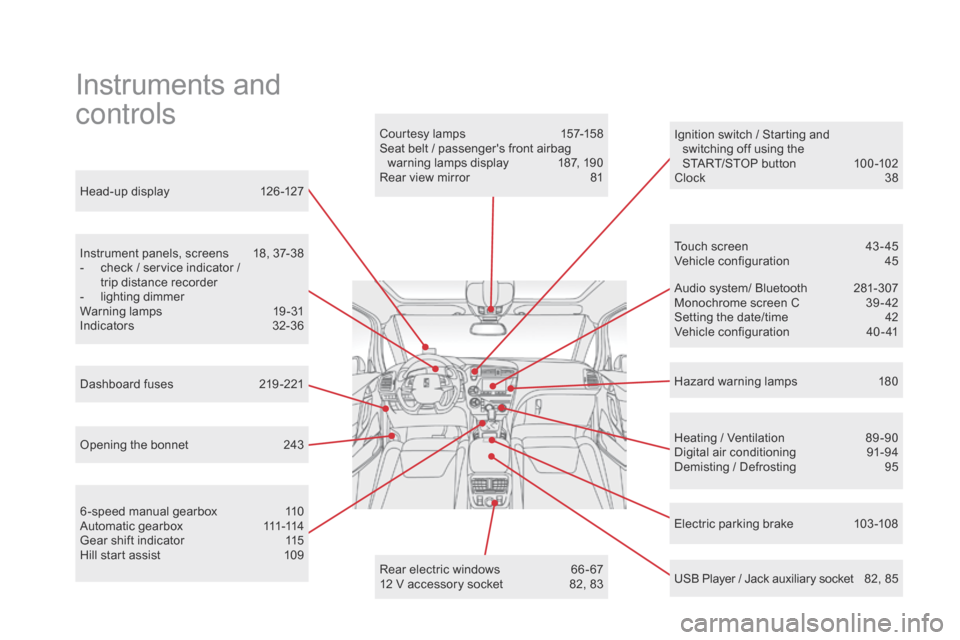
Head-up display 126 -127
Instrument panels, screens
18
, 37-38
-
ch
eck / service indicator /
trip distance recorder
-
li
ghting dimmer
Warning lamps
19
-31
Indicators
32-
36
Electric parking brake
10
3 -108
Ignition switch / Starting and
switching off using the
START/STOP button
10
0 -102
Clock 38
H azard warning lamps
18
0
Instruments and
controls
Courtesy lamps 157-158
Seat belt / passenger's front airbag warning lamps display
187
, 190
Rear view mirror
81
H
eating / Ventilation
89
-90
Digital air conditioning
91
-94
Demisting / Defrosting
95
U
SB Player / Jack auxiliary socket
82
, 85
Dashboard fuses
21
9 -221
6 -speed manual gearbox
11
0
A u t o m a t i c g e a r b o x
111 -
114
Gear shift indicator
11
5
Hill start assist
10
9 Audio system/ Bluetooth
28
1-307
Monochrome screen C
39
- 42
Setting the date/time
42
V
ehicle configuration
40
- 41
Touch screen
43
- 45
Vehicle configuration
45
O
pening the bonnet
24
3 Rear electric windows
66
- 67
12 V accessory socket
82
, 83
Page 40 of 500

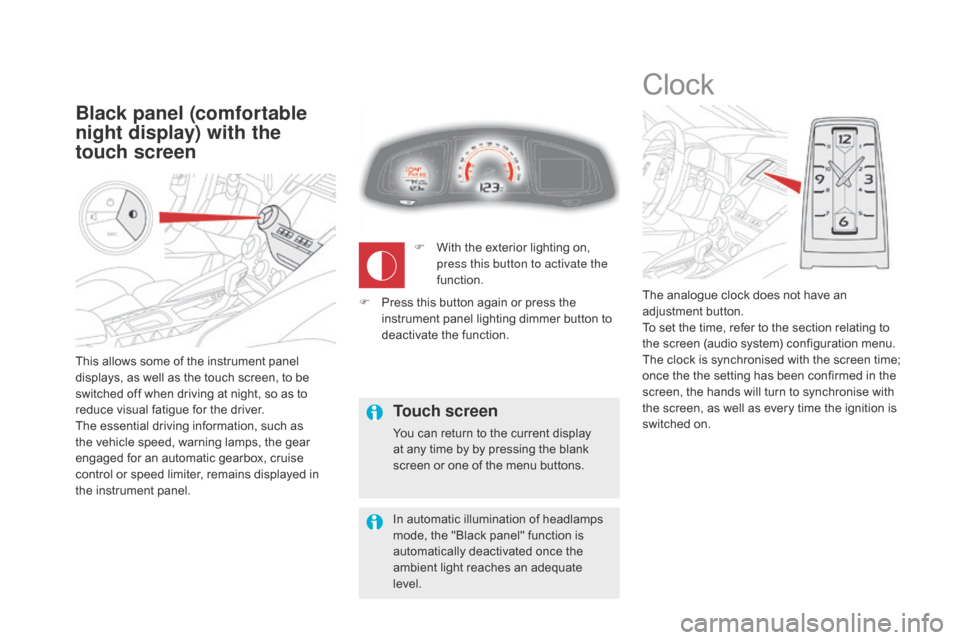
This allows some of the instrument panel
displays, as well as the touch screen, to be
switched off when driving at night, so as to
reduce visual fatigue for the driver.
The essential driving information, such as
the vehicle speed, warning lamps, the gear
engaged for an automatic gearbox, cruise
control or speed limiter, remains displayed in
the instrument panel.
Black panel (comfortable
night display) with the
touch screen
Clock
The analogue clock does not have an
adjustment button.
To set the time, refer to the section relating to
the screen (audio system) configuration menu.
The clock is synchronised with the screen time;
once the the setting has been confirmed in the
screen, the hands will turn to synchronise with
the screen, as well as every time the ignition is
switched on.
F
Wi
th the exterior lighting on,
press this button to activate the
function.
Touch screen
You can return to the current display
at any time by by pressing the blank
screen or one of the menu buttons.
In automatic illumination of headlamps
mode, the "Black panel" function is
automatically deactivated once the
ambient light reaches an adequate
level.
F
Pr
ess this button again or press the
instrument panel lighting dimmer button to
deactivate the function.
Page 44 of 500

choice of language
Once this menu has been selected, you can
choose the language used by the display from
a pre-defined list.
Display configuration
This menu gives access to the following
settings:
-
"C
hoice of units",
-
"D
ate and time adjustment",
-
"D
isplay parameters",
-
"B
rightness".
As a safety measure, configuration of
the multifunction screen by the driver
must only be done when stationary.
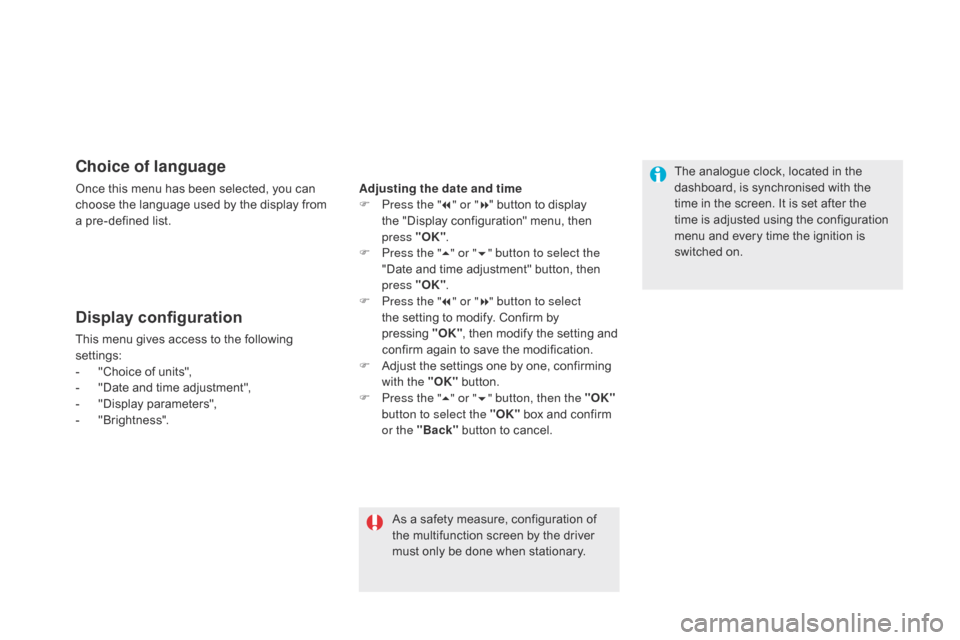
Adjusting the date and time
F
Pr
ess the "
7" or " 8" button to display
the "Display configuration" menu, then
press
"O
K"
.
F
Pr
ess the "
5" or " 6" button to select the
"Date and time adjustment" button, then
press "OK" .
F
Pr
ess the "
7" or " 8" button to select
the setting to modify. Confirm by
pressing "OK "
, then modify the setting and
confirm again to save the modification.
F
Ad
just the settings one by one, confirming
with the "OK" button.
F
Pr
ess the "5" or " 6" button, then the "OK"
button to select the "OK" box and confirm
or the "Back" button to cancel. The analogue clock, located in the
dashboard, is synchronised with the
time in the screen. It is set after the
time is adjusted using the configuration
menu and every time the ignition is
switched on.
Page 206 of 500
DS5_en_Chap08_info-pratiques_ed02-2015
Taking out the spare wheel
F Raise the floor to reveal the spare wheel
carrier drive nut.
F
Tu
rn this drive nut fully clockwise, using
the wheelbrace 1 and the extension 7 , to
unwind the winch cable, until the spare
wheel is flat on the ground. Unwind the
length needed for access to the wheel. F De
tach the assembly of wheel and box
from the rear of the vehicle.
F
St
raighten the spare wheel for access to
the spare wheel.
F
De
tach the link piece from the tool box lid.
F
Pa
ss the link piece through the middle of
the wheel to free it. When the spare wheel is fitted in place
of a punctures wheel, you must refit the
winch carrier and tool box under the
vehicle before setting off.
Refer to the "Putting the winch carrier
and spare wheel back in place" section.
Page 438 of 500

22
23
1
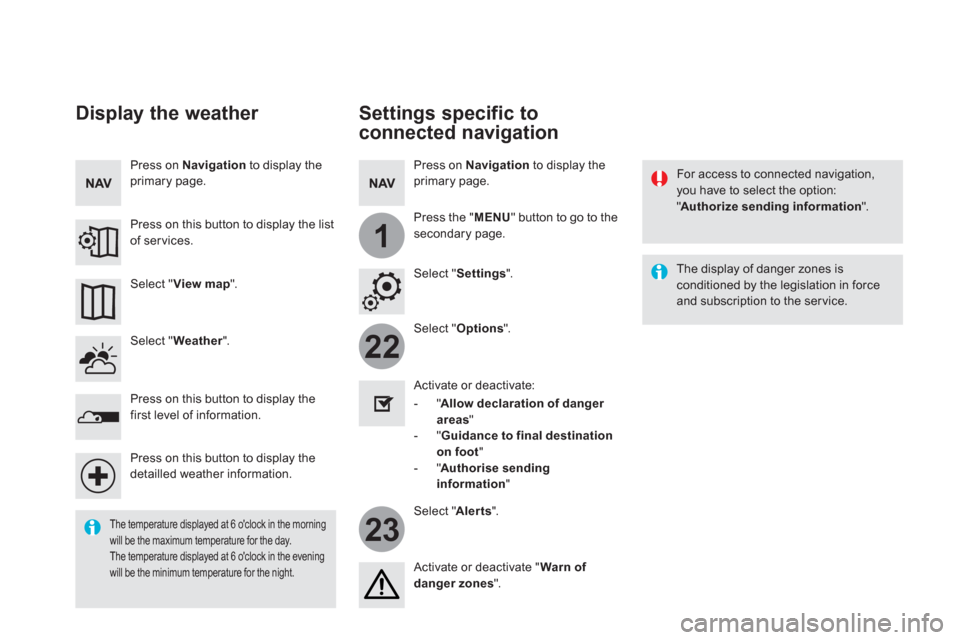
Settings specific to
connected navigation
For access to connected navigation,
you have to select the option:
" Authorize sending information
".
Select " Options
".
Select " Alerts
".
- " Allow declaration of danger
areas
"
- " Guidance to final destination
on foot
"
- " Authorise sending
information
"
Activate or deactivate:
Activate or deactivate " Warn of
danger zones
".
The display of danger zones is
conditioned by the legislation in force
and subscription to the ser vice.
The temperature displayed at 6 o'clock in the morning
will be the maximum temperature for the day.
The temperature displayed at 6 o'clock in the evening
will be the minimum temperature for the night.
Select " Settings
".
Press on Navigation
to display the
primary page.
Press the " MENU
" button to go to the
secondary page.
Display the weather
Select " Weather
".
Press on this button to display the
first level of information.
Press on this button to display the
detailled weather information.
Select " View map
".
Press on Navigation
to display the
primary page.
Press on this button to display the list
of ser vices.