Page 35 of 292

33
C3Picasso_en_Chap02_ecran-multifonction_ed01-2015
Options
Once the "Options" menu has been selected,
you can start diagnostics of the status of the
equipment (active, not active, faulty).
Language
Once the " Languages " menu has been
selected, you can change the language used
by the display by selecting a new language
from the list offered.
Units
Once the " Units" menu has been selected,
you can change the units of the following
parameters:
-
t
emperature (°C or °F),
-
f
uel consumption (l/100 km, mpg or km/l).
The chosen language will also be used
by the eMyWay system colour screen. For safety reasons, configuration of the
multifunction screen by the driver must
only be done when stationary. Once the fuel consumption unit has
been changed to mpg, the information
relating to speed and distance also
changes to miles.
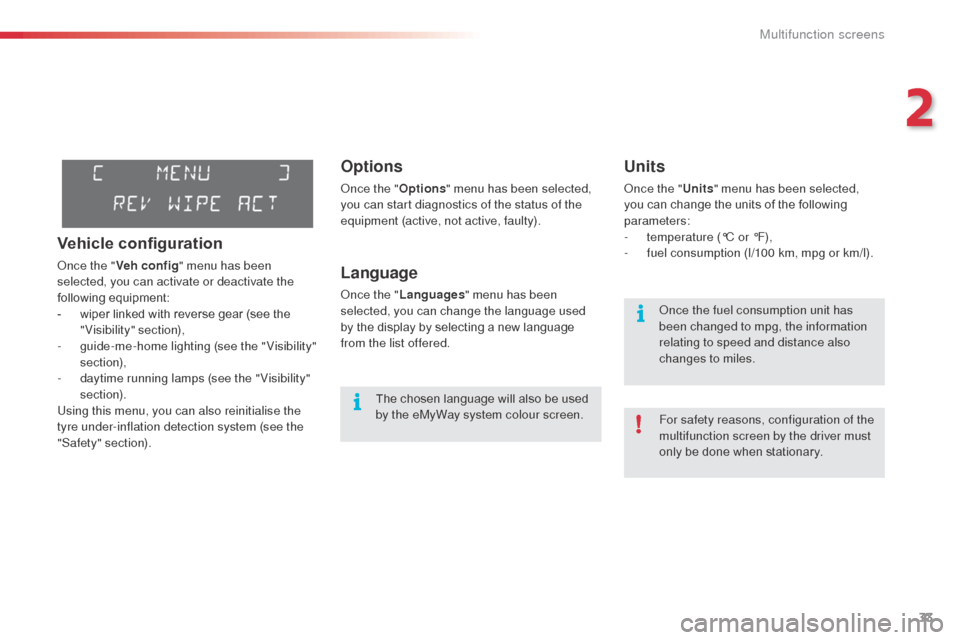
Vehicle configuration
Once the "Veh conf ig " menu has been
selected, you can activate or deactivate the
following equipment:
-
w
iper linked with reverse gear (see the
"Visibility" section),
-
g
uide-me-home lighting (see the " Visibility"
section),
-
d
aytime running lamps (see the " Visibility"
section).
Using this menu, you can also reinitialise the
tyre under-inflation detection system (see the
"Safety" section).
2
Multifunction screens
Page 36 of 292

34
C3Picasso_en_Chap02_ecran-multifonction_ed01-2015
Displays in the eMyWay
system colour screen
Display configuration
This menu allows you to choose a colour
scheme for the display screen, adjust the
brightness, the date and time, and choose
the units for distance (km or miles), fuel
consumption (l/100 km, mpg or km/l) and
temperature (°Celsius or °Fahrenheit).
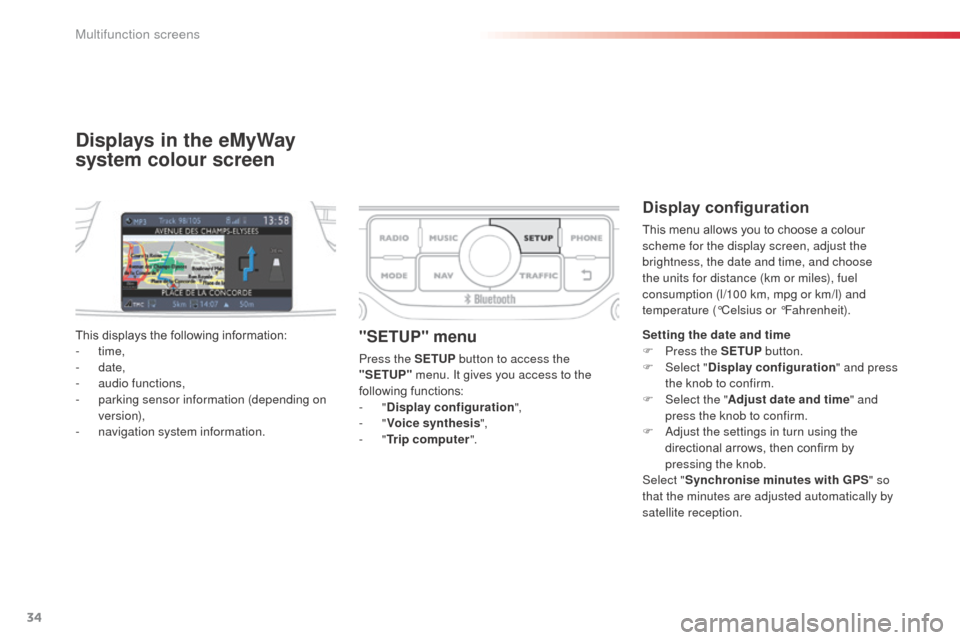
This displays the following information:
-
time,
-
date,
-
a
udio functions,
-
p
arking sensor information (depending on
version),
-
n
avigation system information.
"SETUP" menu
Press the SETUP button to access the
"SETUP" menu. It gives you access to the
following functions:
-
"Display configuration ",
-
"Voice synthesis ",
-
"Trip computer ". Setting the date and time
F
P ress the SETUP
button.
F Sel ect "Display configuration " and press
the knob to confirm.
F
Sel
ect the "Adjust date and time " and
press the knob to confirm.
F
A
djust the settings in turn using the
directional arrows, then confirm by
pressing the knob.
Select " Synchronise minutes with GPS " so
that the minutes are adjusted automatically by
satellite reception.
Multifunction screens
Page 41 of 292

39
C3Picasso_en_Chap02_ecran-multifonction_ed01-2015
Choice of language
Once this menu has been selected, you can
change the language used by the display, by
choosing a new language from the list offered.
Telephone menu
With the Audio system on and this menu
selected, you can configure your Bluetooth
hands-free system (pairing), view the various
telephone directories (calls log, services...) and
manage your calls (call, hang up, double call,
secret mode...).
For more information on the "Telephone"
application, refer to the Audio system part in
the "Audio and telematics" section.
As a safety measure, configuration of
the multifunction screen by the driver
must only be done when stationary.Display configuration
Once this menu has been selected, you can
gain access to the following settings:
-
b
rightness-video setting,
-
d
ate and time setting,
-
s
election of the units.Once the fuel consumption unit has
been changed to mpg, the information
relating to speed and distance also
changes to miles.
Adjust the date and time
F
Sel
ect the " Date and time adjustment "
function using the " 5" or " 6" button.
F
P
ress the "OK" button to confirm the
selection.
F
A
djust the settings one by one using
the
"7 " or " 8" button then confirm with
the
"OK" button.
F
T
hen select the "OK" box in the screen
and then confirm.
2
Multifunction screens
Page 42 of 292
40
C3Picasso_en_Chap02_ecran-multifonction_ed01-2015
Tr i p c o m p u t e r
F Press the button, located at the end of the wiper stalk , to display the various items of
trip computer data in succession. The trip computer provides the following
information:
System that gives you information on the current journey (range, fuel consumption…).
Monochrome screen A
Information displays
-
range,
-
c
urrent fuel consumption,
-
d
istance travelled,
-
a
verage fuel consumption,
-
a
verage speed. F
T
he next press returns you to the current
display.
Zero reset
F Press the control for more than two seconds to reset to zero the distance
travelled, the average fuel consumption
and the average speed.
Multifunction screens
Page 43 of 292
41
C3Picasso_en_Chap02_ecran-multifonction_ed01-2015
- the current information tab with:
●
t
he range,
●
t
he current fuel
consumption,
●
t
he distance remaining to
be travelled.
Monochrome screen C
Information displays
F Press the button, located at the end of the wiper stalk , to display the various trip
computer tabs in succession:
-
t
he trip "1" tab with:
●
t
he distance travelled,
●
t
he average fuel
consumption,
●
t
he average speed,
f
or the first trip. -
t
he trip "2"
tab with:
●
t
he distance travelled,
●
t
he average fuel
consumption,
●
t
he average speed,
f
or the second trip.
F
P
ressing the button again returns you to
the normal display.
Trip zero reset
F When the trip required is displayed, press the button on the end of the wiper stalk for
more than two seconds.
Tr i p s "1" and "2" are independent but their use
is identical.
For example, trip "1" can be used for daily
figures, and trip "2" for monthly figures.
2
Multifunction screens
Page 44 of 292

42
C3Picasso_en_Chap02_ecran-multifonction_ed01-2015
Trip computer, a few definitions
When the range falls below 20 miles (30 km),
dashes are displayed. After filling with at least
5 litres of fuel, the range is recalculated and is
displayed when it exceeds 60 miles (100 km).
Range
(miles or km)
The distance which can still be
travelled with the fuel remaining
in the tank (related to the
average fuel consumption over
the last few miles (kilometres)
travelled).
Current fuel
consumption
(mpg or l/100 km or km/l)
Calculated over the last few seconds.
Average fuel
consumption
(mpg or l/100 km or km/l)
Calculated since the last trip
computer reset.
Distance travelled
(miles or km)
Calculated since the last trip
computer reset.
Average speed
(mph or km/h)
Calculated since the last trip
computer reset.
Distance remaining to
destination
(miles or km)
This is the distance remaining to be
travelled to the final destination. It
is either calculated instantly by the
navigation system, if guidance is
activated, or entered by the user.
If the distance is not entered, dashes
are displayed in place of the digits.
If dashes are displayed continuously
while driving in place of the digits,
contact a CITROËN dealer or a
qualified workshop. This value may vary following a change
in the style of driving or the relief,
resulting in a significant change in the
current fuel consumption. This function is only displayed from
20
mph (30 km/h).
Multifunction screens
Page 47 of 292
45
C3Picasso_en_Chap03_confort_ed01-2015
The control button is
located on the heating
or air conditioning
system control panel.
Rear screen demist/defrost
Switching on
The rear screen demist /defrost can only
operate when the engine is running.
F
P
ress this button to demist /defrost the rear
screen and the door mirrors. The indicator
lamp associated with the button comes on.
Switching off
The demist /defrost switches off automatically to
prevent an excessive consumption of current.
F
I
t is possible to stop the demist /defrost
operation before it is switched off
automatically by pressing the button again.
The indicator lamp associated with the
button switches off.
F
S
witch off the demist /defrost
of the rear screen and door
mirrors as soon as you consider
this possible as lower current
consumption results in reduced fuel
consumption.
3
Comfort
Page 71 of 292

69
C3Picasso_en_Chap04_ouverture_ed01-2015
Fuel tank
Low fuel levelFilling
A label affixed to the inside of the flap reminds
you of the type of fuel to be used depending on
your engine.
When the low fuel level is reached
this warning lamp comes on in the
instrument panel. When it first comes
on there remains approximately
5
litres of fuel in the tank. To fill the tank safely:
F
t
he engine must be switched off,
F
o
pen the fuel filler flap,
F
i
nsert the key in the cap, then turn it to the
left,
F
r
emove the cap and hook it onto the clip
located on the inside of the flap,
F
f
ill the tank, but do not continue after the
3rd cut- off of the pump ; this could cause
malfunctions.
When you have filled the tank:
F
p
ut the cap back in place,
F
t
urn the key to the right, then remove it
from the cap,
F
c
lose the flap.
Additions of fuel must be of at least
5
litres to be registered by the fuel
gauge.
The key cannot be removed from the
lock until the cap is refitted.
Opening the filler cap may create a
noise caused by an inrush of air. This
vacuum is entirely normal and results
from the sealing of the fuel system.
Fuel tank capacity: approximately 50 litres
(petrol) or 48 litres (Diesel); (Depending on
version: approximately 30 litres (petrol or
Diesel)).
You must refuel as soon as possible to avoid
running out of fuel.
If you run out of fuel (Diesel), refer also to the
"Checks" section.
4
Access