Page 22 of 727
exterior lights will flash, and the horn will sound. If this
occurs, disarm the Vehicle Security Alarm.
Tamper Alert
If something has triggered the Vehicle Security Alarm in
your absence, the horn will sound three times, and the
exterior lights blink three times when you unlock the
doors. Check the vehicle for tampering.
Security System Manual Override
The Vehicle Security Alarm will not arm if you lock the
doors using the manual door lock plunger.
ILLUMINATED APPROACH
The courtesy lights will turn on when you use the
Remote Keyless Entry (RKE) transmitter to unlock the
doors or open any door.This feature also turns on the approach lighting in the
outside mirrors (if equipped). Refer to “Mirrors” in
“Understanding The Features Of Your Vehicle” for fur-
ther information.
The lights will fade to off after approximately 30 seconds,
or they will immediately fade to off once the ignition
switch is turned to ON/RUN from the OFF position.
The front courtesy overhead console and door courtesy
lights will not turn off if the dimmer control is in the
“Dome ON” position (rotate horizontal thumb wheel on
the bottom of the switch to the far right detent position).
The illuminated entry system will not operate if the
dimmer control is in the “Dome OFF” position (rotate
horizontal thumb wheel on the bottom of the switch to
the far left detent position).
20 THINGS TO KNOW BEFORE STARTING YOUR VEHICLE
Page 23 of 727
NOTE:If your vehicle is equipped with illuminated
approach lights under the outside mirrors, they can be
turned off by using the Electronic Vehicle Information
Center (EVIC) controls (if NOT equipped with a touch-
screen radio) or the Uconnect radio (if equipped with a
touchscreen radio). Refer to “Electronic Vehicle Informa-
tion Center (EVIC)” or “Uconnect Settings” in “Under-
standing Your Instrument Panel” for further information.
REMOTE KEYLESS ENTRY (RKE) — IF
EQUIPPED
This system allows you to lock or unlock the doors and
liftgate, and activate the Panic Alarm, optional power
liftgate, left power sliding door, and right power sliding
door from distances up to approximately 66 ft (20 m)
using a hand-held Key Fob with RKE transmitter. The
RKE transmitter does not need to be pointed at the
vehicle to activate the system. NOTE:
Inserting the Key Fob with RKE transmitter into
the ignition switch disables the system from responding
to any button pushed from that RKE transmitter. Driving
at speeds 5 mph (8 km/h) and above disables the system
from responding to all RKE transmitter buttons for all
RKE transmitters.
Two RKE transmitters may be supplied with the vehicle.
Vehicles built without the powered options will be
equipped from the factory with three-button RKE trans-
mitters, and those built with power options will be
equipped with up to seven-button RKE transmitters.Using The RKE Transmitter
Three-button RKE transmitters will provide basic UN-
LOCK, LOCK, and PANIC functions.
2
THINGS TO KNOW BEFORE STARTING YOUR VEHICLE 21
Page 133 of 727
UNDERSTANDING THE FEATURES OF YOUR VEHICLE
CONTENTS
�MIRRORS ........................... .138
▫ Inside Day/Night Mirror — If Equipped . . . .138
▫ Automatic Dimming Mirror — If Equipped . . .138
▫ Outside Mirrors ..................... .140
▫ Driver’s Outside Automatic Dimming Mirror — If
Equipped .......................... .140
▫ Outside Mirrors Folding Feature ..........140
▫ Power Mirrors — If Equipped ............141
▫ Heated Mirrors — If Equipped ...........142▫
Tilt Mirrors In Reverse (Available With Memory
Seat Only) — If Equipped ...............142
▫ Power Folding Mirrors — If Equipped .......142
▫ Illuminated Vanity Mirrors — If Equipped . . .143
� BLIND SPOT MONITORING (BSM) — IF
EQUIPPED .......................... .144
▫ Rear Cross Path (RCP) .................150
▫ Modes Of Operation ...................151
▫ General Information ....................152
� UCONNECT PHONE — IF EQUIPPED .......1533
Page 140 of 727
MIRRORS
Inside Day/Night Mirror — If Equipped
A two-point pivot system allows for horizontal and
vertical adjustment of the mirror. Adjust the mirror to
center on the view through the rear window.
Headlight glare can be reduced by moving the small
control under the mirror to the night position (toward the
rear of the vehicle). The mirror should be adjusted while
set in the day position (toward the windshield).
Manual Rearview Mirror
138 UNDERSTANDING THE FEATURES OF YOUR VEHICLE
Page 141 of 727
Automatic Dimming Mirror — If Equipped
This mirror automatically adjusts for headlight glare
from vehicles behind you. You can turn the feature on or
off by pushing the button at the base of the mirror. A light
to the left of the button will illuminate to indicate when
the dimming feature is activated. The sensor to the right
of the button does not illuminate.
NOTE:This feature is disabled when the vehicle is
moving in reverse.
CAUTION!
To avoid damage to the mirror during cleaning, never
spray any cleaning solution directly onto the mirror.
Apply the solution onto a clean cloth and wipe the
mirror clean.
Automatic Dimming Mirror
3
UNDERSTANDING THE FEATURES OF YOUR VEHICLE 139
Page 142 of 727
Outside Mirrors
To receive maximum benefit, adjust the outside mirror(s)
to center on the adjacent lane of traffic with a slight
overlap of the view obtained on the inside mirror.
WARNING!
Vehicles and other objects seen in an outside convex
mirror will look smaller and farther away than they
really are. Relying too much on side convex mirrors
could cause you to collide with another vehicle or
other object. Use your inside mirror when judging
the size or distance of a vehicle seen in a side convex
mirror.
Driver’s Outside Automatic Dimming Mirror — If
Equipped
The driver ’s outside mirror will automatically adjust for
glare from vehicles behind you. This feature is controlledby the inside automatic dimming mirror and will auto-
matically adjust for headlight glare when the inside
mirror adjusts.
Outside Mirrors Folding Feature
All outside mirrors are hinged and may be moved either
forward or rearward to resist damage. The hinges have
three detent positions:
•
Full forward position
• Full rearward position
• Normal position
Power Mirrors — If Equipped
The power mirror controls are located on the driver-side
door trim panel.
140 UNDERSTANDING THE FEATURES OF YOUR VEHICLE
Page 143 of 727
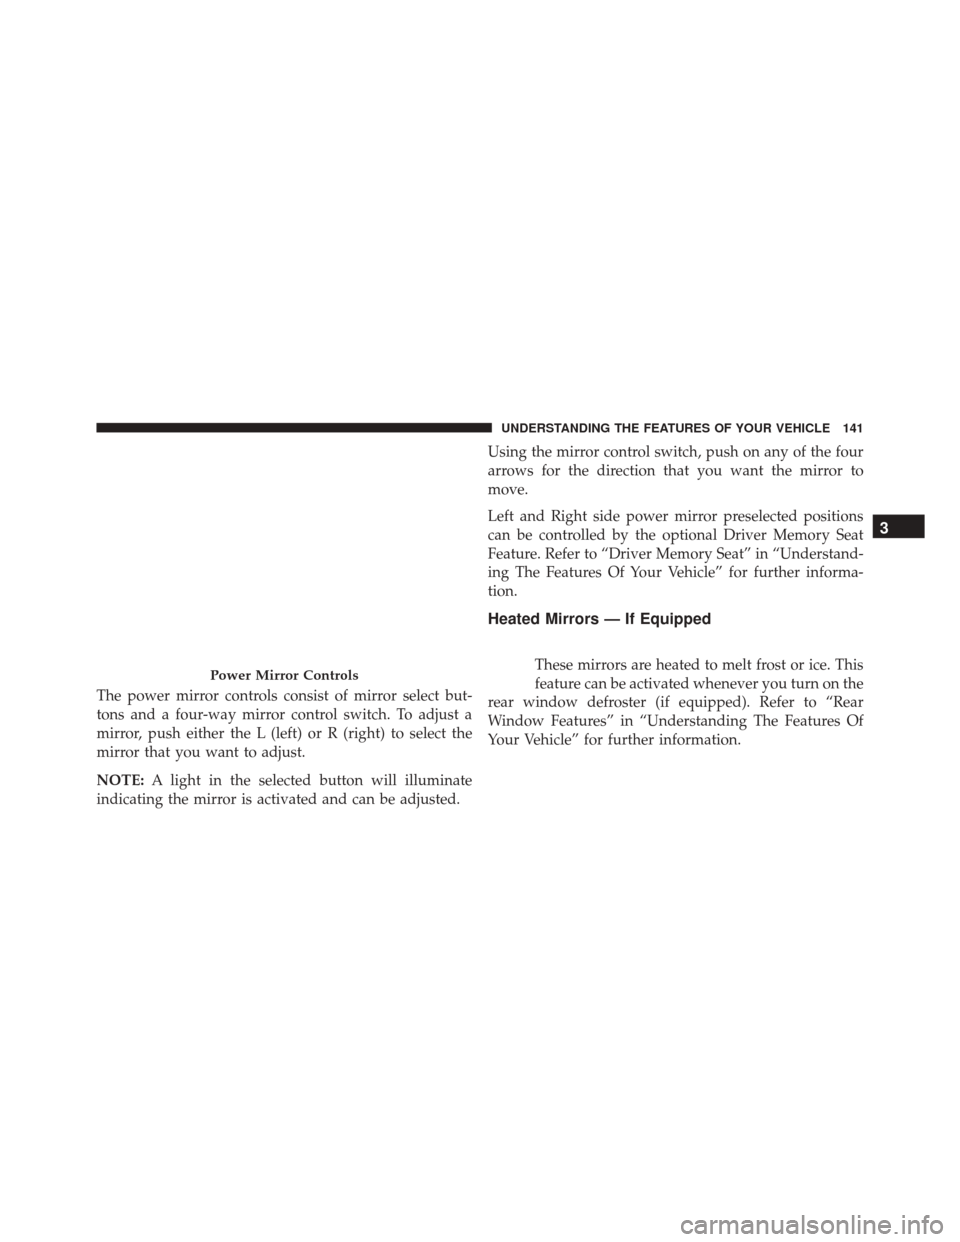
The power mirror controls consist of mirror select but-
tons and a four-way mirror control switch. To adjust a
mirror, push either the L (left) or R (right) to select the
mirror that you want to adjust.
NOTE:A light in the selected button will illuminate
indicating the mirror is activated and can be adjusted. Using the mirror control switch, push on any of the four
arrows for the direction that you want the mirror to
move.
Left and Right side power mirror preselected positions
can be controlled by the optional Driver Memory Seat
Feature. Refer to “Driver Memory Seat” in “Understand-
ing The Features Of Your Vehicle” for further informa-
tion.
Heated Mirrors — If Equipped
These mirrors are heated to melt frost or ice. This
feature can be activated whenever you turn on the
rear window defroster (if equipped). Refer to “Rear
Window Features” in “Understanding The Features Of
Your Vehicle” for further information.Power Mirror Controls
3
UNDERSTANDING THE FEATURES OF YOUR VEHICLE 141
Page 144 of 727
Tilt Mirrors In Reverse (Available With Memory
Seat Only) — If Equipped
Tilt Mirrors in Reverse provides automatic outside mirror
positioning which will aid the drivers view of the ground
rearward of the front doors. The driver’s outside mirror
will move slightly downward from the present position
when the vehicle is shifted into REVERSE. The driver’s
outside mirror will then return to the original position
when the vehicle is shifted out of REVERSE position.
Each stored memory setting will have an associated Tilt
Mirrors in Reverse position.NOTE:
The Tilt Mirrors in Reverse feature is not enabled
when delivered from the factory. The Tilt Mirrors in
Reverse feature can be enabled or disabled in the Elec-
tronic Vehicle Information Center (EVIC). Refer to “Elec-
tronic Vehicle Information Center (EVIC)” in “Under-
standing Your Instrument Panel” for further information.
Power Folding Mirrors — If Equipped
The switch for the power folding mirrors is located
between the power mirror switches L (left) and R (right).
Push the switch once and the mirrors will fold in,
pushing the switch a second time will return the mirrors
to the normal driving position.
142 UNDERSTANDING THE FEATURES OF YOUR VEHICLE