2016 CHRYSLER 300 air condition
[x] Cancel search: air conditionPage 76 of 620
While the air bag system is designed to be maintenance
free, if any of the following occurs, have an authorized
dealer service the air bag system immediately.
•The Air Bag Warning Light does not come on during
the four to eight seconds when the ignition switch is
first turned to the ON/RUN position.
• The Air Bag Warning Light remains on after the four to
eight-second interval.
• The Air Bag Warning Light comes on intermittently or
remains on while driving.
NOTE: If the speedometer, tachometer, or any engine
related gauges are not working, the Occupant Restraint
Controller (ORC) may also be disabled. In this condition
the air bags may not be ready to inflate for your protec-
tion. Have an authorized dealer service the air bag
system immediately.WARNING!
Ignoring the Air Bag Warning Light in your instru-
ment panel could mean you won’t have the air bags
to protect you in a collision. If the light does not come
on as a bulb check when the ignition is first turned
on, stays on after you start the vehicle, or if it comes
on as you drive, have an authorized dealer service the
air bag system immediately.
Redundant Air Bag Warning Light
If a fault with the Air Bag Warning Light is detected, which could affect the Supplemental Restraint
System (“SRS”), the Redundant Air Bag Warn-
ing Light will illuminate on the instrument
panel. The Redundant Air Bag Warning Light
will stay on until the fault is cleared. In addition, a single
chime will sound to alert you that the Redundant Air Bag
Warning Light has come on and a fault has been detected.
74 THINGS TO KNOW BEFORE STARTING YOUR VEHICLE
Page 78 of 620
Event Data Recorder (EDR)
This vehicle is equipped with an event data recorder
(EDR). The main purpose of an EDR is to record, in
certain crash or near crash-like situations, such as an air
bag deployment or hitting a road obstacle, data that will
assist in understanding how a vehicle’s systems per-
formed. The EDR is designed to record data related to
vehicle dynamics and safety systems for a short period of
time, typically 30 seconds or less. The EDR in this vehicle
is designed to record such data as:
•How various systems in your vehicle were operating;
• Whether or not the driver and passenger safety belts
were buckled/fastened;
• How far (if at all) the driver was depressing the
accelerator and/or brake pedal; and,
• How fast the vehicle was traveling. These data can help provide a better understanding of
the circumstances in which crashes and injuries occur.
NOTE:
EDR data are recorded by your vehicle only if a
non-trivial crash situation occurs; no data are recorded by
the EDR under normal driving conditions and no per-
sonal data (e.g., name, gender, age, and crash location)
are recorded. However, other parties, such as law en-
forcement, could combine the EDR data with the type of
personally identifying data routinely acquired during a
crash investigation.
To read data recorded by an EDR, special equipment is
required, and access to the vehicle or the EDR is needed.
In addition to the vehicle manufacturer, other parties,
such as law enforcement, that have the special equip-
ment, can read the information if they have access to the
vehicle or the EDR.
76 THINGS TO KNOW BEFORE STARTING YOUR VEHICLE
Page 103 of 620

WARNING!(Continued)
•If it is necessary to sit in a parked vehicle with the
engine running, adjust your heating or cooling
controls to force outside air into the vehicle. Set the
blower at high speed.
The best protection against carbon monoxide entry into
the vehicle body is a properly maintained engine exhaust
system.
Whenever a change is noticed in the sound of the exhaust
system, when exhaust fumes can be detected inside the
vehicle, or when the underside or rear of the vehicle is
damaged, have a competent mechanic inspect the com-
plete exhaust system and adjacent body areas for broken,
damaged, deteriorated, or mispositioned parts. Open
seams or loose connections could permit exhaust fumes
to seep into the passenger compartment. In addition,
inspect the exhaust system each time the vehicle is raised
for lubrication or oil change. Replace as required.
Safety Checks You Should Make Inside The
Vehicle
Seat Belts
Inspect the seat belt system periodically, checking for
cuts, frays, and loose parts. Damaged parts must be
replaced immediately. Do not disassemble or modify the
system.
Front seat belt assemblies must be replaced after a
collision. Rear seat belt assemblies must be replaced after
a collision if they have been damaged (i.e., bent retractor,
torn webbing, etc.). If there is any question regarding seat
belt or retractor condition, replace the seat belt.
Air Bag Warning Light
The Air Bag warning lightwill turn on for four to
eight seconds as a bulb check when the ignition switch
is first turned to ON/RUN. If the light is either not on
during starting, stays on, or turns on while driving, 2
THINGS TO KNOW BEFORE STARTING YOUR VEHICLE 101
Page 272 of 620
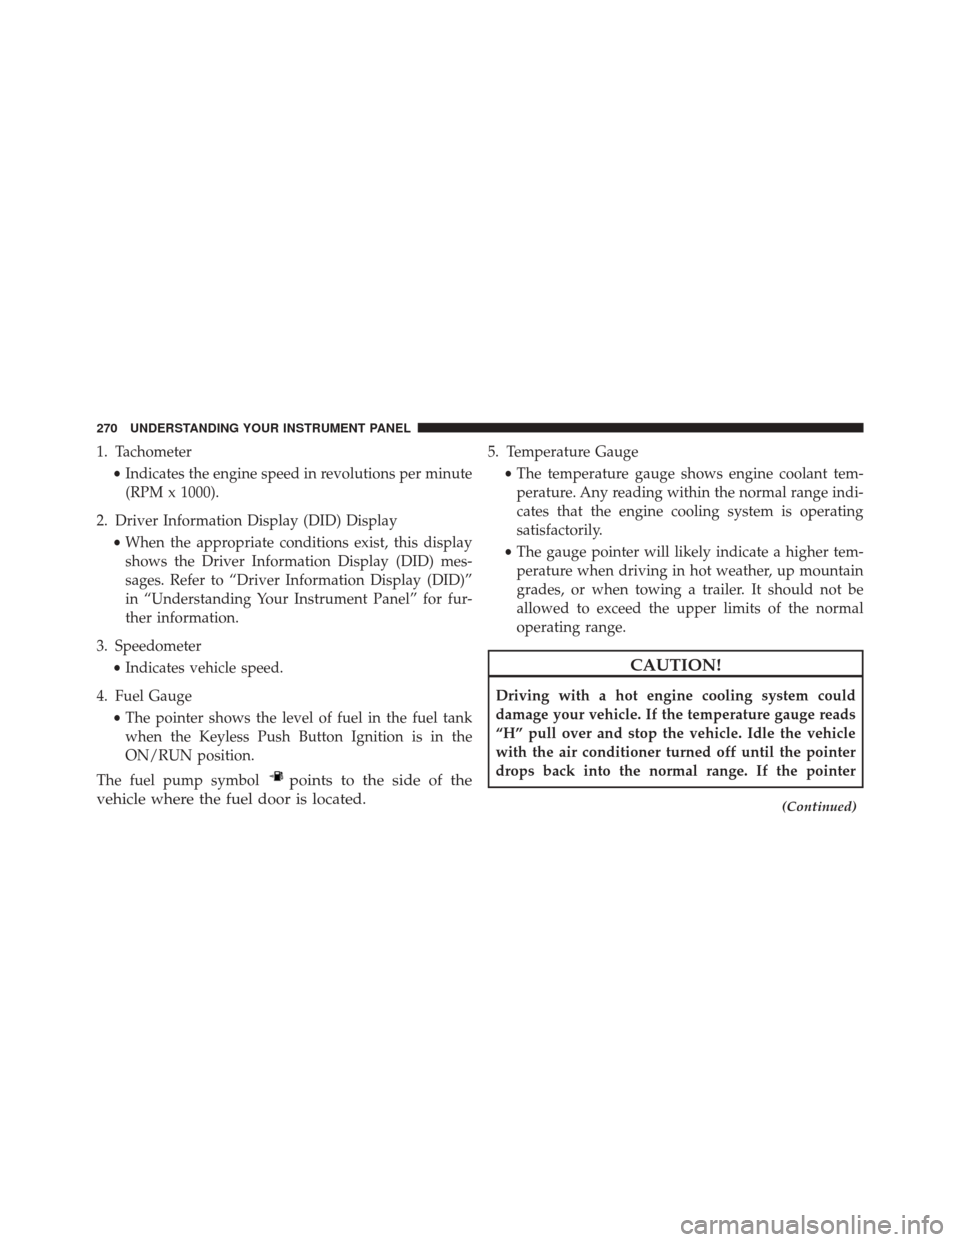
1. Tachometer•Indicates the engine speed in revolutions per minute
(RPM x 1000).
2. Driver Information Display (DID) Display •When the appropriate conditions exist, this display
shows the Driver Information Display (DID) mes-
sages. Refer to “Driver Information Display (DID)”
in “Understanding Your Instrument Panel” for fur-
ther information.
3. Speedometer •Indicates vehicle speed.
4. Fuel Gauge •The pointer shows the level of fuel in the fuel tank
when the Keyless Push Button Ignition is in the
ON/RUN position.
The fuel pump symbol
points to the side of the
vehicle where the fuel door is located.
5. Temperature Gauge
•The temperature gauge shows engine coolant tem-
perature. Any reading within the normal range indi-
cates that the engine cooling system is operating
satisfactorily.
• The gauge pointer will likely indicate a higher tem-
perature when driving in hot weather, up mountain
grades, or when towing a trailer. It should not be
allowed to exceed the upper limits of the normal
operating range.
CAUTION!
Driving with a hot engine cooling system could
damage your vehicle. If the temperature gauge reads
“H” pull over and stop the vehicle. Idle the vehicle
with the air conditioner turned off until the pointer
drops back into the normal range. If the pointer
(Continued)
270 UNDERSTANDING YOUR INSTRUMENT PANEL
Page 290 of 620
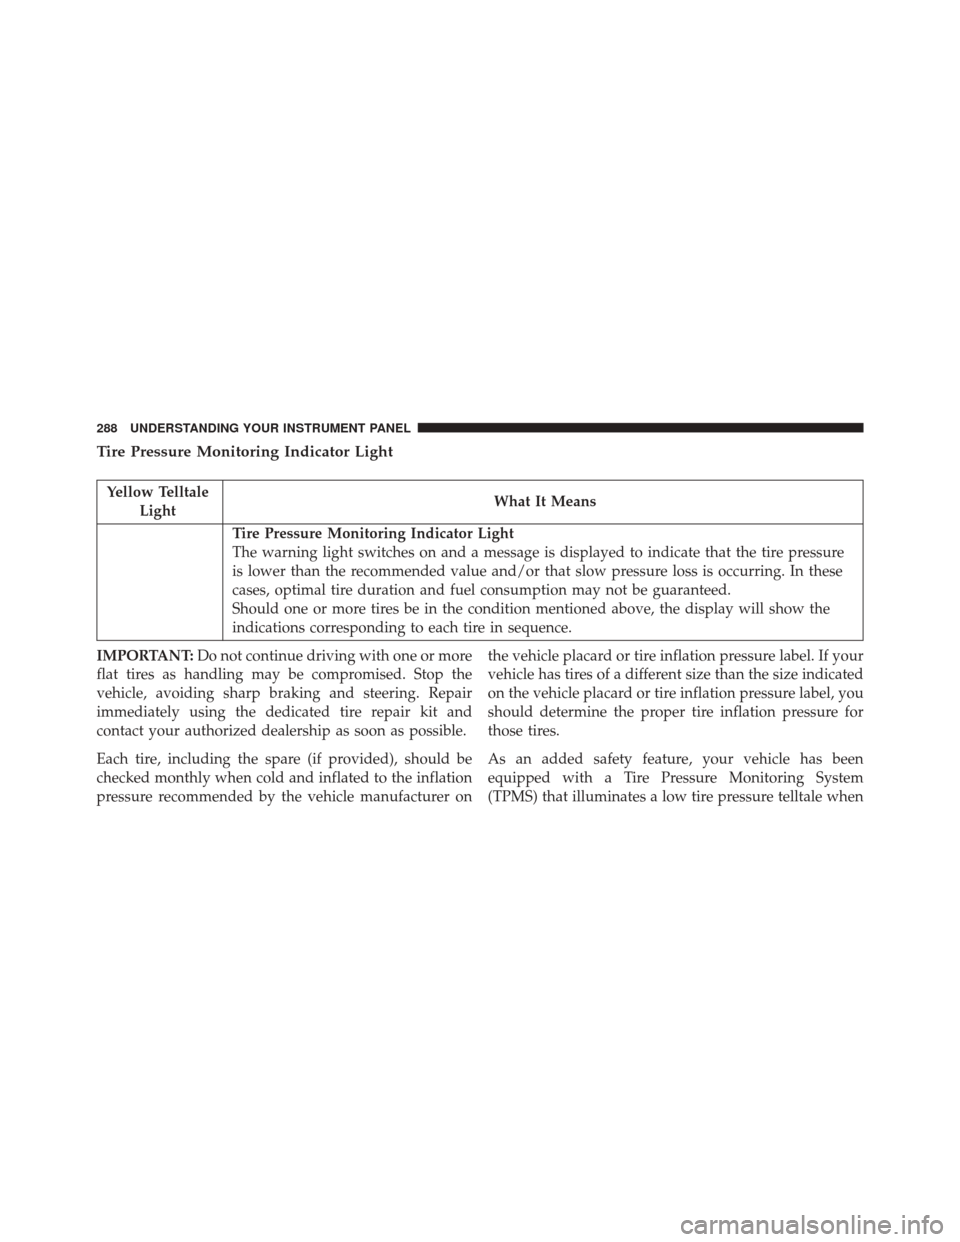
Tire Pressure Monitoring Indicator Light
Yellow TelltaleLight What It Means
Tire Pressure Monitoring Indicator Light
The warning light switches on and a message is displayed to indicate that the tire pressure
is lower than the recommended value and/or that slow pressure loss is occurring. In these
cases, optimal tire duration and fuel consumption may not be guaranteed.
Should one or more tires be in the condition mentioned above, the display will show the
indications corresponding to each tire in sequence.
IMPORTANT: Do not continue driving with one or more
flat tires as handling may be compromised. Stop the
vehicle, avoiding sharp braking and steering. Repair
immediately using the dedicated tire repair kit and
contact your authorized dealership as soon as possible.
Each tire, including the spare (if provided), should be
checked monthly when cold and inflated to the inflation
pressure recommended by the vehicle manufacturer on the vehicle placard or tire inflation pressure label. If your
vehicle has tires of a different size than the size indicated
on the vehicle placard or tire inflation pressure label, you
should determine the proper tire inflation pressure for
those tires.
As an added safety feature, your vehicle has been
equipped with a Tire Pressure Monitoring System
(TPMS) that illuminates a low tire pressure telltale when
288 UNDERSTANDING YOUR INSTRUMENT PANEL
Page 339 of 620
The button located in the center of the left-hand control
will tune to the next preset station that you have pro-
grammed in the radio preset button.
CD/DVD DISC MAINTENANCE — IF EQUIPPED
To keep a CD/DVD in good condition, take the following
precautions:
1. Handle the disc by its edge; avoid touching thesurface.
2. If the disc is stained, clean the surface with a soft cloth, wiping from center to edge.
3. Do not apply paper or tape to the disc; avoid scratch- ing the disc.
4. Do not use solvents such as benzene, thinner, cleaners, or anti-static sprays.
5. Store the disc in its case after playing. 6. Do not expose the disc to direct sunlight.
7. Do not store the disc where temperatures may become
too high.
NOTE: If you experience difficulty in playing a particular
disc, it may be damaged (e.g., scratched, reflective coat-
ing removed, a hair, moisture or dew on the disc)
oversized, or have protection encoding. Try a known
good disc before considering disc player service.
RADIO OPERATION AND MOBILE DEVICES
Under certain conditions, the mobile device being on in
your vehicle can cause erratic or noisy performance from
your radio. This condition may be lessened or eliminated
by relocating the mobile device antenna. This condition is
not harmful to the radio. If your radio performance does
not satisfactorily “clear” by the repositioning of the
4
UNDERSTANDING YOUR INSTRUMENT PANEL 337
Page 340 of 620
antenna, it is recommended that the radio volume be
turned down or off during mobile device operation when
not using Uconnect (if equipped).
CLIMATE CONTROLS
The air conditioning and heating system is designed to
make you comfortable in all types of weather. This
system can be operated through either the controls on the
instrument panel or through the Uconnect system dis-
play.
When the Uconnect system is in different modes (Radio,
Player, Settings, More, etc.) the driver and passenger
temperature settings will be indicated at the top of the
display.
Dual Zone Automatic Climate Controls With
Touchscreen
Buttons On The Faceplate
The buttons on the faceplate are located below the
Uconnect screen.
Automatic Climate Controls — Buttons On The Faceplate
338 UNDERSTANDING YOUR INSTRUMENT PANEL
Page 345 of 620
•Bi-Level Mode
Air comes from the instrument panel outlets
and floor outlets. A slight amount of air is
directed through the defrost and side window demis-
ter outlets.
NOTE: BI-LEVEL mode is designed under comfort con-
ditions to provide cooler air out of the panel outlets and
warmer air from the floor outlets.
• Floor Mode
Air comes from the floor outlets. A slight
amount of air is directed through the defrost
and side window demister outlets.
• Mix Mode
Air comes from the floor, defrost and side
window demist outlets. This mode works best
in cold or snowy conditions. 12. Climate Control OFF Button
Press and release this button to turn the Climate Control
ON/OFF.
13. Driver Temperature Control Down Button
Provides the driver with independent temperature con-
trol. Push the button on the faceplate for cooler tempera-
ture settings or on the touchscreen, press and slide the
temperature bar button towards the blue arrow for cooler
temperature settings.
NOTE:
In Sync mode, this button will also automatically
adjust the passenger temperature setting at the same
time.
4
UNDERSTANDING YOUR INSTRUMENT PANEL 343