2016 BUICK LACROSSE buttons
[x] Cancel search: buttonsPage 58 of 367

Buick LaCrosse Owner Manual (GMNA-Localizing-U.S./Canada/Mexico-
9159288) - 2016 - CRC - 10/5/15
Seats and Restraints 57
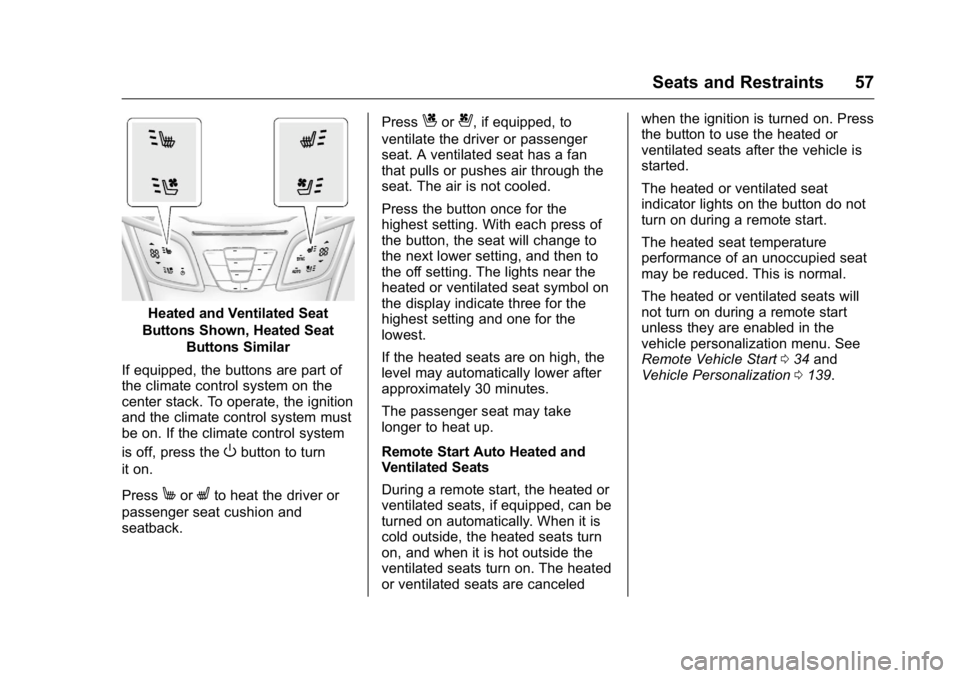
Heated and Ventilated Seat
Buttons Shown, Heated Seat Buttons Similar
If equipped, the buttons are part of
the climate control system on the
center stack. To operate, the ignition
and the climate control system must
be on. If the climate control system
is off, press the
Obutton to turn
it on.
Press
MorLto heat the driver or
passenger seat cushion and
seatback. Press
Cor{, if equipped, to
ventilate the driver or passenger
seat. A ventilated seat has a fan
that pulls or pushes air through the
seat. The air is not cooled.
Press the button once for the
highest setting. With each press of
the button, the seat will change to
the next lower setting, and then to
the off setting. The lights near the
heated or ventilated seat symbol on
the display indicate three for the
highest setting and one for the
lowest.
If the heated seats are on high, the
level may automatically lower after
approximately 30 minutes.
The passenger seat may take
longer to heat up.
Remote Start Auto Heated and
Ventilated Seats
During a remote start, the heated or
ventilated seats, if equipped, can be
turned on automatically. When it is
cold outside, the heated seats turn
on, and when it is hot outside the
ventilated seats turn on. The heated
or ventilated seats are canceled when the ignition is turned on. Press
the button to use the heated or
ventilated seats after the vehicle is
started.
The heated or ventilated seat
indicator lights on the button do not
turn on during a remote start.
The heated seat temperature
performance of an unoccupied seat
may be reduced. This is normal.
The heated or ventilated seats will
not turn on during a remote start
unless they are enabled in the
vehicle personalization menu. See
Remote Vehicle Start
034 and
Vehicle Personalization 0139.
Page 91 of 367

Buick LaCrosse Owner Manual (GMNA-Localizing-U.S./Canada/Mexico-
9159288) - 2016 - CRC - 10/5/15
90 Seats and Restraints
If the position you are
using has an adjustable
headrest or head restraint
and you are using a dual
tether, route the tether
around the headrest or
head restraint.
3. Before placing a child in the child restraint, make sure it is
securely held in place. To
check, grasp the child restraint
at the LATCH path and attempt
to move it side to side and
back and forth. There should
be no more than 2.5 cm (1 in) of
movement, for proper
installation.
Head Restraint Removal and
Reinstallation
The rear outboard head restraints
can be removed if they interfere with
the proper installation of the child
restraint.
To remove the head restraint:
1. Partially fold the seatback forward. See Rear Seats058
for additional information.
2. Press both buttons on the head restraint posts at the same
time, and pull up on the head
restraint.
3. Store the head restraint in the trunk of the vehicle.
4. When the child restraint is removed, reinstall the head
restraint before the seating
position is used.
{Warning
With head restraints that are not
installed and adjusted properly,
there is a greater chance that
occupants will suffer a neck/
spinal injury in a crash. Do not
drive until the head restraints for
all occupants are installed and
adjusted properly.
To reinstall the head restraint:
Page 146 of 367

Buick LaCrosse Owner Manual (GMNA-Localizing-U.S./Canada/Mexico-
9159288) - 2016 - CRC - 10/5/15
Instruments and Controls 145
Universal Remote
System
SeeRadio Frequency
Statement 0341.
Universal Remote System
Programming
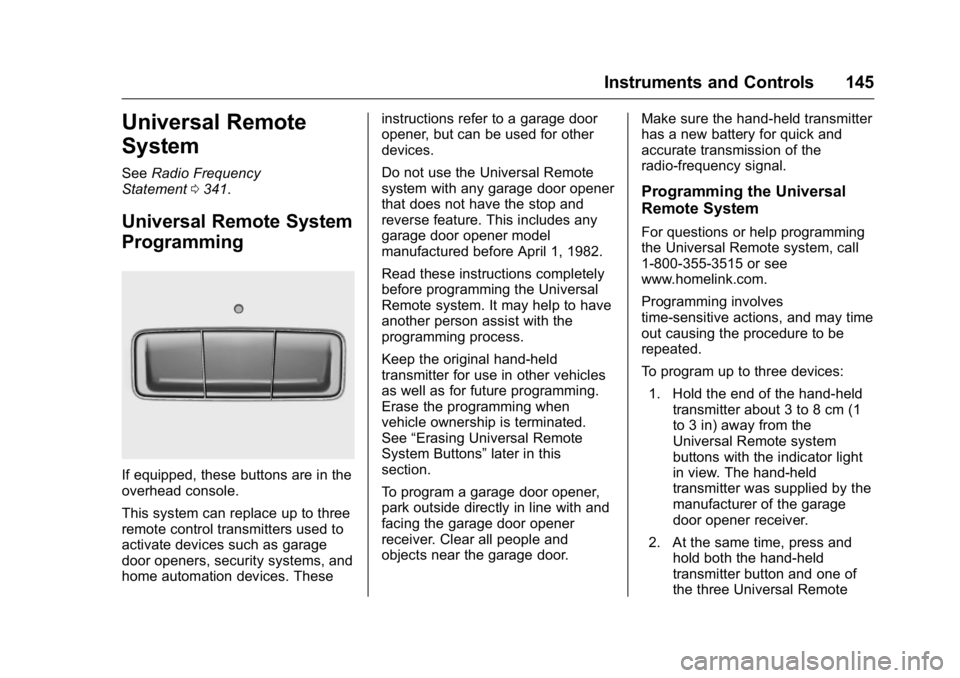
If equipped, these buttons are in the
overhead console.
This system can replace up to three
remote control transmitters used to
activate devices such as garage
door openers, security systems, and
home automation devices. These instructions refer to a garage door
opener, but can be used for other
devices.
Do not use the Universal Remote
system with any garage door opener
that does not have the stop and
reverse feature. This includes any
garage door opener model
manufactured before April 1, 1982.
Read these instructions completely
before programming the Universal
Remote system. It may help to have
another person assist with the
programming process.
Keep the original hand-held
transmitter for use in other vehicles
as well as for future programming.
Erase the programming when
vehicle ownership is terminated.
See
“Erasing Universal Remote
System Buttons” later in this
section.
To program a garage door opener,
park outside directly in line with and
facing the garage door opener
receiver. Clear all people and
objects near the garage door. Make sure the hand-held transmitter
has a new battery for quick and
accurate transmission of the
radio-frequency signal.
Programming the Universal
Remote System
For questions or help programming
the Universal Remote system, call
1-800-355-3515 or see
www.homelink.com.
Programming involves
time-sensitive actions, and may time
out causing the procedure to be
repeated.
To program up to three devices:
1. Hold the end of the hand-held transmitter about 3 to 8 cm (1
to 3 in) away from the
Universal Remote system
buttons with the indicator light
in view. The hand-held
transmitter was supplied by the
manufacturer of the garage
door opener receiver.
2. At the same time, press and hold both the hand-held
transmitter button and one of
the three Universal Remote
Page 147 of 367

Buick LaCrosse Owner Manual (GMNA-Localizing-U.S./Canada/Mexico-
9159288) - 2016 - CRC - 10/5/15
146 Instruments and Controls
system buttons to be used to
operate the garage door. Do
not release either button until
the indicator light changes from
a slow to a rapid flash. Then
release both buttons.
Some garage door openers
may require substitution of
Step 2 with the procedure
under“Radio Signals for
Canada and Some Gate
Operators” later in this section.
3. Press and hold the newly programmed Universal Remote
system button for five seconds
while watching the indicator
light and garage door
activation.
.If the indicator light stays on
continuously or the garage
door moves when the
button is pressed, then
programming is complete.
There is no need to
complete Steps 4–6.
. If the indicator light does
not come on or the garage
door does not move, a
second button press may be required. For a second
time, press and hold the
newly programmed button
for five seconds. If the light
stays on or the garage door
moves, programming is
complete.
. If the indicator light blinks
rapidly for two seconds,
then changes to a solid light
and the garage door does
not move, continue with
programming Steps 4–6.
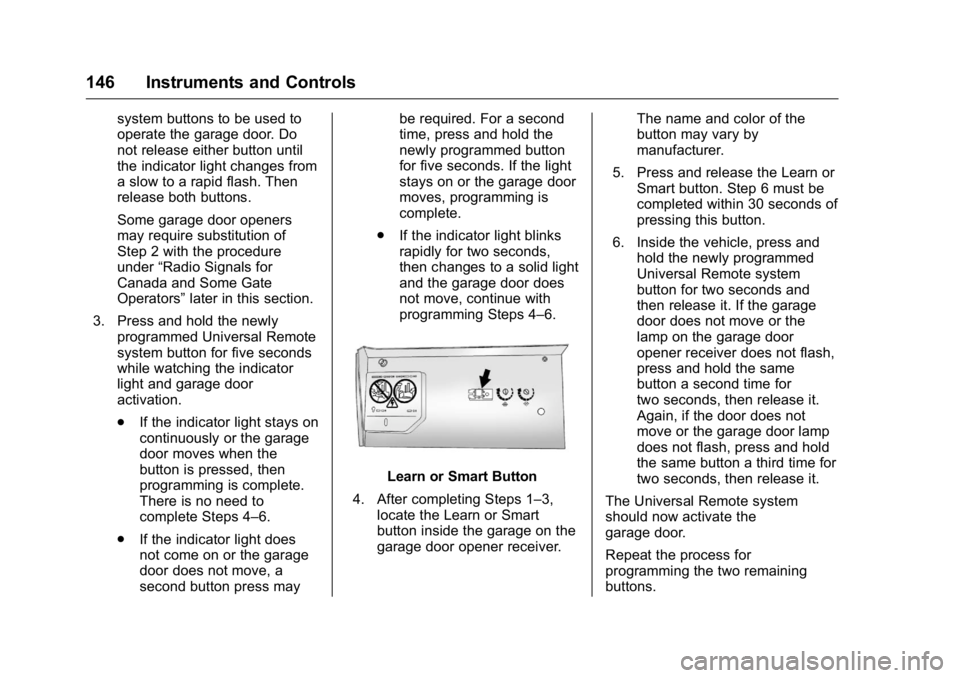
Learn or Smart Button
4. After completing Steps 1–3, locate the Learn or Smart
button inside the garage on the
garage door opener receiver. The name and color of the
button may vary by
manufacturer.
5. Press and release the Learn or Smart button. Step 6 must be
completed within 30 seconds of
pressing this button.
6. Inside the vehicle, press and hold the newly programmed
Universal Remote system
button for two seconds and
then release it. If the garage
door does not move or the
lamp on the garage door
opener receiver does not flash,
press and hold the same
button a second time for
two seconds, then release it.
Again, if the door does not
move or the garage door lamp
does not flash, press and hold
the same button a third time for
two seconds, then release it.
The Universal Remote system
should now activate the
garage door.
Repeat the process for
programming the two remaining
buttons.
Page 148 of 367

Buick LaCrosse Owner Manual (GMNA-Localizing-U.S./Canada/Mexico-
9159288) - 2016 - CRC - 10/5/15
Instruments and Controls 147
Radio Signals for Canada and
Some Gate Operators
For questions or programming help
call 1-800-355-3515 or see
www.homelink.com.
Canadian radio-frequency laws and
some U.S. gate operators require
transmitter signals to time out or quit
after several seconds of
transmission. This may not be long
enough for the Universal Remote
system to pick up the signal during
programming.
If the programming did not work,
replace Step 2 under“Programming
the Universal Remote System” with
the following:
Press and hold the Universal
Remote system button while
pressing and releasing the
hand-held transmitter button every
two seconds until the signal has
been successfully accepted by the
Universal Remote system. The
Universal Remote system indicator light will flash slowly at first and then
rapidly. Proceed with Step 3 under
“Programming the Universal Remote
System”
to complete.
Universal Remote System
Operation
Using the Universal Remote
System
Press and hold the appropriate
Universal Remote system button for
at least one-half second. The
indicator light will come on while the
signal is being transmitted.
Erasing Universal Remote
System Buttons
Erase all programmed buttons when
vehicle ownership is terminated.
To erase:
1. Press and hold the two outside buttons until the indicator light
begins to flash. This should
take about 10 seconds.
2. Release both buttons.
Reprogramming a Single
Universal Remote System
Button
To reprogram any of the system
buttons: 1. Press and hold any one of the buttons. Do not release the
button.
2. The indicator light will begin to flash after 20 seconds. Without
releasing the button, proceed
with Step 1 under
“Programming the Universal
Remote System.”
Page 206 of 367

Buick LaCrosse Owner Manual (GMNA-Localizing-U.S./Canada/Mexico-
9159288) - 2016 - CRC - 10/5/15
Driving and Operating 205
Warning (Continued)
Under many conditions, these
systems will not:. Detect children,
pedestrians, bicyclists,
or animals.
. Detect vehicles or objects
outside the area monitored
by the system.
. Work at all driving speeds.
. Warn you or provide you
with enough time to avoid a
crash.
. Work under poor visibility or
bad weather conditions.
. Work if the detection sensor
is not cleaned or is covered
by ice, snow, mud, or dirt.
Complete attention is always
required while driving, and you
should be ready to take action
and apply the brakes and/or steer
the vehicle to avoid crashes. Audible or Safety Alert Seat
Some driver assistance features
alert the driver of obstacles by
beeping. To change the volume of
the warning chime, see
“Comfort
and Convenience” underVehicle
Personalization 0139.
If equipped with the Safety Alert
Seat, the driver seat cushion may
provide a vibrating pulse alert
instead of beeping. To change this,
see “Collision/Detection Systems”
under Vehicle
Personalization 0139.
Assistance Systems for
Parking or Backing
If equipped, the Rear Vision Camera
(RVC), Rear Parking Assist (RPA),
and Rear Cross Traffic Alert (RCTA)
may help the driver park or avoid
objects. Always check around the
vehicle when parking or backing.
Rear Vision Camera (RVC)
When the vehicle is shifted into
R (Reverse), the RVC displays an
image of the area behind the vehicle
in the center stack display. When the vehicle is shifted out of
R (Reverse), the screen returns to
the previous content, after a short
delay. To return to this previous
screen sooner, press one of the
radio buttons. If the message
Service Rear Camera System is
displayed, the vehicle may need
service.
1. View Displayed by the
Camera
Page 298 of 367

Buick LaCrosse Owner Manual (GMNA-Localizing-U.S./Canada/Mexico-
9159288) - 2016 - CRC - 10/5/15
Vehicle Care 297
Do not mix the compact spare tire or
wheel with other wheels or tires.
They will not fit. Keep the spare tire
and its wheel together.
Caution
Tire chains will not fit the compact
spare. Using them can damage
the vehicle and the chains. Do not
use tire chains on the compact
spare.
Jump Starting
Jump Starting - North
America (On-board with
eAssist Only)
If the vehicle fails to crank, it may
be jump started by using the eAssist
battery to charge the 12-volt battery.
Use the following procedure to
activate the on-board jump start
using the DIC controls.
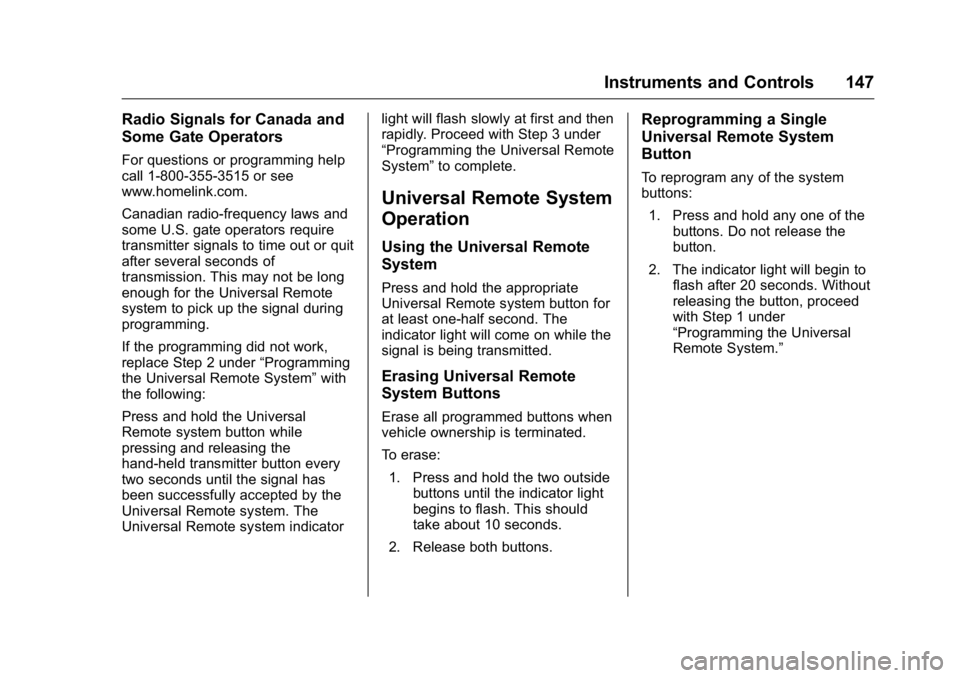
DIC Buttons
The vehicle may be equipped with
an ignition key or an electronic
keyless ignition with pushbutton
start. Key Access
Place the ignition key in the ON/
RUN position and proceed as
follows:
1. Press
Sthen scrollyorz
until the Settings menu
displays.
2. Press
Vto enter the
Settings menu.
3. Press
Tthen scrollyorz
until Jump Start displays.
4. Press
Vto activate the jump
start.
5. The system will then ask for confirmation. If Yes is selected,
the jump start will begin and
the display will show WAIT TO
START.
6. When the jump start is complete, the display will show
ATTEMPT START or JUMP
START DISABLED.
Page 346 of 367

Buick LaCrosse Owner Manual (GMNA-Localizing-U.S./Canada/Mexico-
9159288) - 2016 - CRC - 10/5/15
OnStar 345
OnStar
OnStar Overview
OnStar Overview . . . . . . . . . . . . . 345
OnStar Services
Emergency . . . . . . . . . . . . . . . . . . . 346
Security . . . . . . . . . . . . . . . . . . . . . . 346
Navigation . . . . . . . . . . . . . . . . . . . . 346
Connections . . . . . . . . . . . . . . . . . . 347
Diagnostics . . . . . . . . . . . . . . . . . . . 349
OnStar Additional Information
OnStar AdditionalInformation . . . . . . . . . . . . . . . . . . 349
OnStar Overview
=Voice Command Button
QBlue OnStar Button
>Red Emergency Button
This vehicle may be equipped with a
comprehensive, in-vehicle system
that can connect to an OnStar
Advisor for Emergency, Security,
Navigation, Connections, and
Diagnostics Services. OnStar
services may require a paid
subscription and data plan. OnStar
requires the vehicle battery and
electrical system, cellular service,
and GPS satellite signals to be
available and operating. OnStar acts
as a link to existing emergency
service providers. OnStar may
collect information about you and
your vehicle, including location
information. See OnStar ’s Terms &Conditions and Privacy Statement
for more details including system
limitations at www.onstar.com (U.S.)
or www.onstar.ca (Canada).
The OnStar system status light is
next to the OnStar buttons. If the
status light is:
.
Solid Green: System is ready.
. Flashing Green: On a call.
. Red: Indicates a problem.
. Off: System is off. PressQ
twice to speak with an OnStar
Advisor.
Press
Qor call 1-888-4ONSTAR
(1-888-466-7827) to speak to an
Advisor.
Press
=to:
. Make a call, end a call,
or answer an incoming call.
. Give OnStar Hands-Free Calling
voice commands.
. Give OnStar Turn-by-Turn
Navigation voice commands.