2016 BMW M2 Lights
[x] Cancel search: LightsPage 115 of 220

Overview
Button in the vehicle
DSC OFF button
Indicator/warning lights The indicator lamp flashes: DSC con‐
trols the drive and braking forces.
The indicator lamp lights up: DSC has
failed.
Deactivating DSC: DSC OFF
General information
When DSC is deactivated, driving stability is
reduced during acceleration and when driving
in curves.
To increase vehicle stability, activate DSC
again as soon as possible.
Deactivating DSC Press and hold this button but not longer
than approx. 10 seconds, until the indica‐
tor lamp for DSC OFF lights up in the instru‐
ment cluster and displays DSC OFF.
DSC is switched off.
Engine tuning switches to a sportier setting.
Activating DSC Press button.
DSC OFF and the DSC OFF indicator lamp go
out.
Indicator/warning lights When DSC is deactivated, DSC OFF is dis‐
played in the instrument cluster.
The indicator lamp lights up: DSC is
deactivated.
M Dynamic Mode MDM
The concept M Dynamic Mode makes it possible to drive on
a dry roadway with high longitudinal and trans‐
verse acceleration but with limited driving sta‐
bility.
Only in the absolute limit area does the system
intervene for stabilization by reducing the en‐
gine power and by braking interventions on the
wheels. In this driving condition, additional
steering corrections may be necessary.
You may find it useful to briefly activate MDM
under the following special circumstances:▷When driving in slush or on uncleared,
snow-covered roads.▷When freeing vehicle from deep snow or
driving off from loose grounds.▷When driving with snow chains.
Information
WARNING
When M Dynamic Mode is activated, sta‐
bilizing interventions are carried out only to a
reduced extent. There is a risk of accidents or
a risk of property damage. Adapt to traffic con‐
ditions. Watch traffic closely and actively inter‐
fere in the respective situations. In the event of
a warning, do not unnecessarily jerk the steer‐
ing wheel.◀
To increase vehicle stability, activate DSC
again as soon as possible.
Seite 115Driving stability control systemsControls115
Online Edition for Part no. 01 40 2 970 518 - II/16
Page 116 of 220
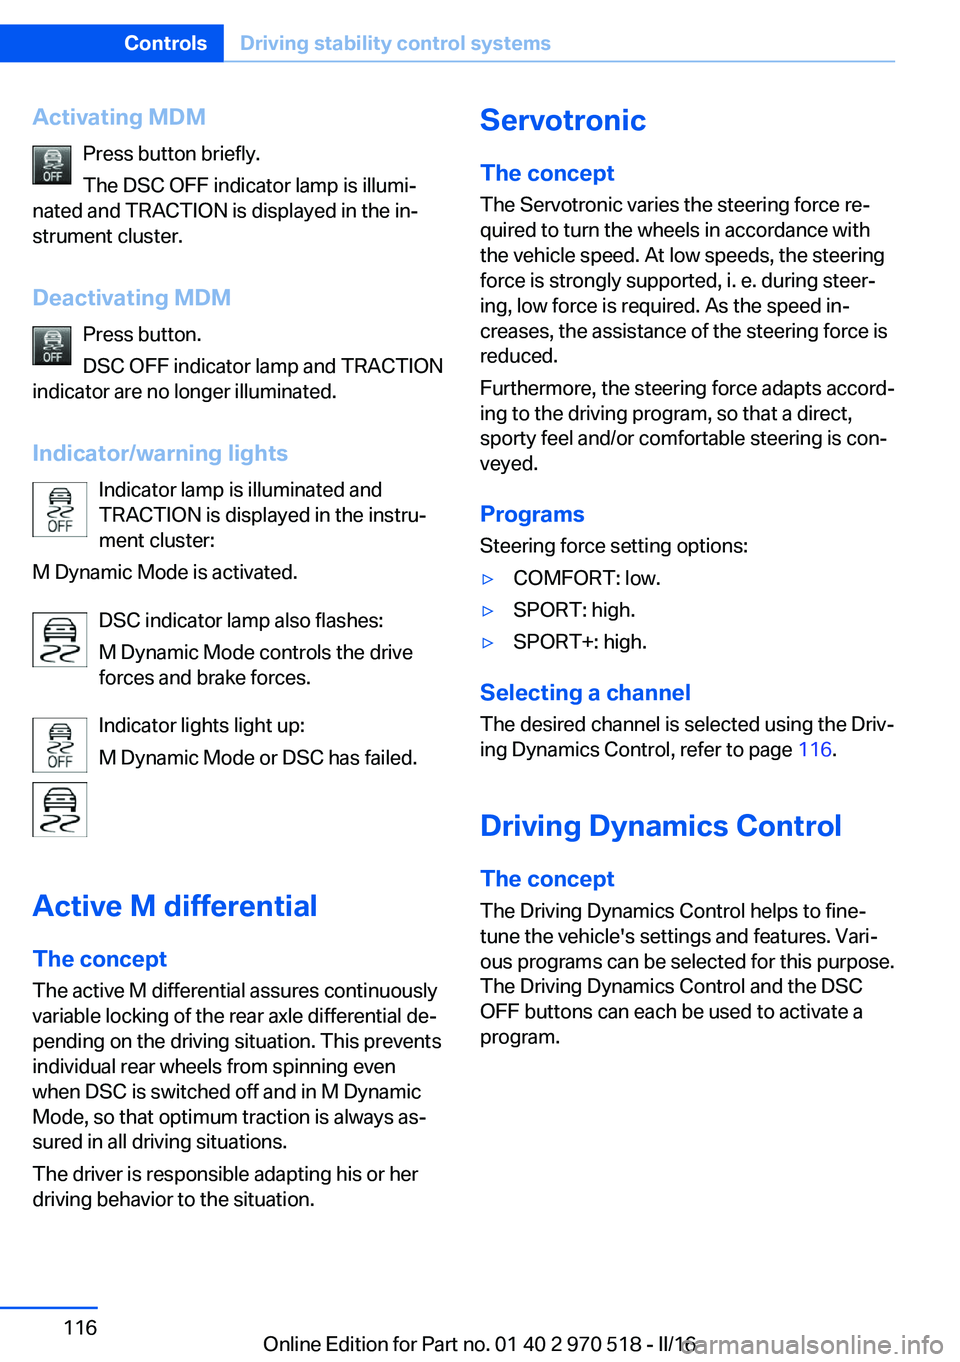
Activating MDMPress button briefly.
The DSC OFF indicator lamp is illumi‐
nated and TRACTION is displayed in the in‐
strument cluster.
Deactivating MDM Press button.
DSC OFF indicator lamp and TRACTION
indicator are no longer illuminated.
Indicator/warning lights Indicator lamp is illuminated and
TRACTION is displayed in the instru‐
ment cluster:
M Dynamic Mode is activated.
DSC indicator lamp also flashes:
M Dynamic Mode controls the drive
forces and brake forces.
Indicator lights light up:
M Dynamic Mode or DSC has failed.
Active M differential The concept The active M differential assures continuously
variable locking of the rear axle differential de‐
pending on the driving situation. This prevents individual rear wheels from spinning even
when DSC is switched off and in M Dynamic
Mode, so that optimum traction is always as‐
sured in all driving situations.
The driver is responsible adapting his or her
driving behavior to the situation.Servotronic
The concept
The Servotronic varies the steering force re‐
quired to turn the wheels in accordance with
the vehicle speed. At low speeds, the steering
force is strongly supported, i. e. during steer‐
ing, low force is required. As the speed in‐
creases, the assistance of the steering force is
reduced.
Furthermore, the steering force adapts accord‐
ing to the driving program, so that a direct,
sporty feel and/or comfortable steering is con‐
veyed.
Programs Steering force setting options:▷COMFORT: low.▷SPORT: high.▷SPORT+: high.
Selecting a channel
The desired channel is selected using the Driv‐
ing Dynamics Control, refer to page 116.
Driving Dynamics Control The conceptThe Driving Dynamics Control helps to fine-
tune the vehicle's settings and features. Vari‐
ous programs can be selected for this purpose.
The Driving Dynamics Control and the DSC
OFF buttons can each be used to activate a
program.
Seite 116ControlsDriving stability control systems116
Online Edition for Part no. 01 40 2 970 518 - II/16
Page 117 of 220
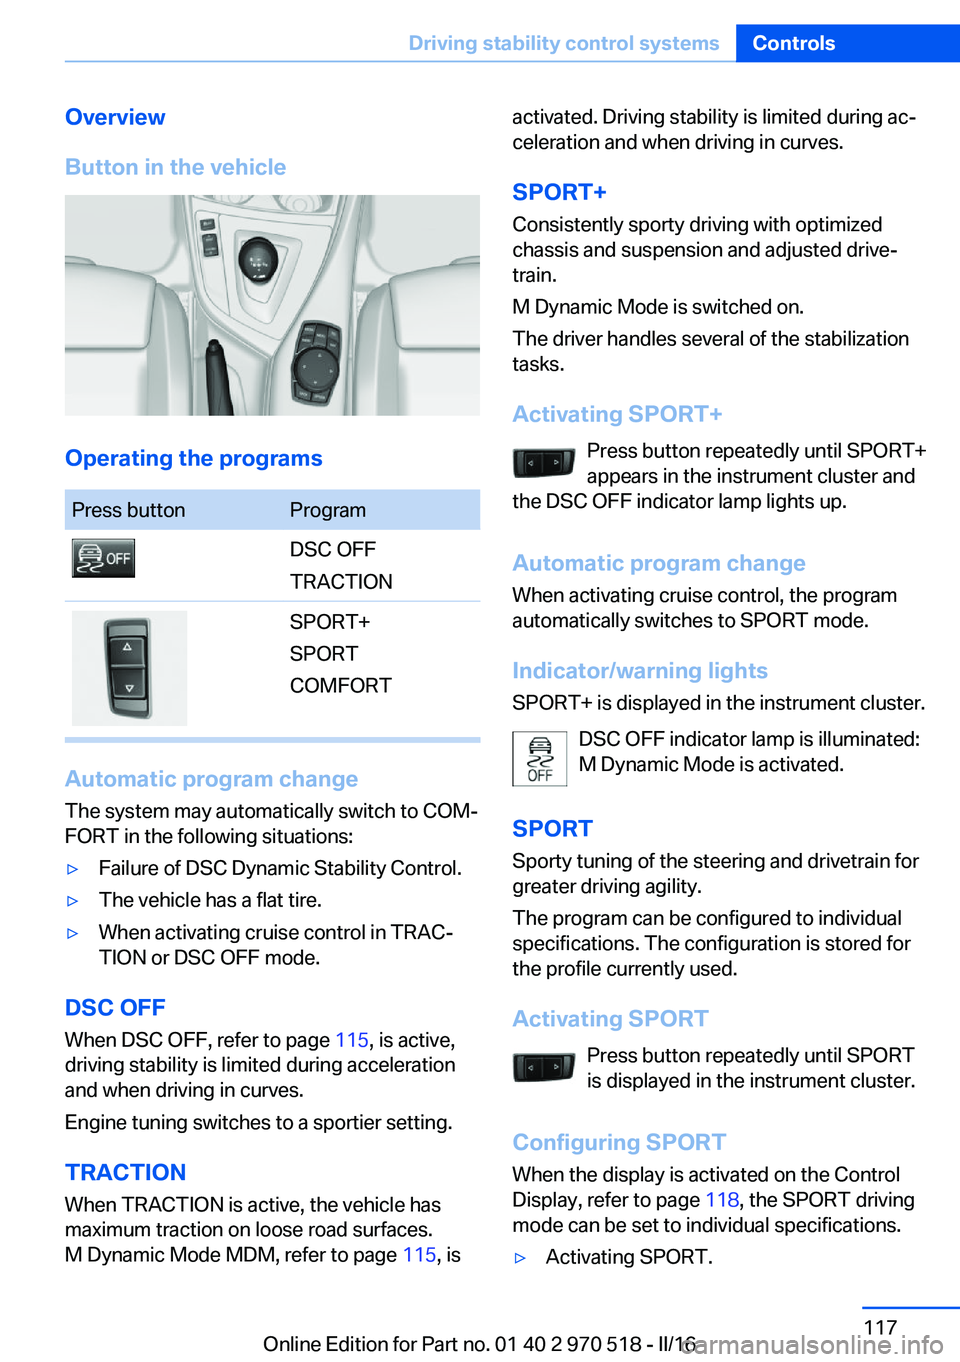
Overview
Button in the vehicle
Operating the programs
Press buttonProgramDSC OFF
TRACTIONSPORT+
SPORT
COMFORT
Automatic program change
The system may automatically switch to COM‐
FORT in the following situations:
▷Failure of DSC Dynamic Stability Control.▷The vehicle has a flat tire.▷When activating cruise control in TRAC‐
TION or DSC OFF mode.
DSC OFF
When DSC OFF, refer to page 115, is active,
driving stability is limited during acceleration
and when driving in curves.
Engine tuning switches to a sportier setting.
TRACTION When TRACTION is active, the vehicle has
maximum traction on loose road surfaces.
M Dynamic Mode MDM, refer to page 115, is
activated. Driving stability is limited during ac‐
celeration and when driving in curves.
SPORT+
Consistently sporty driving with optimized
chassis and suspension and adjusted drive‐
train.
M Dynamic Mode is switched on.
The driver handles several of the stabilization
tasks.
Activating SPORT+ Press button repeatedly until SPORT+
appears in the instrument cluster and
the DSC OFF indicator lamp lights up.
Automatic program change
When activating cruise control, the program
automatically switches to SPORT mode.
Indicator/warning lights
SPORT+ is displayed in the instrument cluster.
DSC OFF indicator lamp is illuminated:
M Dynamic Mode is activated.
SPORT Sporty tuning of the steering and drivetrain for
greater driving agility.
The program can be configured to individual
specifications. The configuration is stored for
the profile currently used.
Activating SPORT Press button repeatedly until SPORT
is displayed in the instrument cluster.
Configuring SPORT When the display is activated on the Control
Display, refer to page 118, the SPORT driving
mode can be set to individual specifications.▷Activating SPORT.Seite 117Driving stability control systemsControls117
Online Edition for Part no. 01 40 2 970 518 - II/16
Page 121 of 220
▷Each time the rocker switch is pressed to
the point of resistance, the desired speed
increases or decreases by approx.
1 mph/1 km/h.▷Each time the rocker switch is pressed
past the point of resistance, the desired
speed increases or decreases by a maxi‐
mum of 5 mph/10 km/h.
The maximum speed that can be set de‐
pends on the vehicle.▷Pressing the rocker switch to the resist‐
ance point and holding it accelerates or de‐
celerates the vehicle without requiring
pressure on the accelerator pedal.
After the rocker switch is released, the ve‐
hicle maintains its final speed. Pressing the
switch beyond the resistance point causes
the vehicle to accelerate more rapidly.
Continuing cruise control
General information
An interrupted cruise control can be continued
by calling up the stored speed.
In the following cases, the stored speed value
is deleted and cannot be called up again:
▷When the system is switched off.▷When the ignition is switched off.
Information
Make sure that the difference between current
speed and stored speed is not too large before
calling up the stored speed. Otherwise, unin‐
tentional braking or accelerating may occur.
Calling up stored speed Press button on the steering wheel.
The stored speed is reached and maintained.
Displays in the instrument cluster
Indicator lamp Depending on how the vehicle is equip‐
ped, the indicator lamp in the instru‐
ment cluster indicates whether the sys‐
tem is switched on.
Desired speed and stored speed▷Marking lights up green:
system is active, the mark‐
ing indicates the desired
speed.▷Marking lights up orange:
system is interrupted, the
marking indicates the stored
speed.▷The marking does not light up: the system
is switched off.
Brief status display
Selected desired speed.
If no speed is indicated, it is possible that the
conditions necessary for operation are not cur‐
rently fulfilled.
System limits
Engine power The desired speed is also maintained downhill,
but may not be maintained on uphill grades if
engine power is insufficient.
PDC Park Distance Control The concept
PDC is a support when parking. When you
slowly approach an object in the rear, then the
object is reported through:
▷Signal tones.Seite 121Driving comfortControls121
Online Edition for Part no. 01 40 2 970 518 - II/16
Page 123 of 220
3."Volume settings"4."PDC"5.Turn the Controller until the desired set‐
ting is selected.6.Press the Controller.
Settings are stored for the profile currently
used.
Visual warning
The approach of the vehicle to an object can
be shown on the Control Display. Objects that
are farther away are already displayed on the
Control Display before a signal sounds.
A display appears as soon as Park Distance
Control (PDC) is activated.
The range of the sensors is represented in the
colors green, yellow and red.
When the image of the rearview camera is dis‐
played, the switch can be made to PDC:
"Rear view camera"
System limits
Information WARNING
The system can react incorrectly or not
at all due to the system limits. There is risk of
accidents or risk of property damage. Observe
the information regarding the system limits
and actively intervene, if needed.◀
Limits of ultrasonic measurement Ultrasonic measuring might not function under
the following circumstances:
▷For small children and animals.▷For persons with certain clothing, for ex‐
ample coats.▷With external interference of the ultra‐
sound, for example from passing vehicles
or loud machines.▷When sensors are dirty, iced over, dam‐
aged or out of position.▷Under certain weather conditions such as
high relative humidity, rain, snowfall, ex‐
treme heat or strong wind.▷With tow bars and trailer couplings of other
vehicles.▷With thin or wedge-shaped objects.▷With moving objects.▷With elevated, protruding objects such as
ledges or cargo.▷With objects with corners and sharp edges.▷With objects with a fine surface structure
such as fences.▷For objects with porous surfaces.▷If cargo protrudes.
Low objects already displayed, for example,
curbs, can move into the blind area of the sen‐
sors before or after a continuous tone sounds.
False warnings
PDC may issue a warning under the following
conditions even though there is no obstacle
within the detection range:
▷In heavy rain.▷When sensors are very dirty or covered
with ice.▷When sensors are covered in snow.▷On rough road surfaces.▷On uneven surfaces, such as speed
bumps.▷In large buildings with right angles and
smooth walls, for example, in underground
garages.▷In automatic car washes.▷Through heavy pollution.▷Due to other ultrasound sources, for exam‐
ple, sweeping machines, high pressure
steam cleaners or neon lights.Seite 123Driving comfortControls123
Online Edition for Part no. 01 40 2 970 518 - II/16
Page 133 of 220
The symbol on the automatic climate con‐
trol flashes if the system is switched on.
Preselecting the activation time
On the Control Display:1."Settings"2."Climate"3."Timer 1:" or "Timer 2:"4.Set the desired time.
Activating the activation time On the Control Display:
1."Settings"2."Climate"3."Activate timer 1" or "Activate timer 2"
The symbol on the automatic climate con‐
trol lights up when the switch-on time is acti‐
vated.
The symbol on the automatic climate con‐
trol flashes when the system has been
switched on.
The system will only be switched on within the
next 24 hours. After that, it needs to be reacti‐
vated.
Seite 133Climate controlControls133
Online Edition for Part no. 01 40 2 970 518 - II/16
Page 140 of 220
USB interface in the glove
compartment
Mobile storage devices with USB port can be
connected to the USB interface in the glove
compartment.
Common file systems are supported. FAT32
and exFAT are the recommended formats.
The following applications are possible:▷Exporting and importing profiles, refer to
page 36.▷Loading of software updates.▷Adding music files to the music collection
and saving the music collection.
USB interface in the center console
In addition to the USB storage devices descri‐
bed above, additional mobile devices with USB
port can be connected to the USB interface in
the center console.
▷Mobile phones supported by the USB in‐
terface.
The snap-in adapter features a separate
USB port that is automatically connected
when a compatible mobile phone is in‐
serted.▷Audio devices with USB port, for example
MP3 player.
This allows further uses:
▷Playing music files via USB audio.▷Playing video films via USB video.
Information about compatible USB devices can
be found at www.bmwusa.com/bluetooth.
Information Observe the following when connecting:
▷Do not use force when plugging the con‐
nector into the USB interface.▷Use a flexible adapter cable.▷Protect the USB device against mechanical
damage.▷Due to the large number of USB devices
available on the market, it cannot be guar‐
anteed that every device is operable on the
vehicle.▷Do not expose USB devices to extreme en‐
vironmental conditions, such as very high
temperatures; refer to the owner's manual
of the device.▷Due to the many different compression
techniques, proper playback of the media
stored on the USB device cannot be guar‐
anteed in all cases.▷A connected USB device is supplied with
charging current via the USB interface, as‐
suming this is supported by the device.▷To ensure proper transmission of the
stored data, do not charge an USB device
via the onboard socket, when it is con‐
nected to the USB interface.▷Depending on how the USB device should
be used, settings may be required on the
USB device, refer to the owner's manual of
the device.
Not suitable USB devices:
▷USB hard drives.▷USB hubs.▷USB memory card readers with multiple in‐
serts.▷HFS-formatted USB devices.▷MTP devices.▷Devices such as fans or lights.Seite 140ControlsInterior equipment140
Online Edition for Part no. 01 40 2 970 518 - II/16
Page 160 of 220
Avoid high engine speeds
As a rule: driving at low engine speeds lowers
fuel consumption and reduces wear.
Use 1st gear to get the vehicle moving. Start‐
ing with the 2nd gear, accelerate rapidly. When
accelerating, shift up before reaching high en‐
gine speeds.
When you reach the desired speed, shift into
the highest applicable gear and drive with the
engine speed as low as possible and at a con‐
stant speed.
If necessary, observe the gear shift indicator of
the vehicle, refer to page 86.
Use coasting
When approaching a red light, take your foot
off the accelerator and let the vehicle coast to
a halt.
For going downhill take your foot off the accel‐
erator and let the vehicle roll.
The flow of fuel is interrupted while coasting.
Switch off the engine during longer stops
Switch off the engine during longer stops, for
example, at traffic lights, railroad crossings or
in traffic congestion.
Auto Start/Stop function
The Auto Start/Stop function of the vehicle au‐
tomatically switches off the engine during a
stop.
If the engine is switched off and then restarted
rather than leaving the engine running con‐
stantly, fuel consumption and emissions are
reduced. Savings can begin within a few sec‐
onds of switching off the engine.
In addition, fuel consumption is also deter‐
mined by other factors, such as driving style,road conditions, maintenance or environmental
factors.
Switch off any functions that
are not currently needed
Functions such as seat heating and the rear
window defroster require a lot of energy and
reduce the range, especially in city and stop-
and-go traffic.
Switch off these functions if they are not
needed.
Have maintenance carried
out
Have vehicles maintained regularly to achieve
optimal vehicle efficiency and service life.
BMW recommends that maintenance work be
performed by a BMW dealer’s service center.
For information on the BMW Maintenance
System, refer to page 184.Seite 160Driving tipsSaving fuel160
Online Edition for Part no. 01 40 2 970 518 - II/16